ゴッド オブ ウォー ラグナロク:運命の言葉のウォークスルー
アトレウスとしてアスガルドの周りを疾走するのにかなりの時間を費やしたので、今度はゴッド オブ ウォー ラグナロクをチェックする時が来ました のもう一人の主人公。そしてクラトスは、いつもの晴れやかな自分ではありません。彼は明らかに最近の出来事に動揺している。しかし、彼には計画があります。運命と話をする時が来ました!
このミッションでは、ナインの湖をピンポンしながら、ミステリアスで檻のようなノルンを探してさまざまな場所を探索します。ありがたいことに、これにより、宝物を集めたりカラスを狩ったりする機会がたくさんあります!
ミッドガルへの帰還
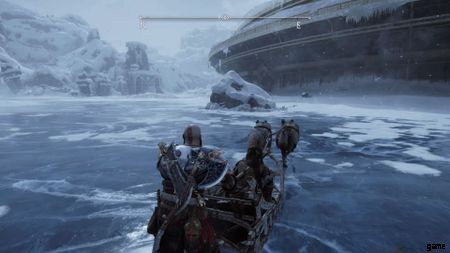
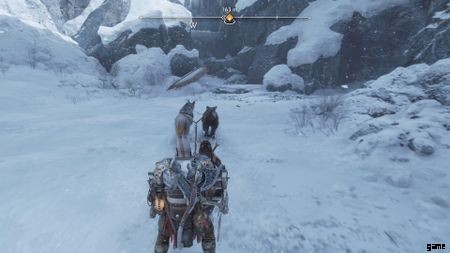
ミッドガルドの家の外でフレイヤに会うことから始めます。あなたのオオカミに行きます。あなたは鞍に乗り、ナインの湖に向けて出発します。少しぐずぐずすると、The Lake of Nine に到着します。このクエストラインの大部分は、オオカミの感覚に従うことになります。鼻をその方向に向けることで、どこに行く必要があるかを示します。または、このガイドに従うこともできます。
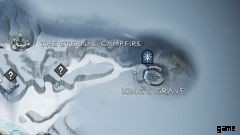
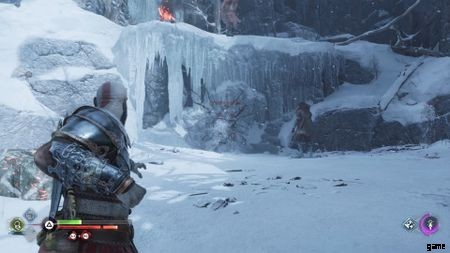
王の墓
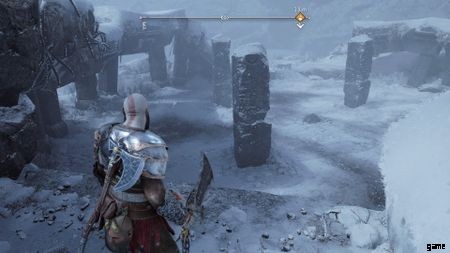
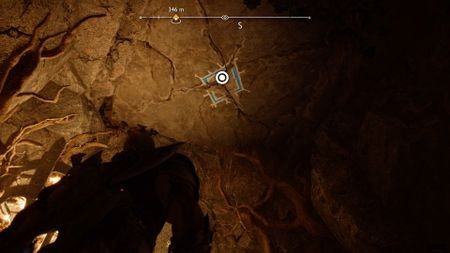
オオカミの先導に従ってください。これにより、マップの北東の隅に移動します.ミミールが「オオカミが私たちをここに導いたようだ」と言ったとき、あなたは正しい場所にいることがわかります.やがて分岐点が現れる。下の空き地に飛び降ります。ここでは、多数のレイダー スカウト、ヘルレイダー、トロールと戦うことになります。
.
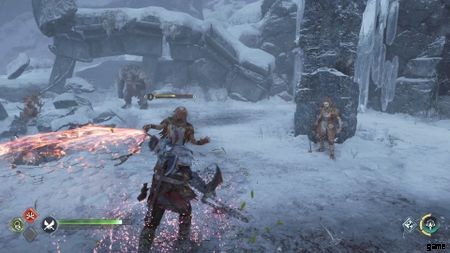
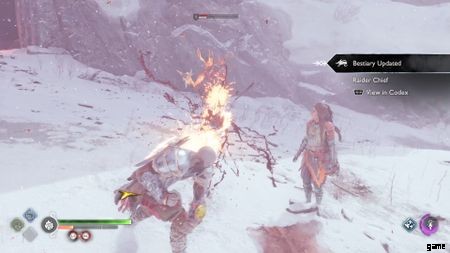
オーガから距離を保ちながらアリーナを一周し、斧を投げてレイダーを倒します。 レイダーを倒すと、ヘルレイダーとして復活します。その場合、彼らのヘルス バーは青色になります。この最初のヘルス バーをクリアするには、Blades of Chaos を使用して火のダメージを与える必要があります。
ヘルレイダーの突進攻撃は驚くほど速いので注意してください。これは、ゲームの序盤で 1 つか 2 つだけに直面していたときは大したことではありませんでしたが、Hel-Raiders でいっぱいのアリーナに直面したとき、それはほんの一握りであることに気付くかもしれません。受け流すことはできますが、少しトリッキーになる可能性があります。受け流しのタイミングは欺瞞的であるため、受け流す必要があると考えるよりも約 0.5 秒早く受け流したいと思うでしょう。
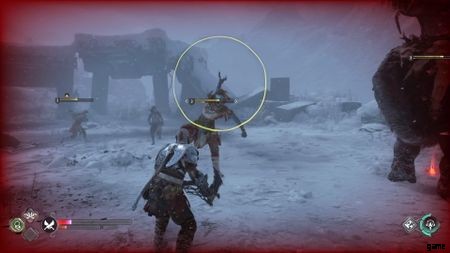
ヘルレイダーでアリーナをあふれさせたくない; 速すぎて危険すぎるため、一度に 1 体のレイダーを倒すことをお勧めします。 できる限りモバイルを維持するようにしてください。そうしないと、待ち伏せされます。明らかに、常にオーガから離れてください。
レイダースカウトは一般的に問題ではなく、スリング発射体も問題ありません。ただし、この発射物はオーガをまっすぐに通過します。オーガがあなたの近くにいるかのように、オーガが画面の大部分を占め、スリング攻撃が来るのを見ることができなくなるため、これは非常に不公平です.常に動いているように心がけてください。そうすれば、これが起こる頻度を最小限に抑えることができるはずです.
 2 画像
2 画像 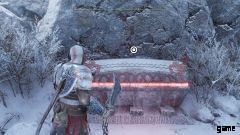
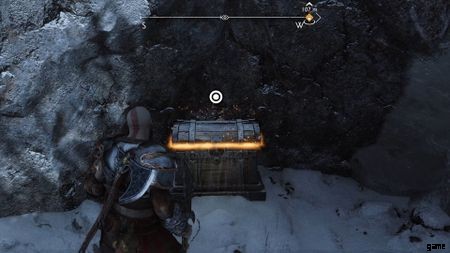
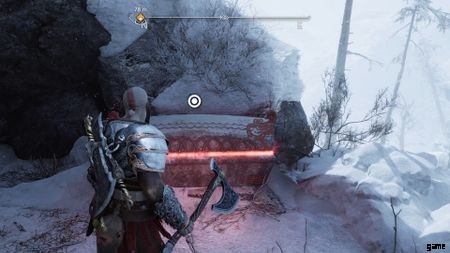
すべてのレイダースカウトとそれに付随するヘルレイダーを一掃したら、オーガと1対1で進みます. 強烈な打撃を与える一方で、オーガのすべての攻撃は簡単に見えます。それらのほとんどを受け流すか、距離を置いて頭に斧を投げて釘付けにすることができます. いずれにせよ、彼らはすぐに落ちます。アリーナをクリアしたら、アリーナの中央から剣の柄を集めます。次に、赤い胸に到達するまで道をたどります。何もない隠されたエリアを発見します。行き止まりです。近くの岩棚を守っている結界を蹴破り、飛び降りる。あなたはオオカミに戻ってきます。
遺棄された前哨基地
 3 画像
3 画像 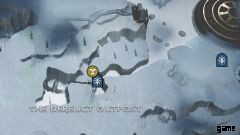
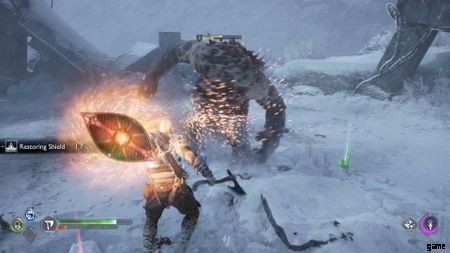
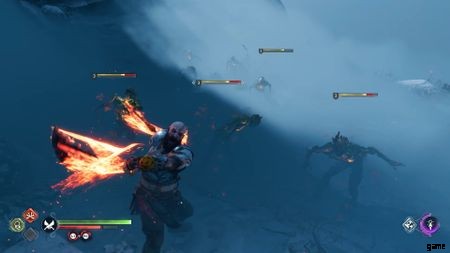
次の停留所は地図の反対側です。 マップの南西隅に隠れています。 到着すると、宝箱が待っています。 左側にもカラスがいます。それを取り出す。 あなたは別の幻想的な壁を見つけるでしょうが、最初のように、その後ろには何もありません. Frost Gradungr に攻撃されます。
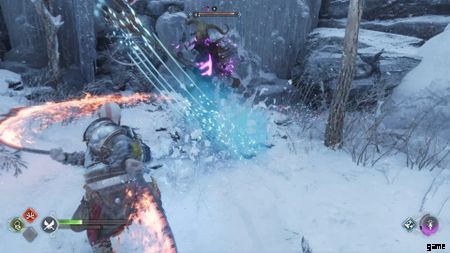
Gradungr の最初のフォームに対して Blades of Chaos を使用する必要があります。 Gradungr の最初のヘルス バーを取得すると、多数のレイダーが戦闘に参加し始めます。 Gradungr に集中し、背後にレイダーがいないような位置に配置してください。 Gradungr の攻撃のほとんどはブロックできます。ですから、疑わしいときは盾を投げてください。 ただし、突進は受け流す必要があります (これらは常に 2 つになります)。
Blades of Chaos で Gradungr を捕鯨し続けると、うっかりして多くの Raiders も倒してしまいます。グラドゥングルは必然的に崩壊し、次に進む時が来ます。
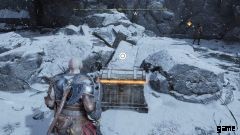
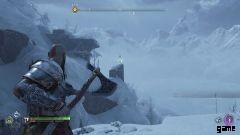
ウルドの泉
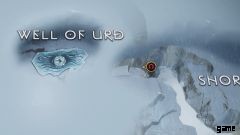
では、ウルドの井戸に向かいます。 この場所は地図の北西の角にあります。 ここに到着すると、最終的な場所に到着します。
 3 画像
3 画像 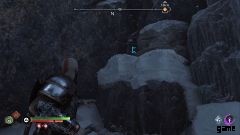
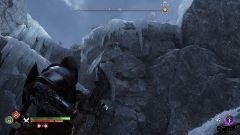
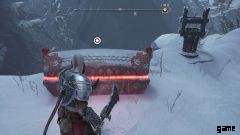
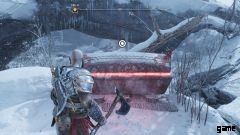
奥の隅にノルニルの宝箱がはめ込まれています。ルーン文字を有効にするには、火鉢に火をつける必要があります。最初のものは近くにあります。さて、上ってみると、2 番目が棚の上にあることがわかります ちょうど 上のプラットフォームの下。最後に、次のエリアへの入り口と反対側を向いている場合、最後のノルニル ルーンは右側にあります。
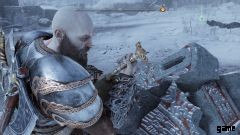
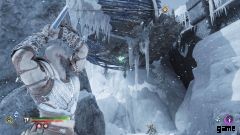
すべての火をつけたら、一番上の棚から飛び降りると、チェストが見つかります。もう一度降りると、ノルニルのチェストからホーン オブ ブラッド ミードを入手できます。さあ、また登って、壁を切り刻んでください。数人のレイダーと戦うエリアに入ります。 レイダーが上の岩棚から飛び降りてきたら、重い斧を投げて敵を攻撃し、背後の壁に追い込んで即死させます。
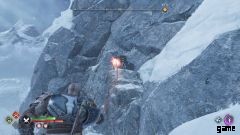
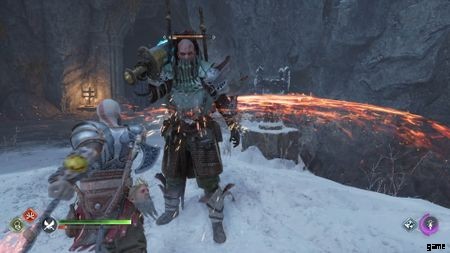
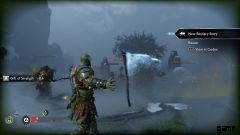
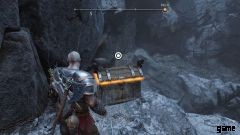
登ると、別のレイダーのグループと戦います。今回はその中にレイダーチーフがいます。これらの人は非常に強力ですが、非常に遅く、予測可能です.それらから距離を保ち、遠距離攻撃でそれらを選択します。 一掃したら、遠くにいるカラスに斧を投げてください。 壁の横には赤いチェストもあります。近くの壁を登ると洞窟に入る。洞窟の左側の壁をたどると、チェストに行くことができます。いばらを燃やし、壁をよじ登り、上の橋まで飛び乗ってください。
 2 画像
2 画像 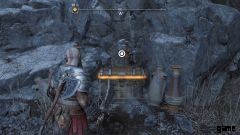
You will be confronted by a giant sword-wielding Traveller. If this guy hits you twice you may just die. However, the Traveller is so slow that he makes the Raider Chief seem blazingly fast in comparison. Just parry his slow attacks, dodge his overhead swings, and shield bash him when he blocks using his sword. Once you kill him, open the nearby Red Chest and regular chest, and then move on to the next area through the cave.
The next batch of enemies you will face are a pair of Dark Elves. Just hit them out of the air using your axe, aim to sweep their legs, and avoid the fireballs they fire at the ground (they will explode soon after they land) . Progress forward and you will fight some shield-bearing Reavers. Sweep their legs and shield bash them to get around their defense. After this bunch, you will face another Dark Elf who is accompanied by some wolves. Once you clear them up, grab the nearby Red Chest. Now, you will run up against the extremely evasive Revenant.

The Revenant is hard to pin down. She will evade all of your normal attacks. However, she struggles mightily at evading your partner's attacks. So, unload arrows into the Revenant with Freya, then land your own big attacks. Once you kill her, look for the nearby treasure chest.
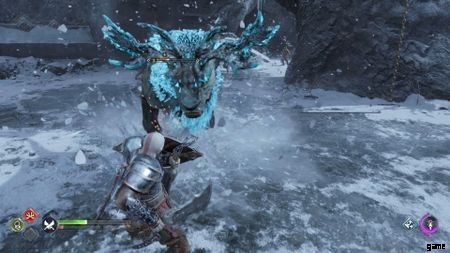
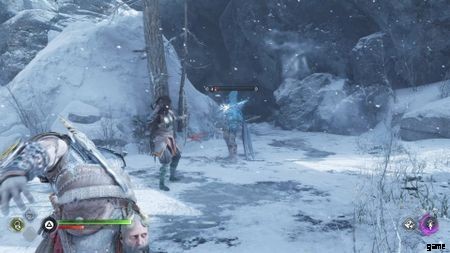
Frost Phantom

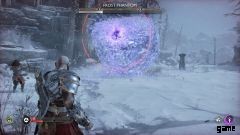
The Frost Phantom is the big boss of this quest. It is a giant, amorphous cluster of ice that has a giant rune for a face. Naturally, you are aiming for the rune. The Frost Phantom has a few attacks. They have a projectile, which is easy to dodge if you roll to the side. They also have an unblockable attack where they gather themselves up before coming crashing down on you. This is similarly dealt with by rolling to the side.
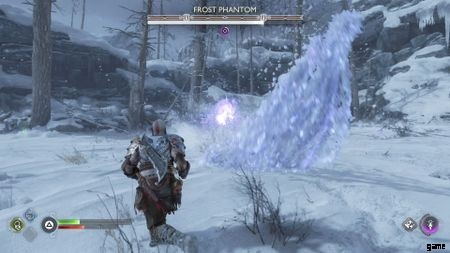

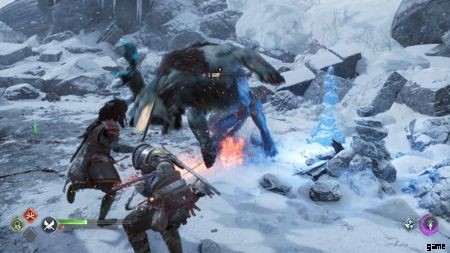
The Frost Phantom has a melee combo as well. They will first whip around horizontally, and then slam down vertically. This has an enormous range. That being said, in this fight, you never need to be that close to the Frost Phantom. Your goal is to throw your axe at the Frost Phantom's rune from a distance.
Once you have worked the Frost Phantom's stun all the way up, its obelisks will be vulnerable, so go destroy one. This will transition it into its second phase. Here, the Frost Phantom will be faster, and it will have two new attacks.
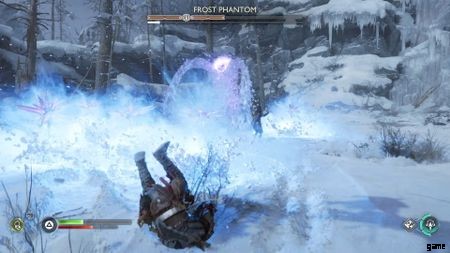
One of these new attacks will cause giant ice crystals to materialize all around the arena. Get away from them, as after a moment of two, they will explode. The other attack the Frost Phantom gets is a shockwave attack. You will either need to get far enough away that it dissipates, or you will need to roll through it.
Though the Frost Phantom will have more moves in the second phase, the game plan stays the same. Keep your distance, and hit the rune with your axe. Once you stun it a second time, you will be able to destroy the second obelisk and the fight will essentially be over. Make sure you collect the nearby Red Chest.
You will now move through a dingy, dark cave, and enter into a clearing with a door. Upon entering the door, you will fight a large group of Legion-type enemies. Just use your Blades of Chaos to keep these things off of you. You will then transition to Mimir's vision, and fight an unending horde of Nightmares, Reavers, and Revenants. You just need to kill enemies long enough to hear everything the vision has to say.
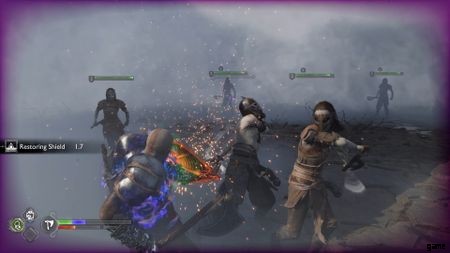
Then, you will be in Kratos' vision. You will need to battle against a large number of Einherjar. Unlike in the other encounters, you will need to kill every single one. There isn't really a trick to this one outside of trying to keep them all in sight; though you will inevitably be blindsided, as they do come from all over the place.
Remember that a parry will cause a small shockwave all around Kratos, giving him a way to push all enemies off of him! So, looking for the parry isn't a terrible idea.
 3 Images
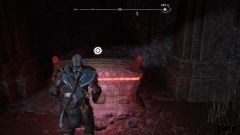

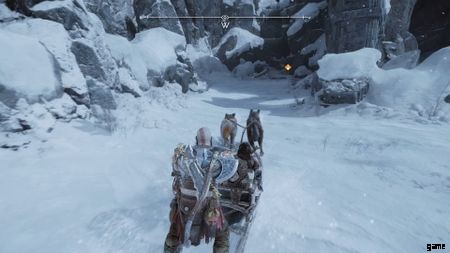
Now, you will be finished with the visions, and you will get to ride a Kelpie. Fun! After working through a number of cutscenes, you will be back to the caves again. On your right will be a Red Chest. Move further down the path, climb up, and there will be a Hacksilver chest. Now, enter the nearby cave, and you will find your last Red Chest. In the room just before that chest, there is a cracked slab on the ceiling. Just bust through it, and you will be back close to where this all started.
Slide down the nearby rope, and you will be able to collect one more chest before being back at your sled. You will now have completed The Word Of Fate questline.
NEXT:God Of War Ragnarok:Forging Destiny Walkthrough