ビクトリア 3 – 国を作る方法
このガイドでは、新しい国を改造または作成する方法について説明します。ゲームの開始時に国を作る方法を説明し、フォーマブルもカバーします。
国を作るためのガイド
はじめに
このガイドでは、1836 年のゲーム開始時に存在するように、ゲームに新しい国を作成/作成/改造する方法について説明します。
開始時の重要な注意:
- 普通のメモ帳よりも優れたエディタでテキストを編集することをお勧めします。私の推奨は、Notepad++ (このガイドで使用するもの)、VisualStudioCode、および Sublime です。
- ゲーム内のすべての .txt ファイルは、エンコードが UTF8-BOM でなければなりません。それがないと、正しく動作しない可能性があります。エンコーディングの設定方法がわからない場合は、既存のファイルをコピーして内容を変更してください。
- テキスト ファイルの # 以降はすべて「コメント アウト」されます。つまり、ゲームは # 以降の記述を無視します。
- エラーが発生したり、何か問題が発生した場合は、間違いを犯したか、このガイドに正確に従わなかった可能性が高くなります。役に立たないものはほとんどないので、細心の注意を払ってください!
国の定義
「定義」とは、次の 2 つのことを意味します。
- 「国がどこにあり、どのように見えるかを決定する」という人間の意味
- 自分の国についての情報をゲームに伝えて、その国が何であるかを知るコードの意味
そのため、まず最初に、どの国を希望するか、特にどこに配置するかを考えてください。
私の国はキレナシアと呼ばれ、ここトリポリタニアの土地に置かれます。
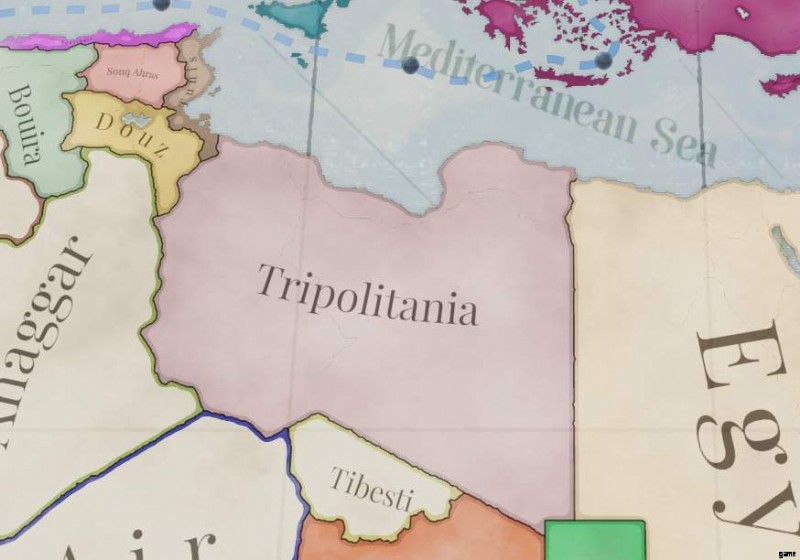
私は、リビアの砂漠国家全体を所有したいと考えています.
これらのことを決定し、他のことを考えたので、タグ (国の 3 文字の短いコード名) を決定する必要があります。 CYR はタグとして理にかなっていると思います。
Notepad++ の [ファイル内検索] 機能を使用して、ベース ゲームの国定義ファイルのどこかに CYR が表示されるかどうかを確認して、ベース ゲームで CYR がまだ使用されていないことを確認しましょう。

そして、そうではありません。次に、MOD の国定義フォルダーに移動します。

定義を追加します。

ご覧のとおり、国の定義にはいくつかの重要な部分があります。
タグで始まり、色を追加します (これは HSV360 形式または RGB のいずれかです)。オンラインの RGB カラー ピッキング ツールまたは画像編集ソフトウェアを使用して、必要な色を見つけます。
その後、どのタイプの国にするかを決定します:
- 認知されている – 主に「西側」の国で使用されます。
- 認識されていない – Vic2 の「文明化されていない」に似た、「非西側」の国に使用されます。
- 分散型 – 中央政府のシステムがない国向け。通常は先住民に使用されます。
- 植民地 – 承認された国の植民地である国。
次に、基本的に国のサイズであるティアを述べます:
- city_state
- 主権
- 大原則
- 王国
- 帝国
- 覇権 – ベースゲームでのリリース時には、インドの国のみが覇権国です。大帝国と考えてください
After that you’ll put the cultures in. The in-game spellings are usually the same as the code spellings, but not always. You can always double check in the base game’s common/cultures folder.
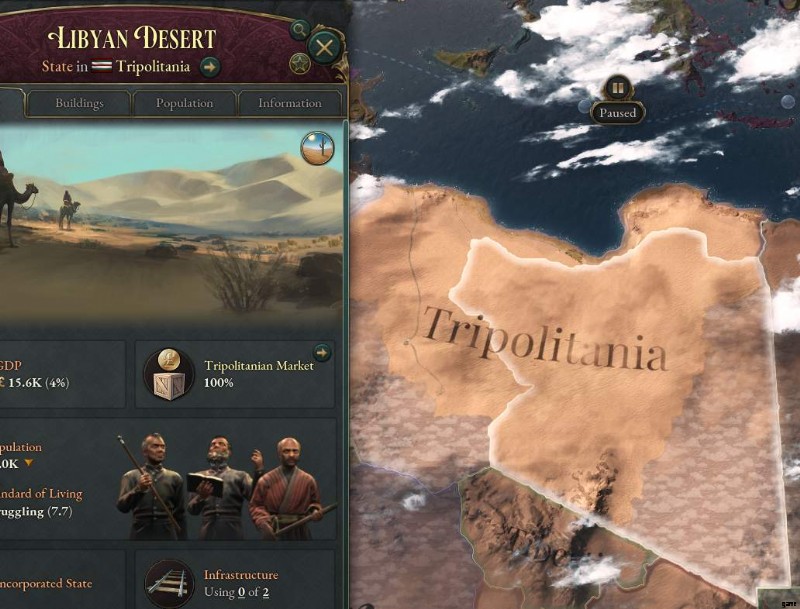
And finally say what state the capital is in. As above, this is normally the same as what’s written in game, except that spaces are always underscores, which is why my state capital is STATE_LIBYAN_DESERT instead of Libyan Desert. So your state will always be something like STATE_(NAME). If you’re not sure, check in map_data/state_regions or common/history/states.
Make sure you’ve got a closing bracket, too. Most fancier word processors like Notepad++, VisualStudioCode and Sublime have some way of doing this. Proper bracketing is very important!
Making the Country Show Up (Ft. the History Folder)
Now that the country is defined, let’s make it show up in the game. Right now, the game only knows that CYR is a possible country, but it hasn’t been told that it should exist. To do this, we need the history folder, and specifically these three folders.

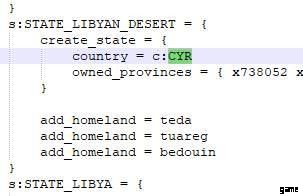
Let’s start at the bottom with states. The file(s) in this folder tell the game who owns what states (or what provinces in the state) at the start of the game, as well as information about what cultures consider the state to be their homeland. Let’s navigate to STATE_LIBYAN_DESERT:
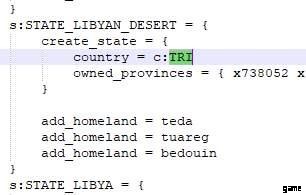
As we can see from the highlighted section, TRI (Tripolitania) currently controls the state. Let’s just change that:
If you launch the game now, you will see that CYR controls the state, but it’s missing information about population and buildings, so it’s kind of useless.
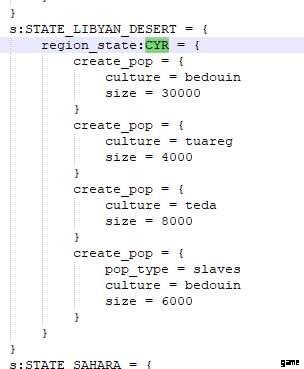
So head over to the pops folder, and once again find STATE_LIBYAN_DESERT, and there, too, change TRI to CYR:
And do the same in the buildings folder:
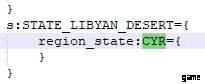
Here we can see that there are no buildings in the state. That makes sense, considering it’s mostly desert and has a very small population.
And with that, the history folder entries are done for now.
Finishing Touches
Our country is now playable, but if we launch the game it’ll be called CYR instead of a proper country name! That’s where localization comes in.
Localization is the way that you translate code into human languages like English. Let’s navigate to our mod’s localization folder.

You may see that I have a custom file name. The game supports that kind of thing, but some things are quite important. The file must:
- be .yml format
- have _l_english at the end of the file name (if your localization is English)
- start with l_english:in the contents of the file
I suggest just copying localization file from another mod or the base game and emptying it (except for the l_english:part).
The localization is pretty simple, as shown here:
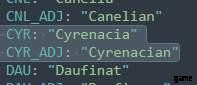
TAG: "country name"
TAG_ADJ: "country adjective"
Just replace TAG with your own TAG, i.e. CYR in my case.
Again, you can boot the game now and the country will be visible, but I’ll recommend two more things.
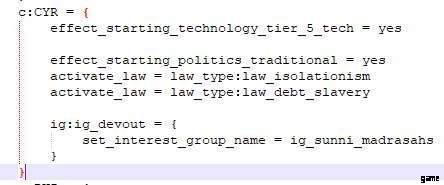
- Your country needs a country history to customize what it’s like at the start of the game. This will tell the game what kind of technology it has, as well as laws and other information. I recommend just going and copying a similar country’s history. That’s what I’ve done for my country history.
- Quite optional:Population information. The population folder in the history folder gives information about the people who live in the country, specifically their wealth and their literacy. You can create a new file for your country and the two following things can be added:
Wealth:(defined in common/scripted_effects/00_starting_pop_wealth.txt)
- effect_starting_pop_wealth_low
- effect_starting_pop_wealth_medium
- effect_starting_pop_wealth_high
- effect_starting_pop_wealth_very_high
Literacy (defined in common/scripted_effects/00_starting_pop_literacy.txt)
- effect_starting_pop_literacy_baseline
- effect_starting_pop_literacy_very_low
- effect_starting_pop_literacy_low
- effect_starting_pop_literacy_middling
- effect_starting_pop_literacy_high
- effect_starting_pop_literacy_very_high
I’ve decided to go with the following:

Finished!
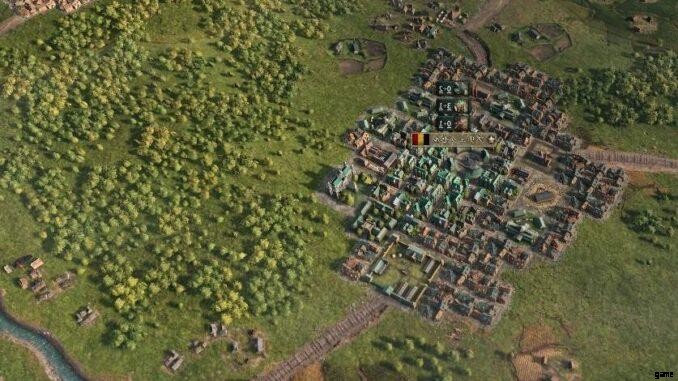
Launch the game and voilà!

This guide will eventually cover creating a flag and setting characters, too. But this is enough to get you started!