ドラガリア ロスト ウォークスルー
はじめに
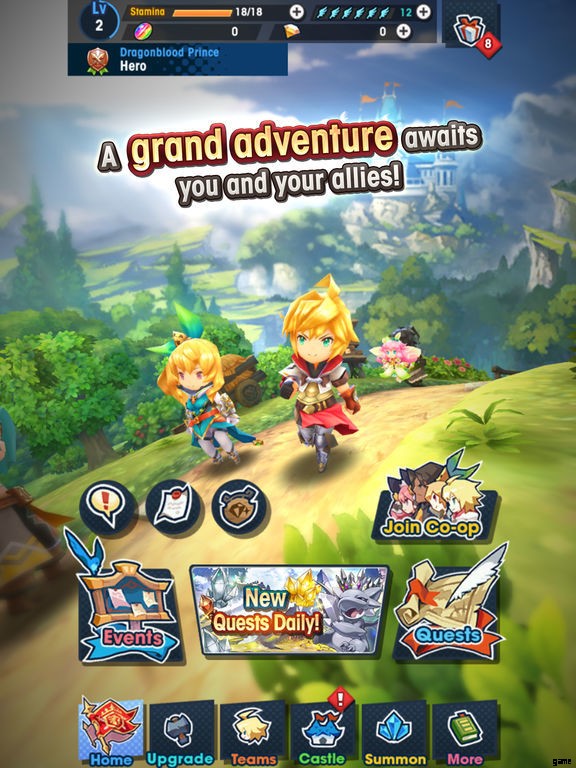
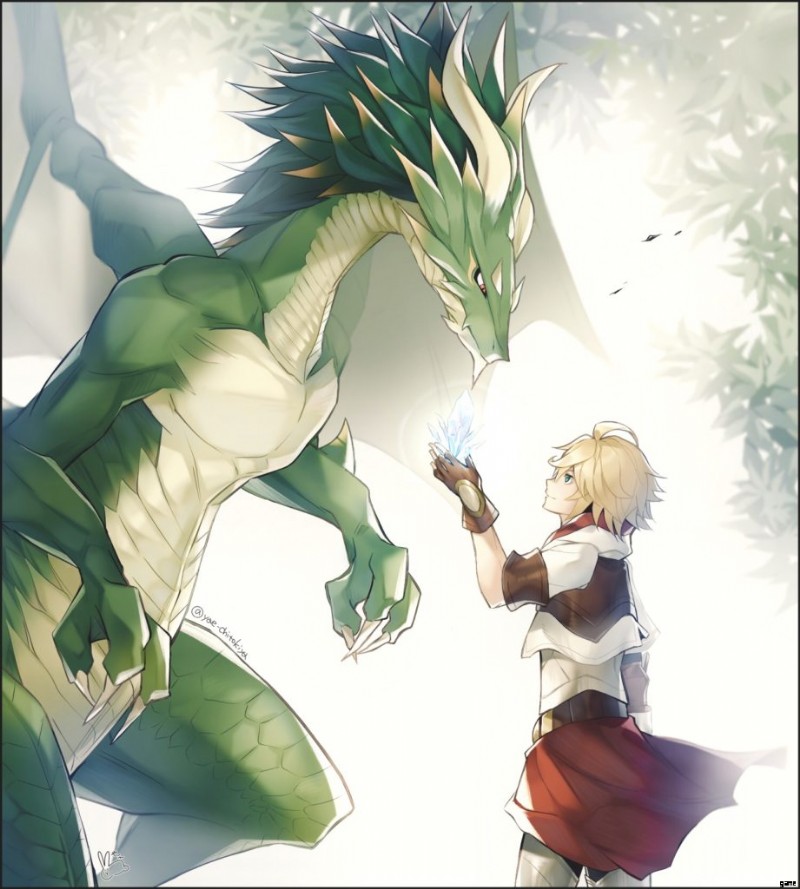
アクションと RPG のジャンルを絶妙に組み合わせたドラガリアロストは、任天堂株式会社のモバイル デバイスで高品質のゲームプレイを提供します。このゲームは、ドラゴンと人間の絆についてのゲームです。一連の伝説的な攻撃と個々の動きを使用して敵を支配する旅に出るヒーローをコントロールします。伝説のキャラクターはすべて、ドラゴンに変身できる独自の能力を持っていることを知っていただければ幸いです。伝説、英雄、強力な同盟者の物語を展開する準備をしてください。挑戦的なクエストであなたを助けるために60以上のボイス付きキャラクターがあなたを待っています。ゲームは完全に無料でプレイできますが、ゲーム体験を向上させるためにアプリを購入することもできます。
任天堂が優れた RPG フランチャイズの膨大なライブラリを持っているときに、RPG に焦点を当てたモバイル プラットフォーム向けの新しいゲーム タイトルをもたらす方法は非常にエキサイティングです。ドラガリアロストは、プレイヤーにアルベリア王国の王位継承者である主人公の役割を引き受けるよう売り込みます。ゲームをプレイする前に、ドラゴンと協定を結ぶ独自の能力を持っている王族の血統であることを知っておく必要があります。
ストーリー
アルベリアと呼ばれるドラゴンに満ちたファンタジーの世界が舞台で、すべての王族が独自の変身能力を持っています。彼らの並外れたスキルを使用して、彼らは壮大な戦いでスキルを借りるためにドラゴンと協定を結ぶことによってドラゴンの力を振るうことができます.物語が進むにつれ、美しい王国に異変が起こり始める。伝説の人々は、力を失い始める首都を守るために聖なる破片を築きました。罪のない人々は困っており、現れて彼らを破滅から救ってくれる誰かを探しています。最暗黒の時代、第七王子はドラゴンとの契約を結んでいないため、人々を助けるように見えます.
ドラガリア ロスト ウォークスルー
ウォークスルーを始める前に、利用可能なすべてのキャラクターとその関係を紹介しましょう.現在、7 人のプレイアブル キャラクターが利用可能で、その名前は次のとおりです。
<オール>竜血の王子とは?
Dragonblood Prince は、独自の能力を持つ主要なプレイアブル キャラクターであり、彼の主な要素は火です。彼はアルベリアに住んでいた王室の7番目の相続人です。プロットによると、王子はノッテとゼシアという双子の妹と一緒に住んでいます。彼は勇気と他人への十分な配慮を見事に兼ね備えています。

ゼシア
第七王子の双子の妹で、数少ない教会の乙女の一人。彼女は思いやりがあり、子供のように泣き始め、母親の死後、彼女がよりストイックになったという話が展開されます.
注意
ノッテは、双子が幼い頃に出会った不思議な妖精です。彼らは一緒に、チームとしてすべての困難を克服することを約束し、ノッテが非常に真剣に受け止めることを誓いました.
エリザンヌ
確かに、目の前にたくさんのドラゴンを見つけたら、騎士になりたいと思うでしょう。そのため、彼女のスキルを得た騎士、パラディンがいる。物語は、彼女が異端者の烙印を押され、追われていることを伝えています。
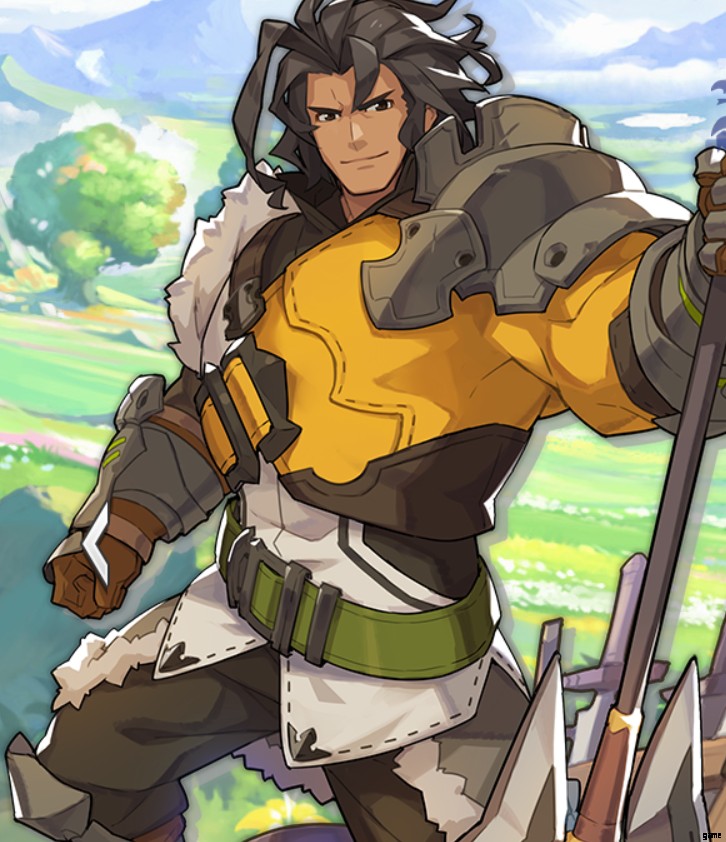
ランザル
2番目の男性キャラクターで、軽率な口調と性格が第一印象を悪くする熟練した傭兵です。彼は常に名誉と信念を持って行動していることがわかります。
クレオ
霧に閉ざされた聖殿を長年守り続けてきた可愛らしい少女で、感情をコントロールする力が強い。彼女は現在、王子であり、彼女の激しい家事スキルで知られているHalidomの新しいマスターを手伝っています.
ルカ
ウッドヘブンに住む、村をこよなく愛する少年。キャラクターは正直な性格を妥協する準備ができておらず、熟考よりも迅速な行動を常に示す準備ができています.
プロット
プロットは、森に住む偉大なドラゴンを中心にしています。人々は、契約石の力を得るために彼を探しています。ゲームの舞台は、ドラゴンが自然を支配する王国アルベリア。そこには変身する力を持つ王族が住んでいた。ドラゴンと契約を結ぶことで、王家のメンバーはドラゴンの形を借りて力を発揮します.
7番目の相続人
人々が平和を楽しんでいると、ある日、美しい王国は神話的で厄介な出来事に遭遇します。前述のように、街を守るためにスケアード シャードが作成され、弱体化し始めました。まだドラゴンと契約を結んでいない王家の7番目の相続人は、人々の最後の希望です。彼はドラゴンの選択として知られる壮大な旅に出発します .
出会いの仲間
契約を結ぶドラゴンを探している主人公は、異次元からやってきた妖精の少女を含む新しい仲間と出会い、父親である王の突然の不可解な変化に立ち向かおうとします。
ドラゴン
ファンタジーの世界では、5 つの強力なドラゴンを発見します。その名前は次のとおりです:
- ミッドガルズオルム (風 )
- ブルンヒルダ (火 )
- 水銀 (水 )
- 木星 (光 )
- ゾディアーク (闇 )
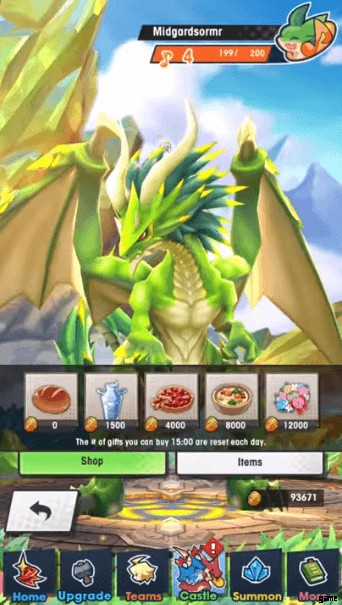
ミッドガルズオルム
ミストホルトの最初のドラゴンとして長年住んでいた彼は、アルベリウスに直接会い、伝説的な知識で彼をサポートしました。ゲーム全体を通して、彼は動的な天候を操作することができ、嵐の支配者です.
ブルンヒルデ
真紅のミストレス、旅の助けとなる炎。アドラ山の噴火は魔力を使い果たしたせいだという噂が瞬く間に世界中に広まる。
マーキュリー
マーキュリーは、古くから近くの海域に住み、人々の世話をするセントロティエの捕食者として働く水型のドラゴンです.
木星
天空を統べ、幾多の英雄を導いてきた美竜、通称雷天。彼の体によって生み出された稲妻効果は、人々に天に近づくことを夢見させました.
ゾディアーク
南グラステアに住んでいた恐ろしい伝説で、記録によれば多くの人々を王朝に仕立てた。恐ろしい力に苦しみながらも、人間からの尊敬を集めていた。
チュートリアルから始める
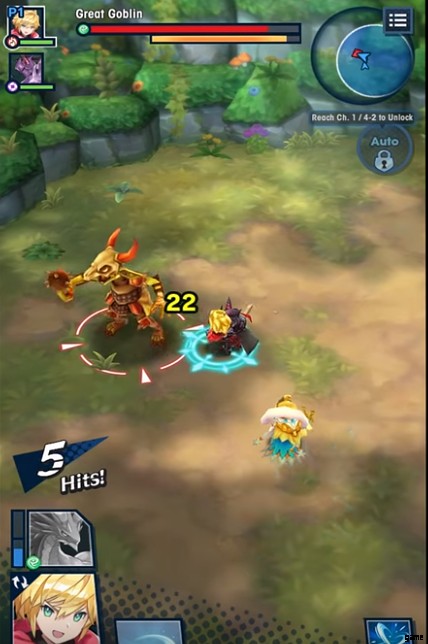
ゲームは忠実な家族の 7 番目の相続人から始まり、敵と戦い、タッチスクリーンを使用して世界中を移動する方法を学びます。スワイプ コントロールを使用してキャラクターを操作し、画面をタップするだけで敵を攻撃できます。敵はあなたのスキルに応じて現れ、それらを克服する方法を学ぶと強力になります。ゲームが進むにつれて敵の乗っ取りが難しくなっていきますが、比較的序盤です。だから、金貨を集めてあなたのユニークな能力を解き放ちながら、マスターになるためにすべてを学びましょう。ナビゲーションは等尺性の観点から行われ、開発者は敵の束を一度に一掃するのに役立つ電源ボタンを配置します.ゲームをプレイしている間、あなたがドラゴンと契約を結ぶ旅に出ていることを1つだけ覚えておいてください.プレイすればするほど、より多くのことを学びます。最初のセクションはチュートリアルでいっぱいです。最後に、次のことを警告するダイアログが表示されます。
あなたは何か間違ったことをしています あなたのキャラクターは誰が言ったのかと答えます .
敵は世界中にランダムに出現し、死ぬと金貨を残します。チュートリアルモードを完了すると、キャラクターがクリスタルボールを投げてキャプチャする敵に攻撃されているシーンが表示されます。主人公が苦しみながら誰かに助けを求めると同時に、王子と妖精の妹がゲームに介入して兄を助け、ゴブリンのような生き物が投げた水晶玉をぶつけます。さらに、次のように述べています。
一人でやってみてください。私たちがお手伝いします。
妖精と王子の話し合いが始まり、妖精は王子を説得して、敵に満ちた暗い世界であなたを助けさせようとしますが、王子は彼らに助けてもらうという提案を断り続けます。
チュートリアル 2
妖精と彼の妹と取引をした後、ゲームは両方のキャラクターを同じチュートリアルレベルに設定します.王子は最初に敵と戦い、妹は自分を置いて彼を助けます.レベル中に、克服しなければならないくまが表示されます。その場所に滞在すると、あなたの死を引き起こします。あなたが敵に攻撃された場合、あなたの姉妹はあなたのヘルスバーを満たすのを手伝ってくれます.敵と戦っている間、木箱を壊して金貨を手に入れよう。
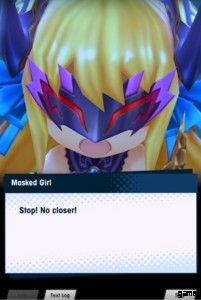
仮面の少女登場
森の真ん中にたどり着くと仮面の少女が現れ、ここに来た理由を聞く。同時に、ゼシア 仮面の少女について何かが正しくないので、彼女の兄弟に別居するように警告します。議論は、仮面の少女が言った対話で終わります。 」
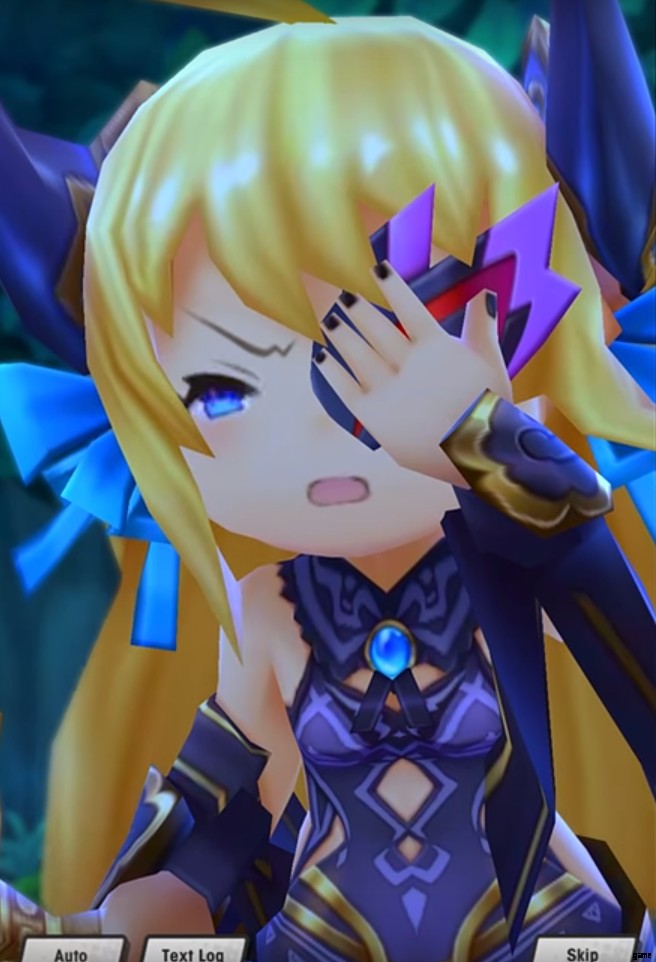
彼女が去ったとき、敵が現れて王女を攻撃し、その隣に彼の妹が彼を癒しに来た.再び仮面の少女が現れ、閉ざされない言葉で泣き出す。その直後、彼女はポータルを開いて巨大なモンスターを解放し、これらの伝説の人々をすべて殺します.最後に、誰かが聞いている場合、主人公はドラゴンにパックストーンを与えるために声を出します.あなたの画面が光り、メッセージが表示され、あなたの声はドラゴンの最高の力に立ち向かうことによって彼の弱い肉体を証明する任務を持つ協定の探求者として聞こえてきました.青いクリスタルのパッチが表示され、次のシーンに進むための次のボタンが表示されます。
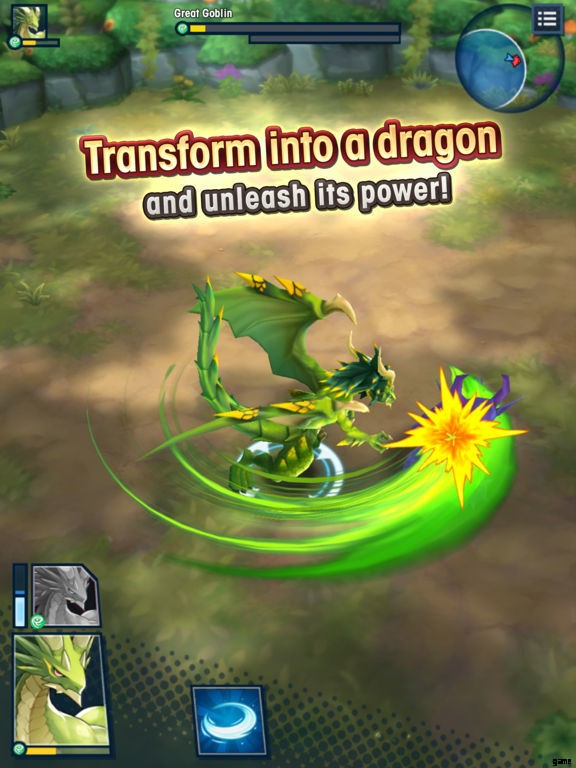
ドラゴンに変身
初めてドラゴンに変身する瞬間がそこにある。画面の左下隅にドラゴンのイメージのボタンが表示され、そのボタンをクリックすると、シェイプシフトの準備が整います。このゲームはあなたをドラゴンに変身させ、邪悪なドラゴンと戦わせます。ドラゴンを倒した後、仮面の少女との話し合いが再開され、今度は王子が彼らに攻撃を放ち、2つに引き裂かれた彼女の仮面は1つが落ちたが、1つはそこに残った.
主人公は別のゼシアであることを示すことで仮面の少女の正体を明かすはずだが、実はそうではなかった。兄と妹の話し合いが始まり、王子は言いました。ついにパックストーンを達成しました。異世界の敵と戦っただけのあなたに贈った、まだではないという竜の声。あなたが受け取る契約は一時的なものであり、いつでも消える可能性があります。ドラゴンは彼らに、パックストーンに関する彼らの真剣さを証明するために、敵でいっぱいの世界を訪れるように命じました.そのため、ドラゴンを見つけるには、ミシュホルトを訪れる必要があります .
その横に名前を入力すると、追加した名前でドラゴンがあなたを呼んでくれます。チュートリアル レベルが終了し、強力な敵、興奮、対決する課題に満ちた本当の旅の準備が整います。毎日のボーナスを請求して、自由に使える個々のアイテムを追加することを忘れないでください。強力な敵が旅を完了することであなたをかわすために旅に沿って立ち向かうので、魅力的なキャラクターとチームを組むことはあなたにとって有益ですが、あなたはそれを完了してドラゴンと協定を結ぶ必要があります.
ゲームは 6 つのプレイ可能なチャプターにまたがる
ゲームプレイ全体を通して、6 つの異なるチャプターを完了する必要があり、各チャプターには、探索する場所、戦う敵、請求する報酬が異なります。ダイアログは必要に応じて画面を覆い、ゲームにはミニマップがあり、どこに行く必要があるか、接続するかどうかを知らせます.利用可能な 6 つのチャプターは次のとおりです。
- 旅の始まり – (第 1 章 )
- Waterwymrm のゆりかご – (第 2 章 )
- 炎竜のアドビ – (第 3 章 )
- ライトワームのねぐら – (第4章 )
- バウンド – (第 5 章 )
- ハリドムの危機 – (第6章 )
これは、最初の画面から最後の画面まで、ドラガリアロストのすべてのステップを案内する完全なウォークスルーです.この記事では、ボスに挑戦するための貴重なヒントと、各エリアで使用する必要がある武器とアイテムについて、個々の章のページを見つけます。
ウォークスルー セクション
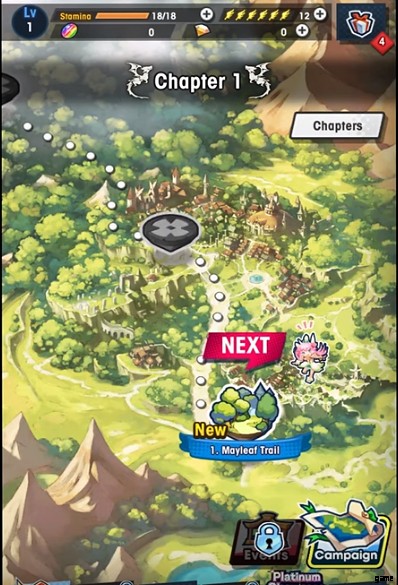
ゲームには 6 つの異なるチャプターがあり、各チャプターでは特定のタスクを完了する必要があります。各チャプターは、強力な敵でいっぱいの別のマップに設定されています。ゲームをプレイしていると、さまざまなキャラクターに遭遇します。そのうちの何人かはチームに参加して、敵を倒してポイントを獲得し、ドラゴンの契約を主張するのに役立ちます。最初の章では、エキサイティングな冒険が待っているマップをタップして選択できます。画面をタップすると、ストーリー セグメントが表示され、挑戦的なクエストに挑戦できます。次の画面では、画面の下部に ホーム などのアイコンが表示されます。 、アップグレード 、チーム 、城 、召喚 、 もっと。
旅の始まり – 第1章
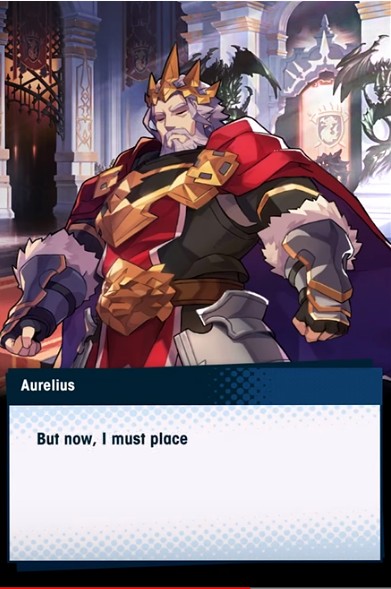
最初の章は、数日前のアルベリア王国に戻る物語から始まります。アウレリウスという名の王は、ゼシアという名の娘と話し合い、シャードの力が日に日に薄れつつあることを彼女に知らせています。シャードは、敵が王国に押し寄せるのを防ぐ責任があります。
最初の章は、チュートリアルの内容で構成されています。最初は、上で説明したように、Zethia が同行します。Zethia は、あなたを癒すことでいくつかの力を提供し、挑戦的なミッションを完了するのに役立ちます.最初の章には 4 つの異なるマップが含まれており、それらの名前は次のとおりです。
メイリーフトレイル (ボーナス要素 – 火 )
これは、最初の章に存在する最初のマップであり、1 つのプロローグと 3 つのクエストを完了する必要があります。プロローグはストーリーを進め、マイトとボスの戦いを必要としませんでした.最初のクエストと同様に、2番目のクエストでボスと戦う必要はありませんが、無力でストーリーを進めようとします. The type of the second stage is Battle and requires 500 Might and will pit you against Great Goblin. The third stage will advance the story like the first two stages and reward you no might, but gold coins.
Revetelle (Bonus Element – Fire )
The second map contains three stages; the first one continues the story with no boss fight, the second one will put you into a battle, and in the end, you will face off a boss named Ranzel, and to defeat him, you require 1000 Might .
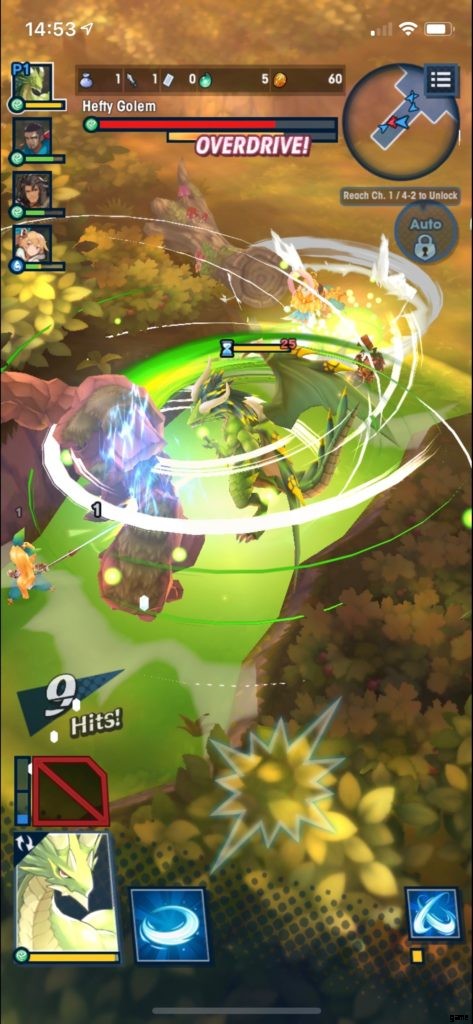
Windwyrm’s Den (Bonus Element – Fire )
Four challenging stages are there, and the first one contains a fierce battle and pits you against a boss (Hefty Golem). Try to collect up to 1400 Might before facing the boss. The second part continues the story; third will put you in a battle where you face off a boss, named Midgardsormr. To defeat the boss, you required up to 1700 Might. The fourth stage will continue the story, and you won’t be faced with any boss over there.
Considered as one of some powerful bosses, Midgarsormr is quite simple and will make significant, visible gestures before revealing his deadly melee attack. You should know that his special attacks are dangerous. Most attacks will hit the area surrounding you, and you aren’t supposed to strike from a specific side. The only thing you should do is that just keep an eye on his movements, whenever you see him swinging his body, instantly activate a skill to dodge the sweeping attacks. During a fight, he will create a tornado in the arena to damage you.
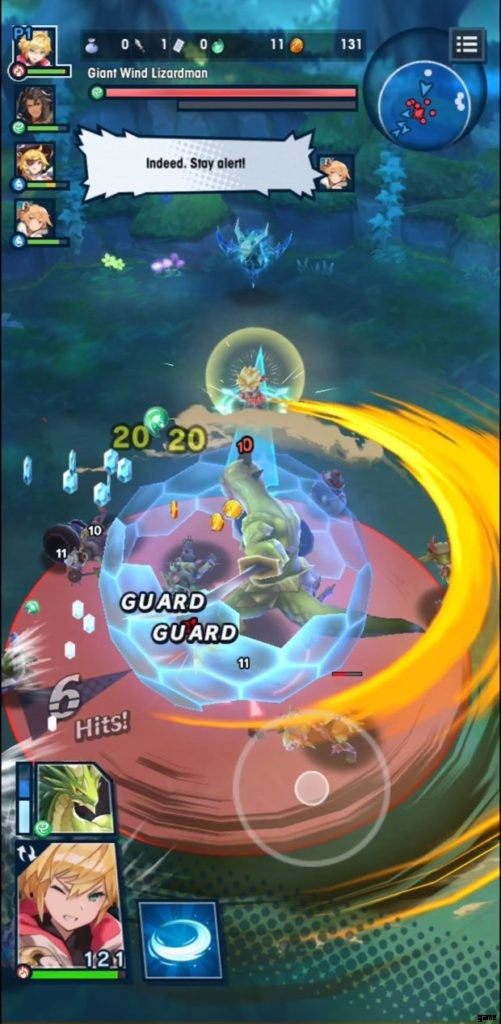
The Mistholt (Bonus Element – Fire )
It is considered as the most extensive map of the first chapter as there are six playable stages and four of them you will face off challenging bosses, and their names are the following:
- Giant Wind Lizardman (Stage 1 )
- Hefty Arrow Raptor (Stage 2 )
- Jumbo Slime (Stage 4 )
- Giant Wind Lizardman (Stage 5 )
To defeat the first boss, you require up to 1750 Might, the second boss will be defeated once you have over 1800 Might, 1850 for the third boss, and up to 1900 for the final boss in the first chapter.

The Waterwyrm’s Cradle – Chapter 2
It is the second chapter of this game, and serves as the first one that you play without Zethia; it means she won’t be longer there to support your party with free healing. Therefore, you need to be more active and pay your attention to elemental advantages and enemy attacks. You have to know that the primary element of this area is water that proves the wind unit will be more profitable to you than other items. Here’s the list of challenging levels found in Chapter 2:
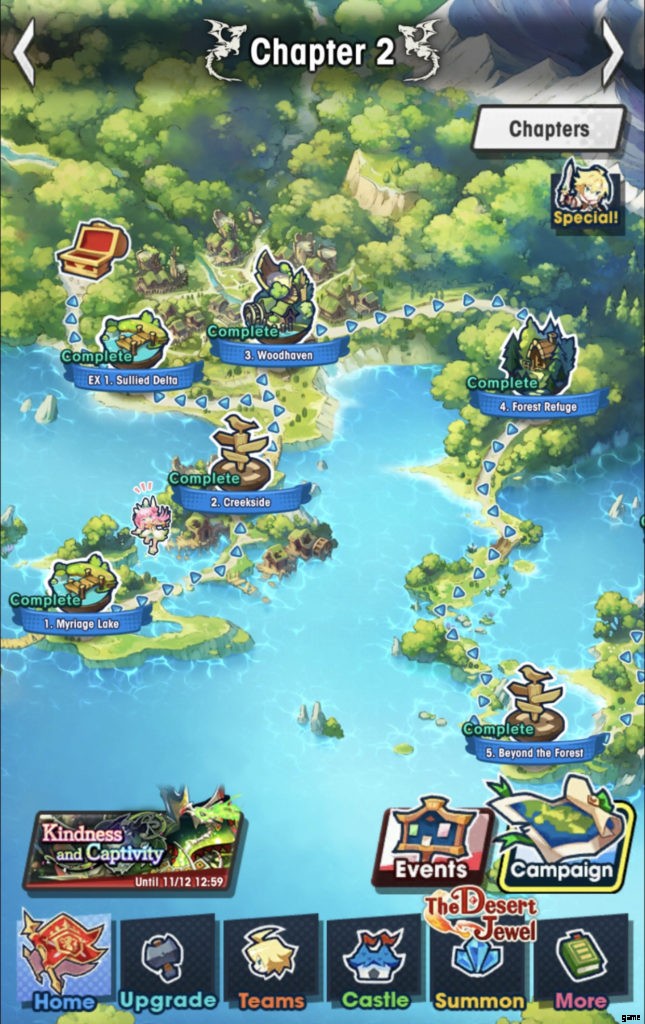
The second chapter consists of six playable stages, and their names are the following:
- Myriage Lake (Bonus Element – Wind )
- Creekside (Bonus Element – Wind )
- Woodhaven (Bonus Element – Wind )
- Forest Refuge (Bonus Element – Wind )
- Beyond the Forest (Bonus Element – Wind )
- Lakeside Ravages (Bonus Element – Wind )
Myriage Lake (Bonus Element – Wind )
In the first map, you will have to complete three stages, and the last two stages will pit you against powerful bosses as their names are Hefty Sapphire Hound and Giant Lizardman . The completion of levels will reward you with Mana and Gems that you can use for various purposes like mana will help you in performing magic, while gems you can use to unlock additional weapons and items for your team to make them unbeatable.
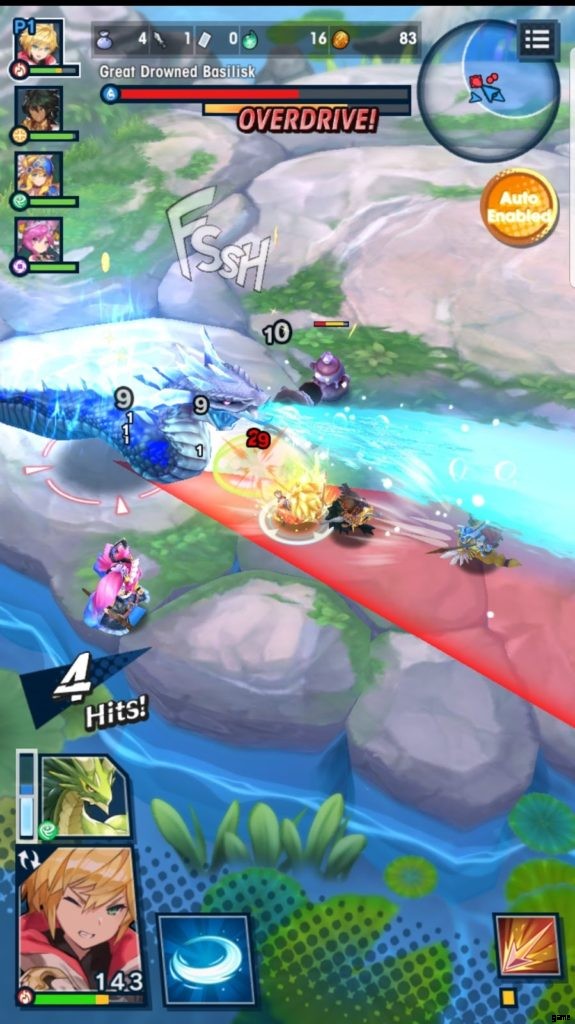
Creekside (Bonus Element – Wind )
The second map contains two stages, and the first one will continue the story, while the second one will put you in a challenging battle with 5 Stamina and required up to 1900 Might defeat the boss, named Great Drowned Basilisk.
Woodhaven (Bonus Element – Wind )
Three stages are available, and the last two contain boss fight with Giant Lizardman and Hefty Sapphire Hound. The previous two stages suggested you have up to 2000 and 2100 Might if you want to take on bosses.
Forest Refuge (Bonus Element – Wind )
Similar to the third stage, there are two stages in the fourth level and only one boss battle that suggests 2200 Might to advance.
Beyond the Forest (Bonus Element – Wind )
The number of levels will increase a bit as the game puts you against a boss on the first stage, and the remaining two stages won’t let you face anyone’s boos and keep continuing the story.
Lakeside Ravages (Bonus Element – Wind )
The last map of the second chapter contains only two stages to explore, and one of them will put you against Mercury (Boss) and suggest you have over 2800 Might.
How to defeat Mercury?
Mercury is considered as quite a straightforward boss who possesses a few deadly and annoying attacks. The basic attacks of Mercury are to swing his tail surrounding and dash forward to attack you from as many sides as possible. Though this will keep you fully secured from his special attack that he can fire ahead of himself. The more suspicious attacks are Aqua Spiral, Whirpool, and a massive AoE that maybe lingers for a few moments after releasing. Special attacks will remain for a specific time, and you can easily dodge them until you activate a skill, or show off quick reflexes.
The Flamewyrm’s Abode – Chapter 3
The third chapter will get unlocked once you complete the first two chapters. The primary element of the third chapter is Fire, and it is good to have water units like Elisanne . Before going ahead, you should know that the area is full of deadly traps that deal with fire damage and burning. Here’s is a list of tricky levels found in Chapter 3, but first, discover their names that are the following:
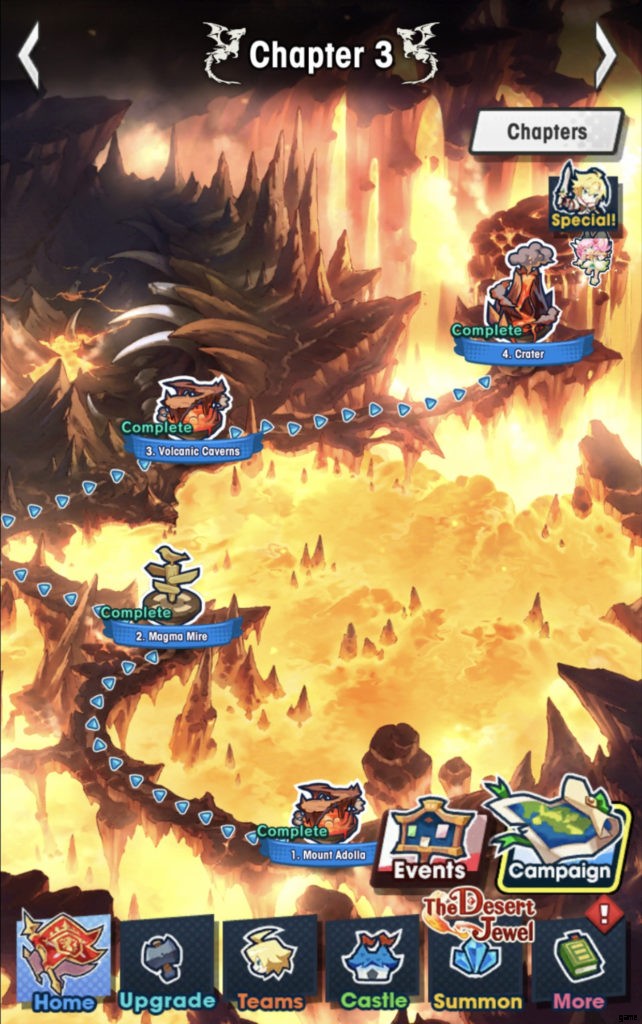
Mount Adolla (Bonus Element – Water )
There are three stages in the first map, and the last two levels will let you battle against two bosses, such as Jumbo Crimson Rat and Hefty Black Hound .
Magma Mire (Bonus Element – Water )
The second map contains three playable stages, and similar to the first map, it provides two boss levels where you will battle against Hefty Igneous Golem and Hefty Black Hound, and each stage requires 2550 and 2600 Might.
Volcanic Caverns (Bonus Element – Water )
Deadly traps await you in six different stages, and you will fight three massive bosses after every stage, and the names of the bosses are the following:
- Hefty Igneous Golem (2650 Might )
- Flare Gobmancer (2570 Might )
- 3 Waves of Enemies (2800 Might )
Crater (Bonus Element – Water )
Four stages will put your fighting skills to test, and the first three will let you face off challenging bosses, and each one requires more than 2900 Might to be defeated. In the third stage, you will face off the most influential boss named Brunhilda .
About Brunhilda and how to defeat him?
You should know that Brunhilda can execute many of similar attacks to previous dragon bosses, but speedily. You are advised to attack from the side because of her claws and quick dash abilities that help her in lashing out at random, so try to dodge away whenever you find them approaching you.
During the fight, she is capable of breathing a cone of fire onto the particular area ahead of himself or can easily split a fireball into the air that becomes a cause of fireball via air onto the arena. You would be happy to know that both attacks are quite slow; therefore, you could easily avoid them.
You know that the most special attack is known as X-Muspelheim that she can use to fly into the air over the battlefield and can spray a massive fiery “X” on the land that will linger for a specific time and do damage a lot when you step in it. Fortunately, the corners of the arena are not fully covered so that you can take yourself over there. You are advised to maintain your dragon form until she releases the special attacks.
The final special attack you see her performing is Crimson Inferno, a massive tackle that will hit an AoE in front of herself.
The Lightwyrm’s Roost (Chapter 4)
The fourth chapter in Dragalia Lost video game, and it comes with light as its primary element. Having shadow units are quite useful for you in this chapter, like Cleo . The map contains challenging traps that will cause paralyze; therefore, you should have to tread carefully. We’ve compiled a list of levels chapter 4 contains:
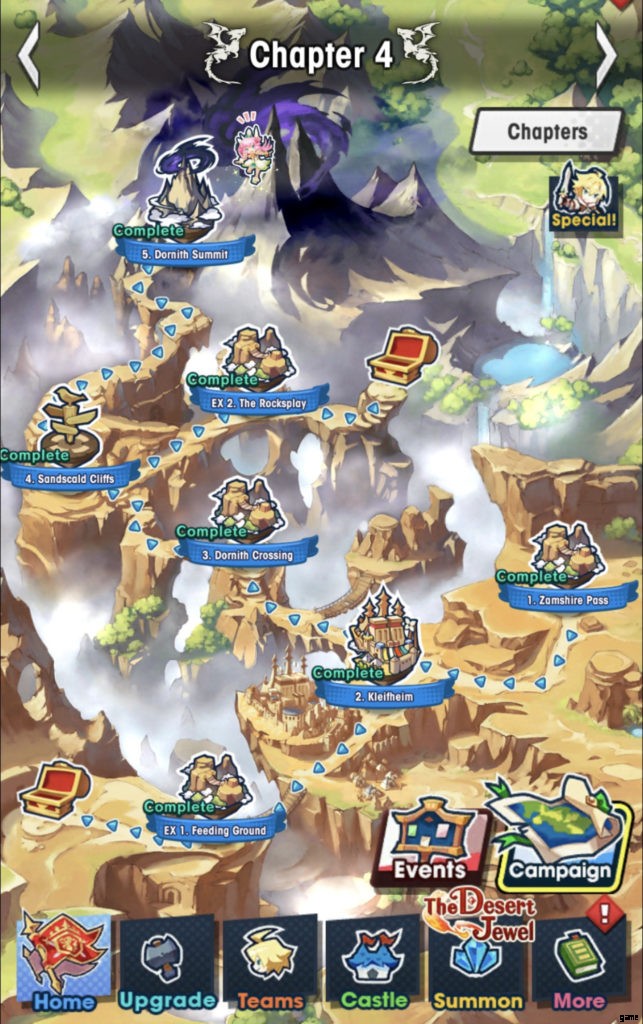
- Zamshire Pass (Bonus Element – Shadow )
- Kleifheim (Bonus Element – Shadow )
- Dornith Crossing (Bonus Element – Shadow )
- Sandscald Cliffs (Bonus Element – Shadow )
- Dornish Summit (Bonus Element – Shadow )
Zamshire Pass (Bonus Element – Shadow )
Every map contains a specific number of stages, and each stage either continues the story or puts you against a powerful boss. In this map, you have to complete four challenging levels, and each level will let you select, summon, and attack your favorite heroes against enemies for points, gems, and mana. During the game, you can transform into a dragon to clean up waves of monsters, goblins, and other creatures to advance the story. In this map, you will confront up to three bosses, and their names are the following:
- Hefty Spark Hound – 3000 Might
- Bright Greateye – 3050 Might
- Hefty Spark Hound – 3100 Might
Kleifheim (Bonus Element – Shadow )
Up to four levels are there:the first one will continue the story, the second level lets you partake in battle with 3200 Might and defeat Great Bearded Bison to move to the next one.
Dornith Crossing (Bonus Element – Shadow )
Five Challenging levels are there, and each required completion of particular tasks to get advanced through the gameplay. The first level will continue the story, and there is no battle, second will let you confront a boss with 3400 Might defeat Jumbo Shock Rat, third will continue the story. In contrast, the remaining two stages will allow you to participate in battles and the names of bosses like Giant Tawny Lizardman and Jumbo Shock Rat.
Sandscald Cliffs (Bonus Element – Shadow )
The fourth map lets you complete three challenging stages, and in the first two stages, you will encounter two challenging bosses after defeating waves of enemies, such as the Great Bearded Bison and Hefty Spark Hound.
Dornish Summit (Bonus Element – Shadow )
Giant Tawny Lizardman and Jupiter await you in first and second challenging levels in Chapter 4. You require up to 4400 Might, and 4200 Might defeat the bosses. In the third and fourth stages, you won’t fight against anyone as the game prefers to continue the story to approach the end.
Who is Jupiter, and how to defeat him?
Jupiter is considered as one of the best dragons, and his movement is somehow similar to the previous dragons mentioned in this article. The basic attacks include a forward dash and a striking peck. By attacking from sides and back, you will remain safe, relatively attacking from the front. The more powerful dash attack of the dragon will hit the battlefield as he tries to take off. The special attacks are the following:
- Lightning Rod
- Primal Thunder
Both offenses have long AoE lightning strikes. You should know that the lightning rod will hit around him, whereas the Primal Thunder will spread on specific small circles all over the map. Whenever a dragon releases a Primal Thunder, the best thing to keep yourself safe is to dodge the Purple AoE indicators until the effects of the attack are entirely gone.
Bound – Chapter 5
Similar to the 4th Chapter, the primary element is Shadow, and the useful units are Light like Luca. Lots of spike traps are there that deal with damage and foes that inflict poison. After approaching chapter 5, you should need to be careful as there are dozens of hazards around you. The chapter contains four playable maps, and each one has different stages of completing.
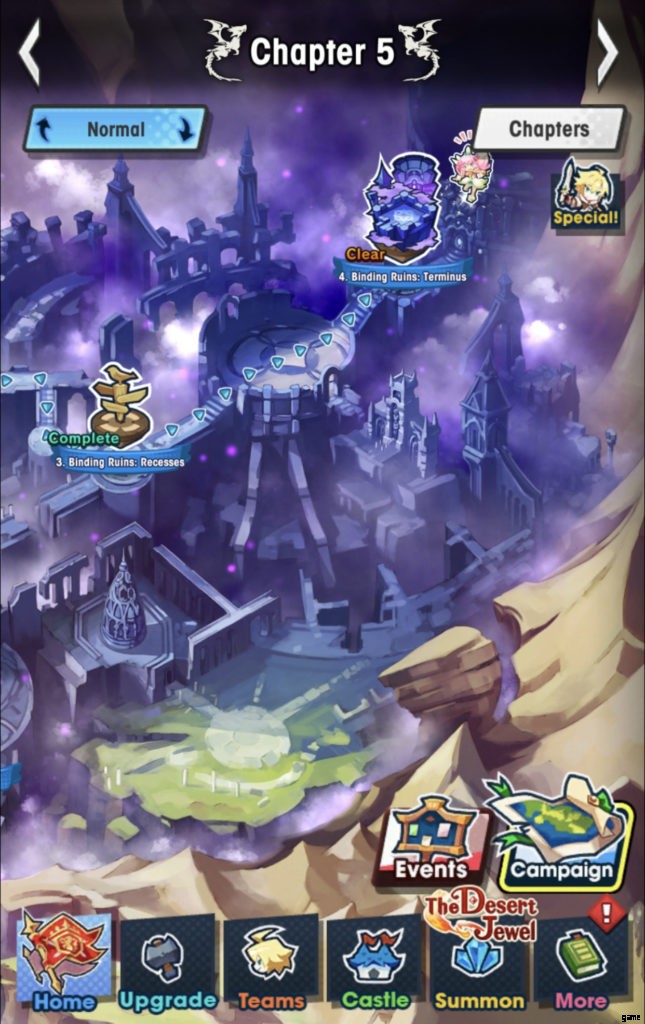
Binding Ruins (Bonus Element – Light )
The first map comes with three playable stages, and the last two stages will pit you and powerful dragons against each other. Both stages required 4000 and 41000 Might defeat the bosses, whereas the first stage will continue the story.
Binding Ruins:Interior (Bonus Element – Light )
There are five playable stages, and each one will reward you with gems, mana, and power-ups that you can use to improve your character statistics. The second and fourth stages will let you confront Hefty Nightmare Golem and Giant Ghoul and defeat them to lead yourself to victory.
Binding Ruins- Recesses (Bonus Element – Light )
In the third map, three powerful dragons await you, and their names are the following:Jumbo Vile Rat , Hefty Nightmare Golem , and Dark Gobmancer . The game advised you to increase the number of Might to 4600 to defeat all of the mentioned bosses.
Binding Ruins:Terminus (Bonus Element – Light )
The 4th map contains four challenging maps, and as you know, light units are beneficial for you to use in these maps to boost your powers. The first level will continue the story, and the second level will pit you against waves of enemies and at night against a dragon. Similarly, in previous levels, you will be confronted with a dragon, and the story will remain to continue at level 4.
How to take on Zodiark?
As the game advances, the bosses become more potent than your expectation; therefore, in chapter 5, you will confront a boss named Zodiark, who is undoubtedly challenging and deadly thanks to its Chaos Cage. The dragon will attack by dashing across the arena and keep its tail swinging as it requires you to wait for the attack from the sides and avoid it timely. Instantly take shelter behind it whenever you find it preparing a massive significant cone-shaped breath attack, but start attaching from sides to take on it.
The Halidom’s Crisis – Chapter 6
The last chapter in Dragalia Lost, where you find wind as its primary element. During navigation, you will discover a considerable number of light enemies populating the stages. In the end, you will also discover bosses with the light elements, so assure you to have both Shadow and Fire adventures in your team for elemental coverage to take on the chapter. Upon exploring the world, you come to know that the maps are full of traps and elemental enemies; therefore, you should stay away from enemies and the surrounding environment. There are four maps available, and their names are the following:
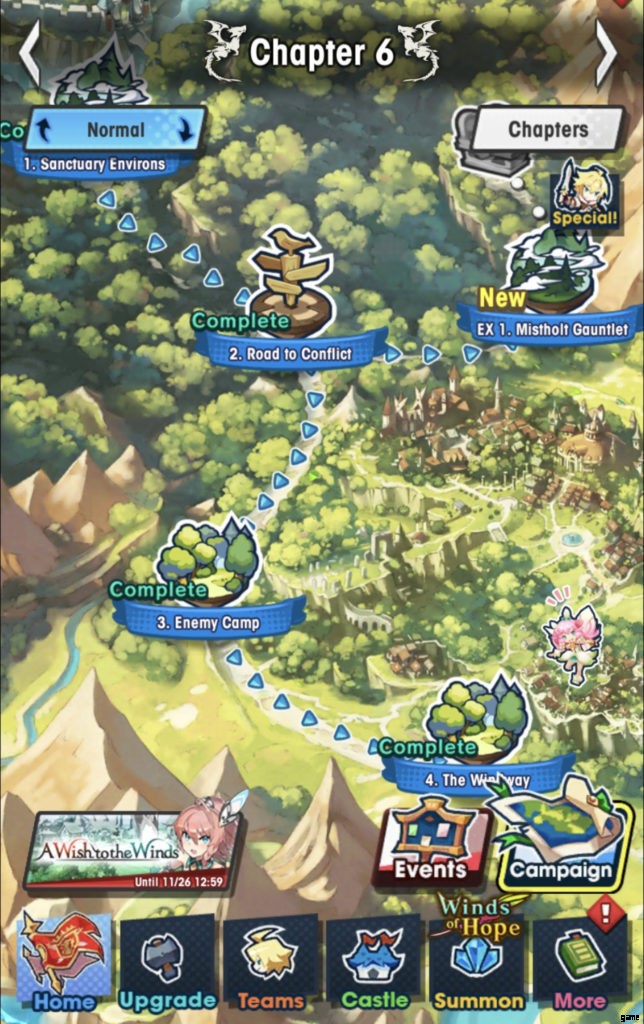
- Sanctuary Environs (Bonus Element – Shadow )
- Road to Conflict (Bonus Element – Shadow )
- Enemy Camp (Bonus Element – Shadow )
- The Windway (Bonus Element – Shadow )
Sanctuary Environs (Bonus Element – Shadow )
Sanctuary Environs come with six stages to navigate, and each one offers different waves of enemies and challenging bosses to defeat. Throughout the map, you will confront Jumbo Green Shroom , Great Basilisk , Great Nimble Bison , and Giant Wind Lizardman . In the final chapter, you required more Might as compared to other chapters.
Road to Conflict (Bonus Element – Shadow )
Similar to the first map, it contains playable levels, and four of them will introduce bosses like Great Basilisk , Jumbo Meadow Rat , Green Greateye , and Great Nimble Bison for battle against you.
Enemy Camp (Bonus Element – Shadow )
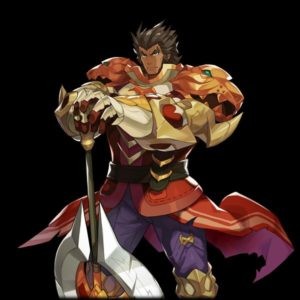
When you approach the third map, you will discover five stages, and two of them will continue the story, and the remaining will pit you against three dragons to end up the story. At level 4, you will confront a new dragon named Valyx, and it proves tough to defeat.
How to defeat Valyx?
It is a challenging boss that comes with powerful AoE attacks. The boss is accompanied by a small army of knights that will disturb you if you don’t defeat them. The game advised you to start navigating the map with a dragon transformation and start clearing the minions as fast as possible. Valyx has two dangerous moves, such as a giant Earthquake and an Axe Combo. Both attacks can be performed ahead of himself, and you can easily dodge them to stay alive.
The Windway (Bonus Element – Shadow )
The final map comprises four exciting stages, and the first three stages will put you ahead of giant dragons, such as Giant Forest Ghoul, Great Basilisk, and Valyx for points. Once again Valyx is back for the last fight, but with a few new moves. Throughout the fight, he is joined by some goons and forces you to activate your dragon form to wipe out all waves.