Halo Infinite – すべてのコレクション ガイド

Halo Infinite のサンドボックスで見逃すことのできるすべてのアイテムを見つけるのに役立つ、クリーンでシンプルなガイドです。
はじめに
このガイドでは、探しているもの、それらを見つけることができる場所、およびそれらを取得する順序について説明します。これは、それらを取得するチャンスが一度しかないことに気付いた場合に特に重要です.しかし、それについては後で詳しく説明します。
注意すべき事項の完全なリストは次のとおりです。
<オール>インデックスは厳格なルールに従います:
メイン リージョンには、その中にあるすべてのミッションとオープン ワールドのコレクションの合計が含まれます。
インデックス内のハイフンでつながれたミッションは、ミッション自体と、リージョン内に含まれる場合はオープン ワールド要素を表します (たとえば、リージョン 1 には何もありません)。
警告
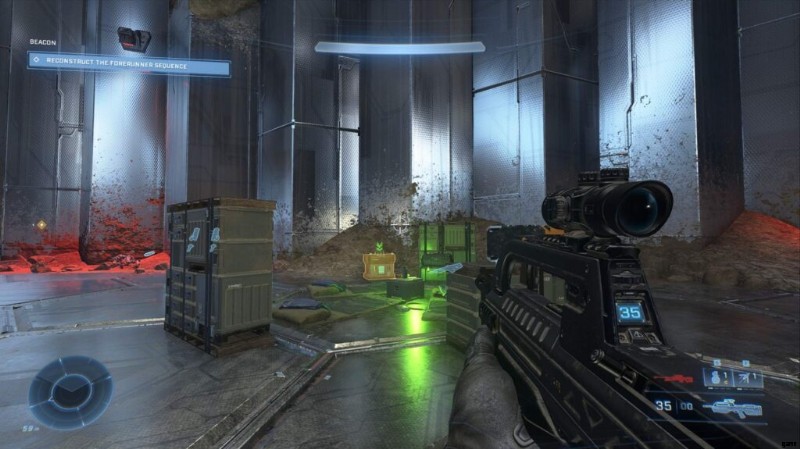
現時点では、キャンペーンの以前のエリアを再訪する方法はありません。そのため、出発する前にそれらをすべて取得していることを確認する必要があります.複数の保存を行うことができますが、進行状況はアカウントにバインドされます。そのため、まだ見つけていないものだけが表示されます。
ミッションで収集品を逃すと思われる場合は、ゲームをもう一度プレイするよりも、最初からやり直すことをお勧めします。 343 はこれを調査することを確認したので、後で何らかのミッション形式を期待してください。
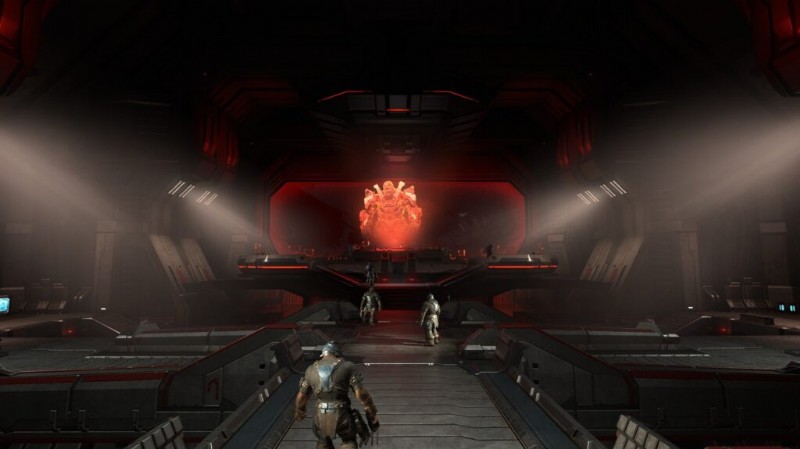
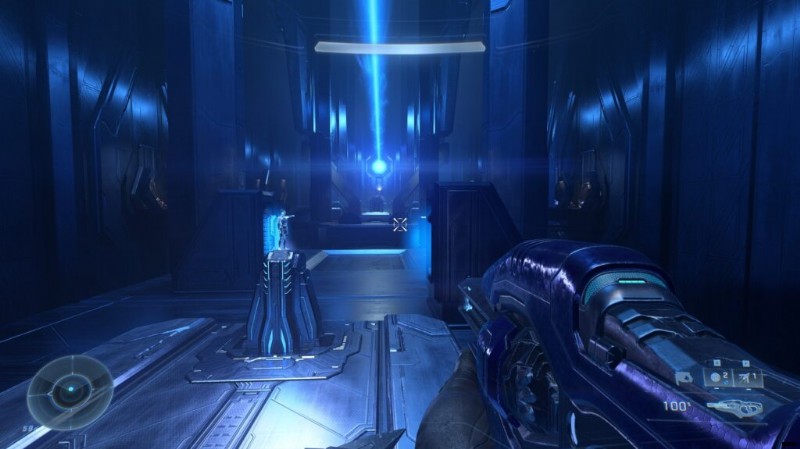
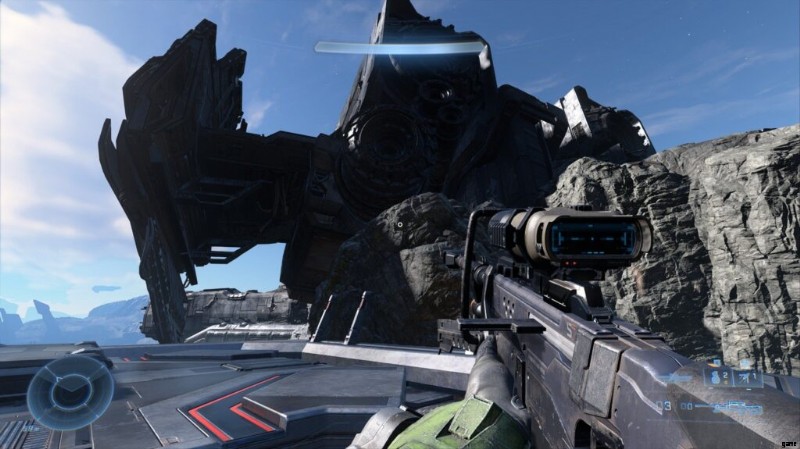
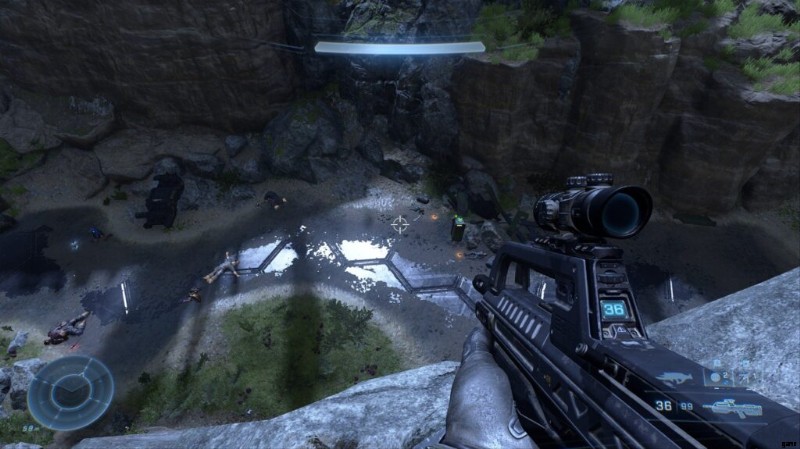
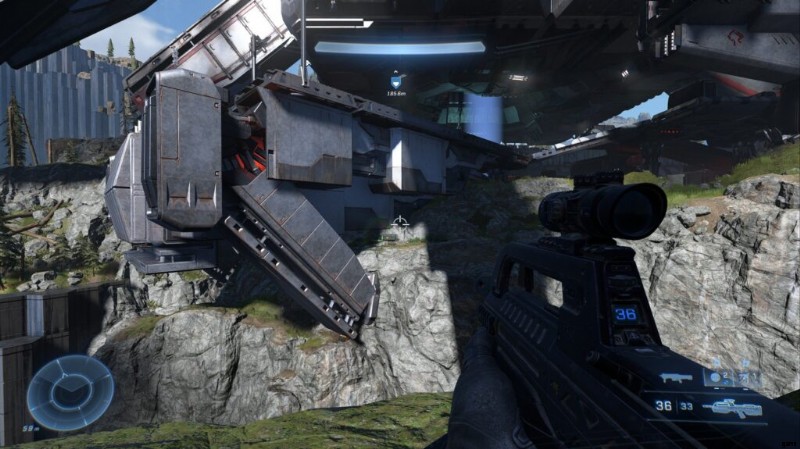
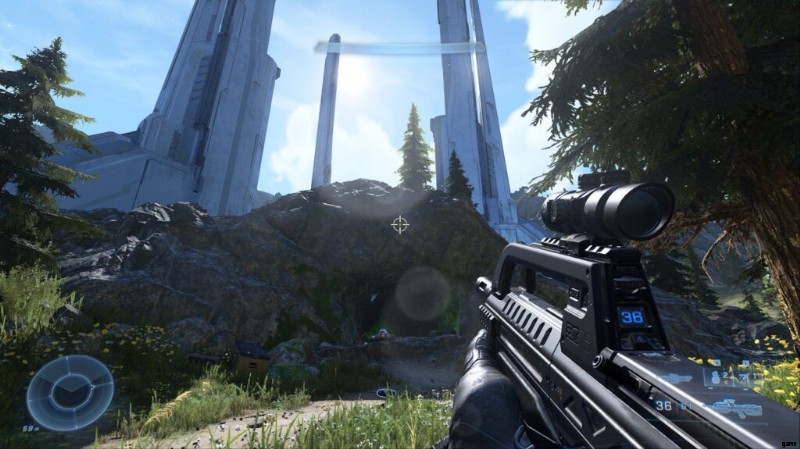
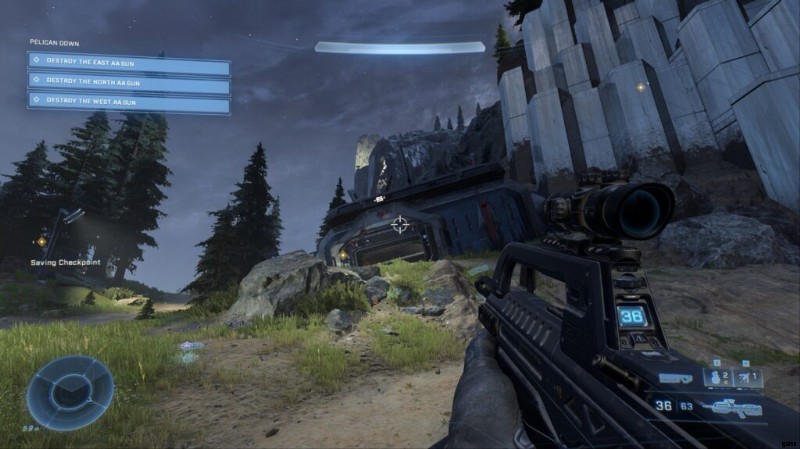
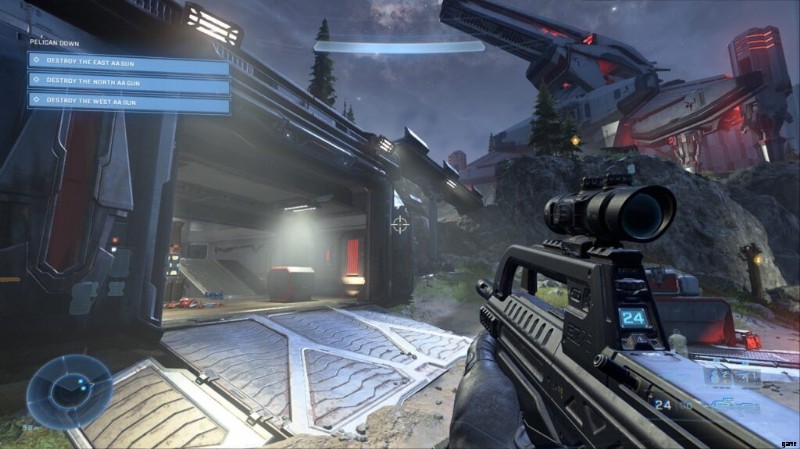
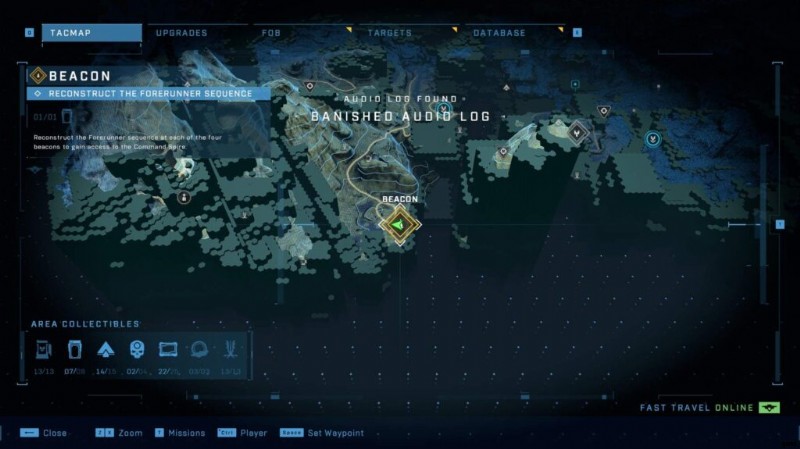
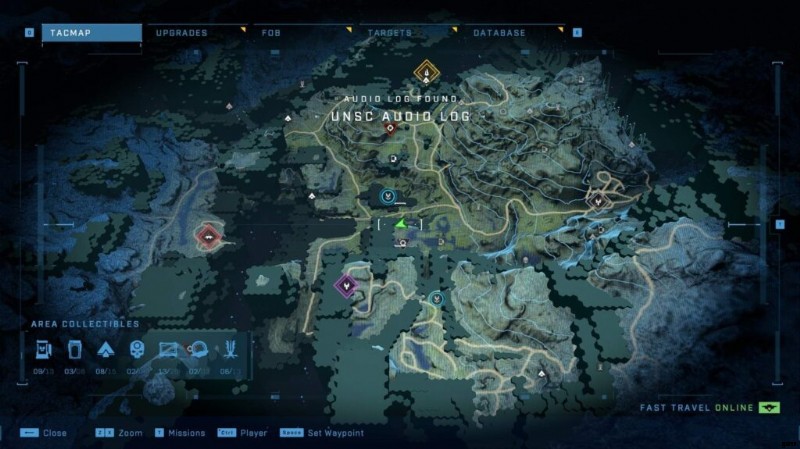
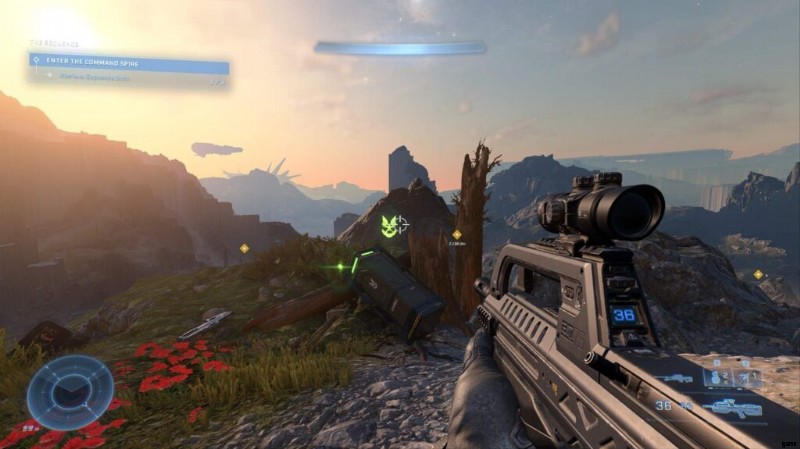
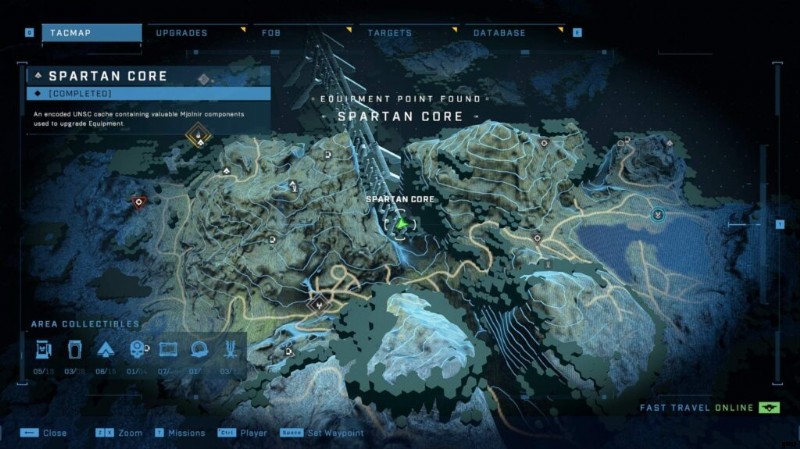
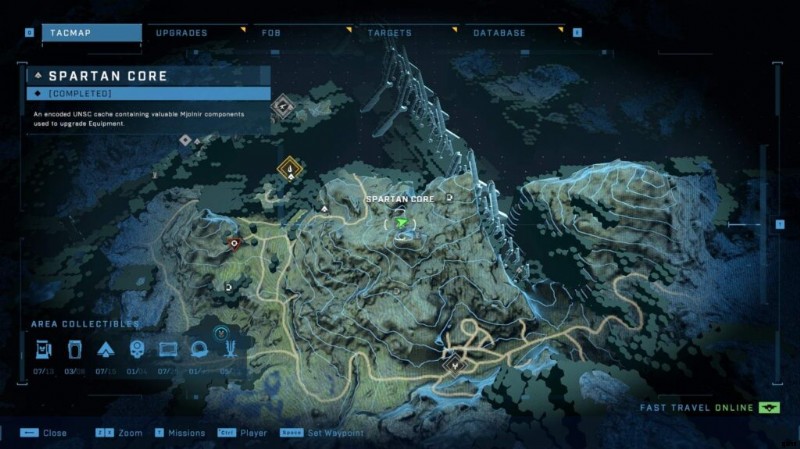
リングフォール
Infinite の最初のミッション セットです。
これは次の地域を対象としています:
- 軍艦グブラーコン
- 財団
- 前哨トレモニウス
次のアイテムが利用可能です:
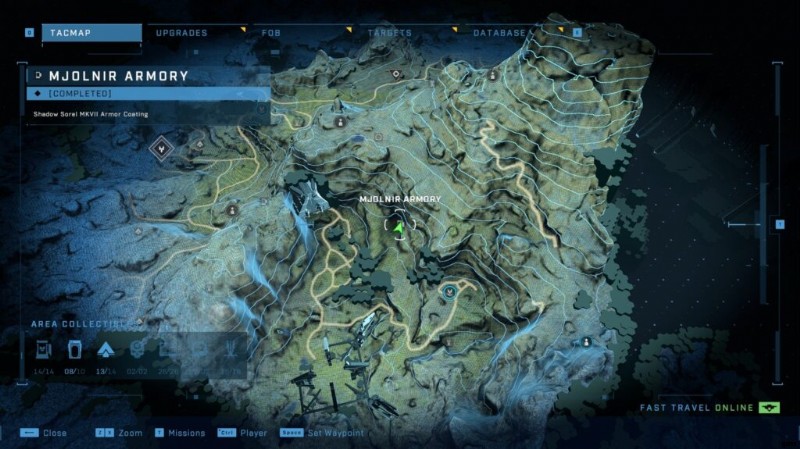
- 1x ミョルニル ロッカー
- スカル×2
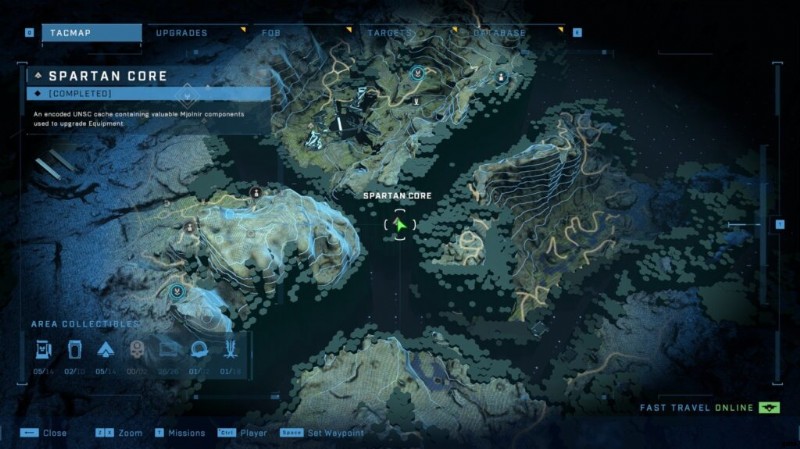
- 3x 追放された音声ログ
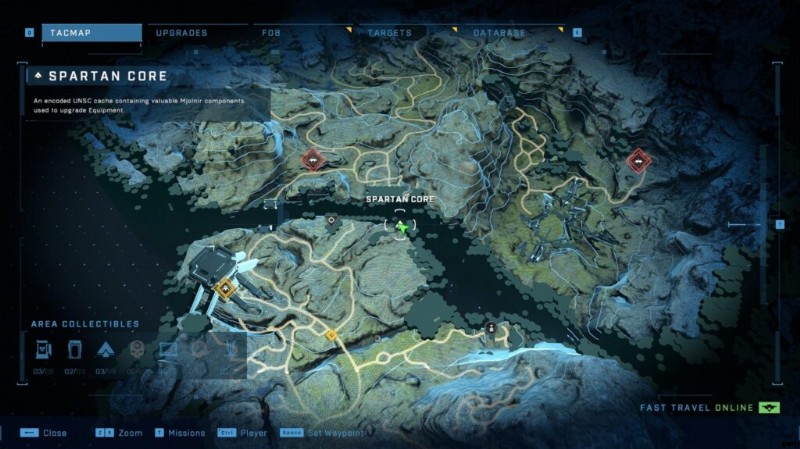
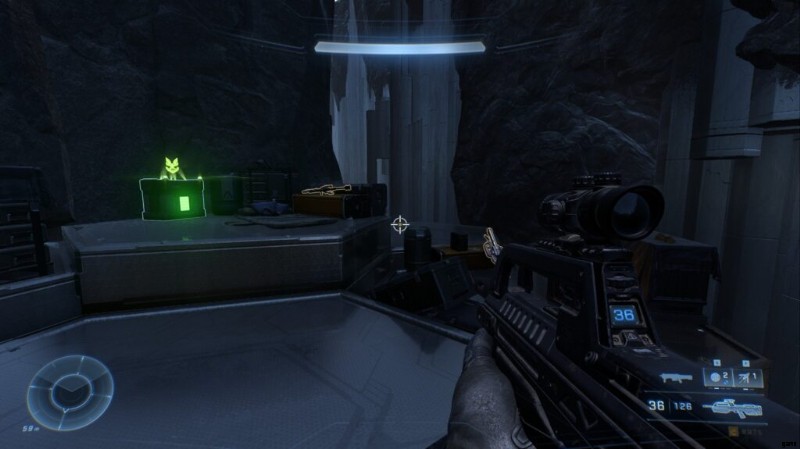
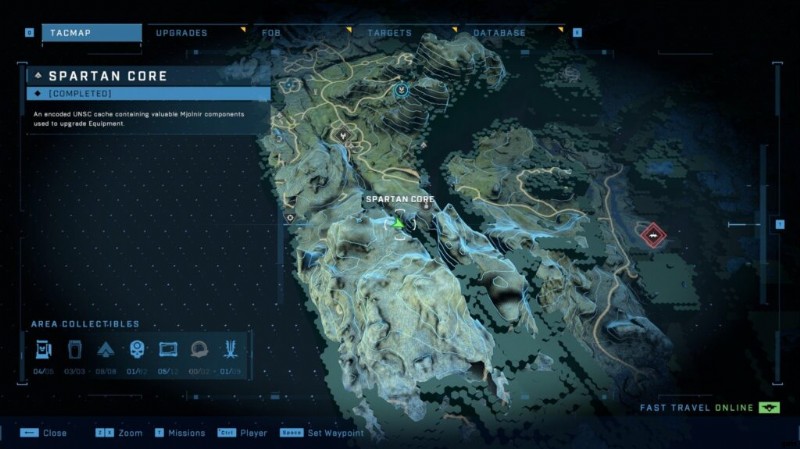
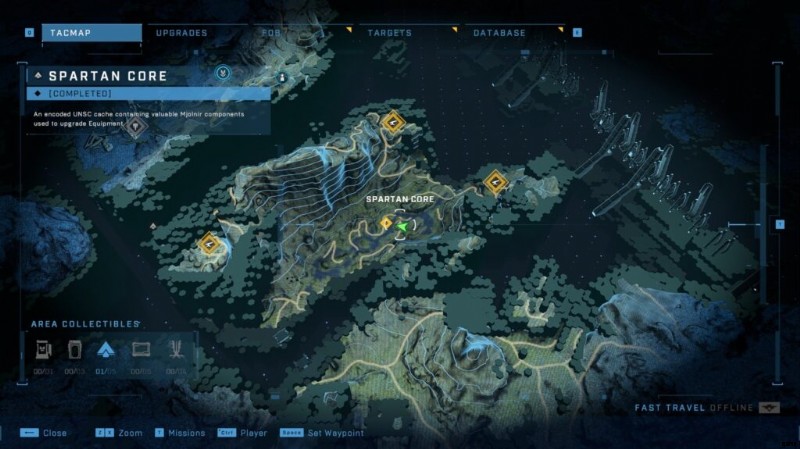
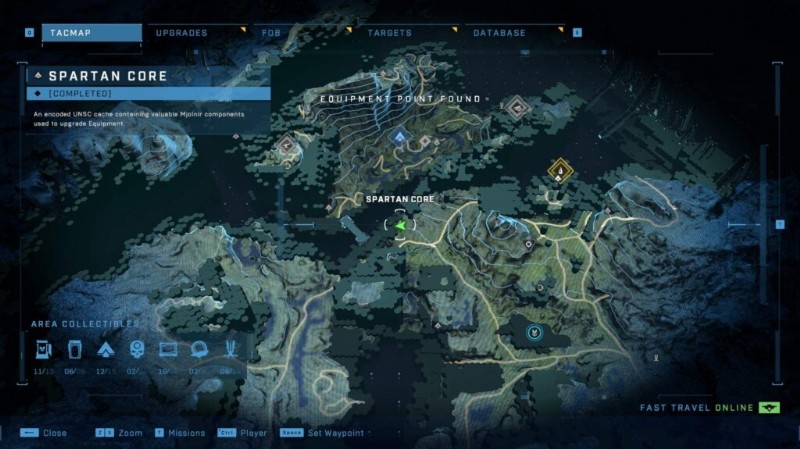
- 3x スパルタン コア
- 4x UNSC 音声ログ
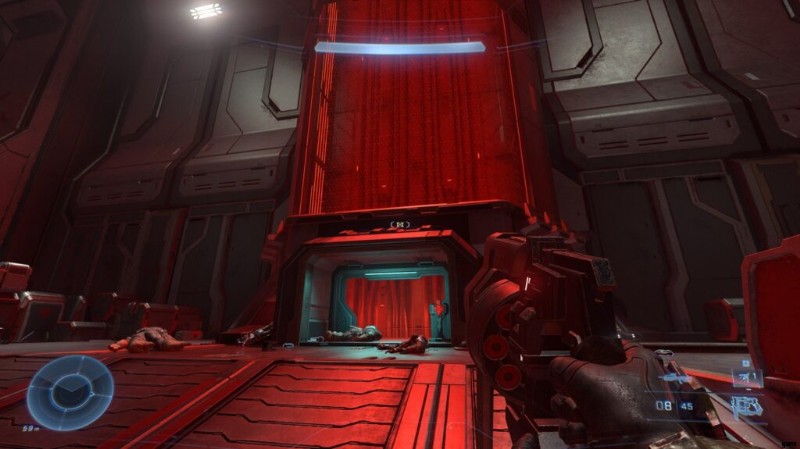
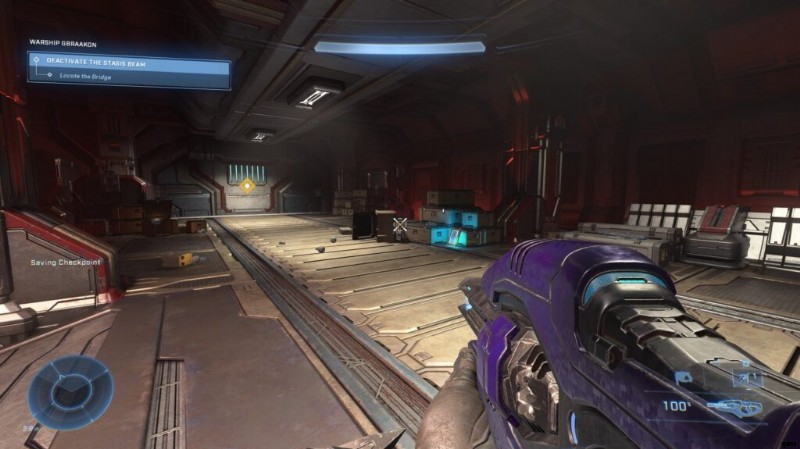
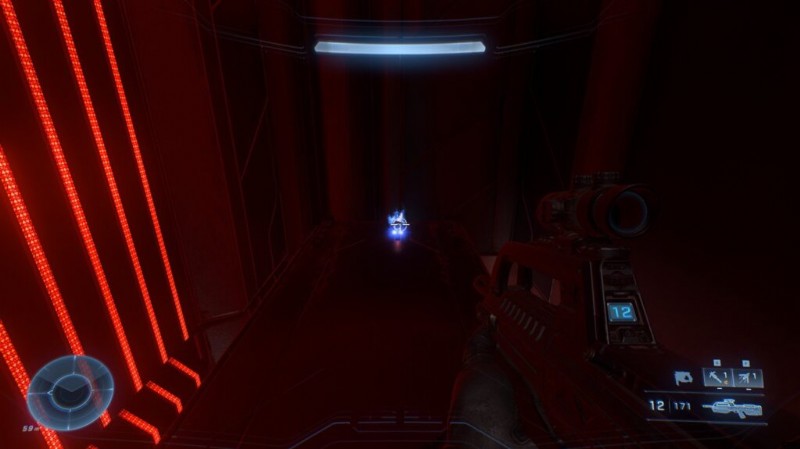
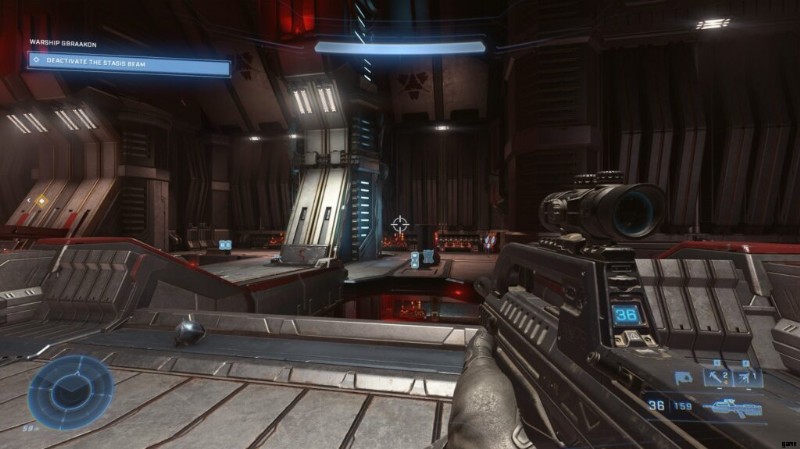
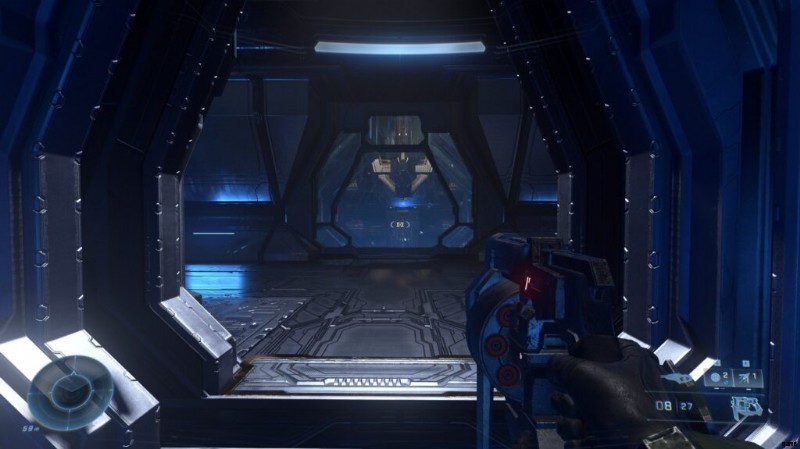
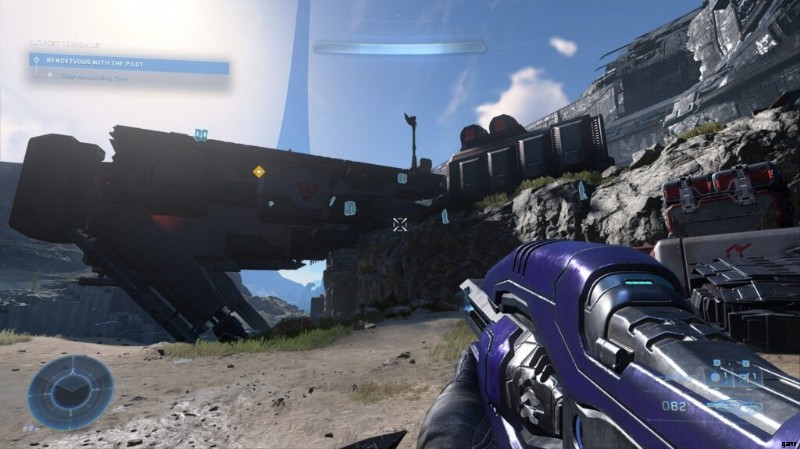
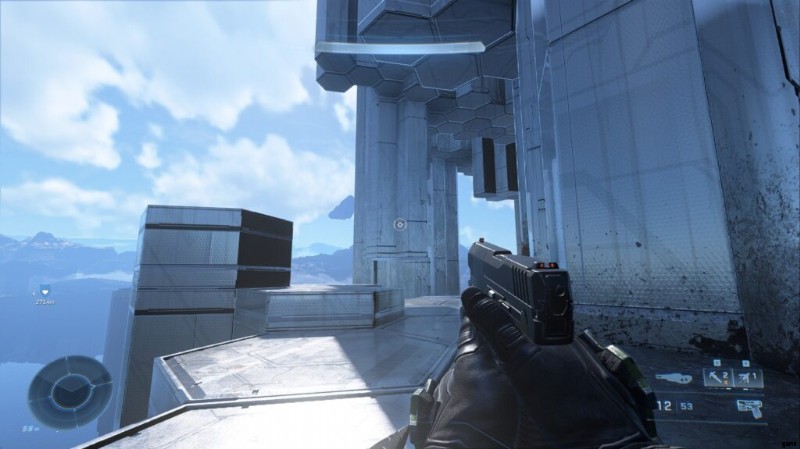
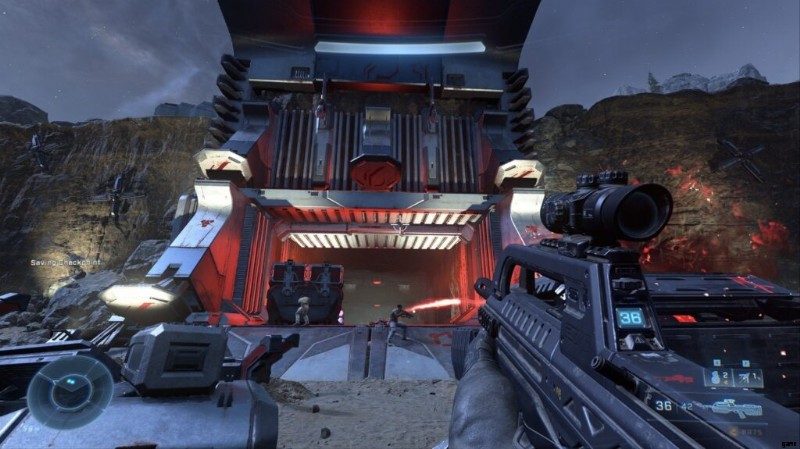
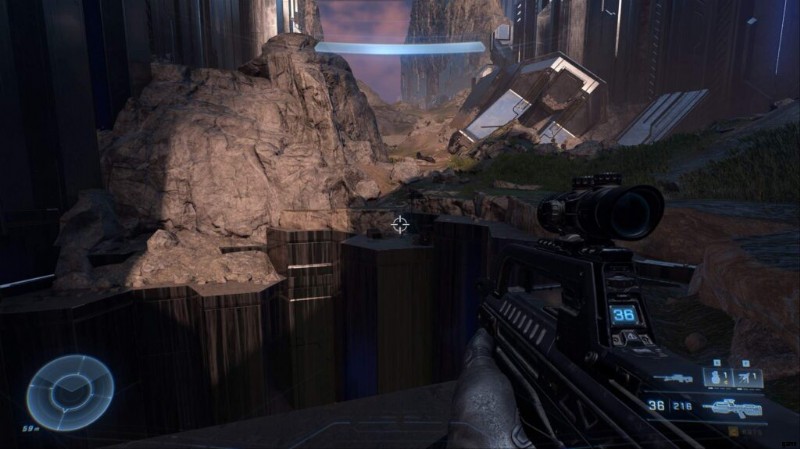
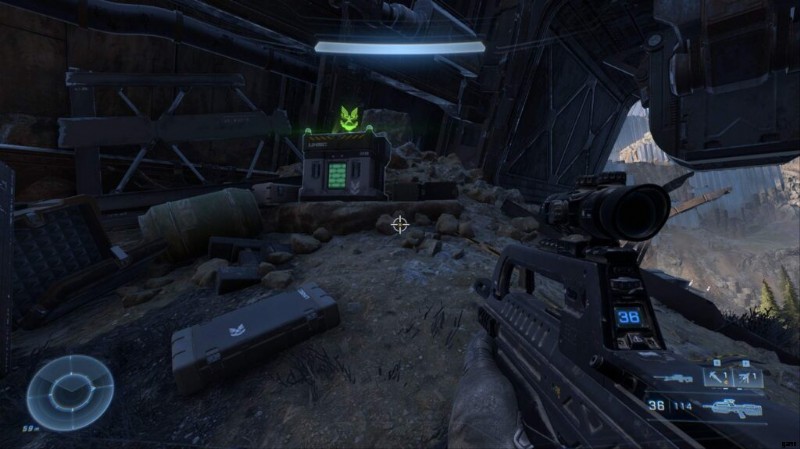
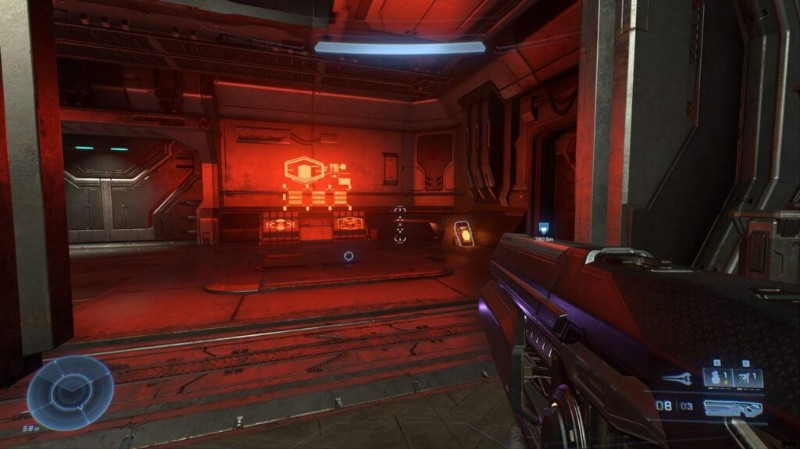
軍艦グブラーコン
UNSC 音声ログ #1 – 計画
レベルを進めていくと、この音声ログがデータベースに自動的に表示されます。
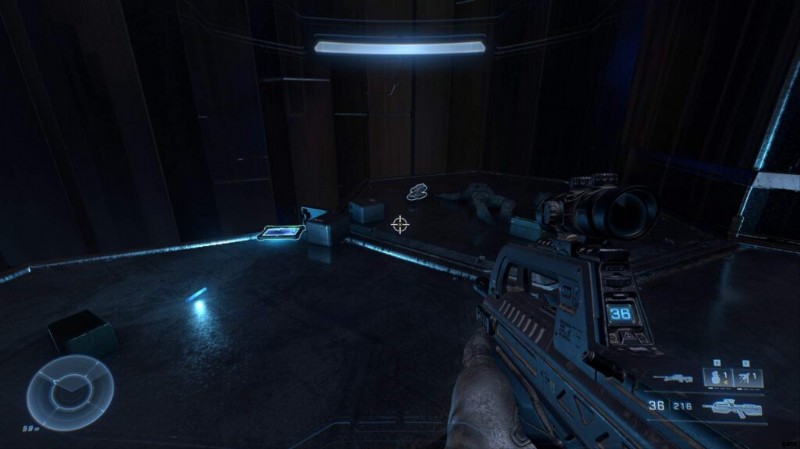
音声ログ #2 – インフィニティ ダウン
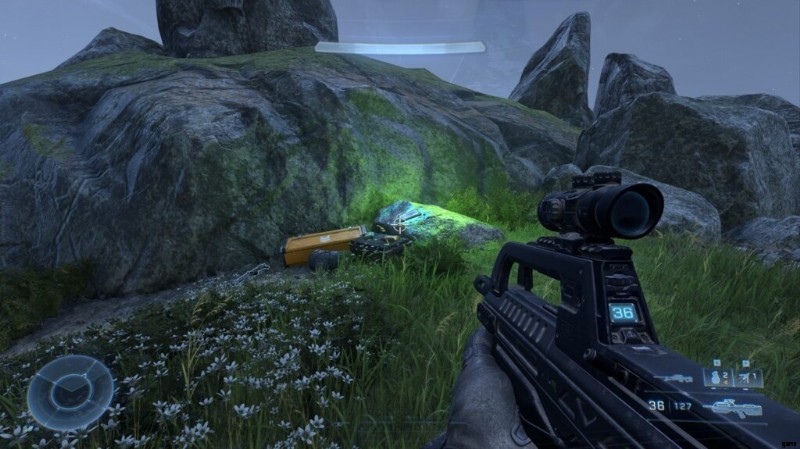
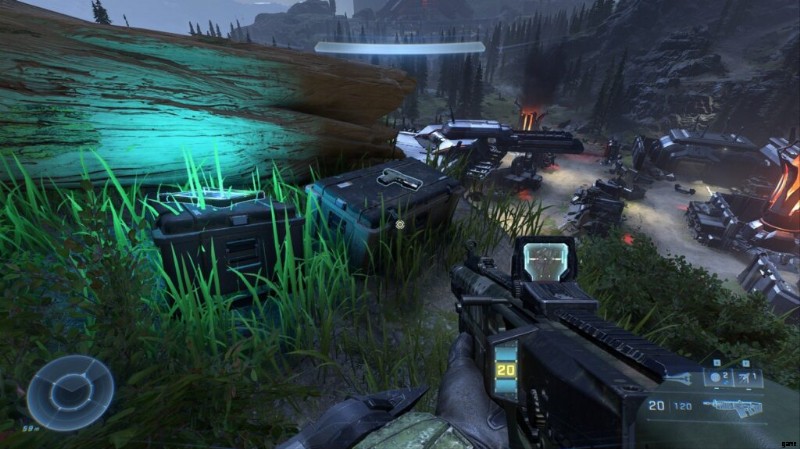
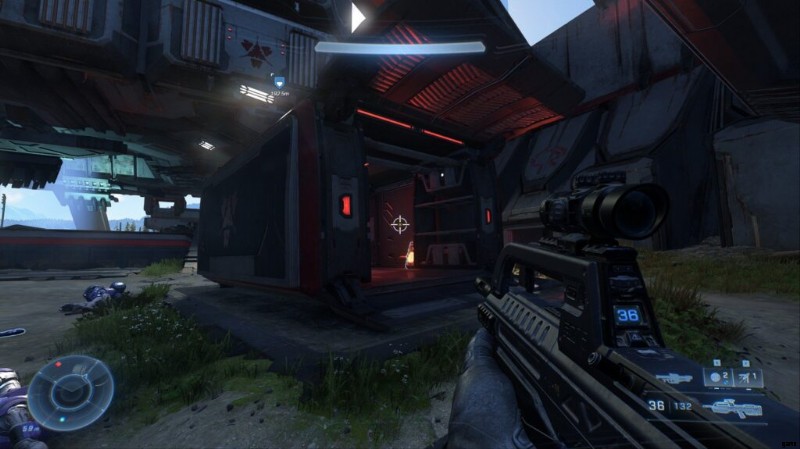
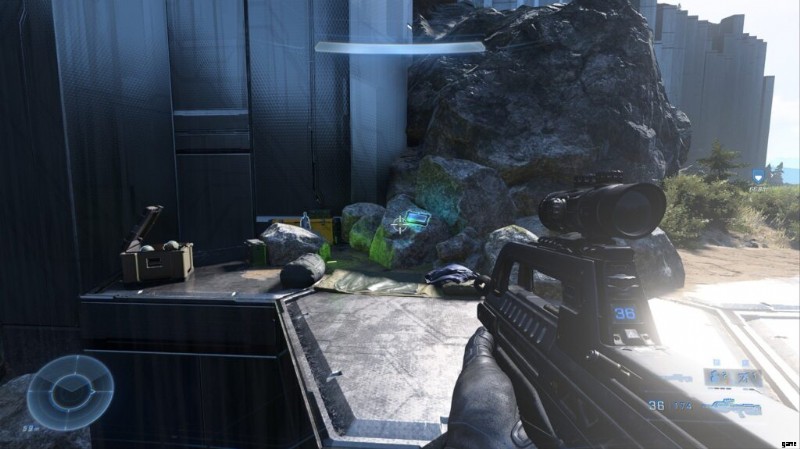
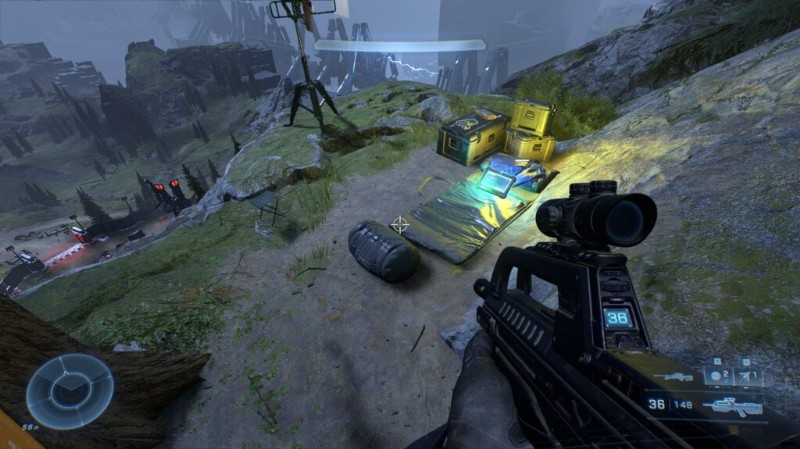
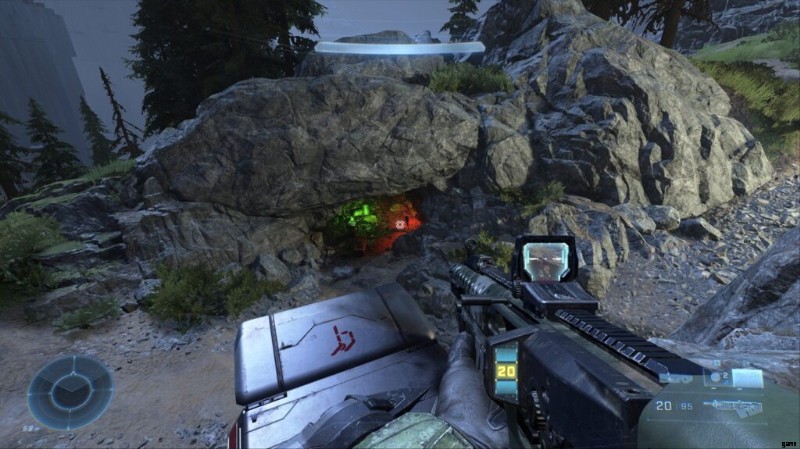
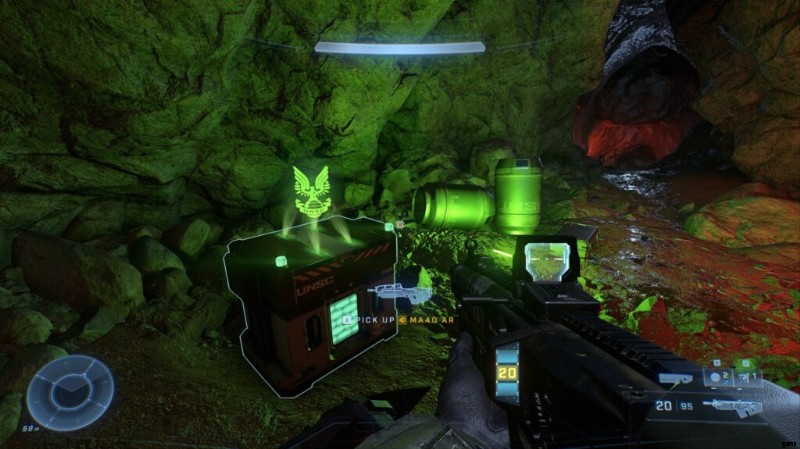
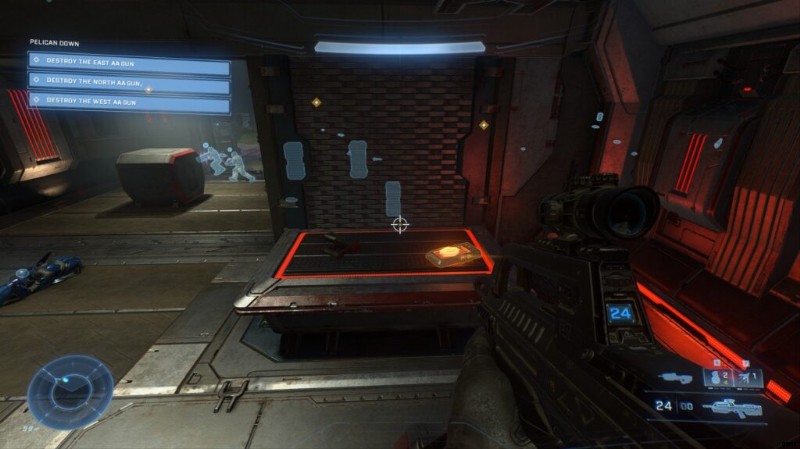
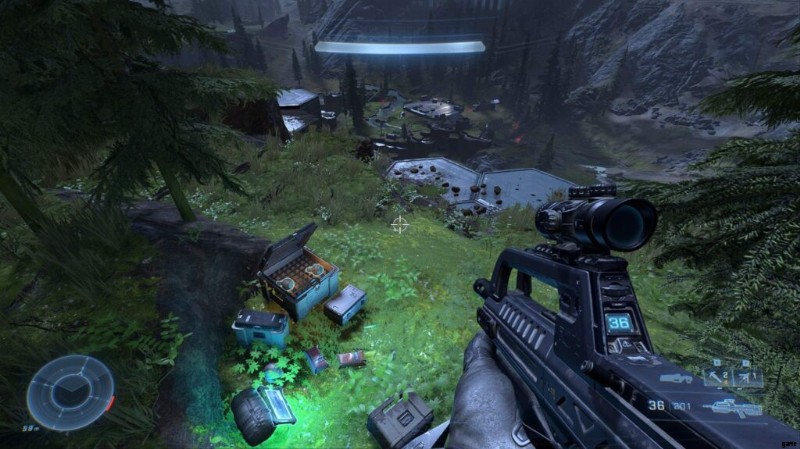
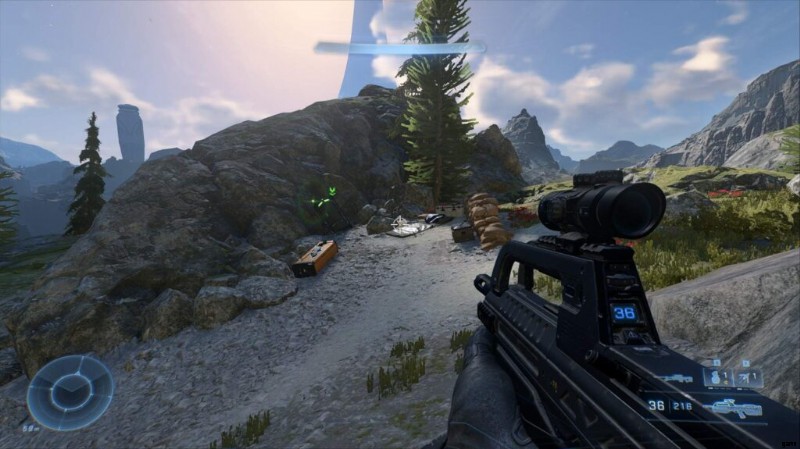
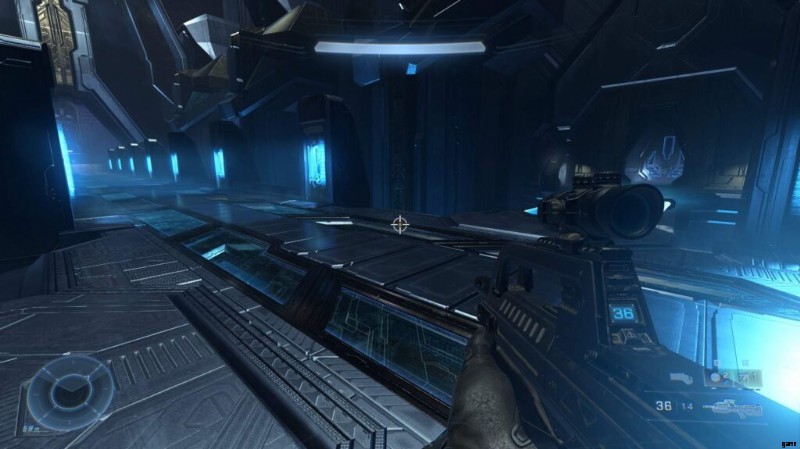
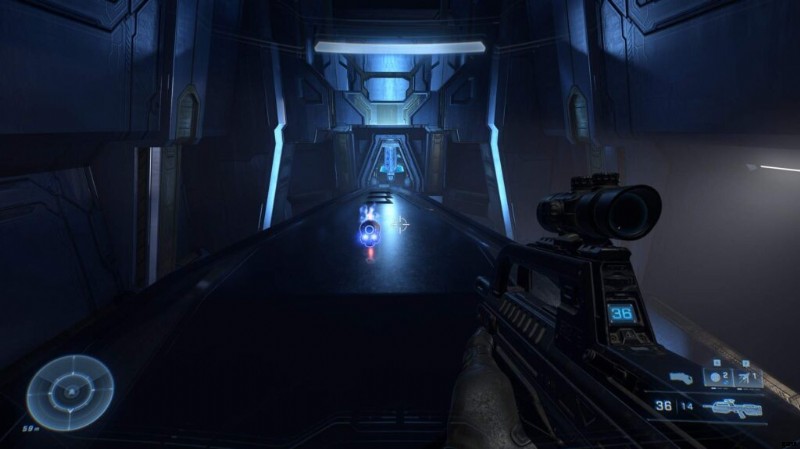
最初のエレベーターに到達するまでレベルを進めます。これはグラップルショットのチュートリアルの後である必要があります。エレベーターを上ると、左折の部屋になります。直角に曲がる場所では、地面に箱や武器のコレクションが表示されます。その中には音声ログがあります。
スカル #1 – ブーム
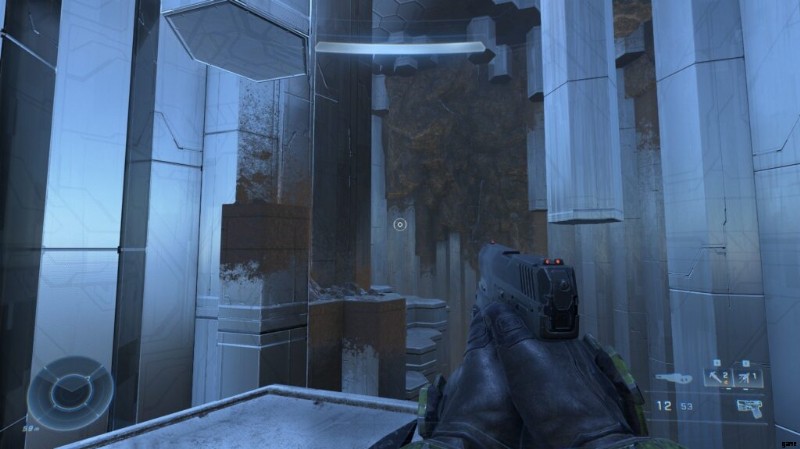
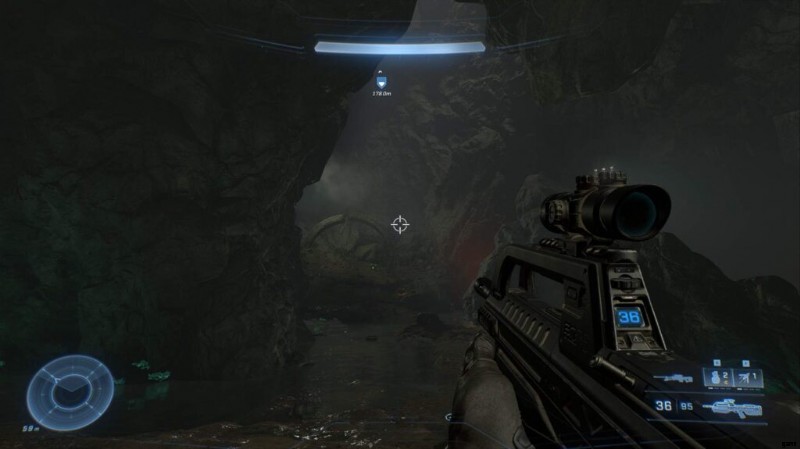
レベルの最初のセクションでブルートと交戦した後、大きなエレベーターに到着します。まっすぐ上ってください。もう少し進むと、スパイクグレネードを手に入れることができます。 2階建ての大きな部屋に到着します。右側に多数のベルトコンベアが見えます。上昇している中央のコンテナにジャンプします。レーザーグリッドに押しつぶされないように注意してください。コンテナが停止すると、目の前にドクロが見えるはずです。
追放された音声ログ #1 – 喪失
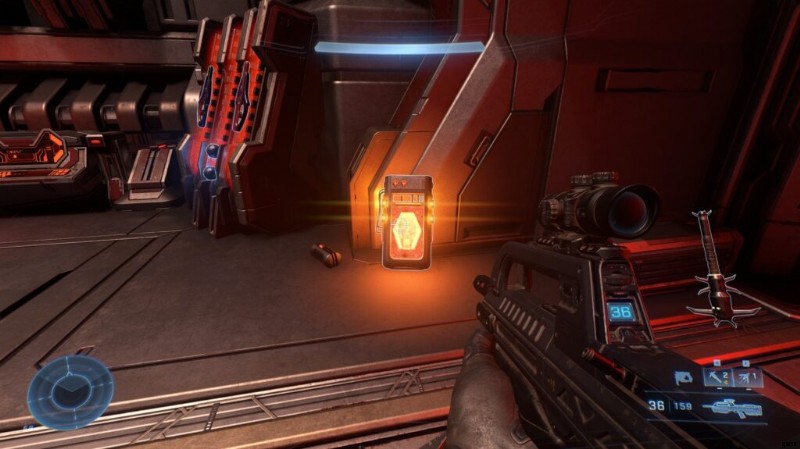
先に進むと、チーフの視点から抜け出し、イーシュラムとのカットシーンに入ります。その後、最上階付近にとどまり、右折すると、この音声ログが地面に表示されます 原子炉を爆破してスイッチをアクティブにする前に、必ずログをつかんでください。そうしないと、ミッションをやり直す必要があります.
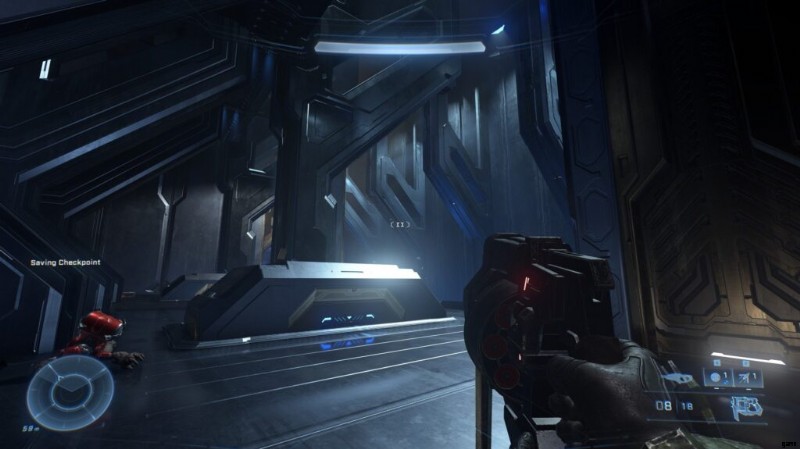
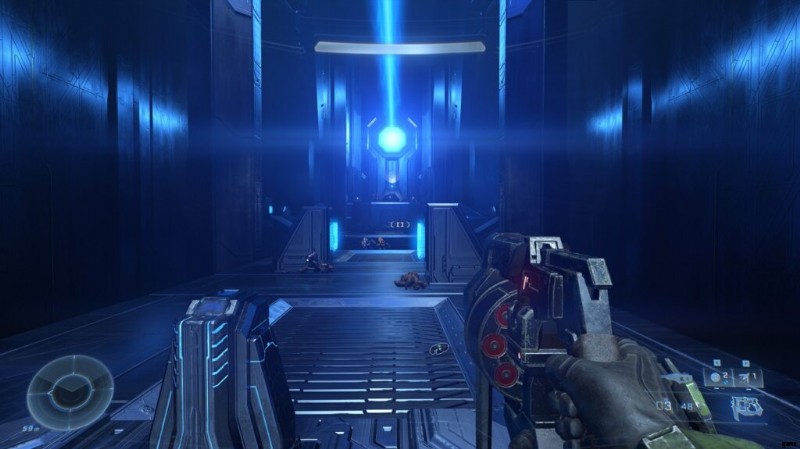
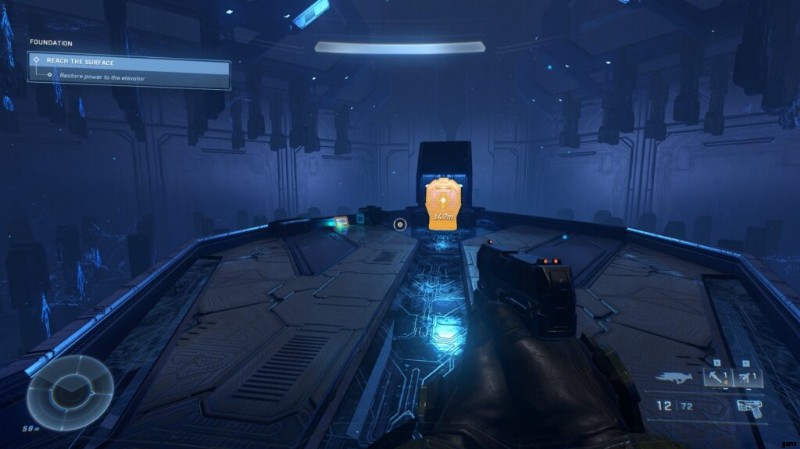
財団
UNSC 音声ログ #1 – 質問
この音声ログは、カットシーンを通じて自動的にロック解除されます。必見です。
スカル #2 – カウベル
レベルを進めていくと、信頼できる AI の仲間を手に取り、エレベーターに沿って移動します。やがてシースルーの窓のある交差点に出ます。ジャックルとうなり声に襲われる廊下を左に進みます。真上は狭い露頭です。ジップ ラインを使用して、最高点までよじ登ります。スカルは頂上で待っています。

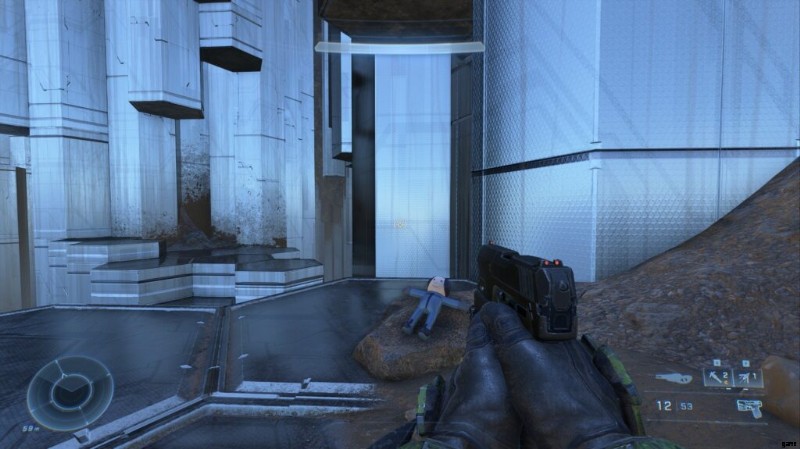
追放された音声ログ #1 – サイリックス
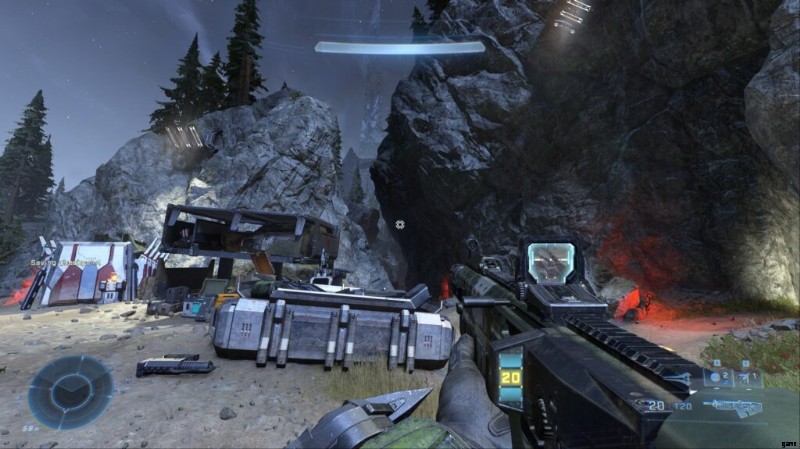
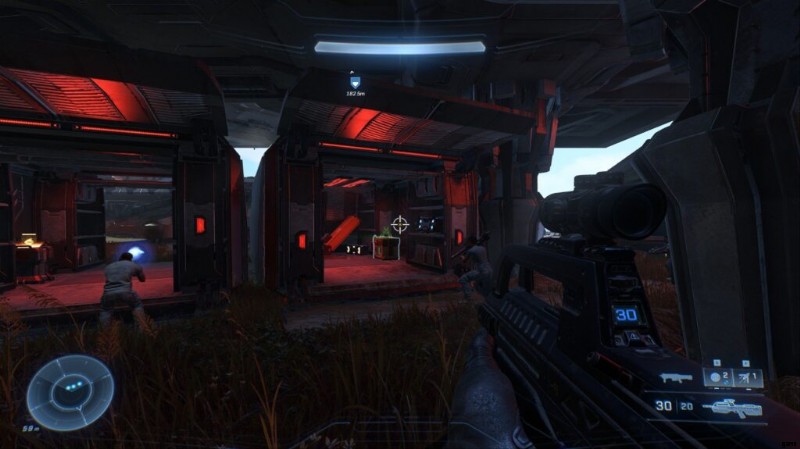
武器を回収し、大きな上げ橋のある部屋を渡ります。これは、遭遇するハードライトブリッジではなく、地面からチャンクごとに持ち上げる物理的なブリッジです.この部屋の端にありますが、次のエリアに移動する前に、この音声ログはドアの左側にあります。
UNSC 音声ログ #2 – 私のせいではない
レベルの最後のエリアである大きな赤い部屋では、Cylix で満たされたサイド ルームからパワー シードを取得する必要があります。廊下の終わりに到達すると、それをアクティブにするために追加のパワー シードが必要であることがわかります。武器から、重力リフト用の別のパワーシードを取得するためにサイドルームに移動するように求められます.この部屋では、目標のすぐ左側に、音声ログが地面にあります。

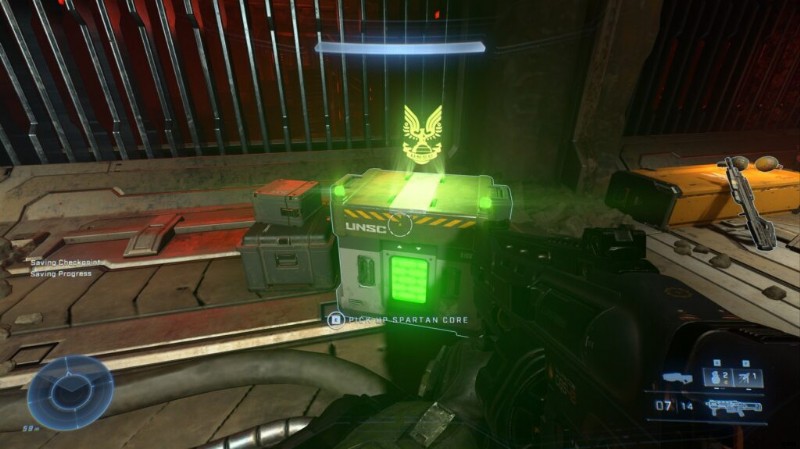
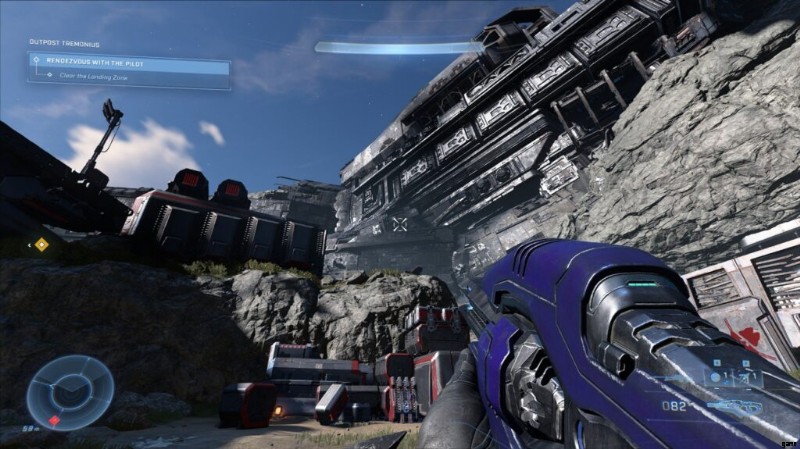
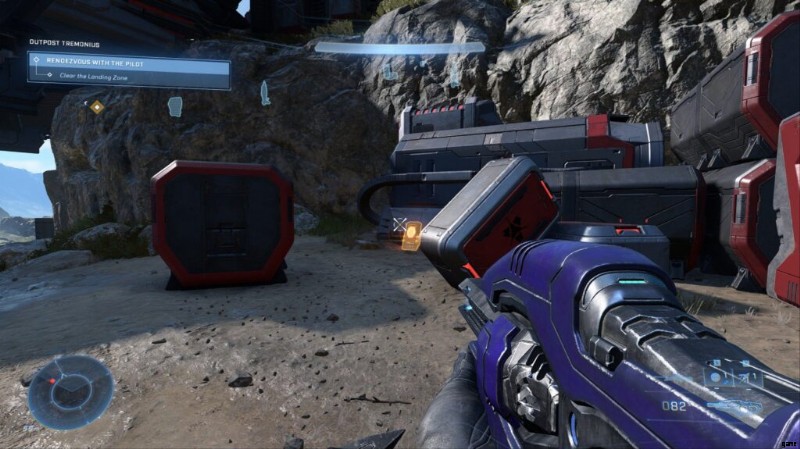
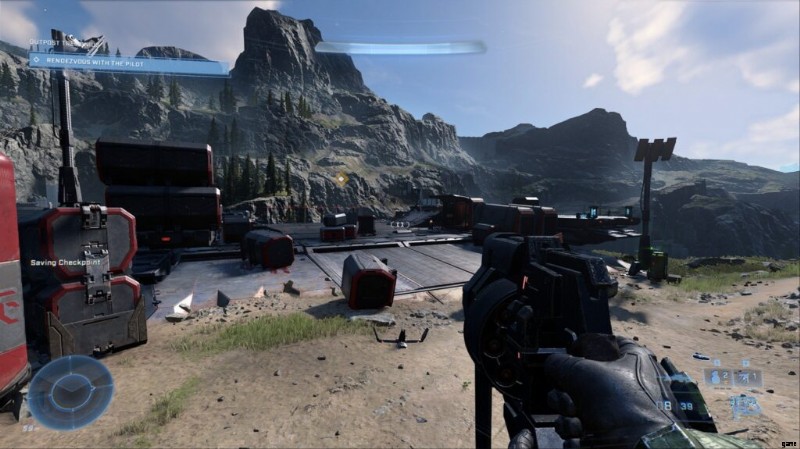
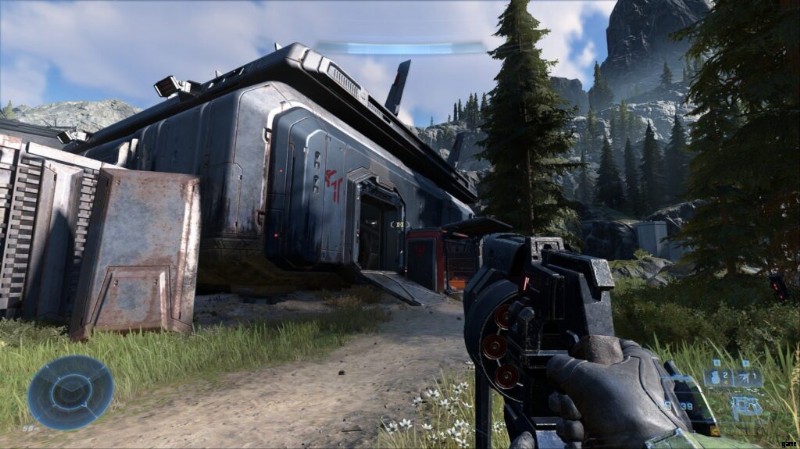
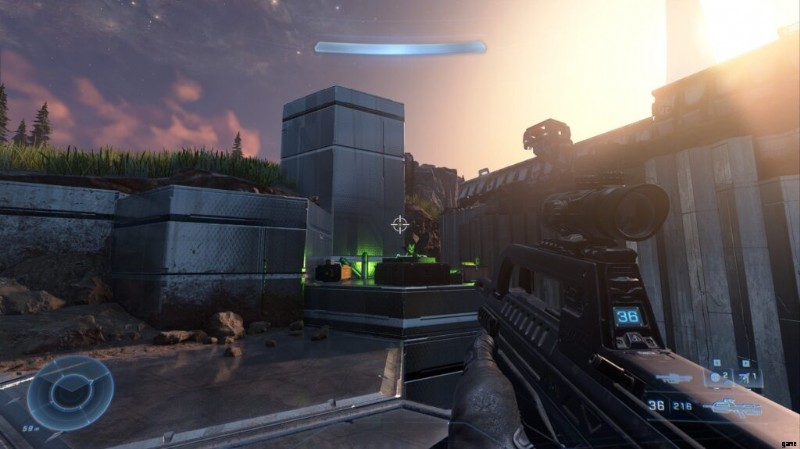
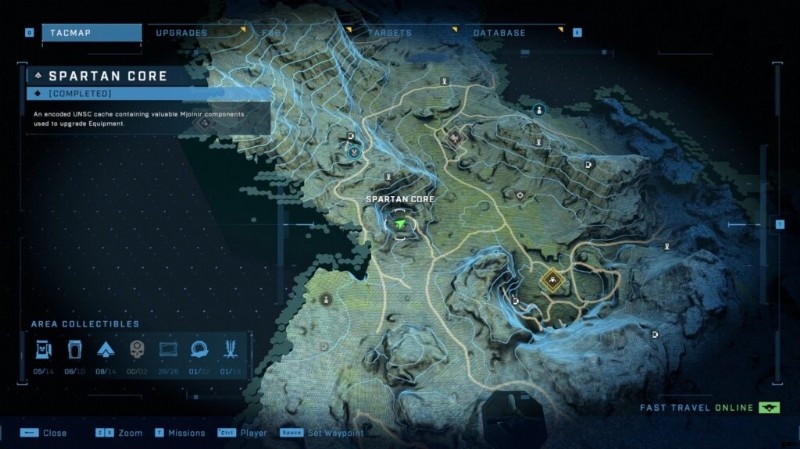
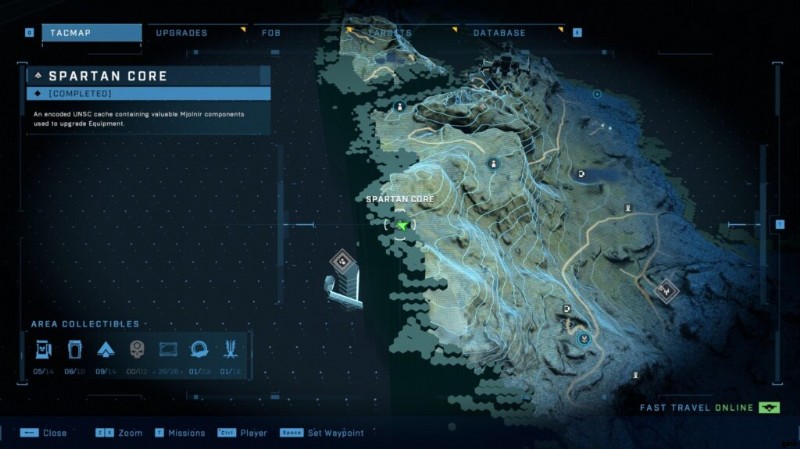
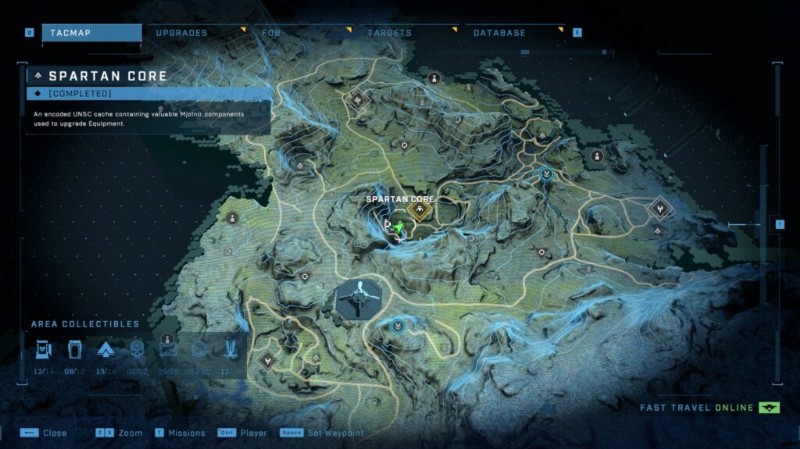
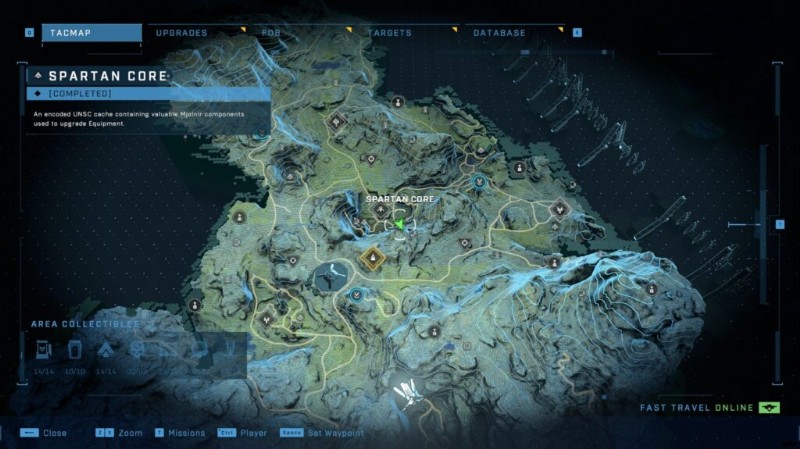
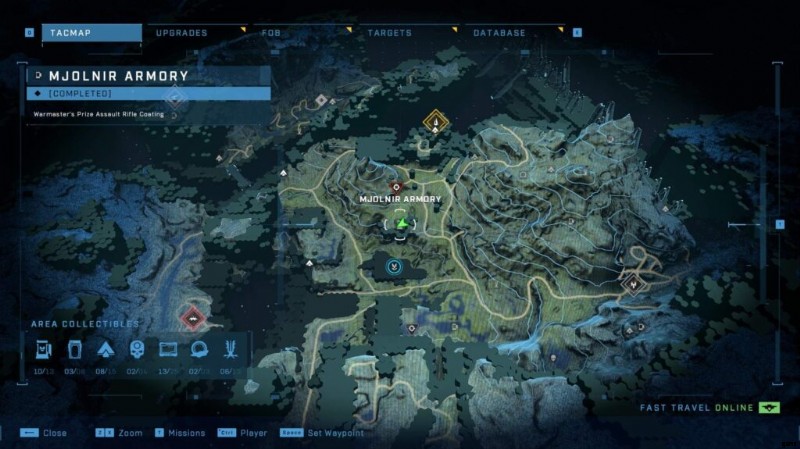
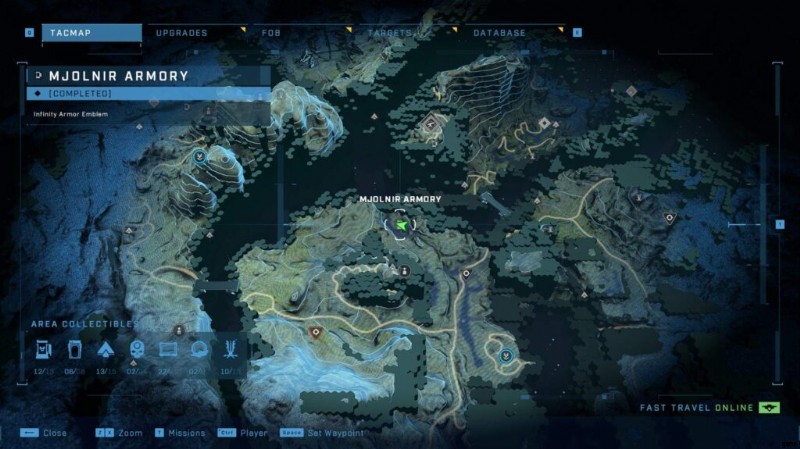
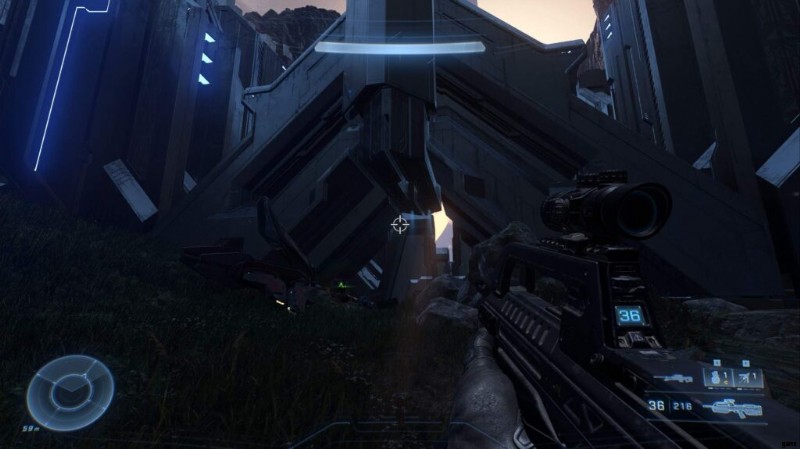
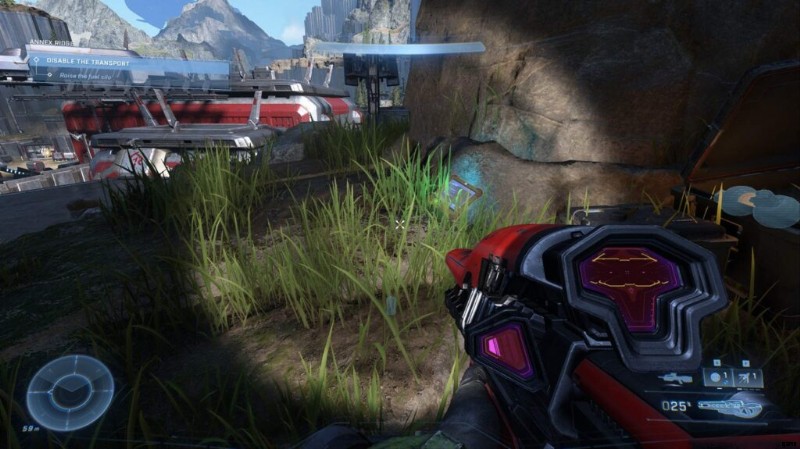
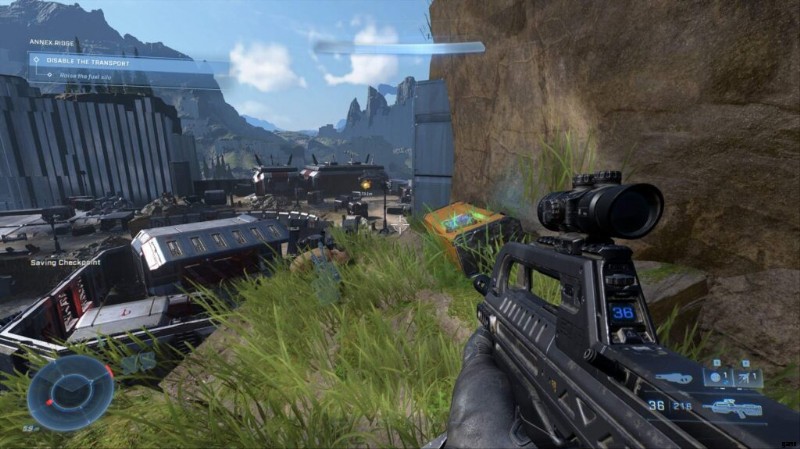
前哨トレモニウス
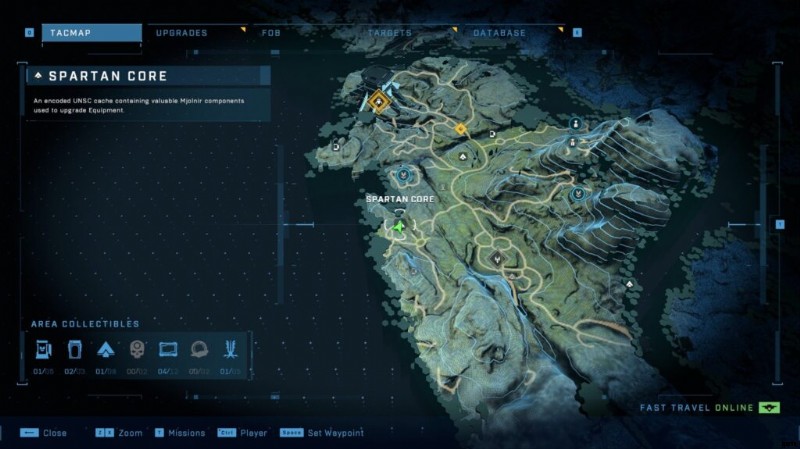
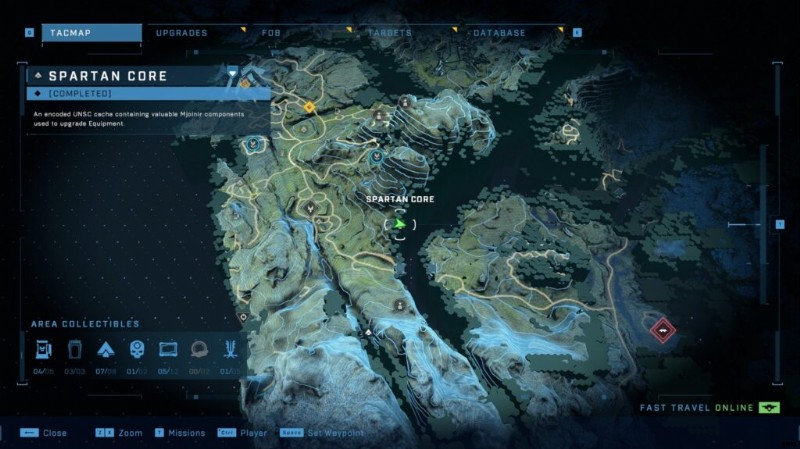
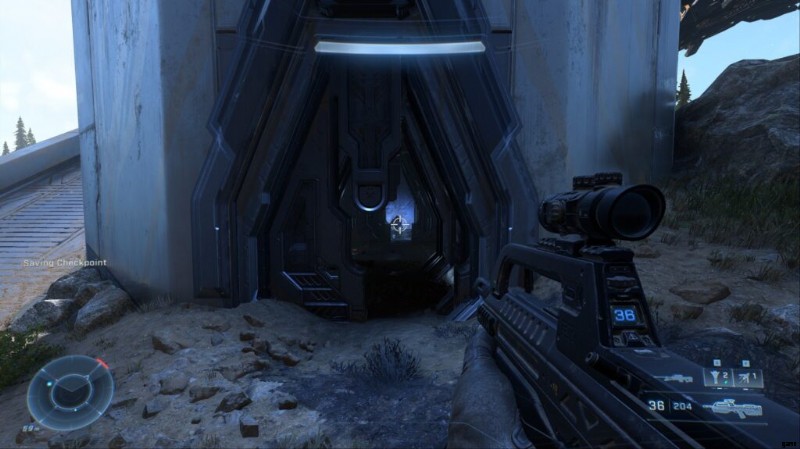
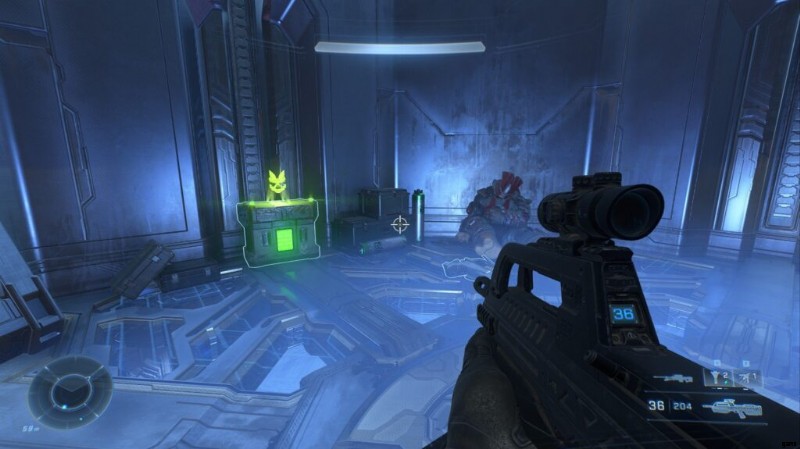
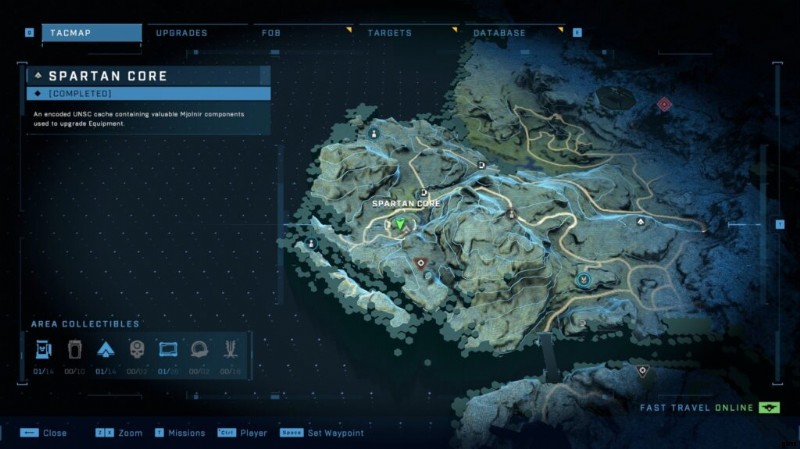
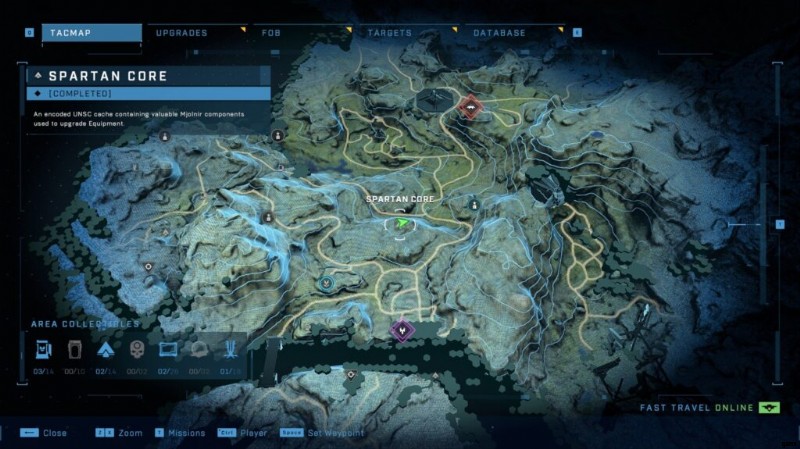
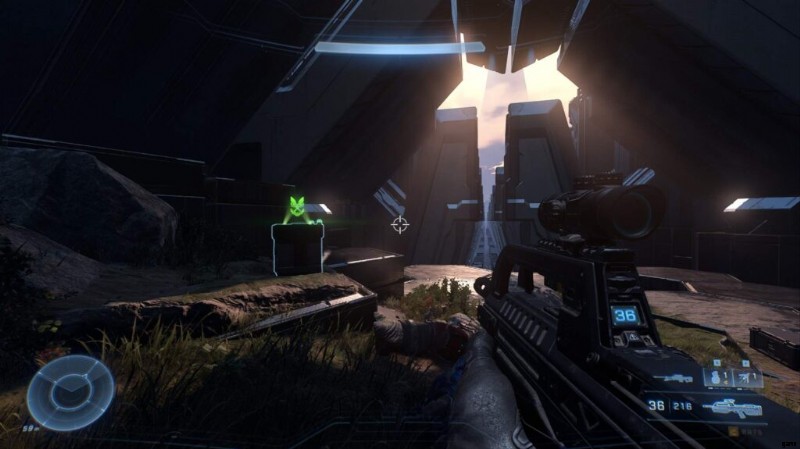
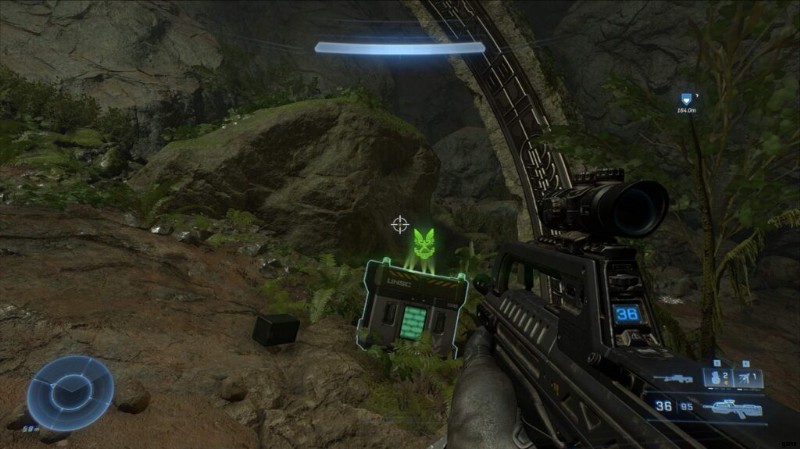
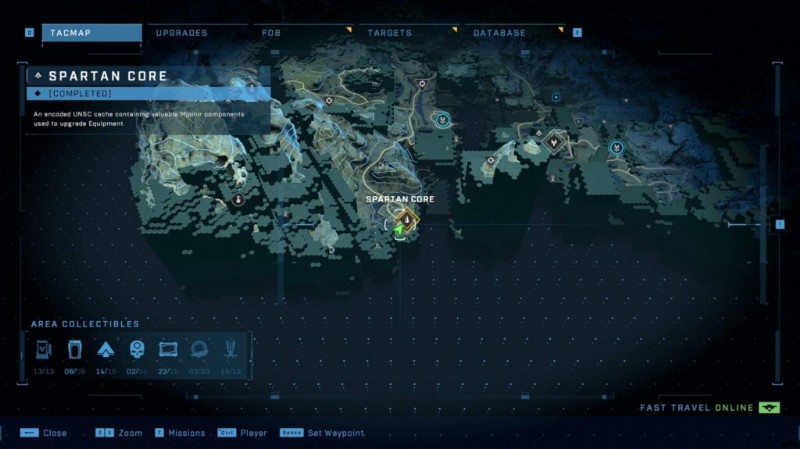
スパルタン コア #1
最初にエレベーターの最上部に到達すると、最初のスパルタン コアに遭遇します。ほとんど見逃せません。
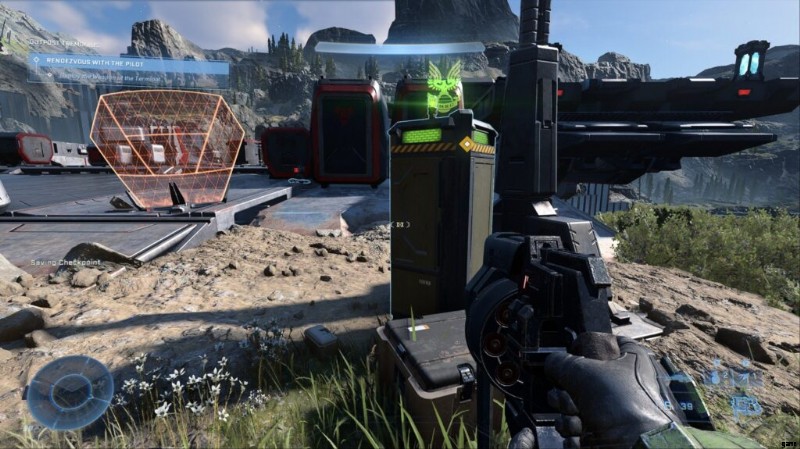
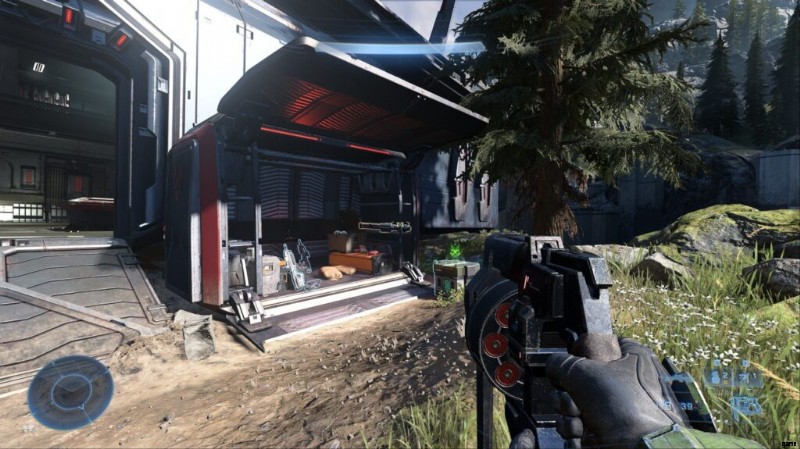
追放されたオーディオ ログ # 1 – 敬意を表して
Outpost Inter – In Your Honor – Outpost に南から下の崖に近づくと、箱と武器のコレクションが表示されます。このゴミの中に音声ログがあります。
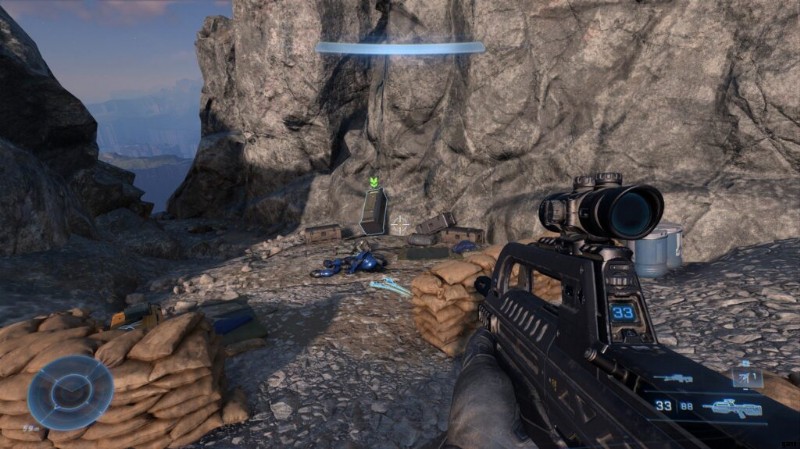
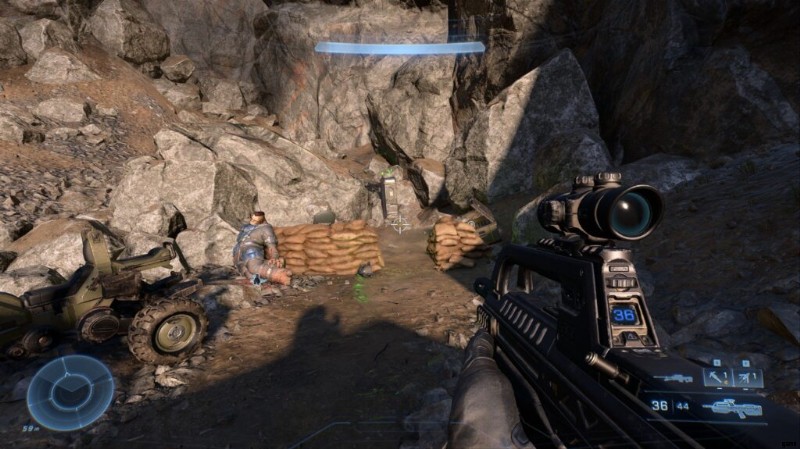
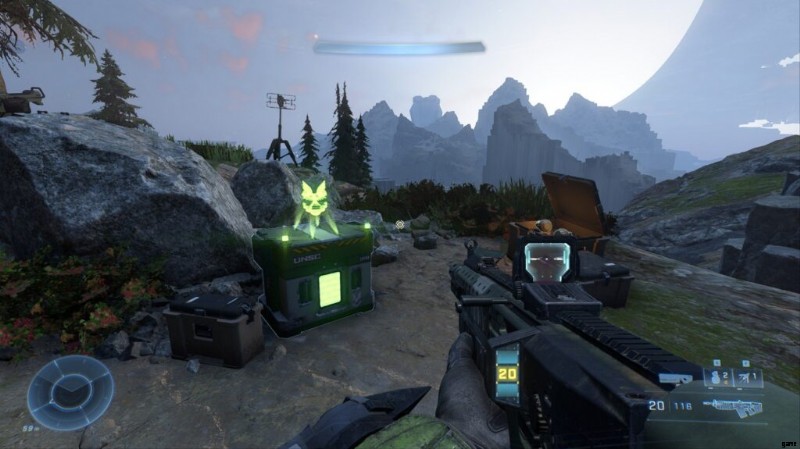
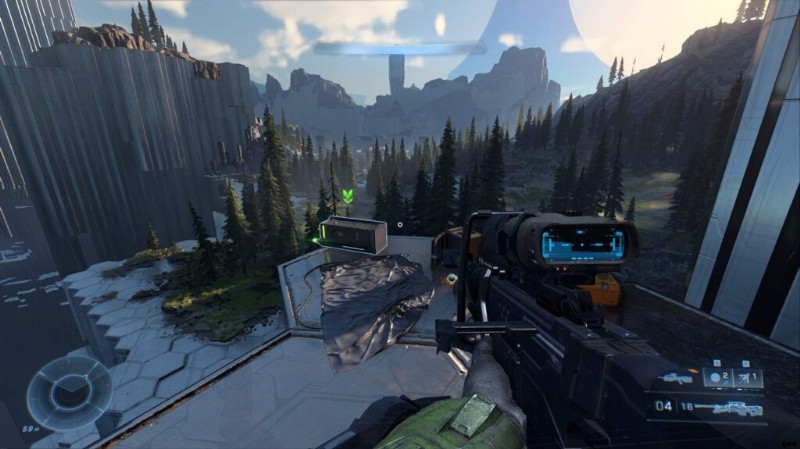
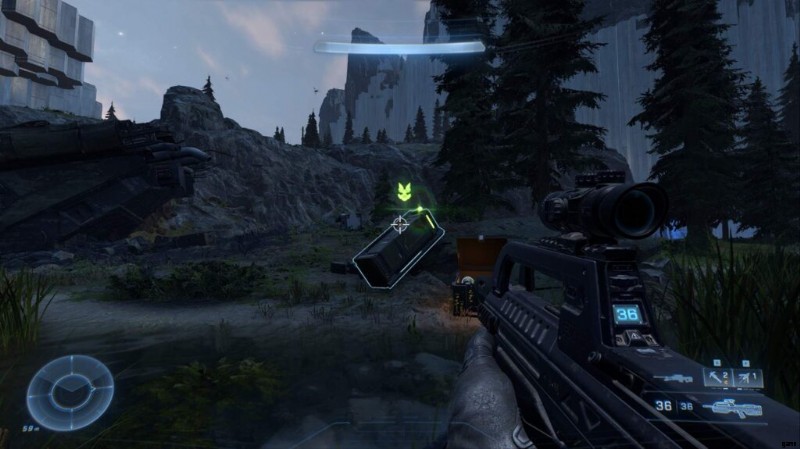
アーマーロッカー #1
Outpost Tremonius マーカーのすぐ北に、このアーマー ロッカーがあります。ペリカンが着地するプラットフォームの金属と土が出会う場所の隣にあります。
スパルタン コア #2
建物を出た後、エレベーターで建物の周りを時計回りに回ります。スパルタン コアのすぐ後ろに残骸が見えます。
スパルタン コア #3
ペリカンの土地から南西を見ると、建物の隣に小さな小屋が見えます。 Spartan Core はここにあります。
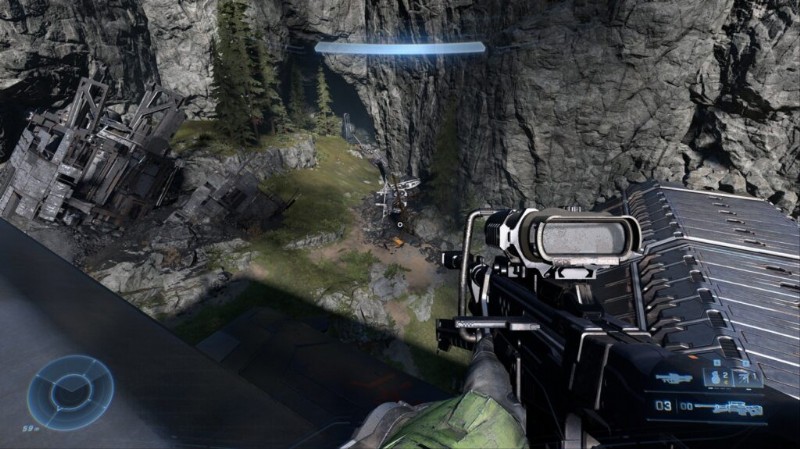
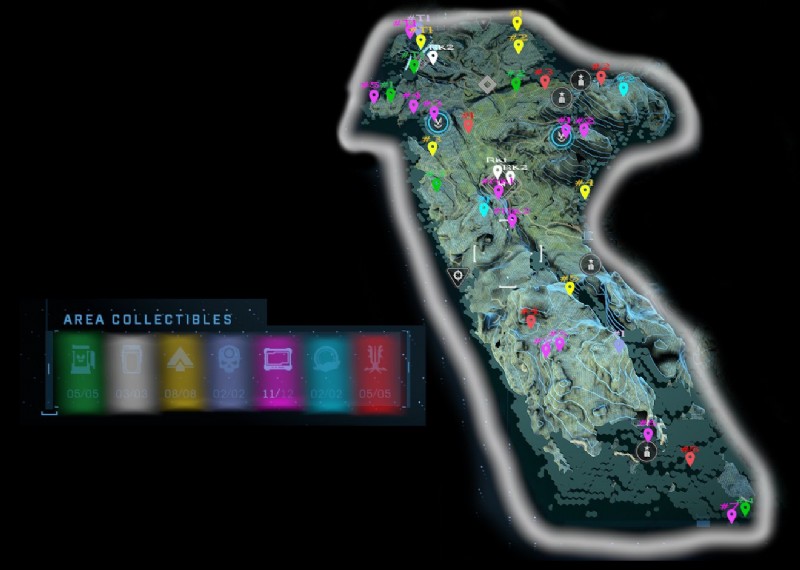
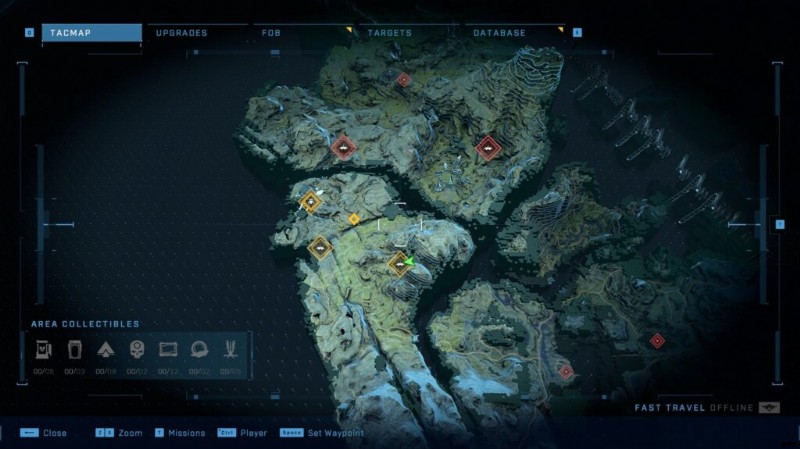
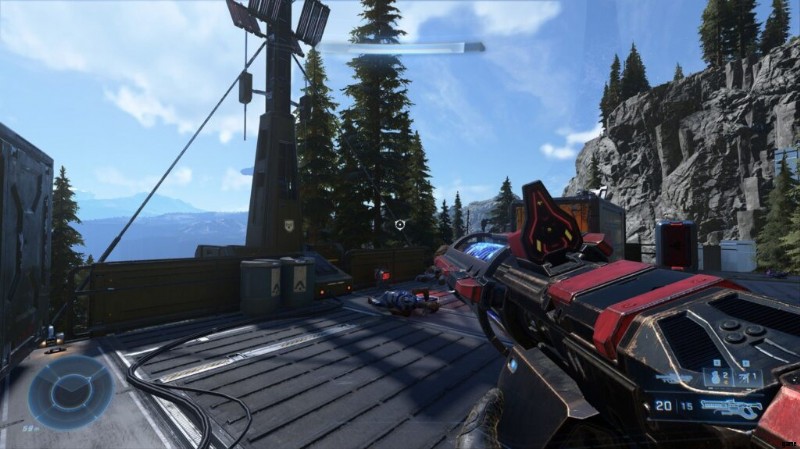
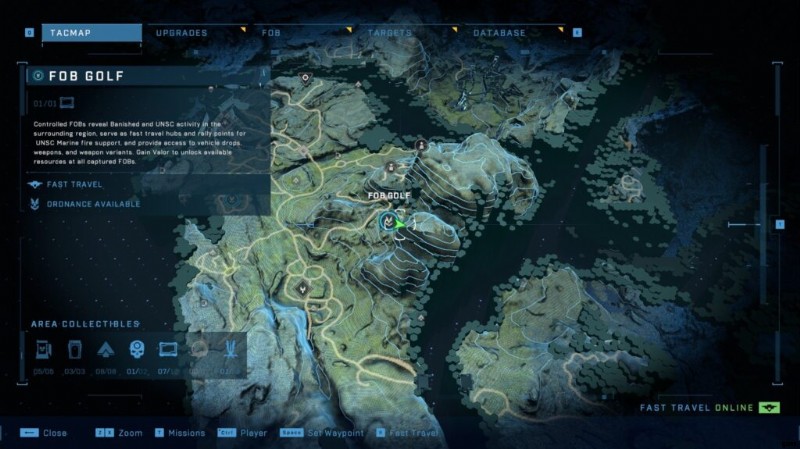
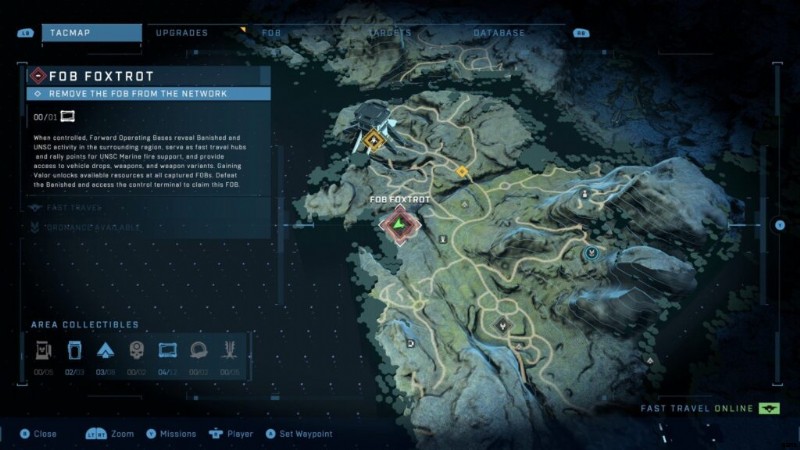
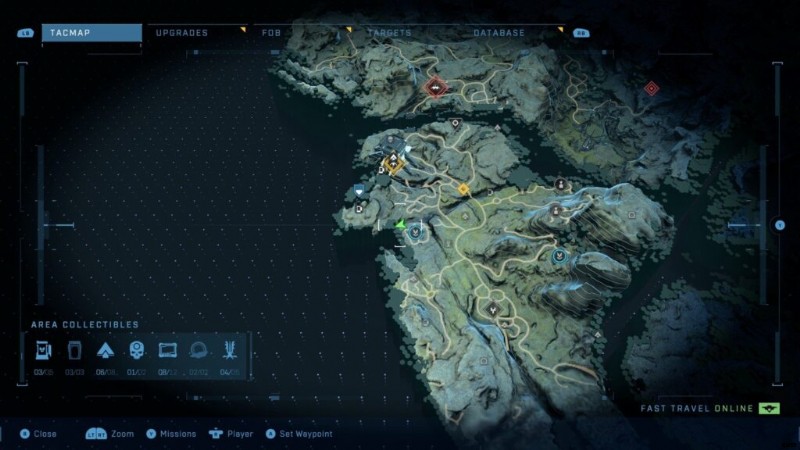
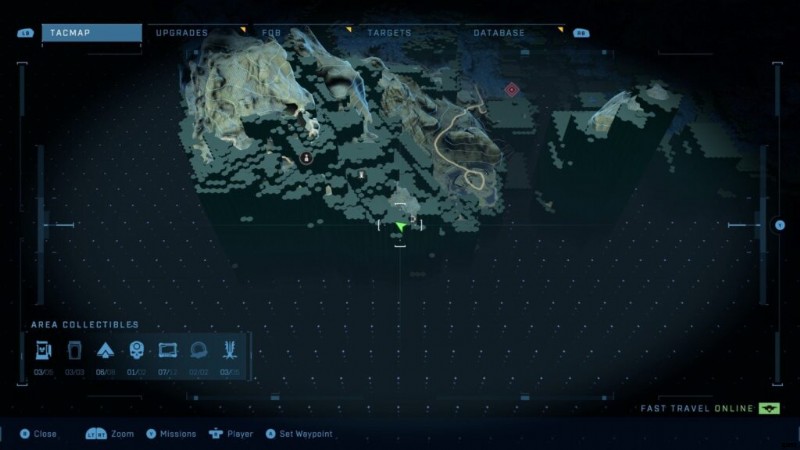
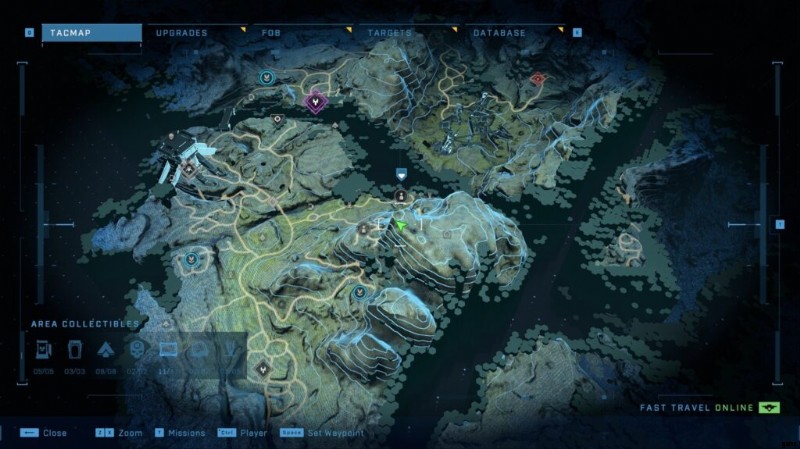
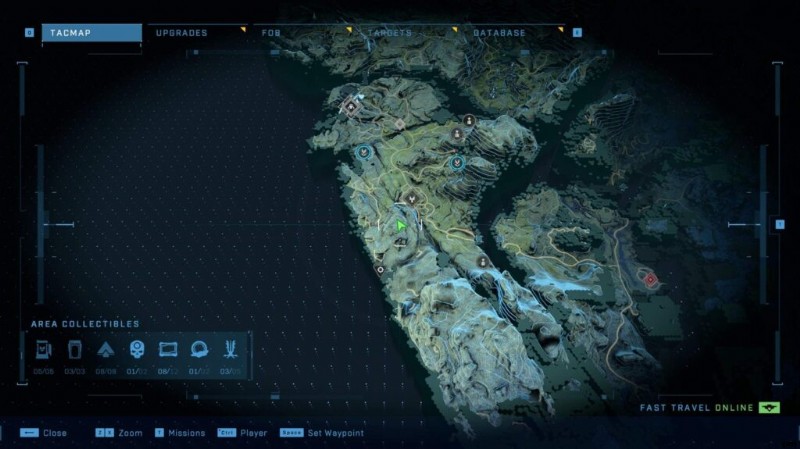
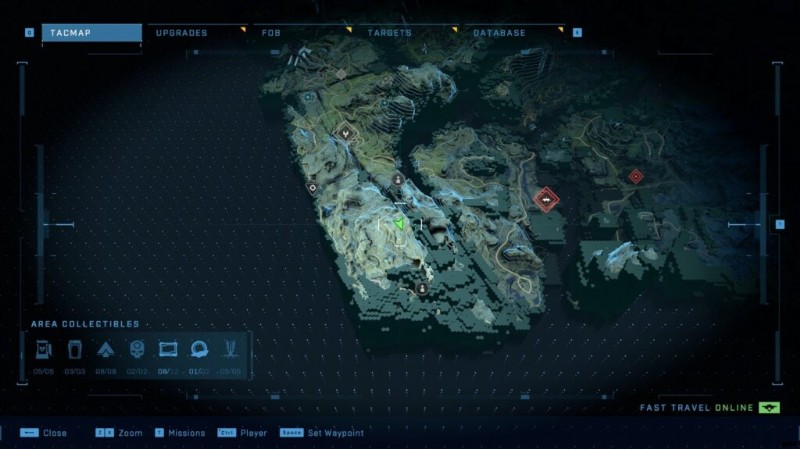
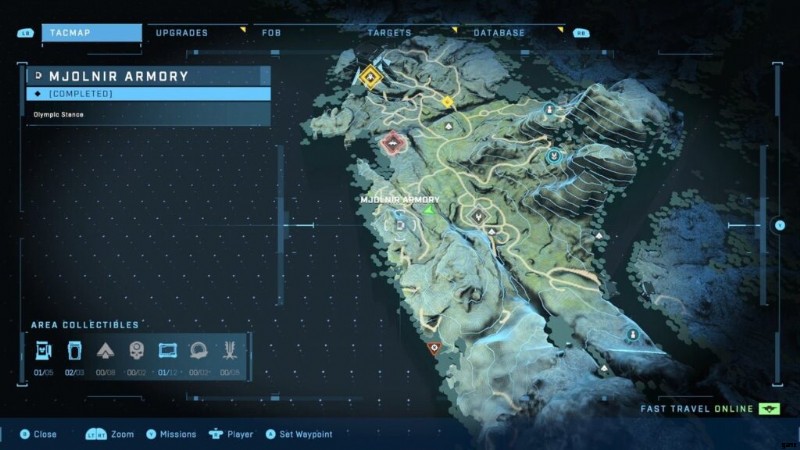
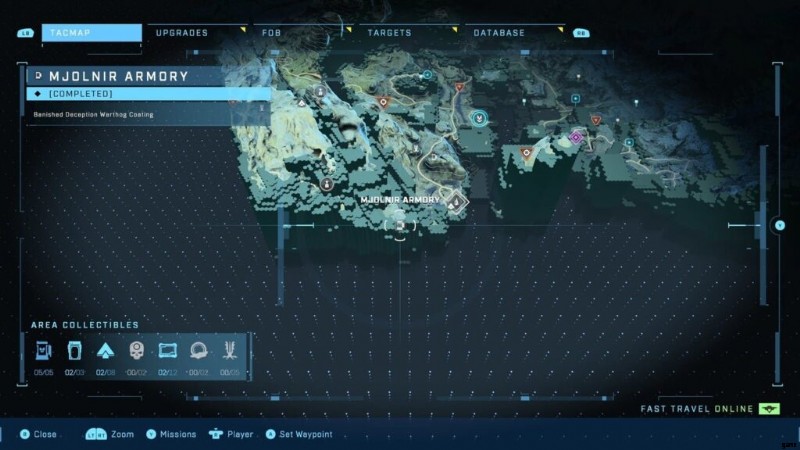
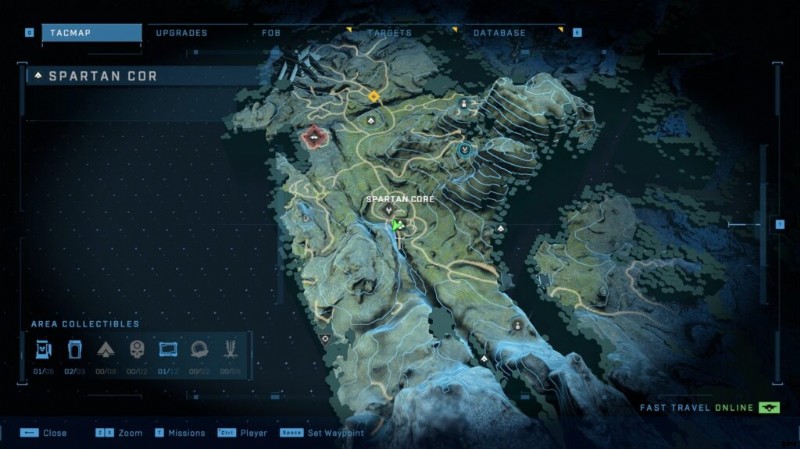
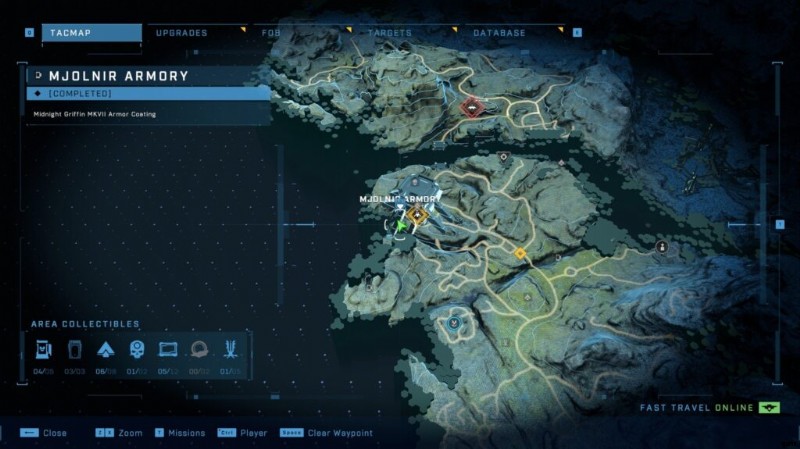
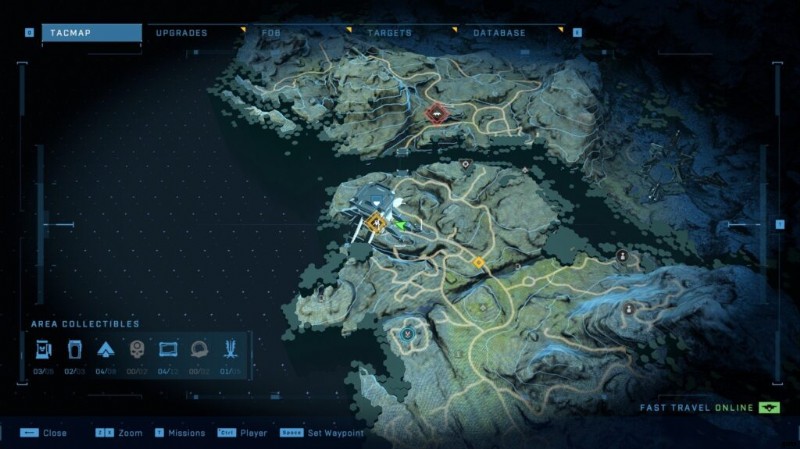
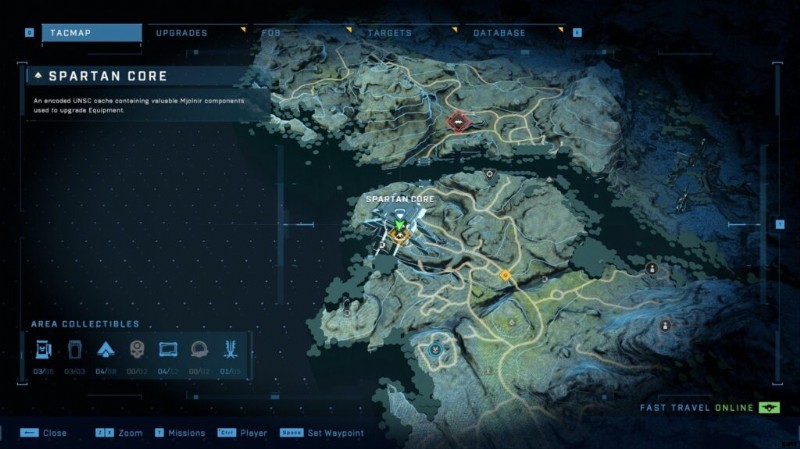
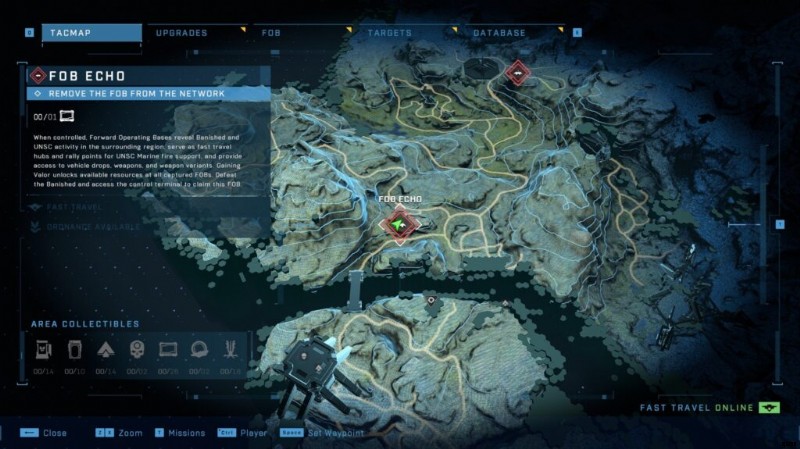
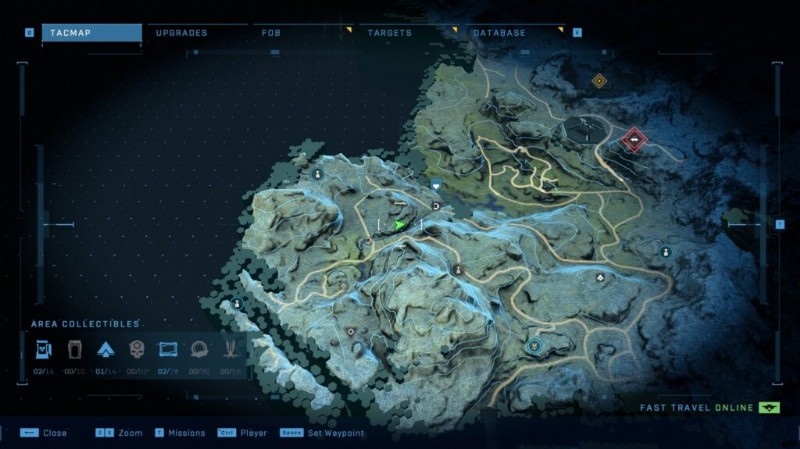
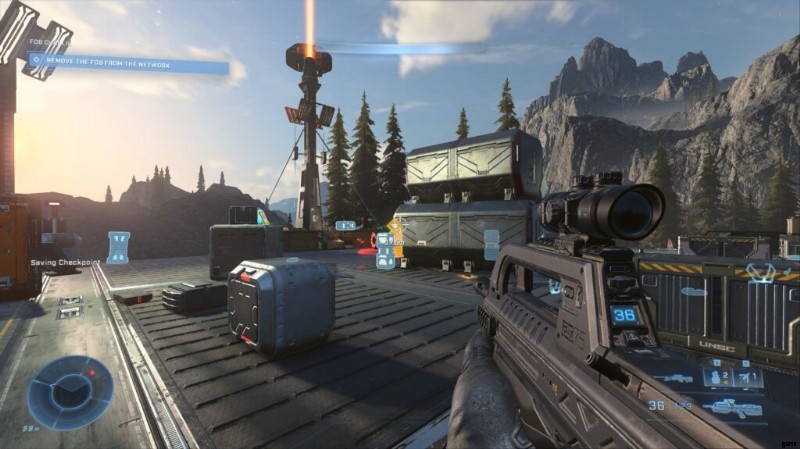
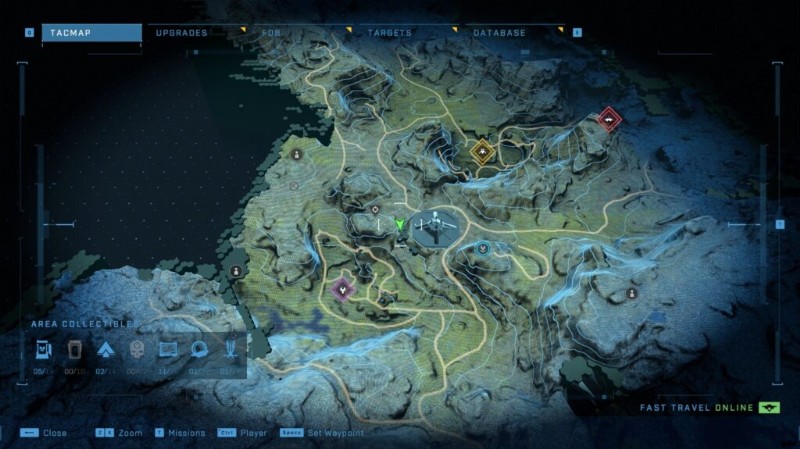
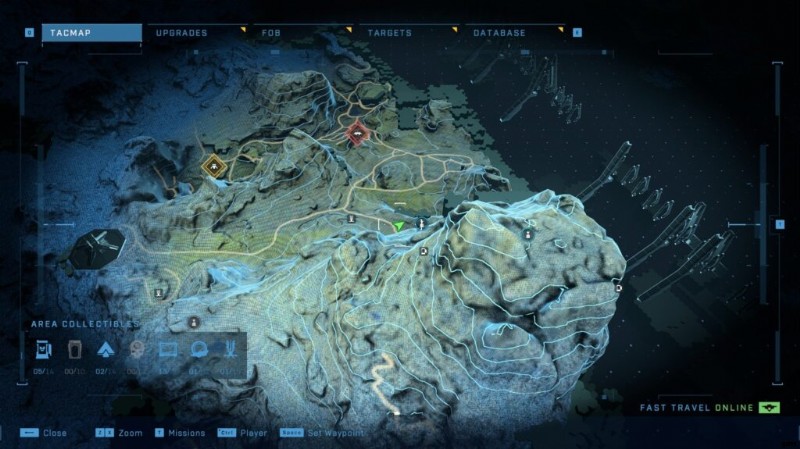
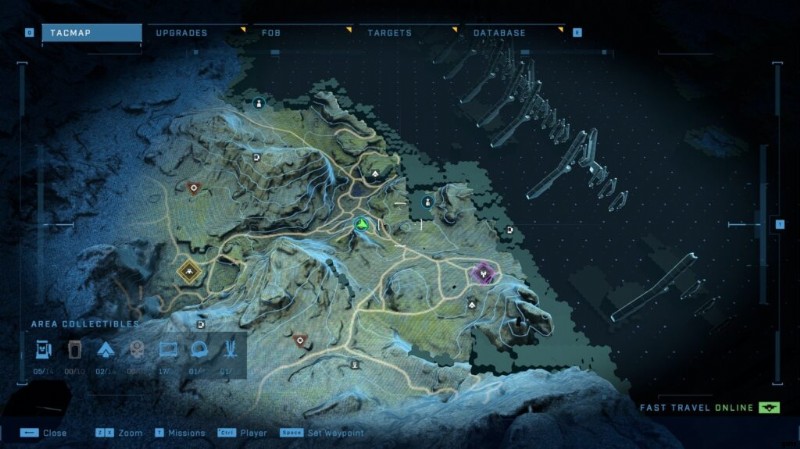
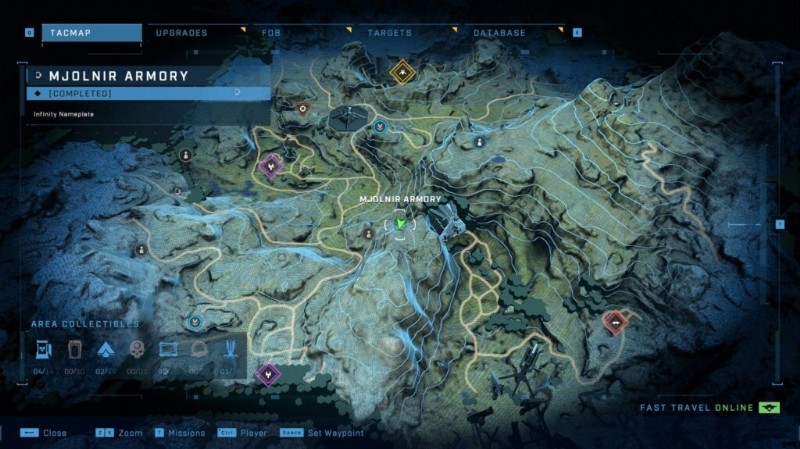
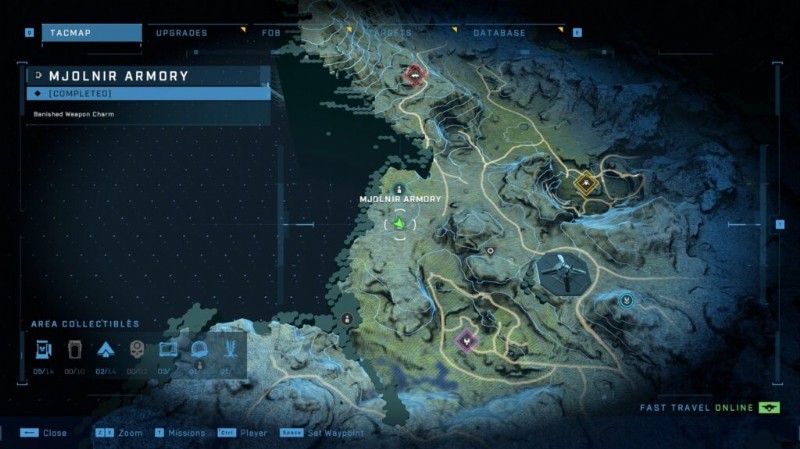
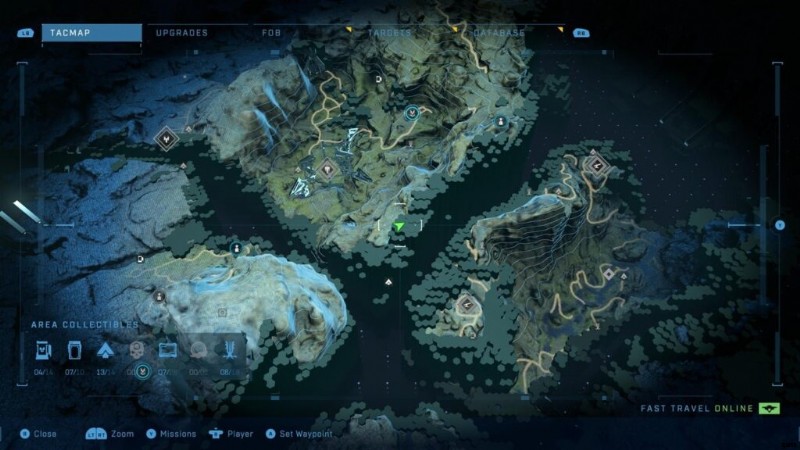
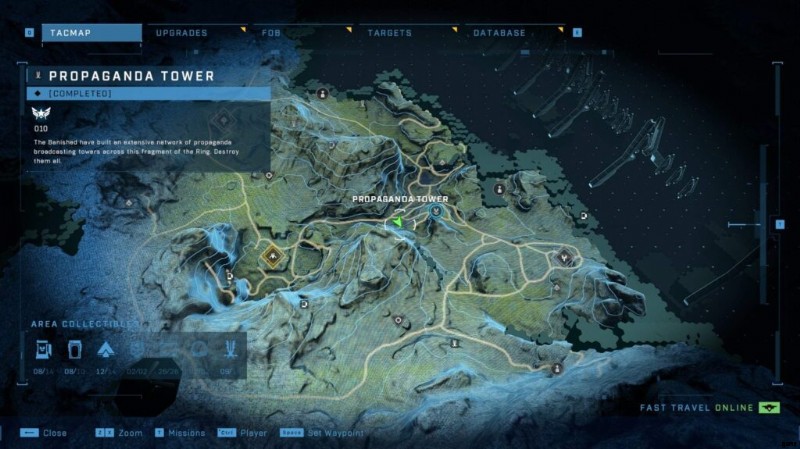
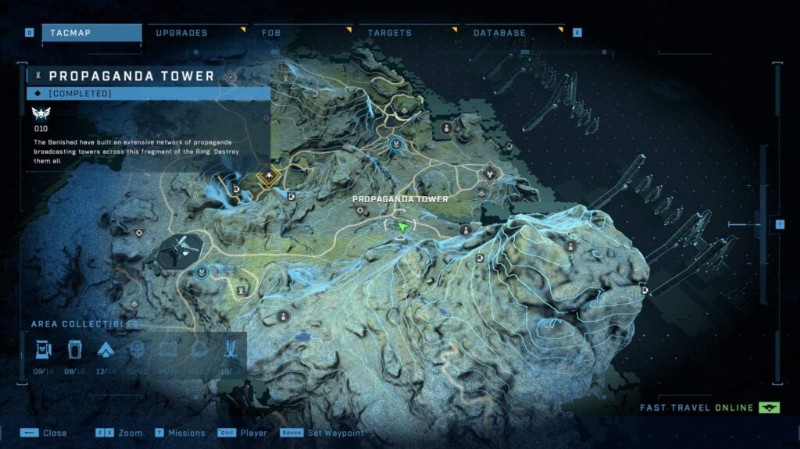
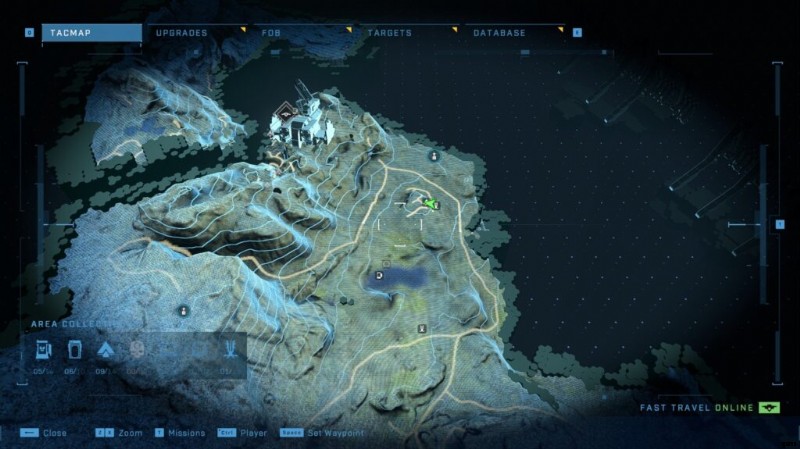
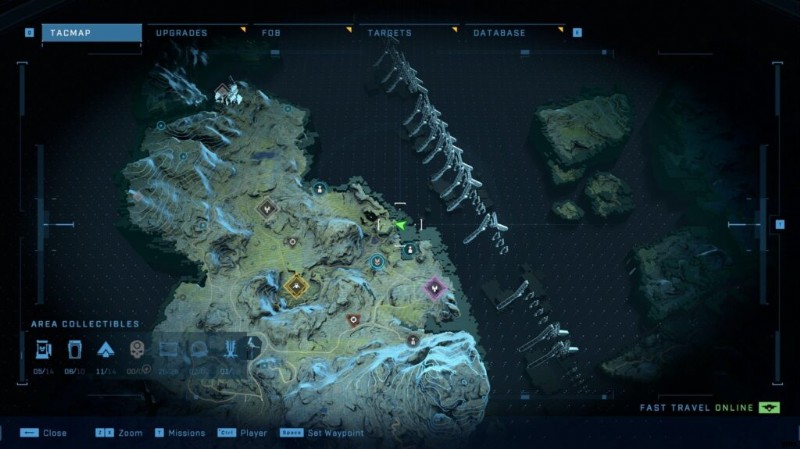
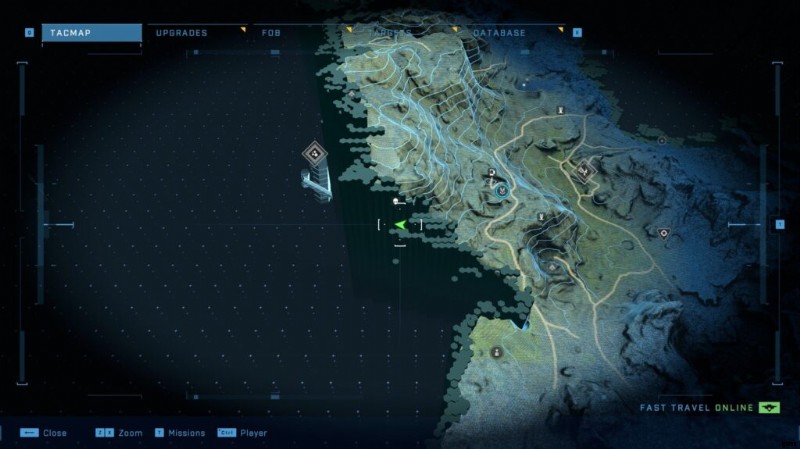
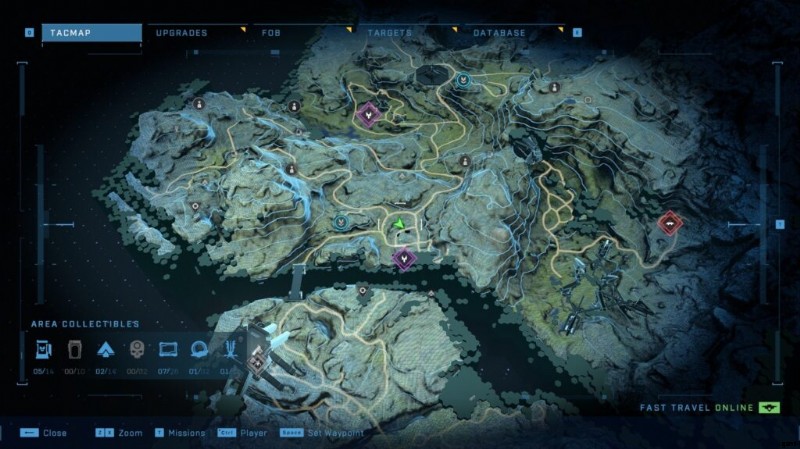
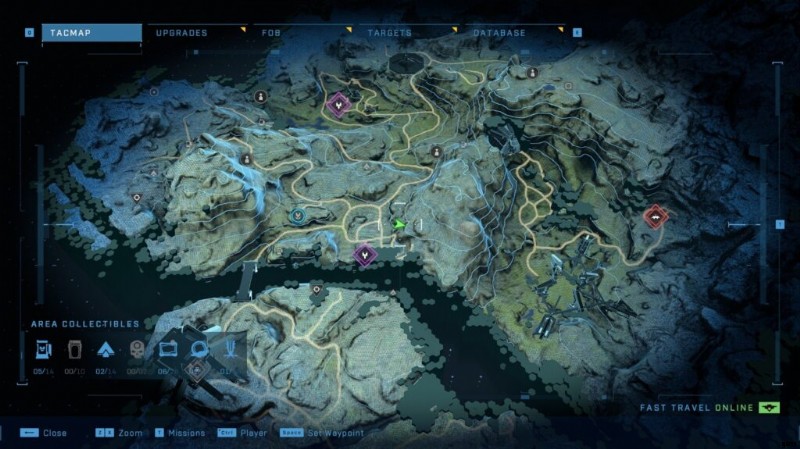
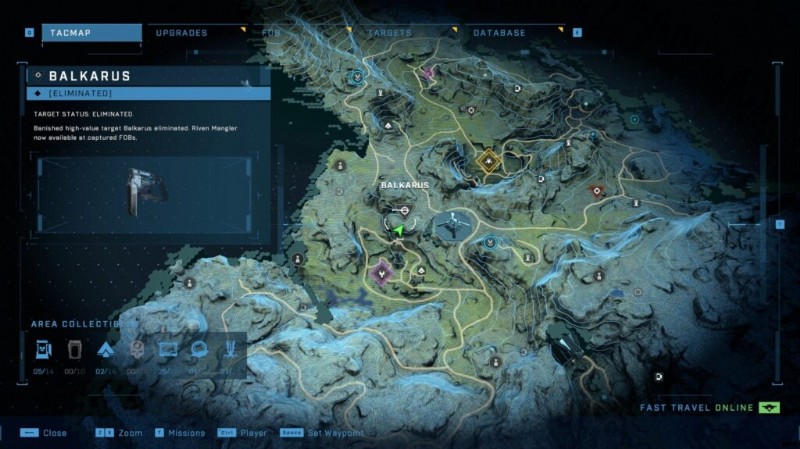
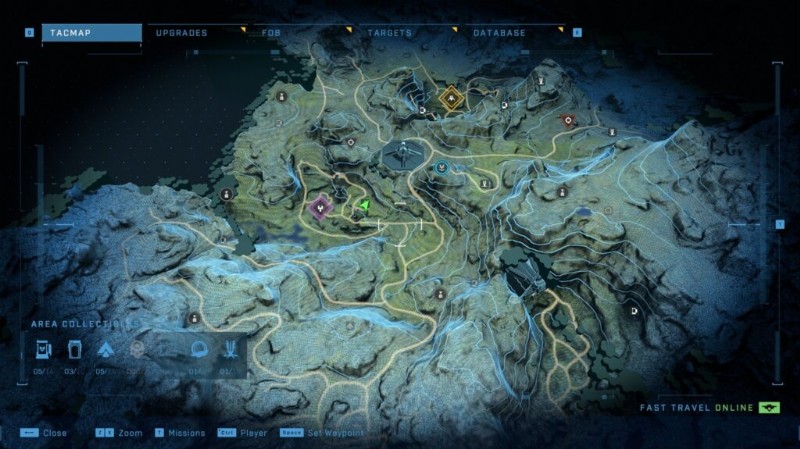
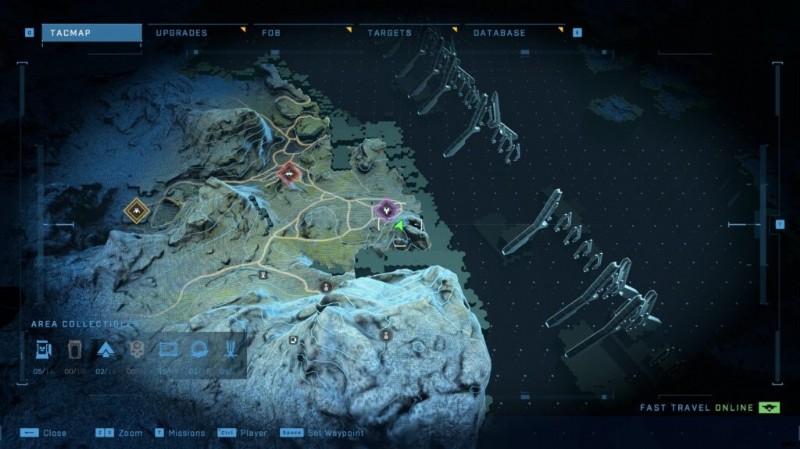
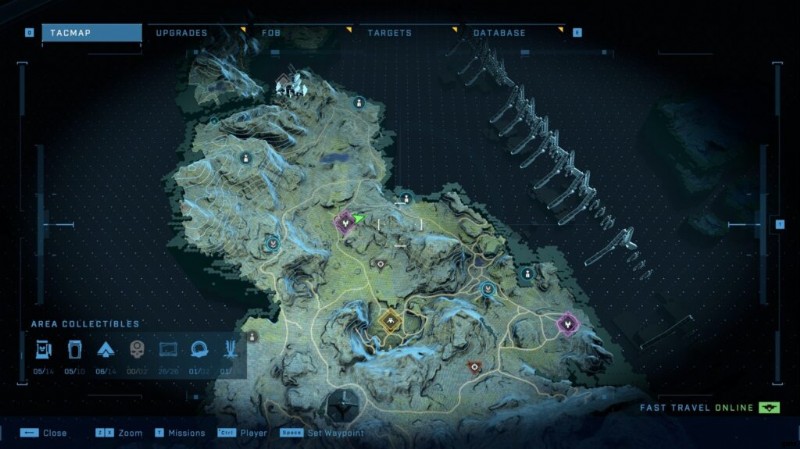
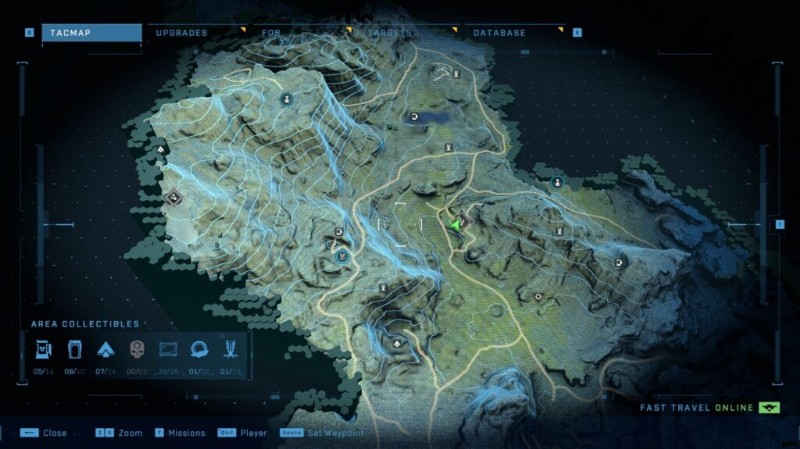
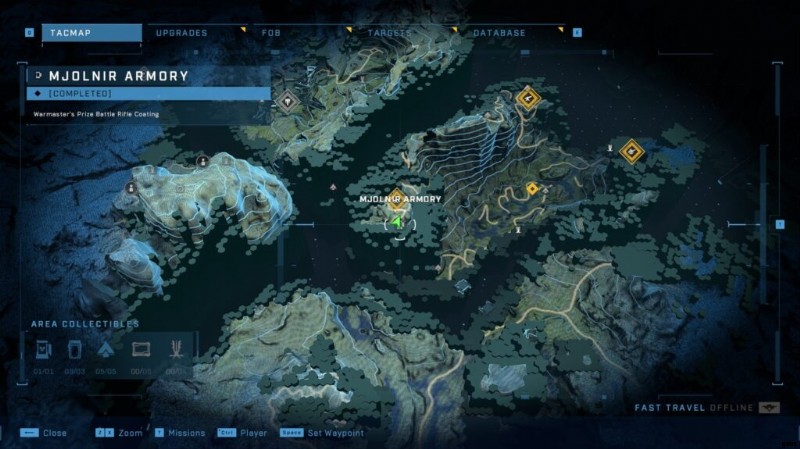
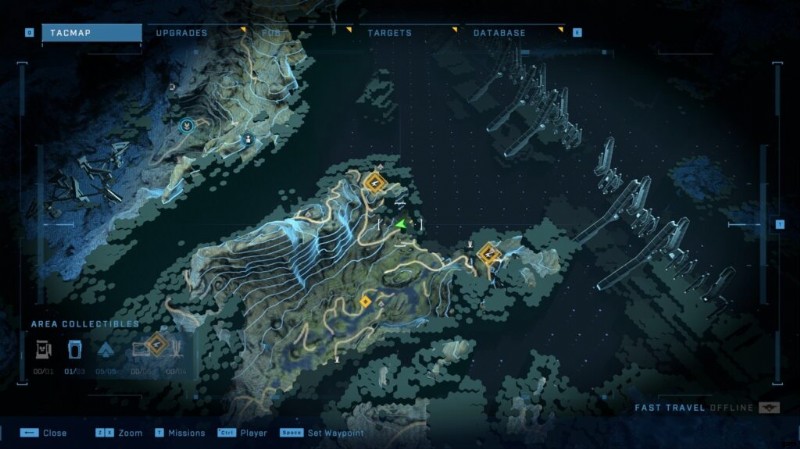
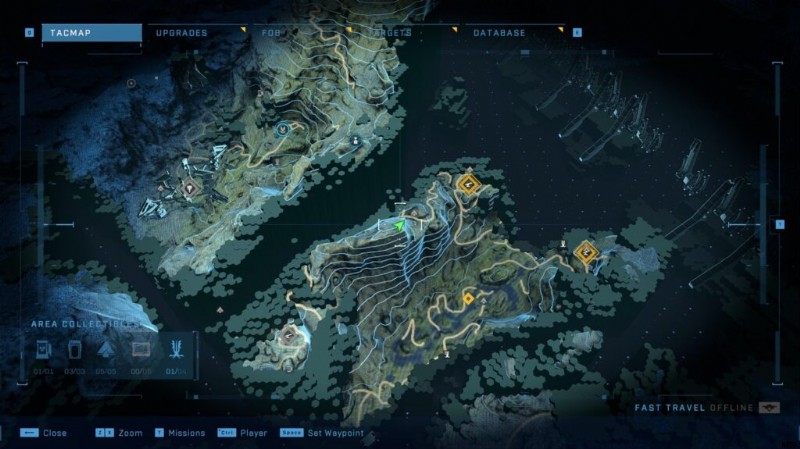
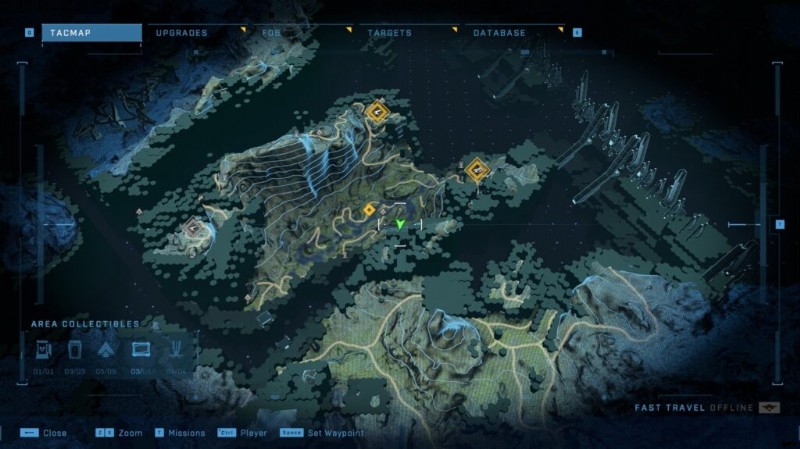
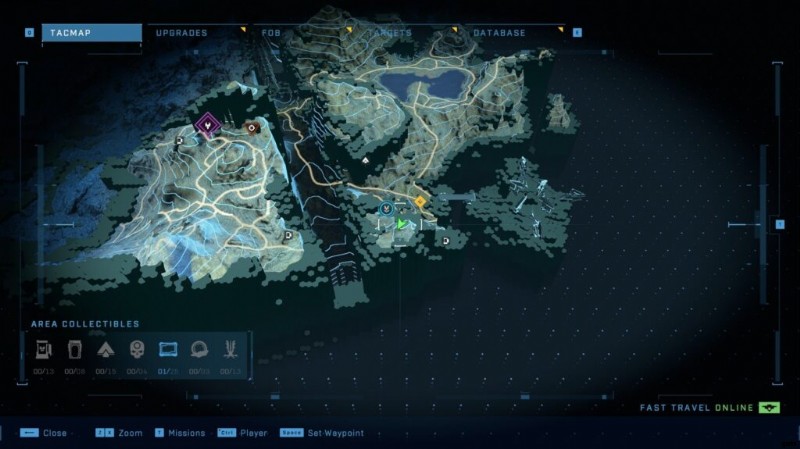
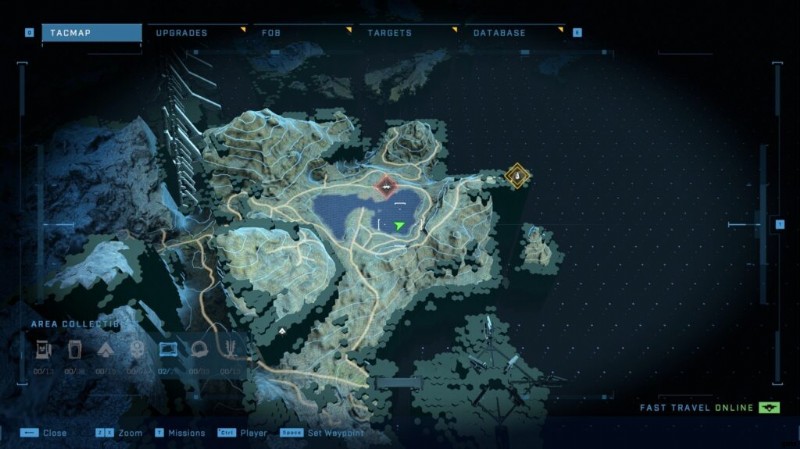
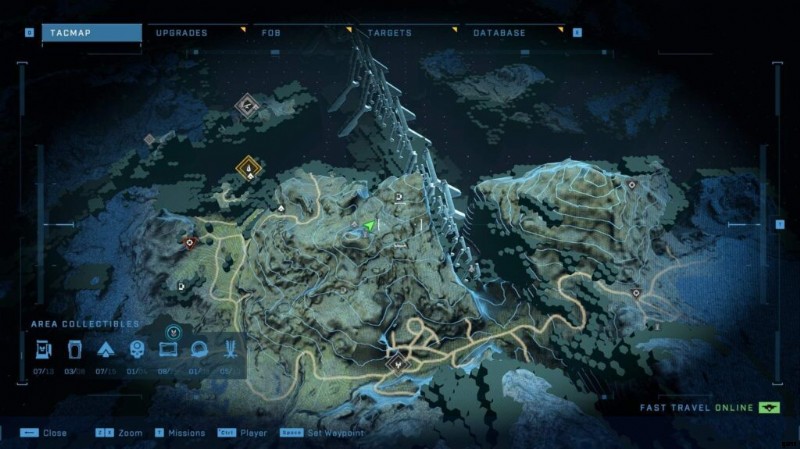
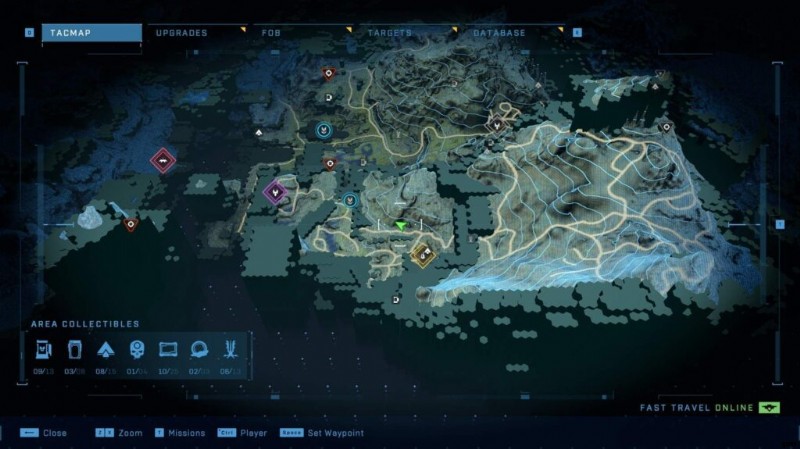
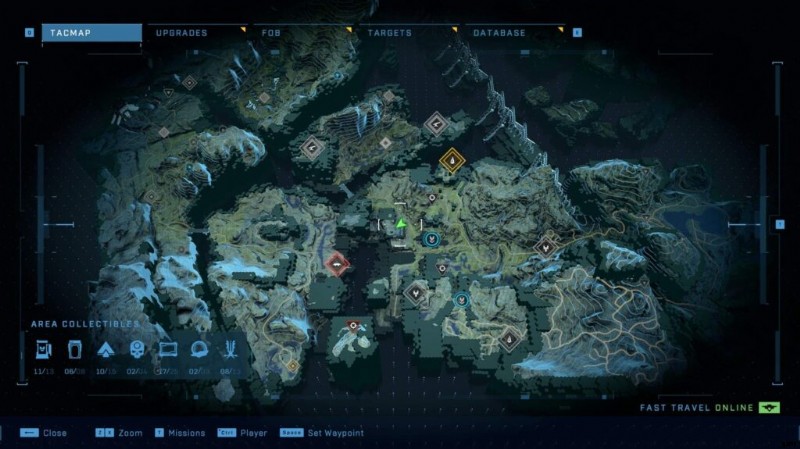
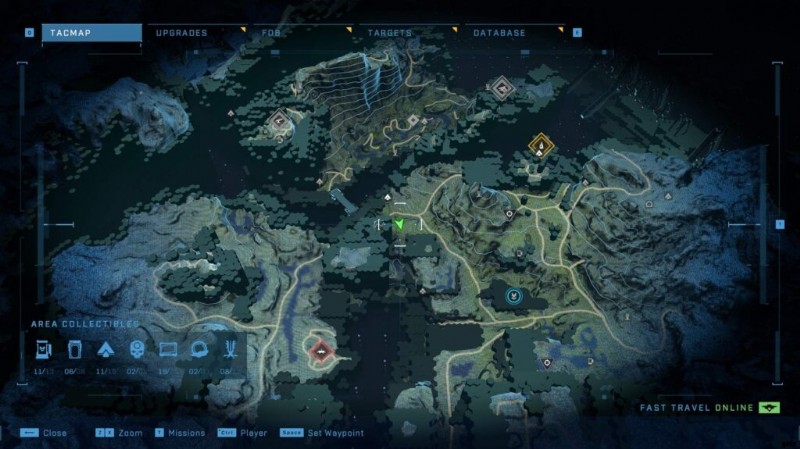
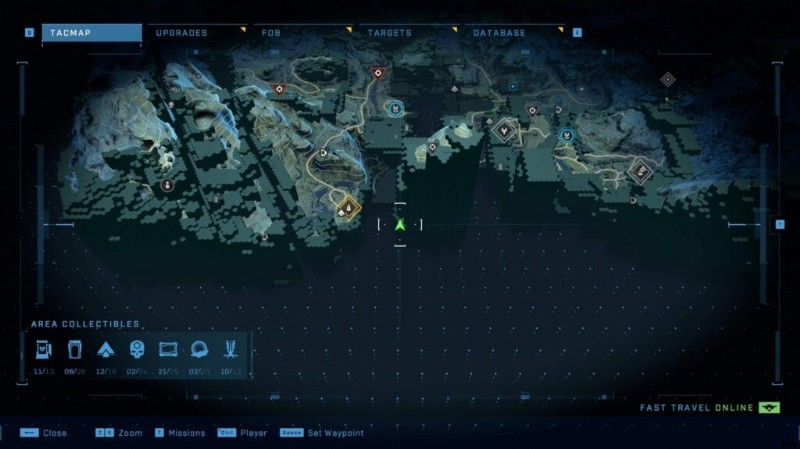
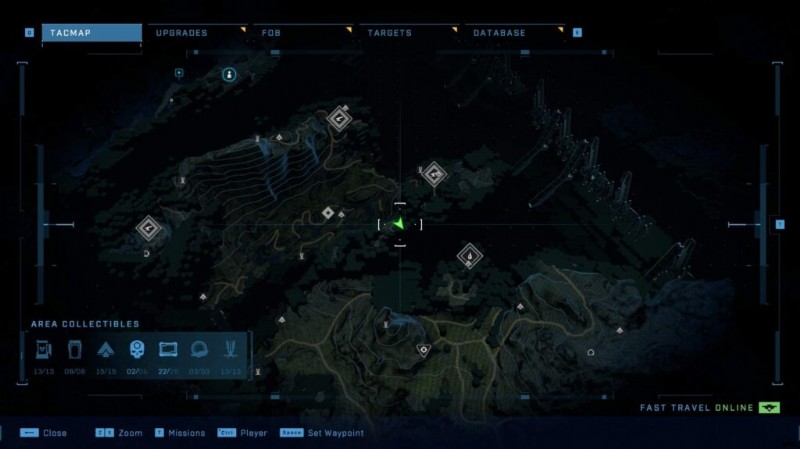
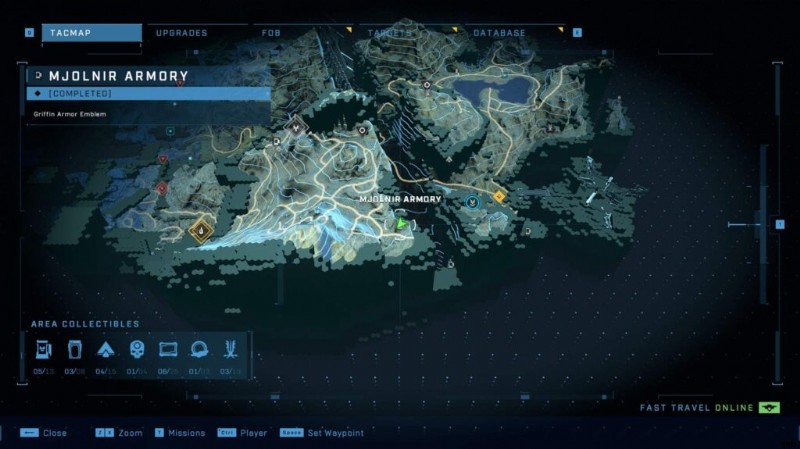
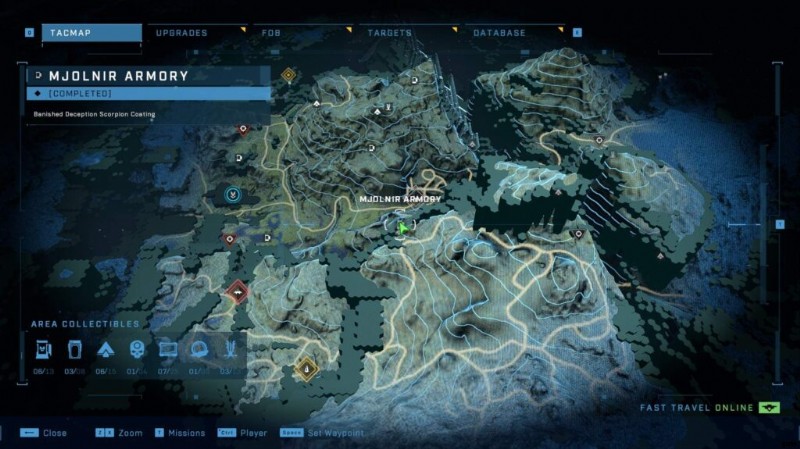
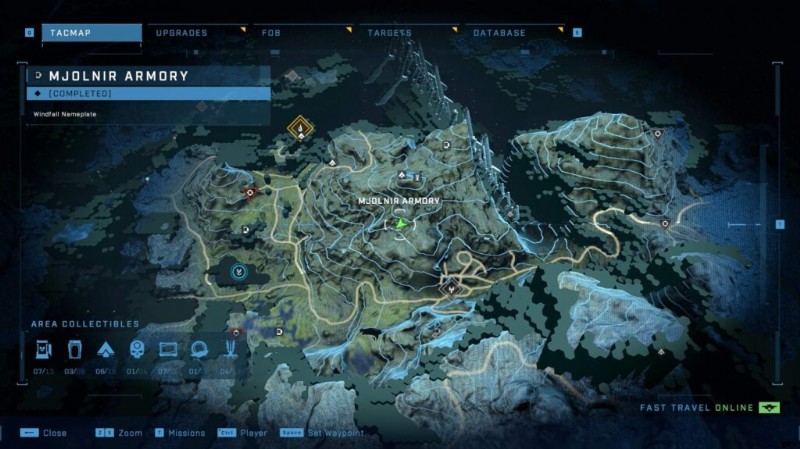
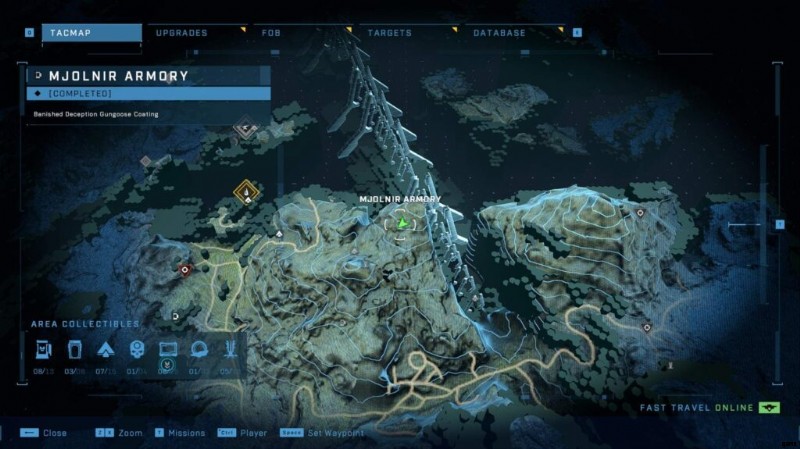
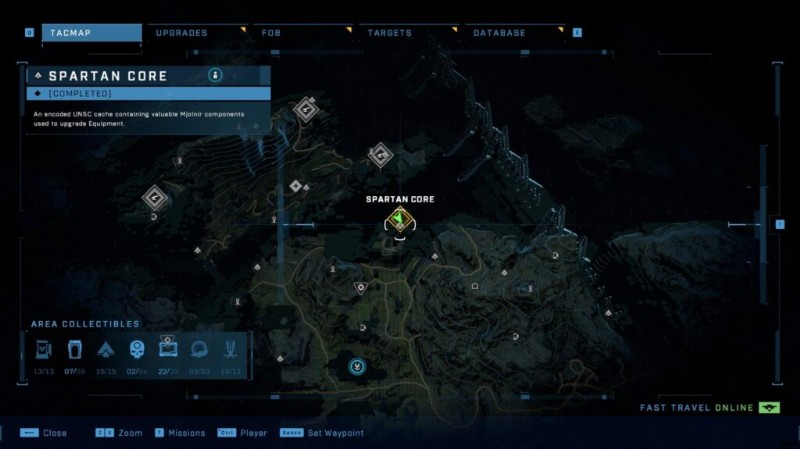
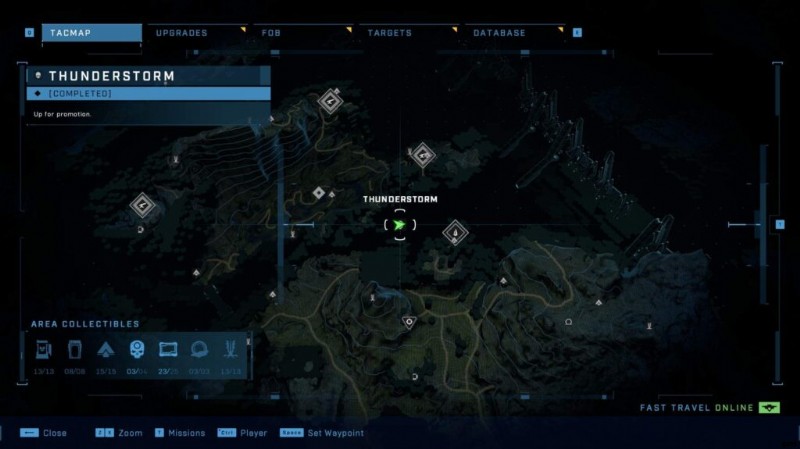
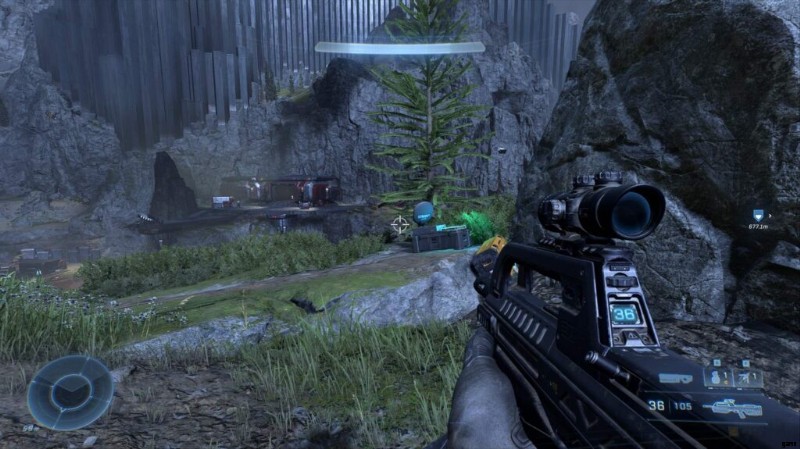
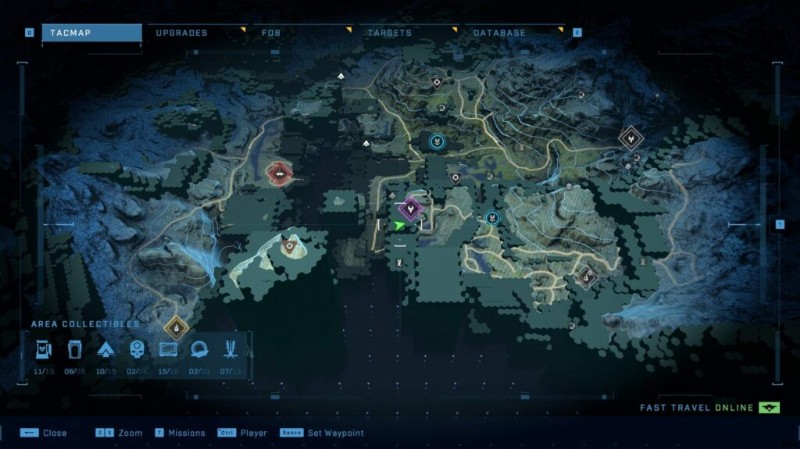
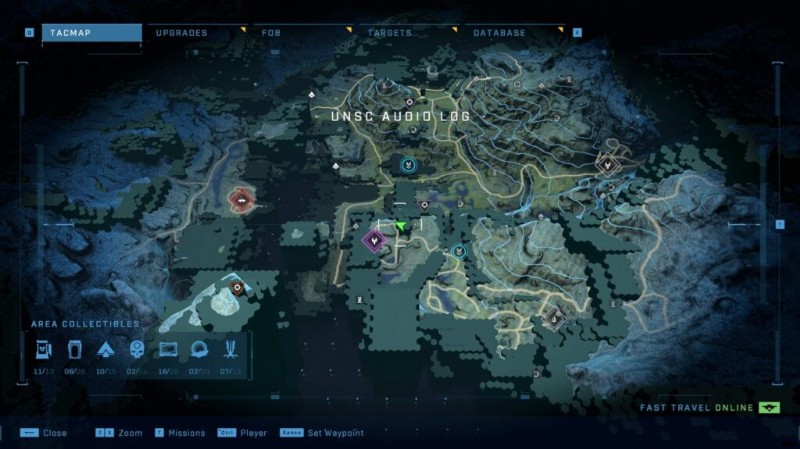
ロックダウン [地域 1]
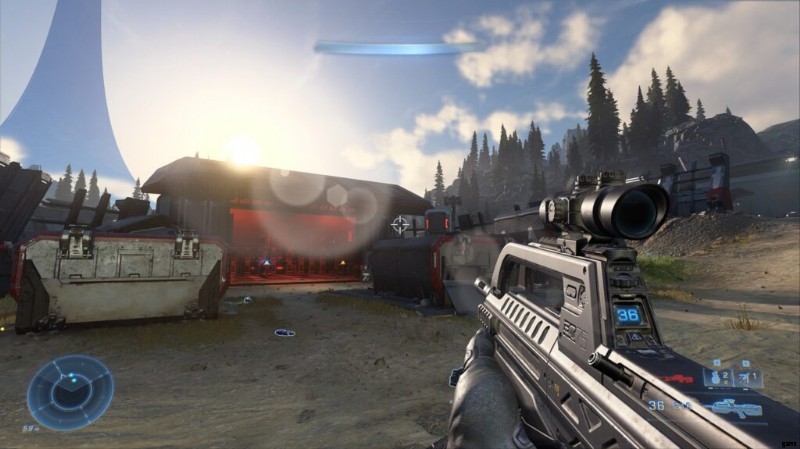
インフィニット初の「オープンワールド」リージョン。この地域には、従来の Halo スタイルの「ミッション」はありません。攻略するだけの砦。
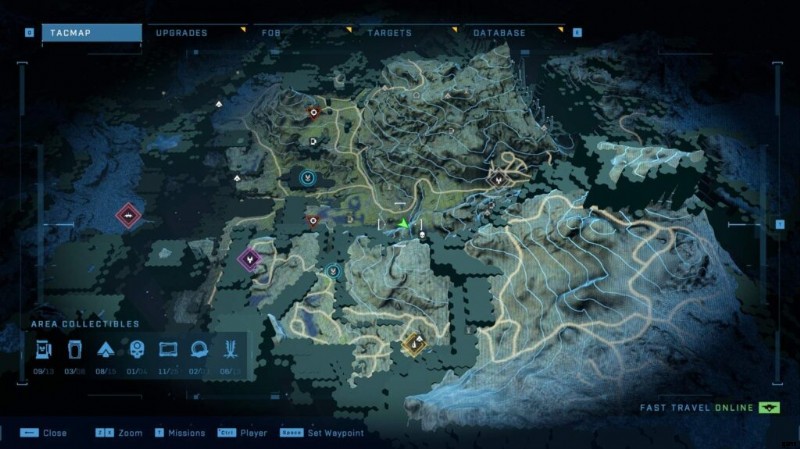
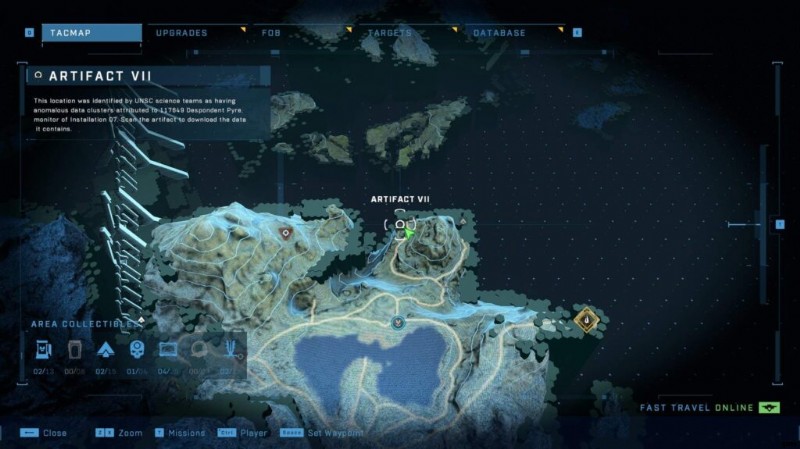
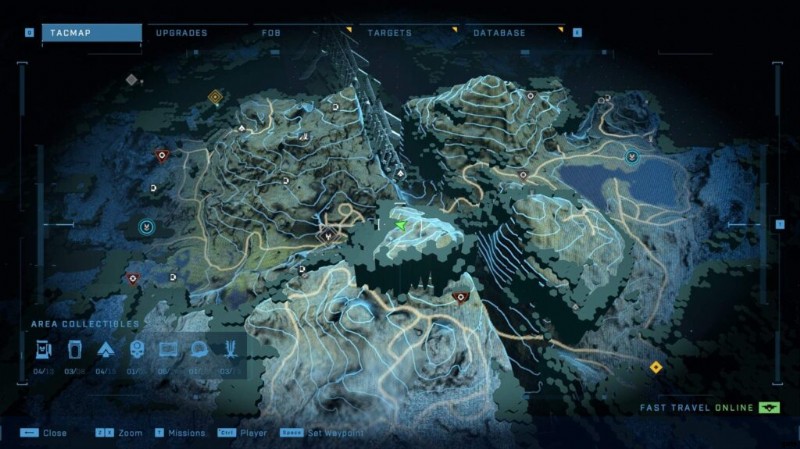
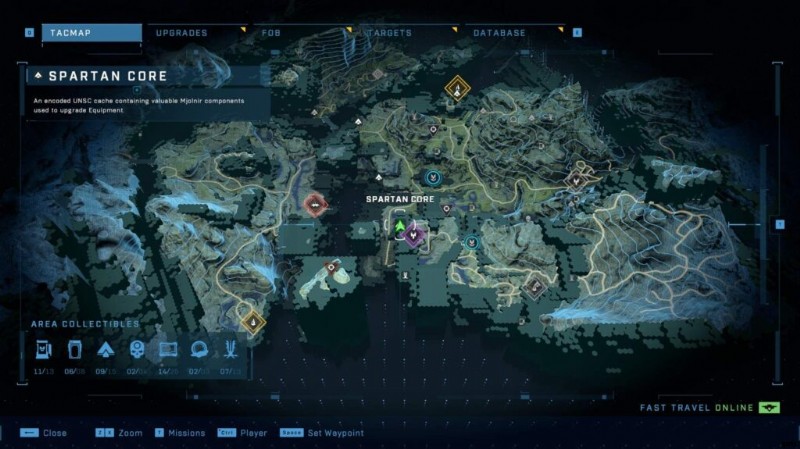
クリックして拡大…
UNSC 音声ログ #1 – 準備
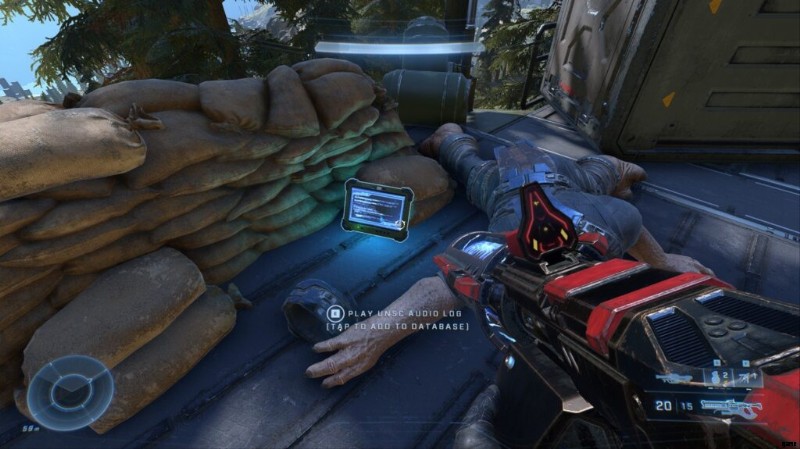
FOB ゴルフに近づいて一掃したら、キャプチャ ポイントに向かい、場所をアクティブにして確保し、左に曲がります。プラットフォームの端近くにある土嚢の山に立てかけられた音声ログが表示されます。
UNSC 音声ログ #2 – スパルタの音声ログ – パーフェクト エイム
FOB – ゴルフのすぐ隣、前身のヘックスクリフの側。
UNSC 音声ログ #3 – 船長の報告 – インフィニティの接近
FOB – フォックストロットのすぐ隣で、右に曲がると、UNSC 輸送用コンテナに立てかけられているのが見えます。
UNSC オーディオ ログ #4 – スパルタン オーディオ ログ – オーバーウォッチ
FOB フォックストロットの北西。棚から小さなクレバスに飛び込みます。バトルライフルを持った倒れた兵士の近くの地面に音声ログが落ちています。

UNSC 音声ログ #5 – スパルタン音声ログ – 時間を稼ぐ
FOB-フォックストロットの北西。武器庫から西に向かって崖に向かってこの音声ログを見つけ、倒れた兵士と手榴弾の箱の近くの地面に横たわっています。
UNSC 音声ログ #6 – スパルタン音声ログ – タッチダウン
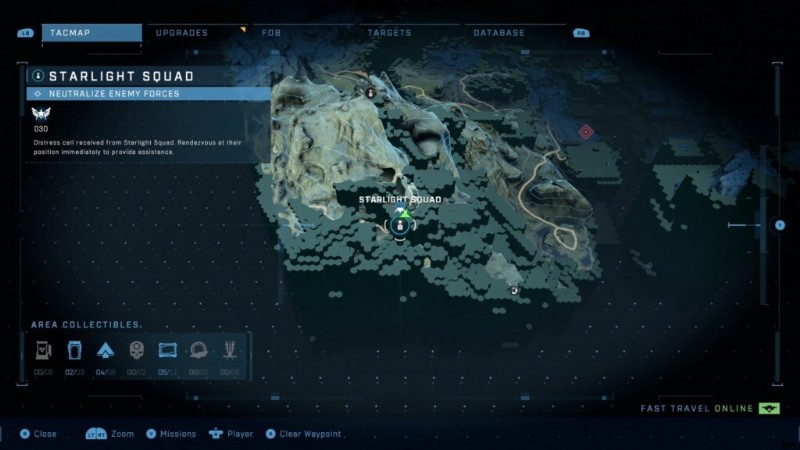
スターライト隊を救出しているとき。音声ログは地面に横たわり、機関銃の砲台に通じる傾斜路の下にあります。
UNSC 音声ログ #7 – スパルタン音声ログ – 敵のテリトリー
最初の島の南端の崖の上。南東側のミョルニルボックスからさらに南東に曲がり、山の断崖絶壁を登ります。 UNSC ボックスとロケット ランチャー、オーディオ ログがあります。
UNSC オーディオ ログ #8 – スパルタン オーディオ ログ – イントレピッド ディセント
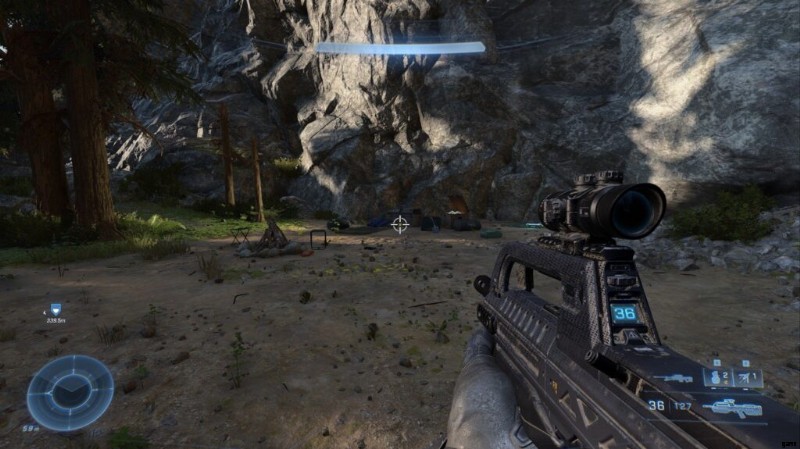
島の南部、山の上。この音声ログはメイン パスから離れた小さなエリアにあります。
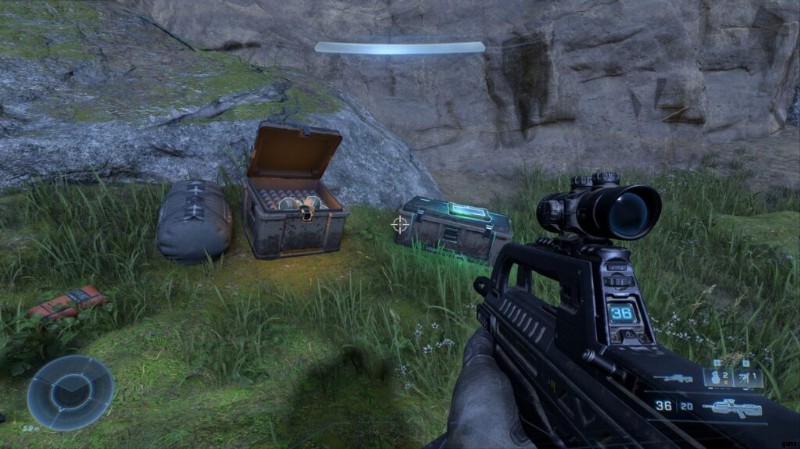
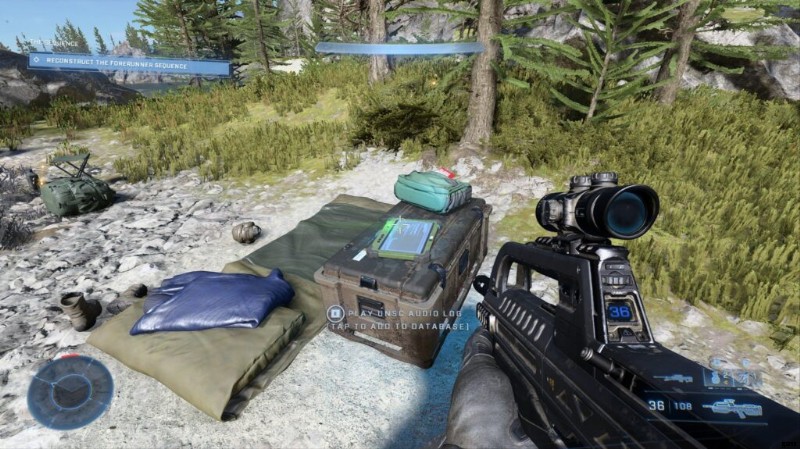
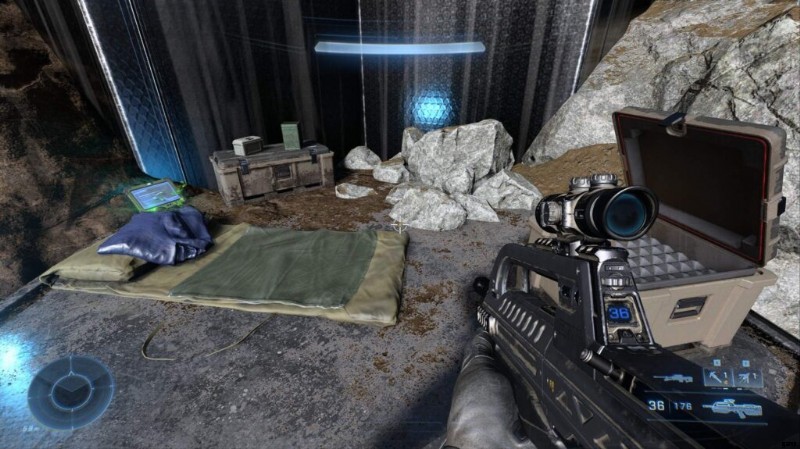
キャンプファイヤーとスナイパーライフルのある小さな放棄されたキャンプを見つけてください。音声ログは崖の近くにあり、寝袋の上に横たわっています。
UNSC オーディオ ログ #9 – スパルタン オーディオ ログ – イントレピッド ディセント
真南の山の中腹に、キャンプファイヤーとスナイパーライフルのある小さな放棄されたキャンプがあります。音声ログは崖の近くにあり、寝袋の上に横たわっています。
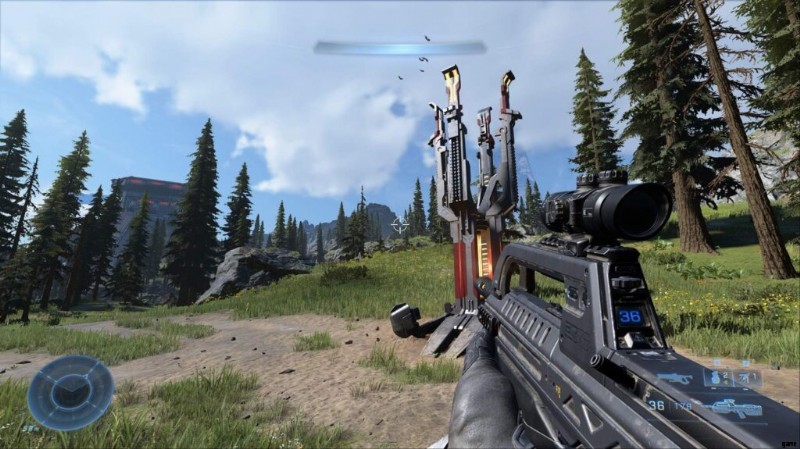
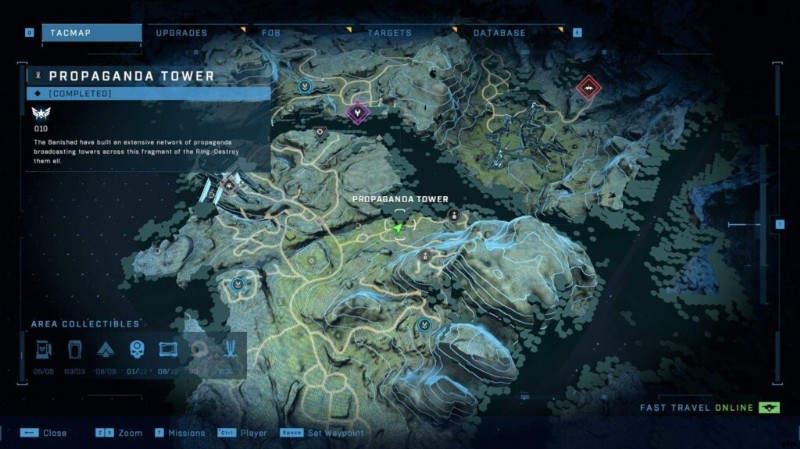
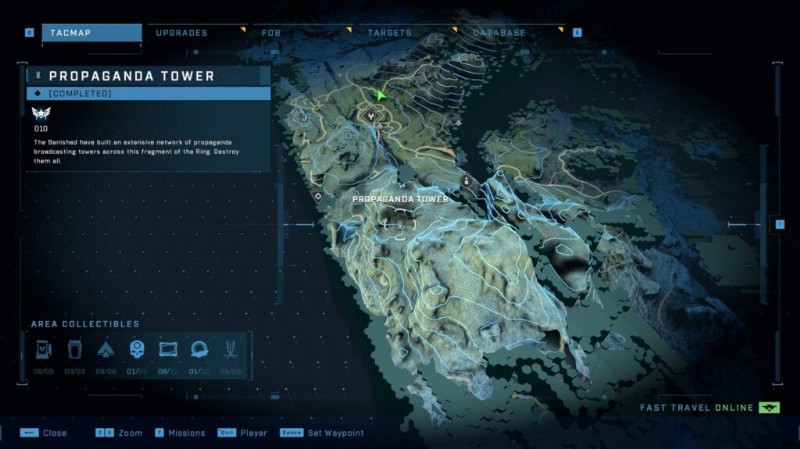
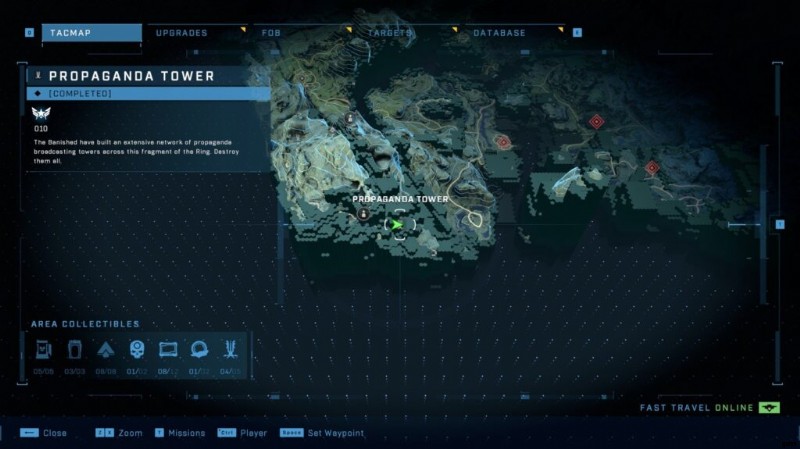
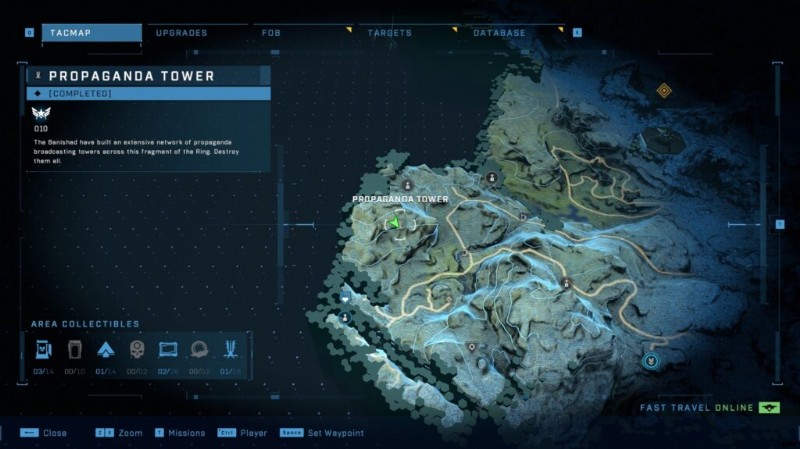
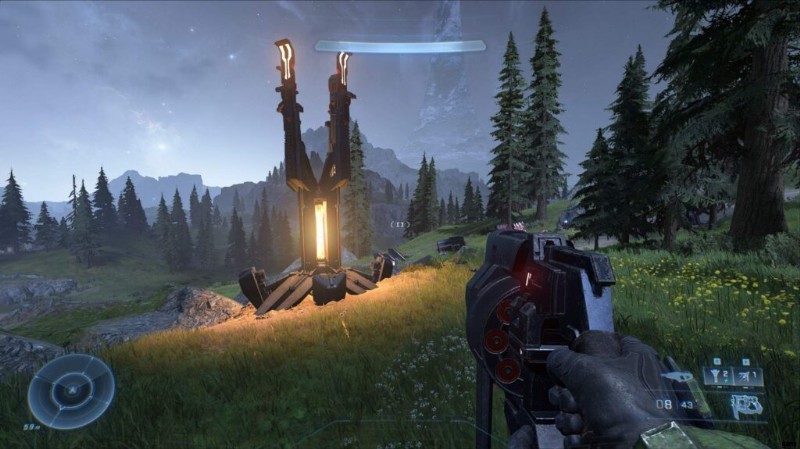
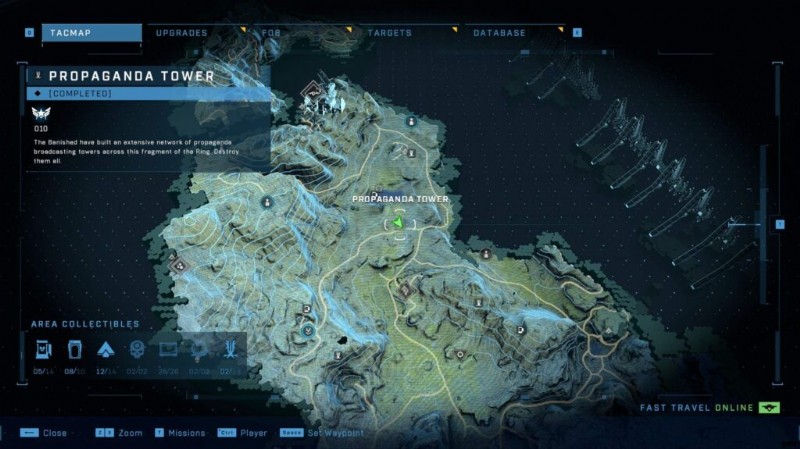
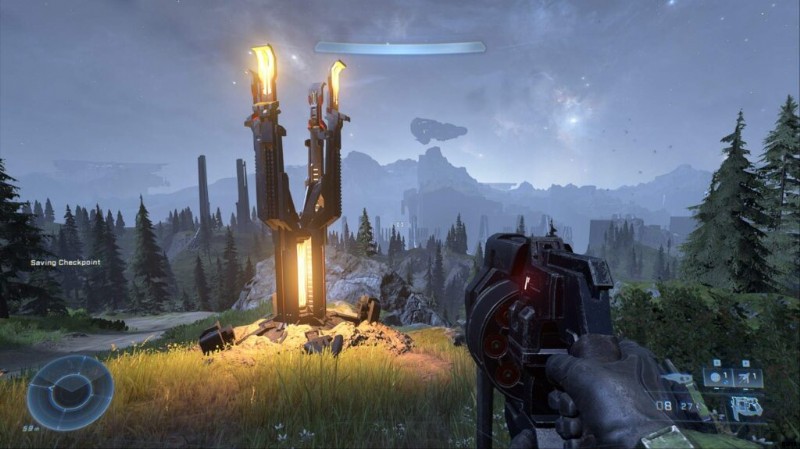
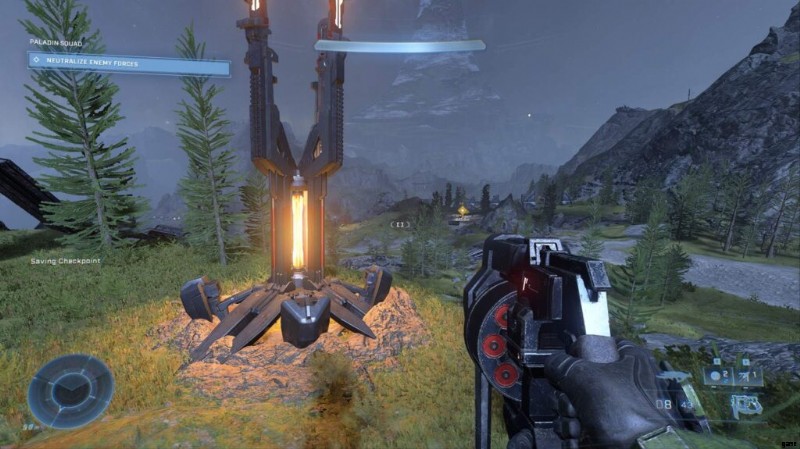
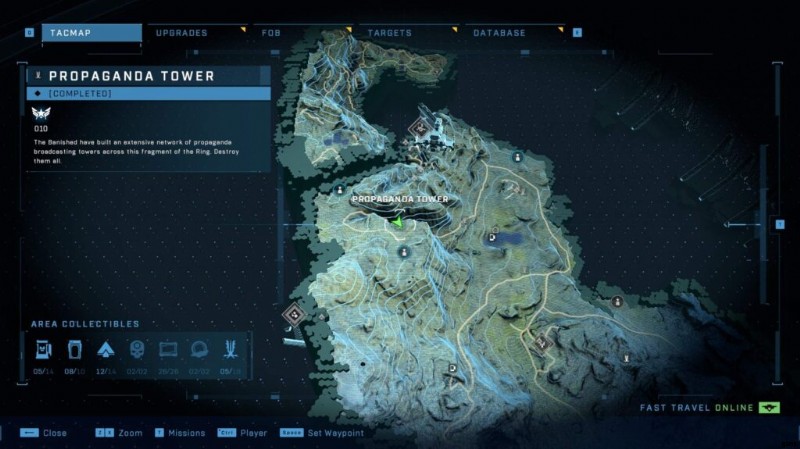
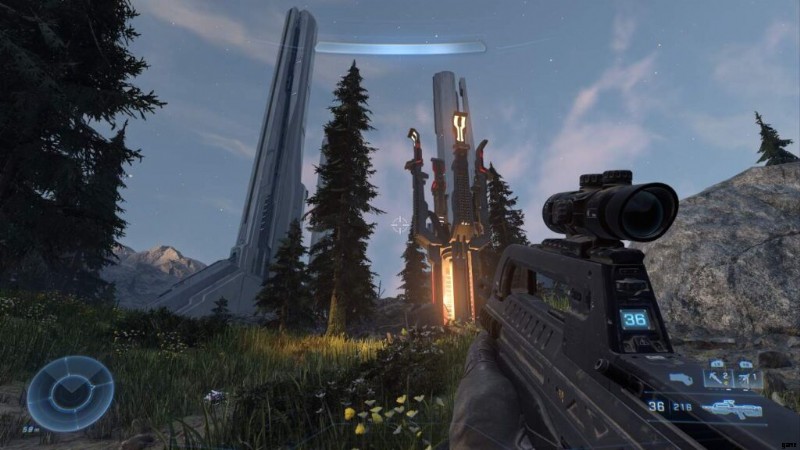
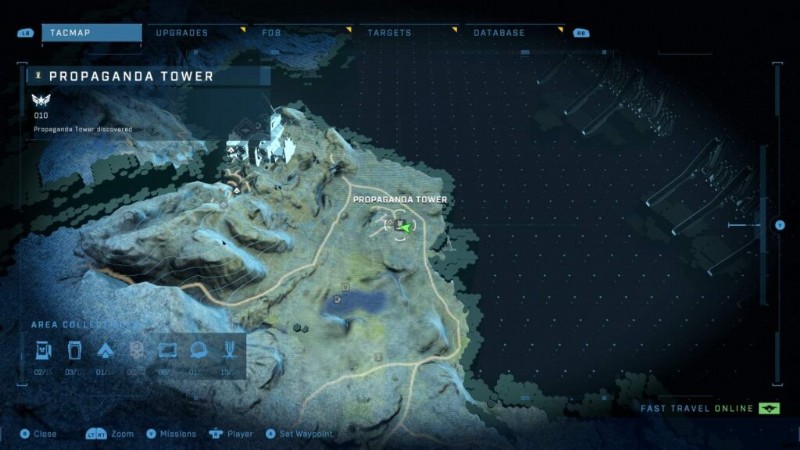
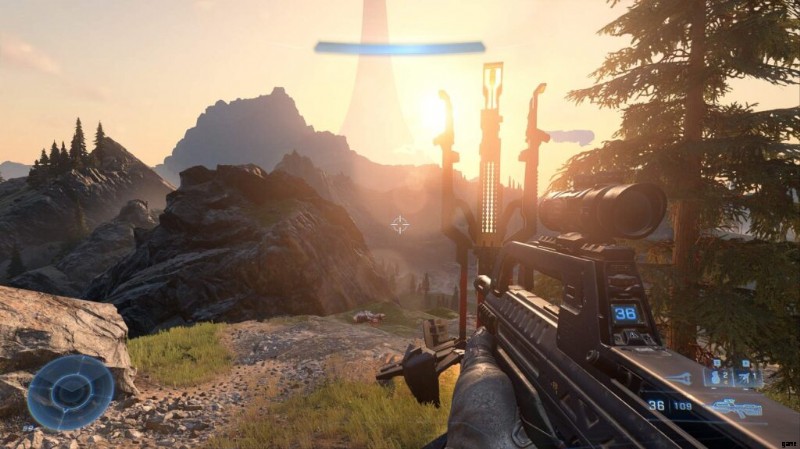
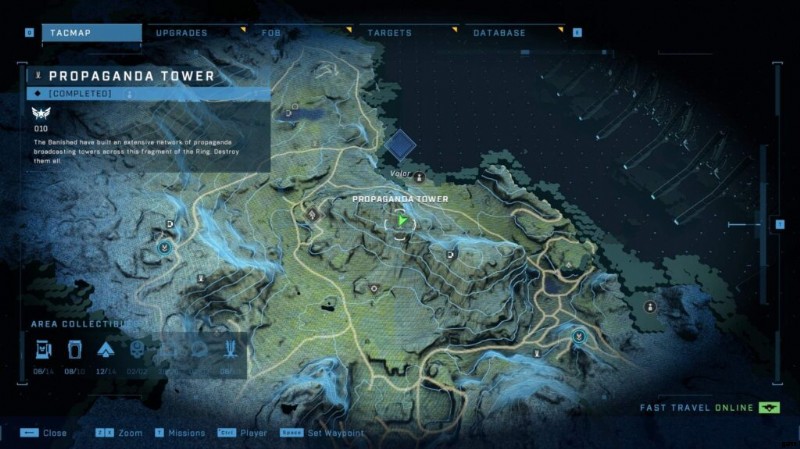
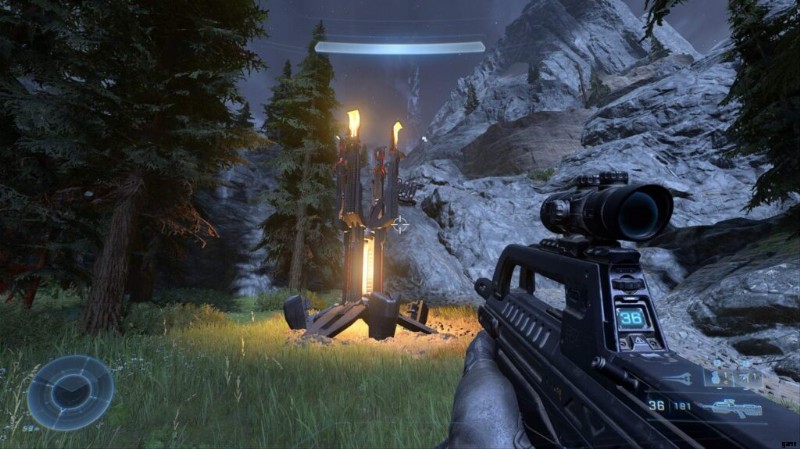
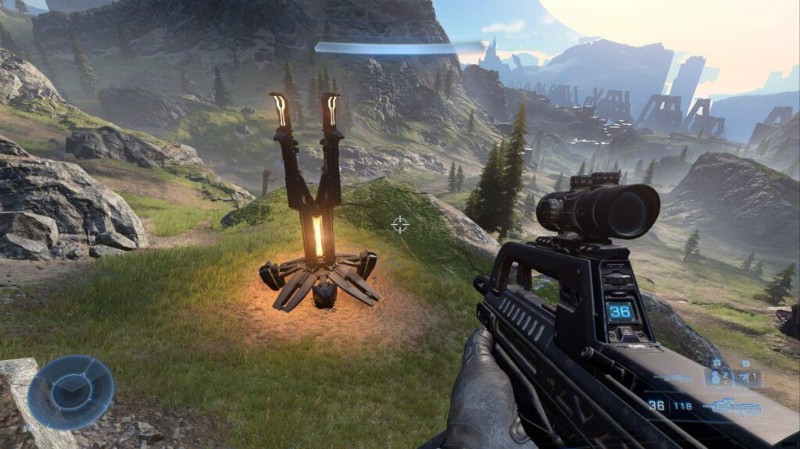
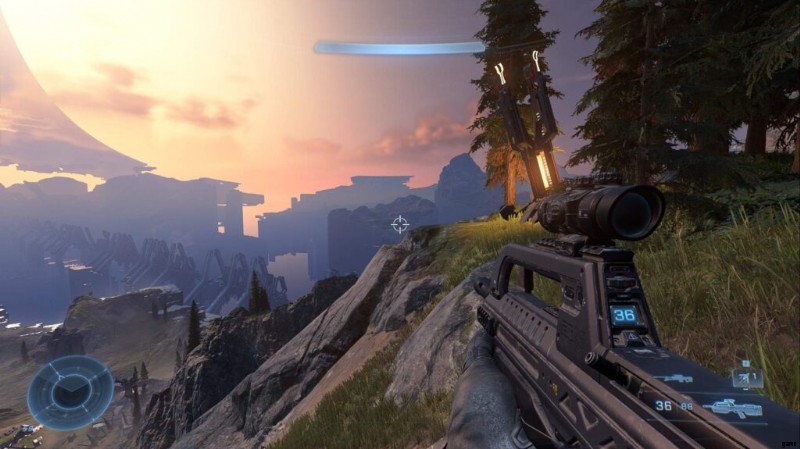
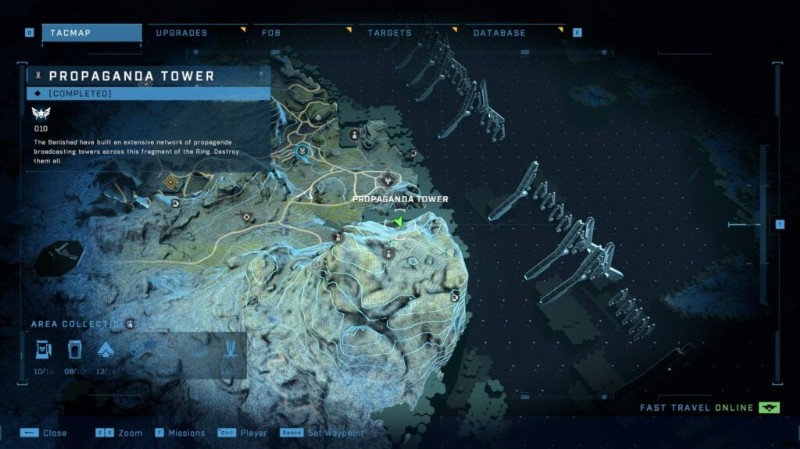
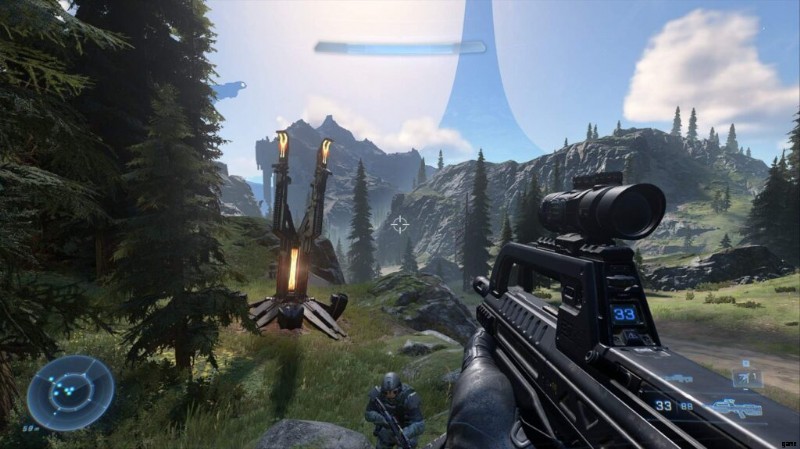
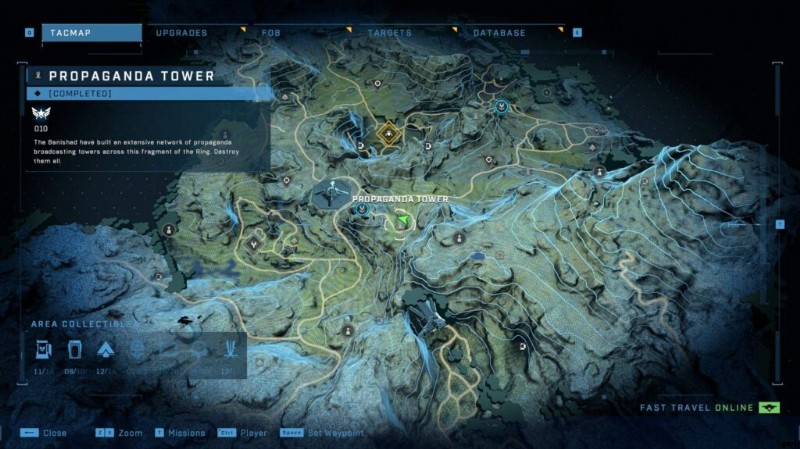
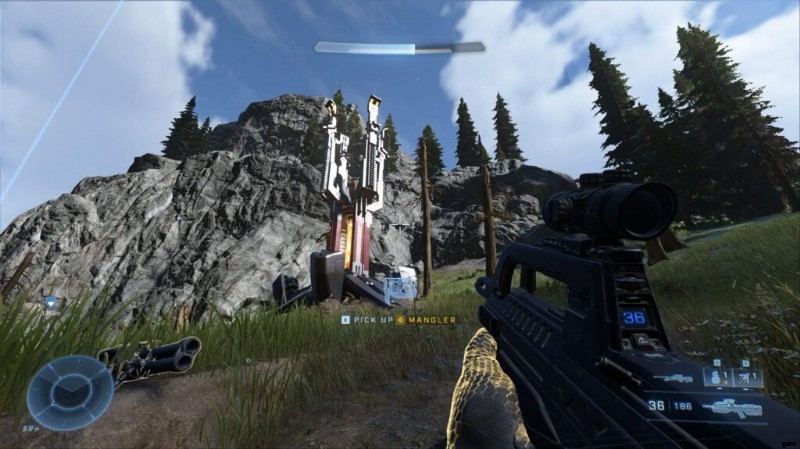
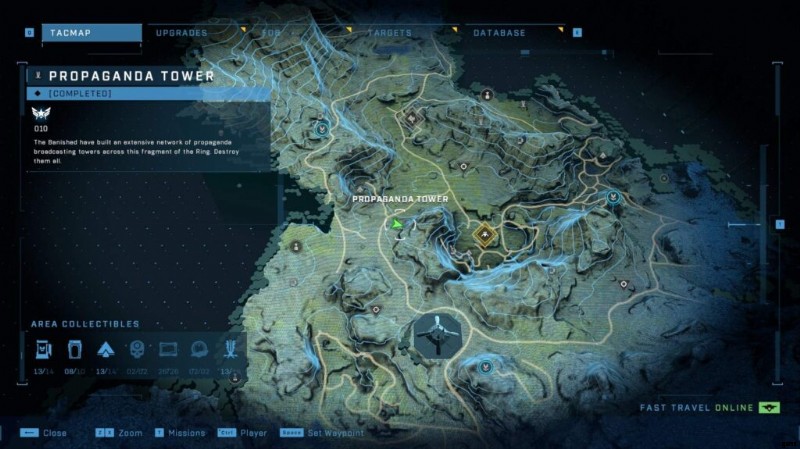
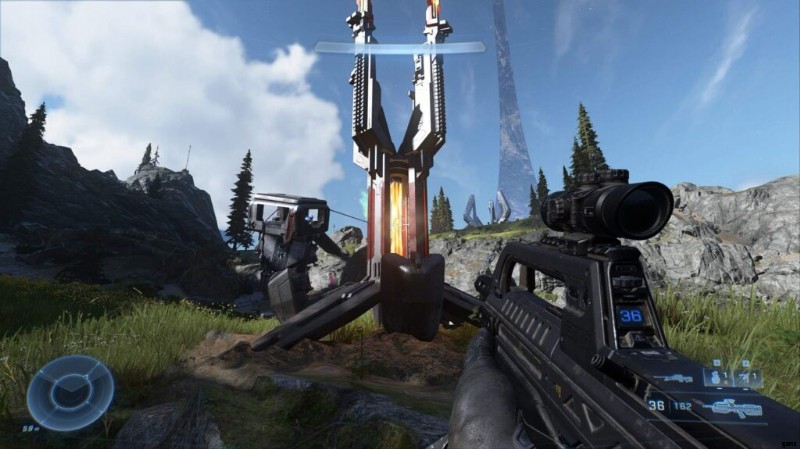
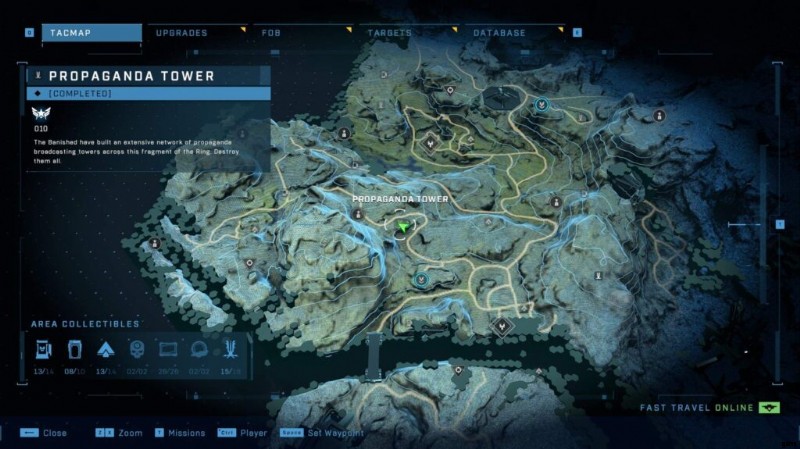
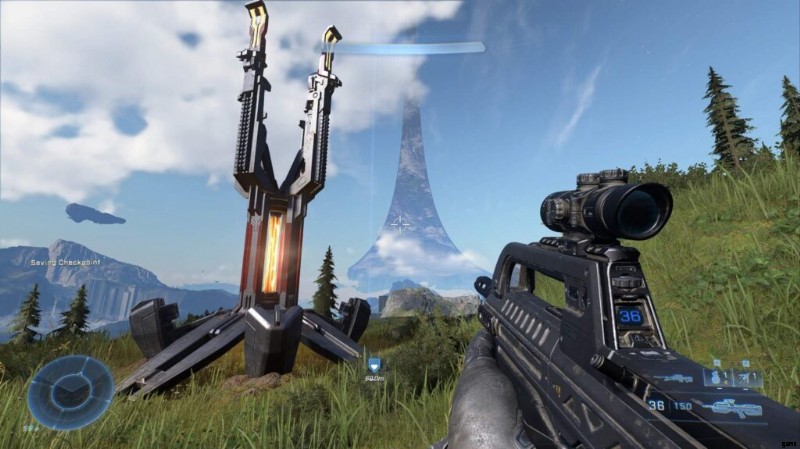
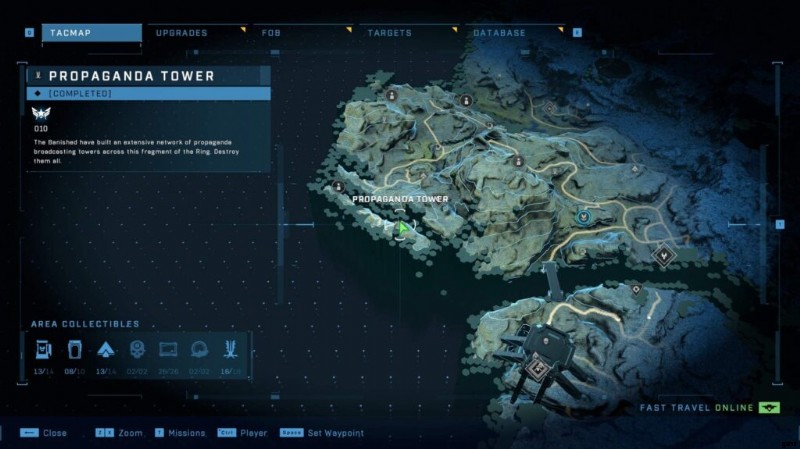
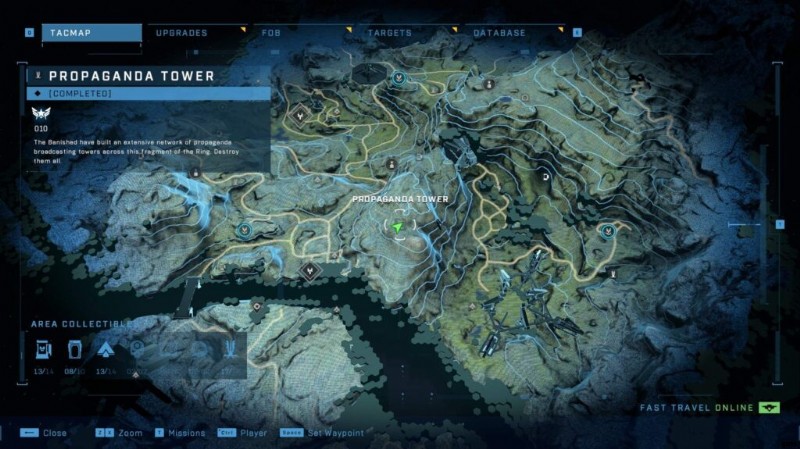
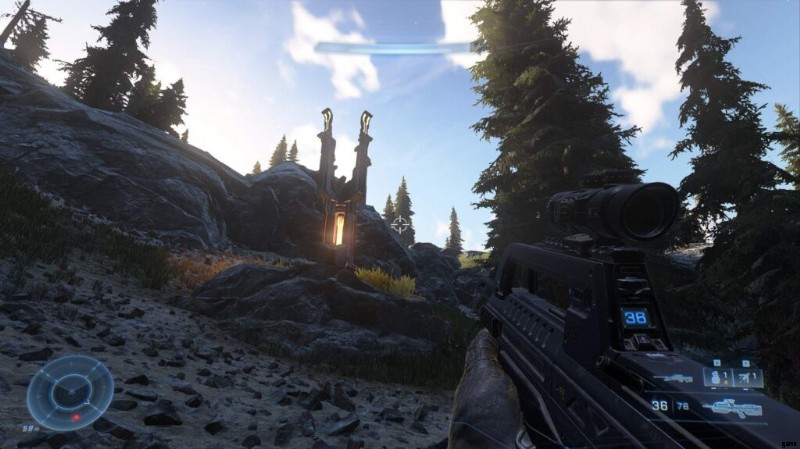
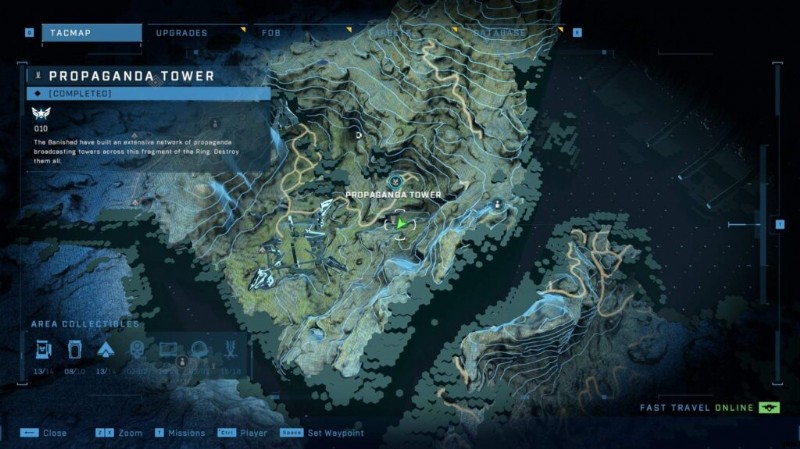
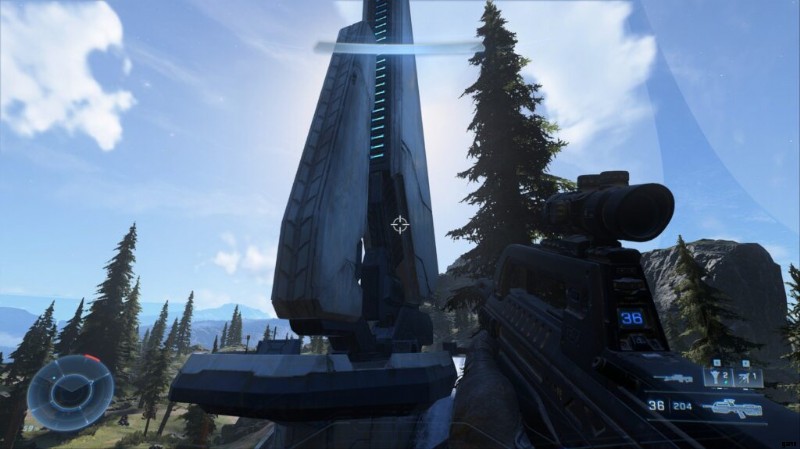
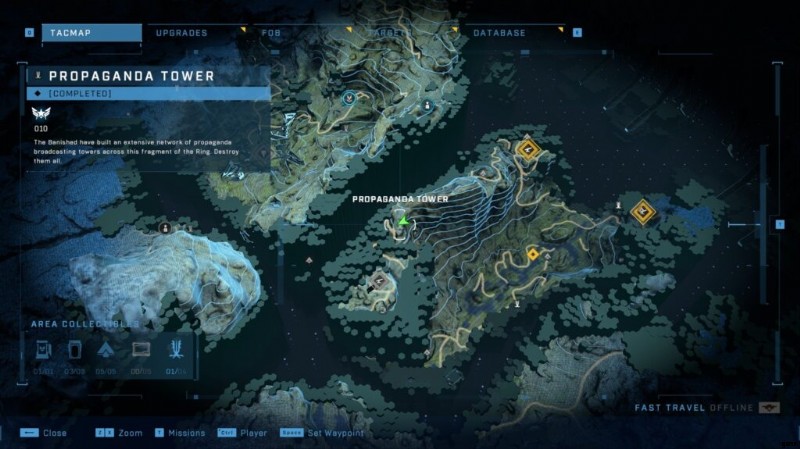
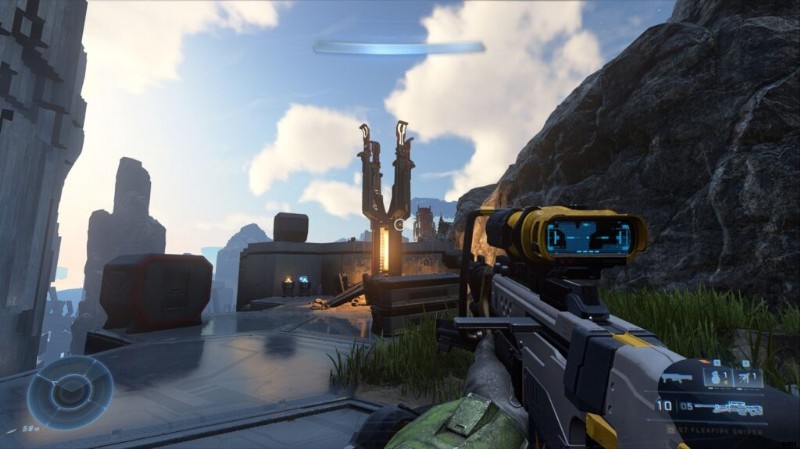
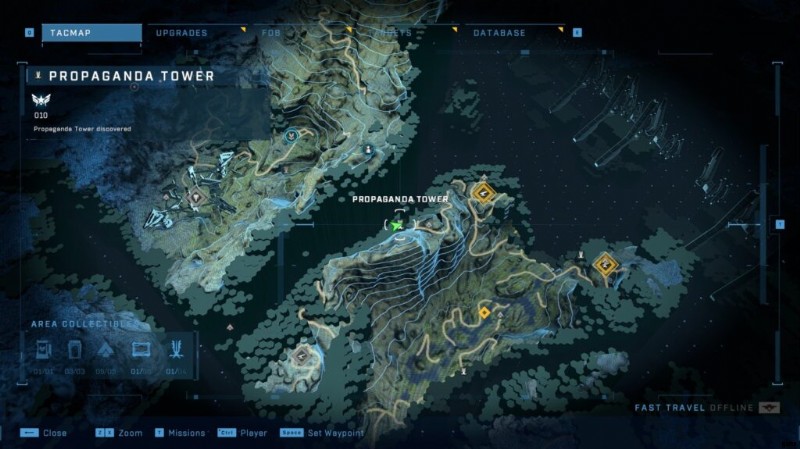
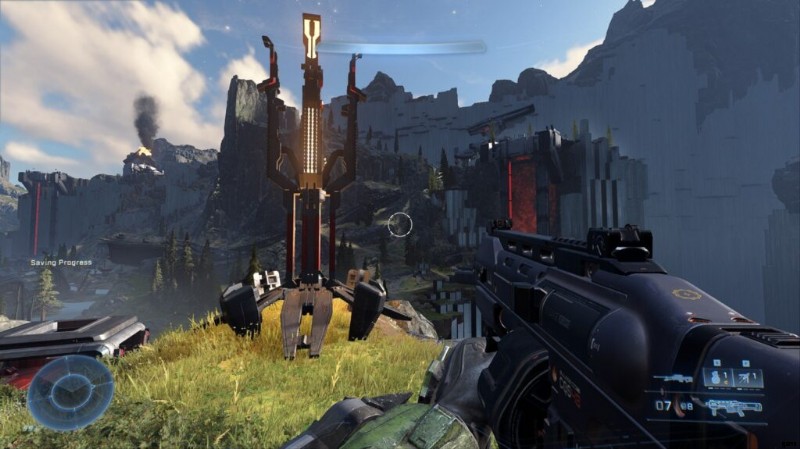
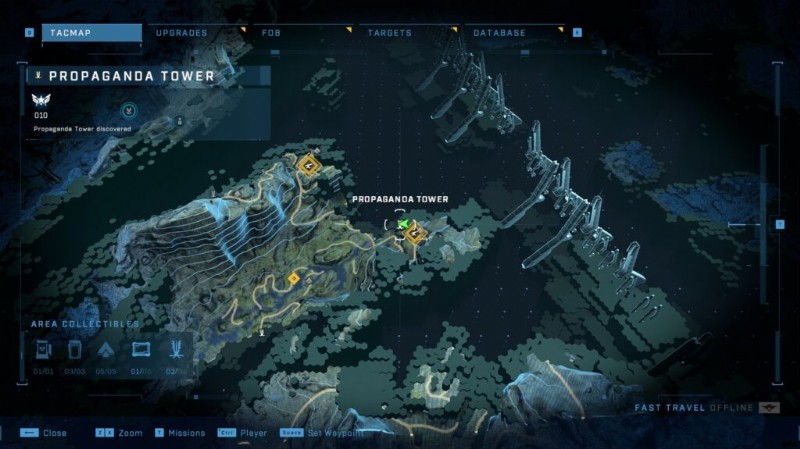
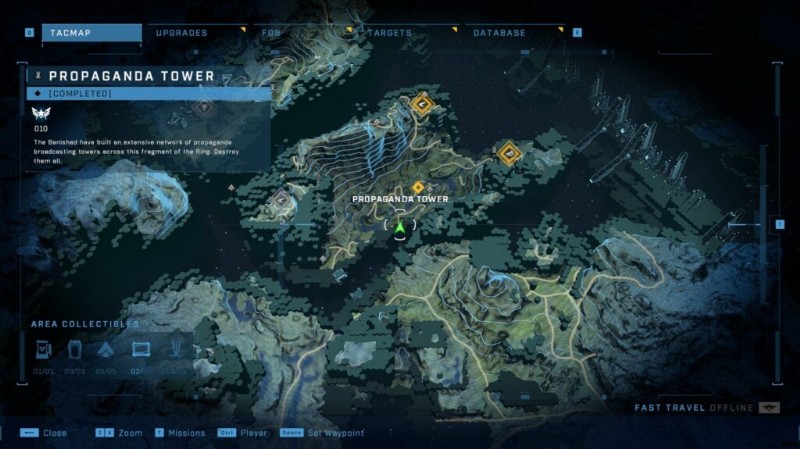
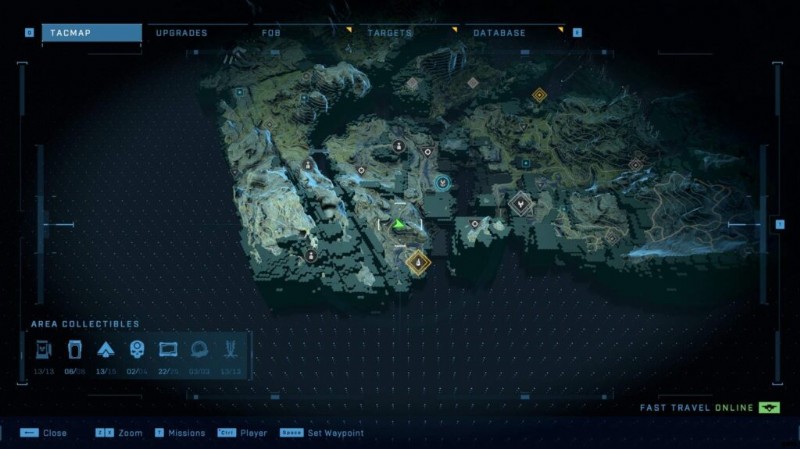
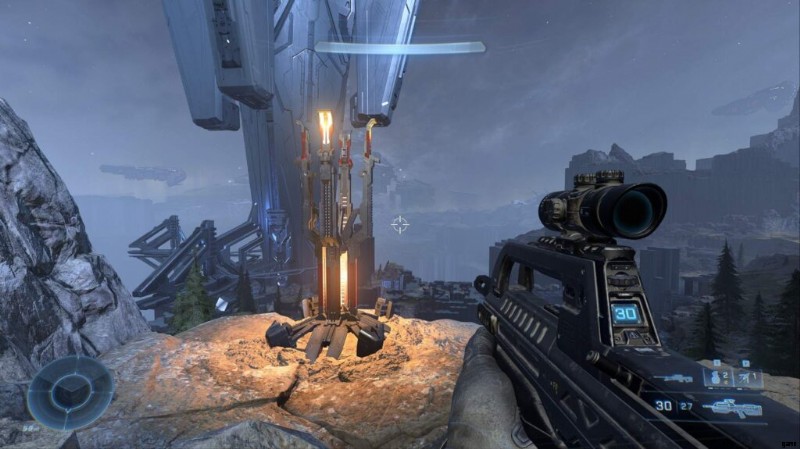
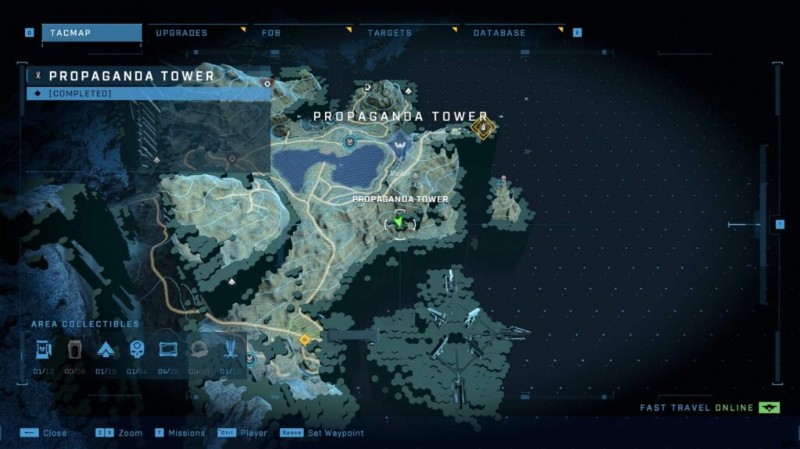
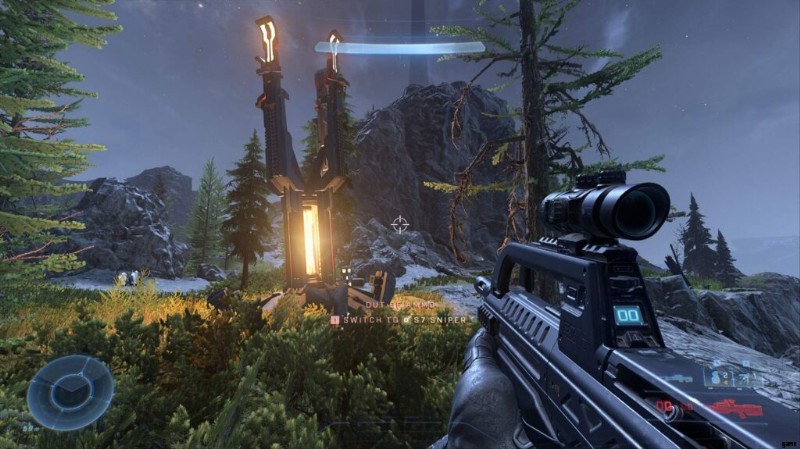
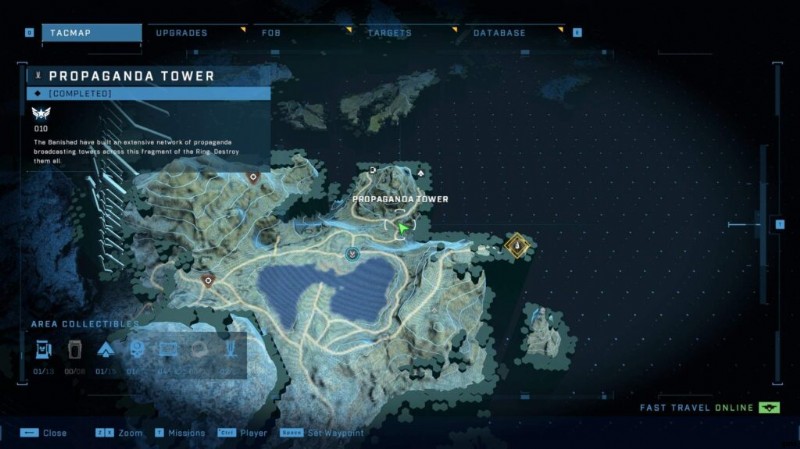
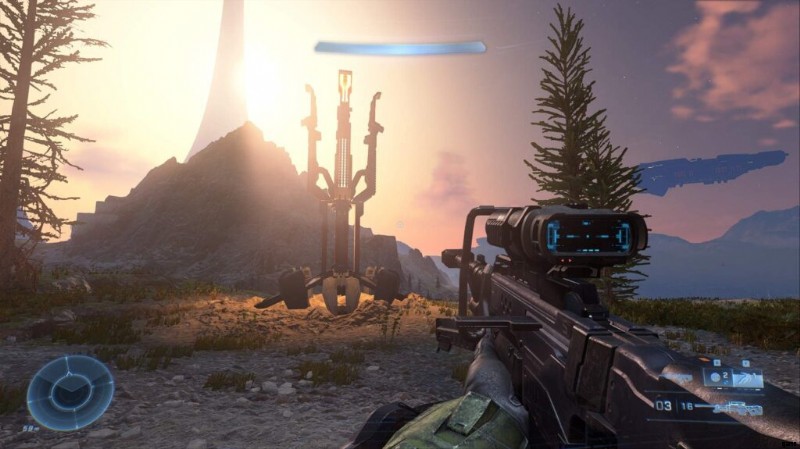
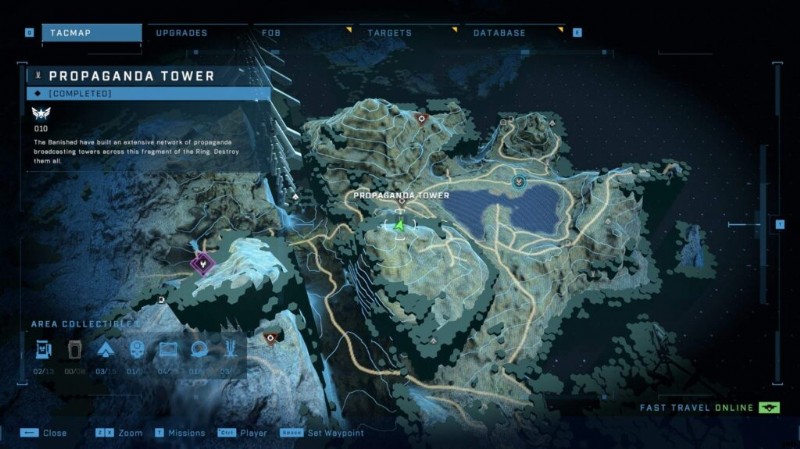
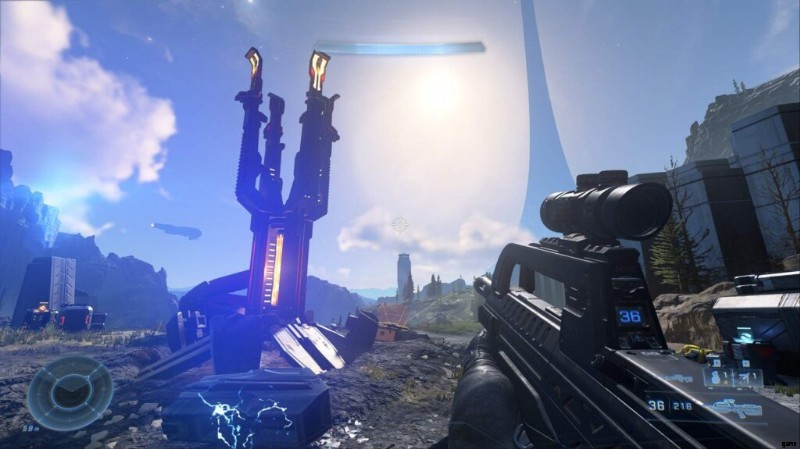
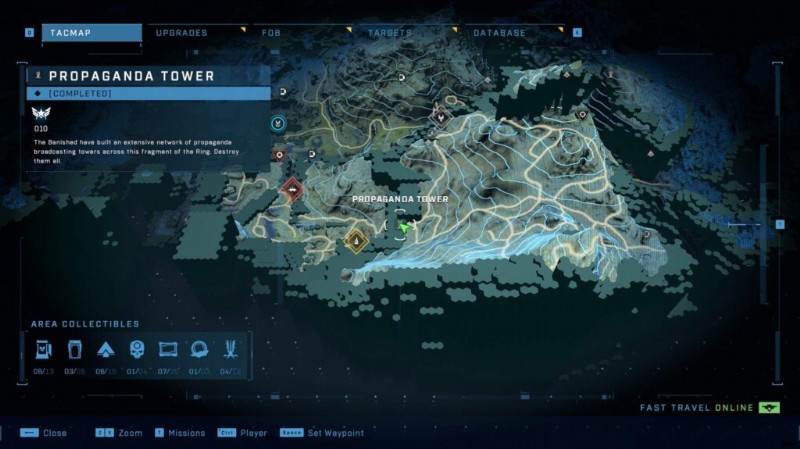
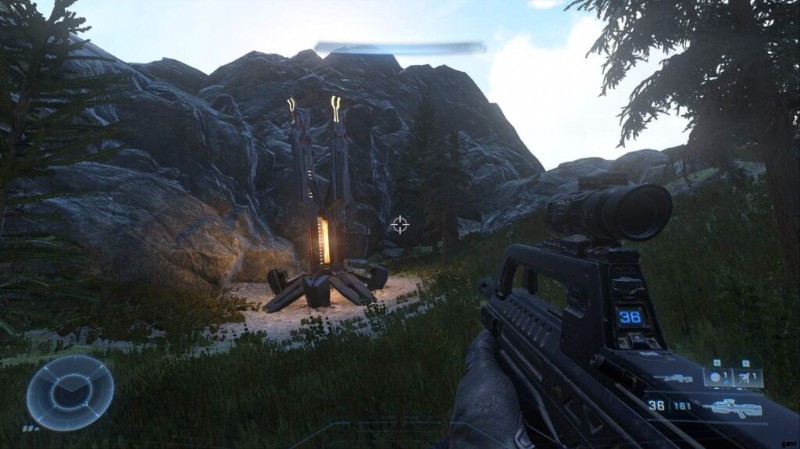
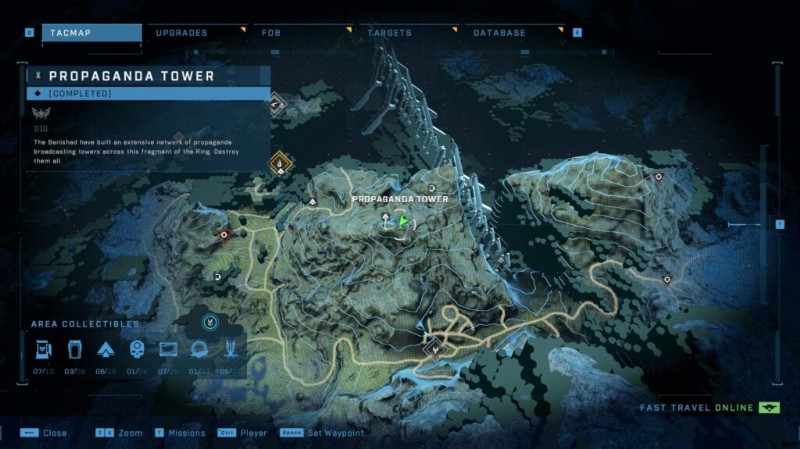
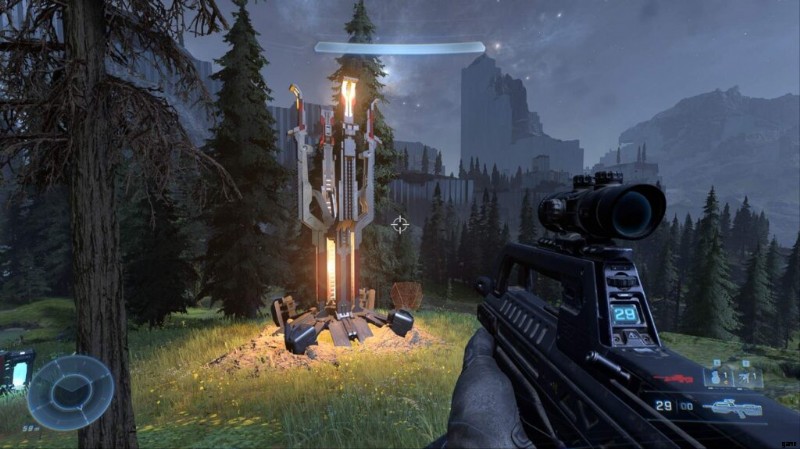
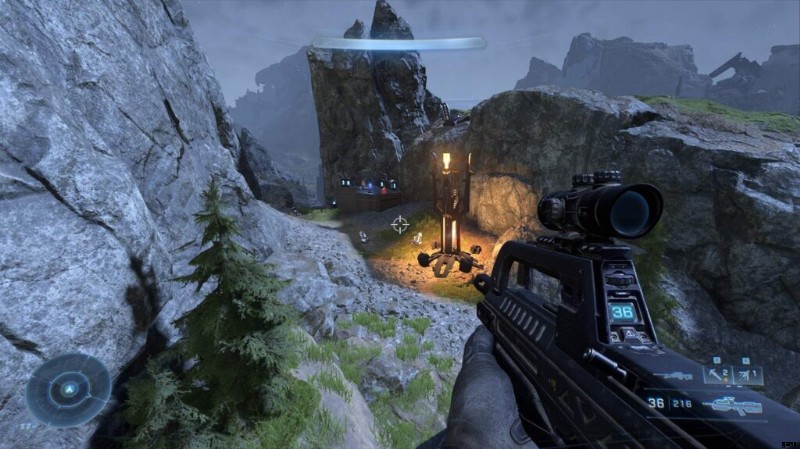
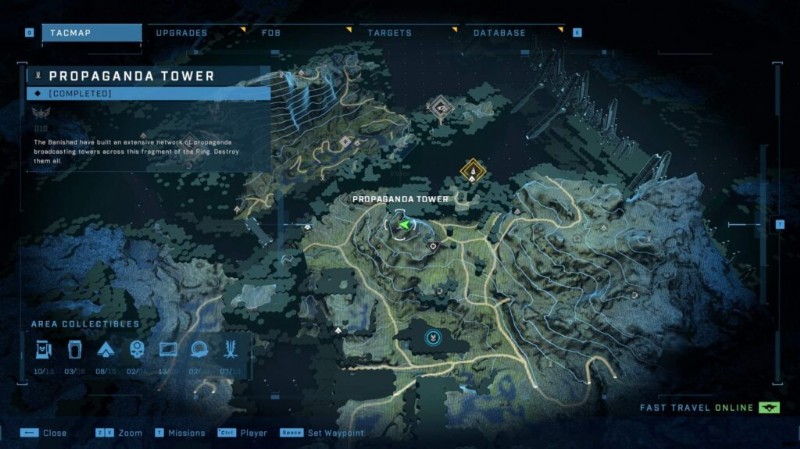
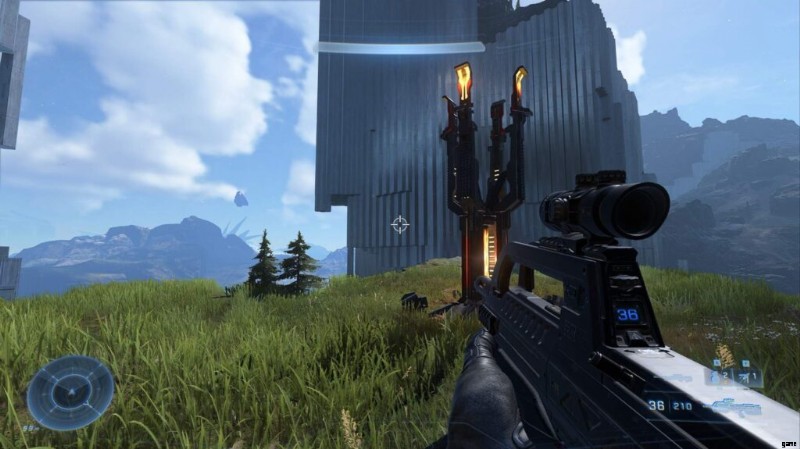
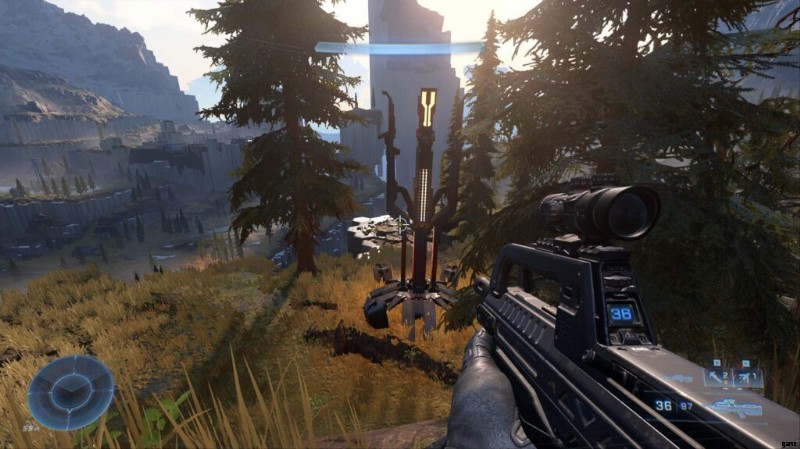
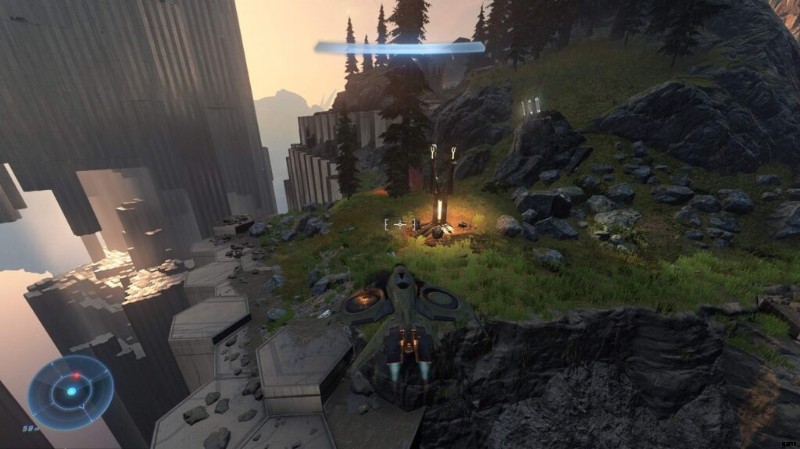
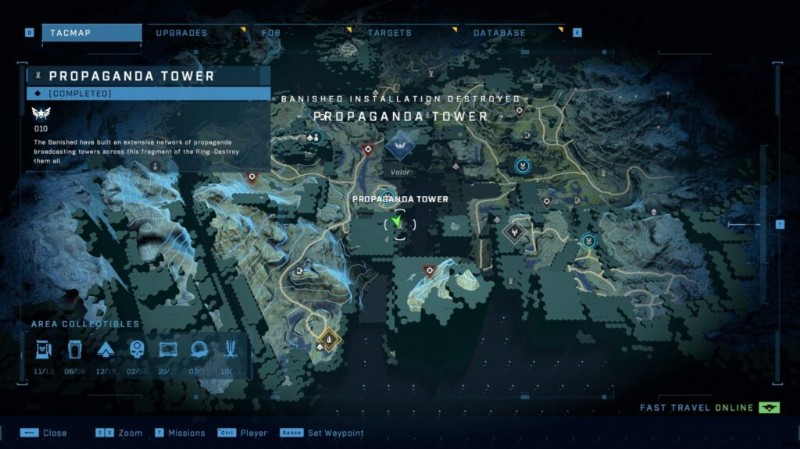
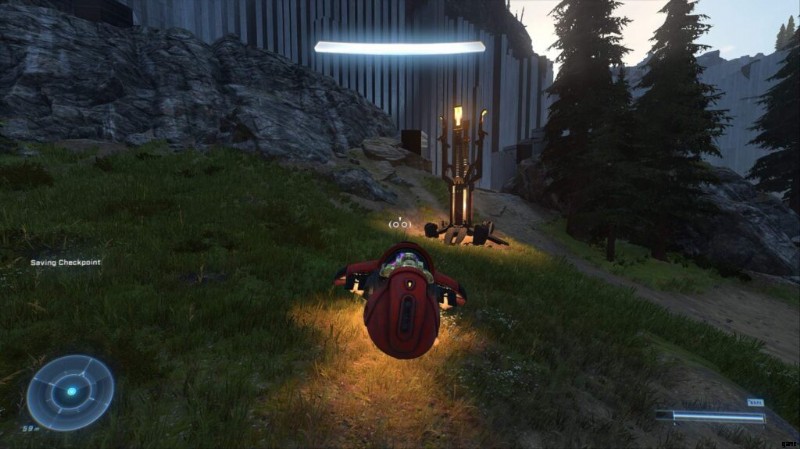
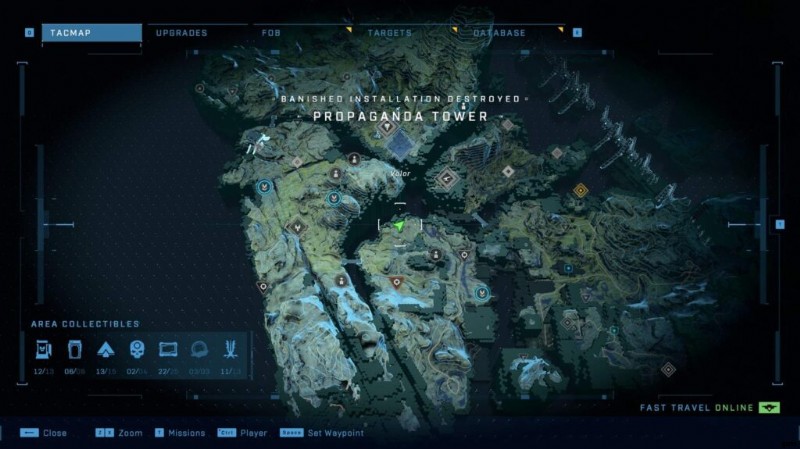
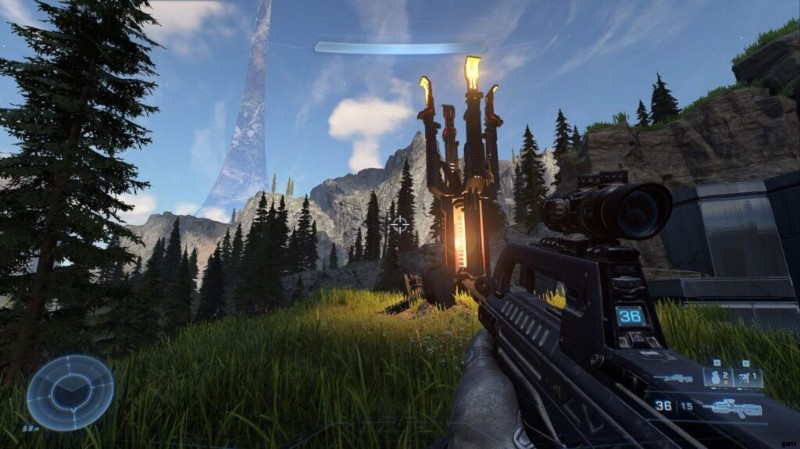
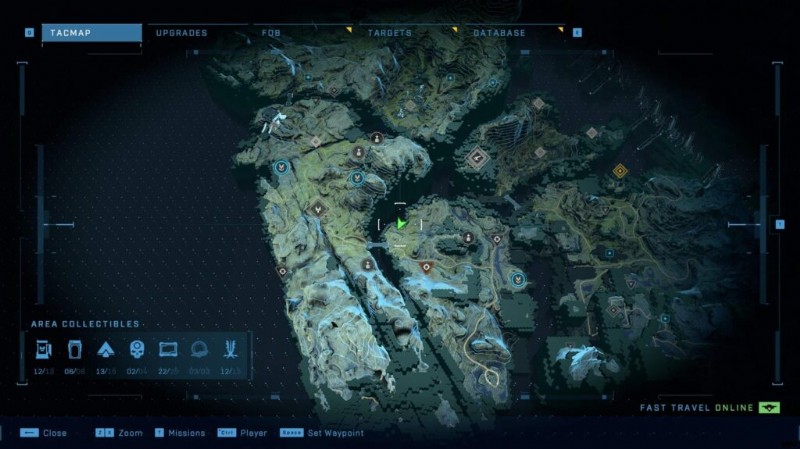
プロパガンダ タワー #1
フォブ・フォックストロットのすぐ東。
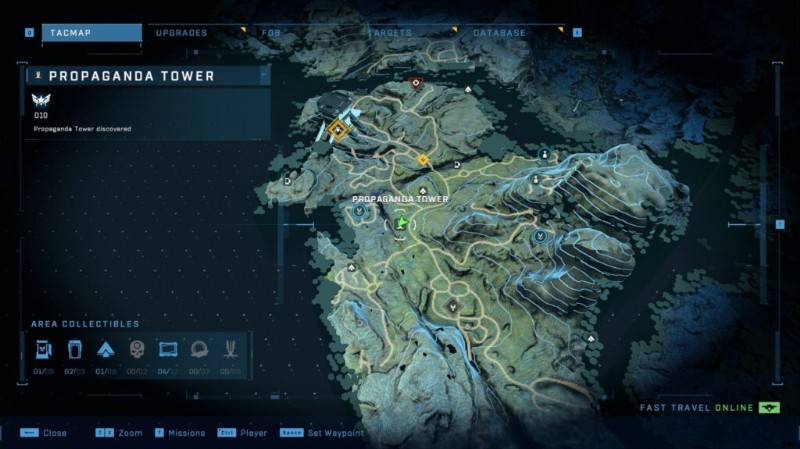
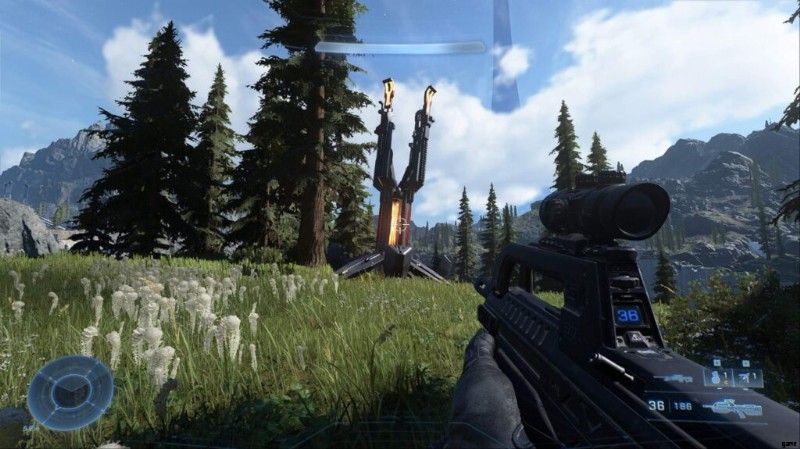
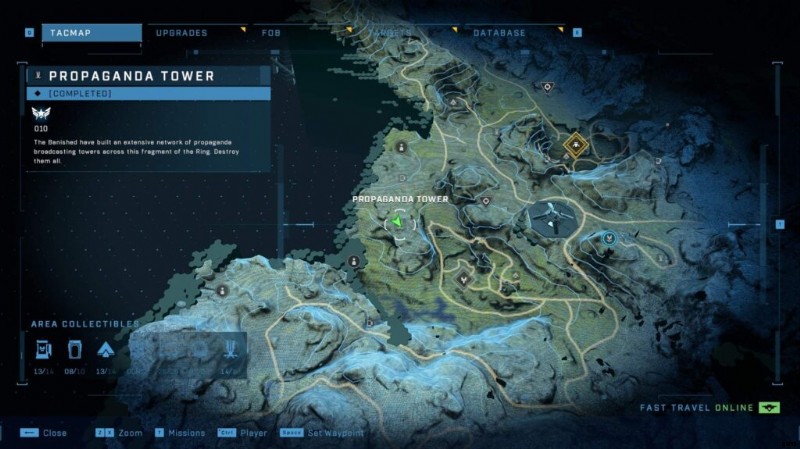
宣伝塔 #2
Cayman Squad のすぐ東、わずかな崖の端にあります。軽く防御。
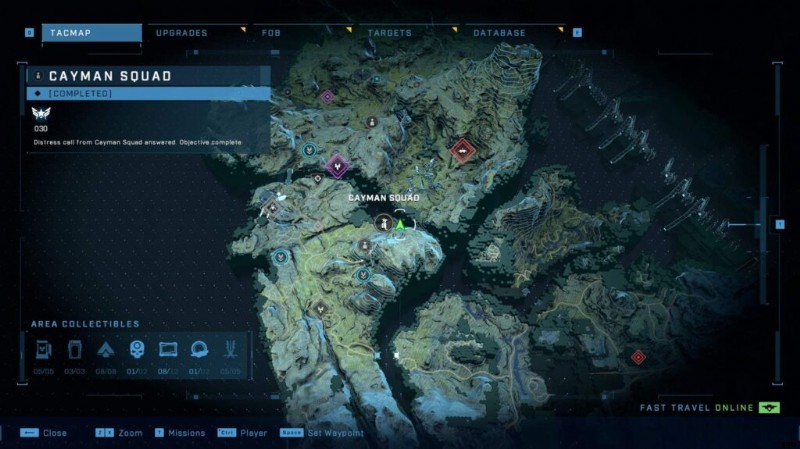
宣伝塔 #3
ケイマン分隊のマーカーのすぐ東。
宣伝塔 #4
暗殺目標の南東に位置する山中。これは、まだ結び付けていない場合、見つけるのが困難です。
宣伝塔 #5
これは非常に見逃されやすいです。プレイアブル マップの南端にあり、スターライト チームの位置の東にあります。小さな浮島にあります。
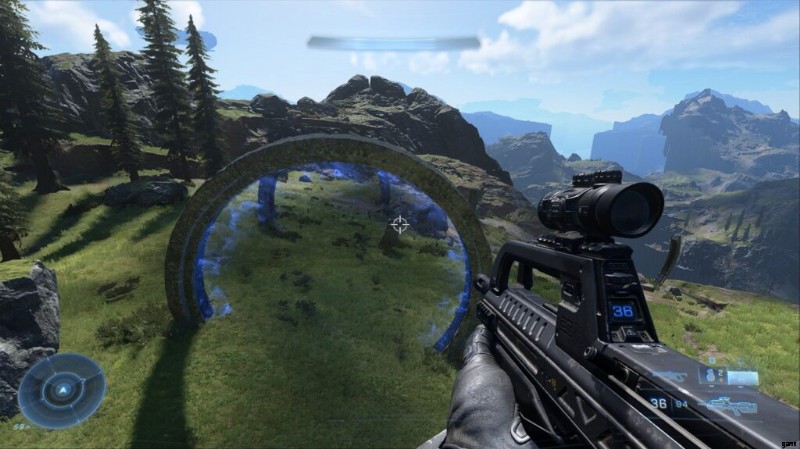
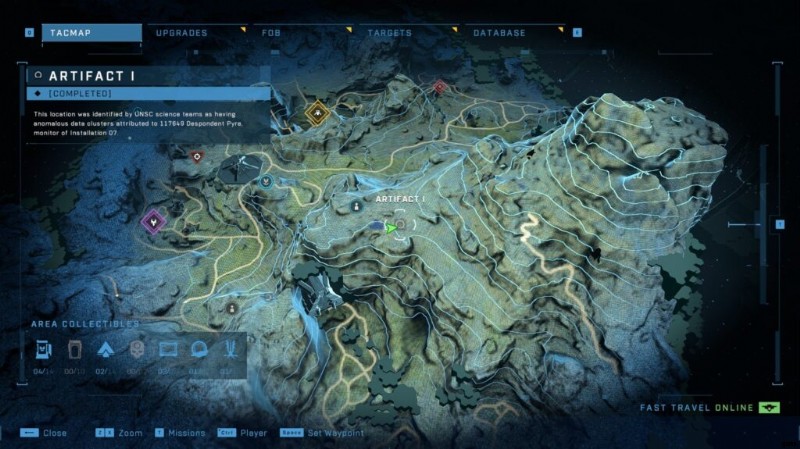
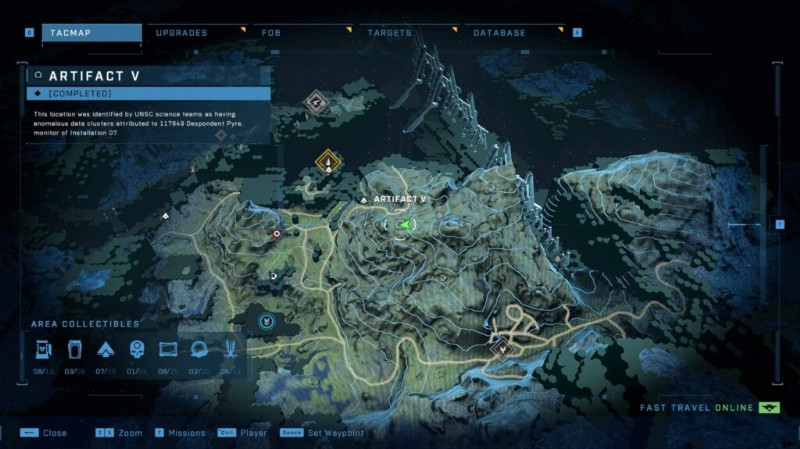
アーティファクト #1
ランサム キープのすぐ南にある丘の上にあります。地面から突き出ている構造物のような巨大な円によってアーティファクトを見つけることができます。
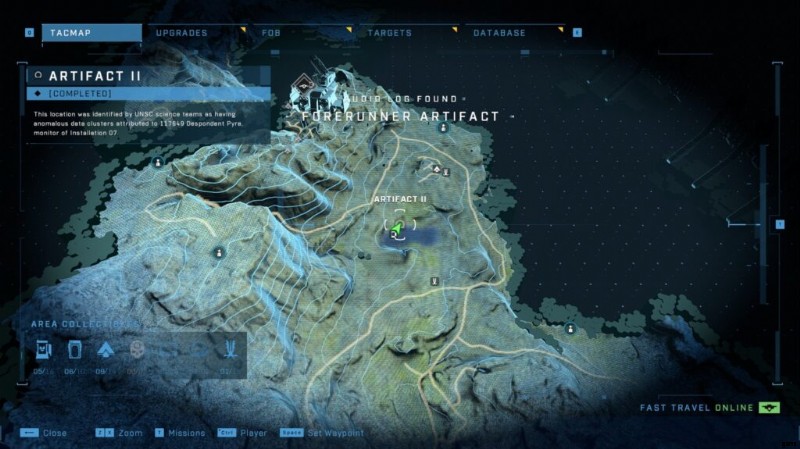
アーティファクト #2
リージョン 1 の東側、最大の山の上に登ると、追放された小さなパトロールが見えます。それらのすぐ隣にはフォアランナー アーティファクトがあります。
[P2] スカル、コア、ミョルニル ロッカー
スカル #1 – ブラインド
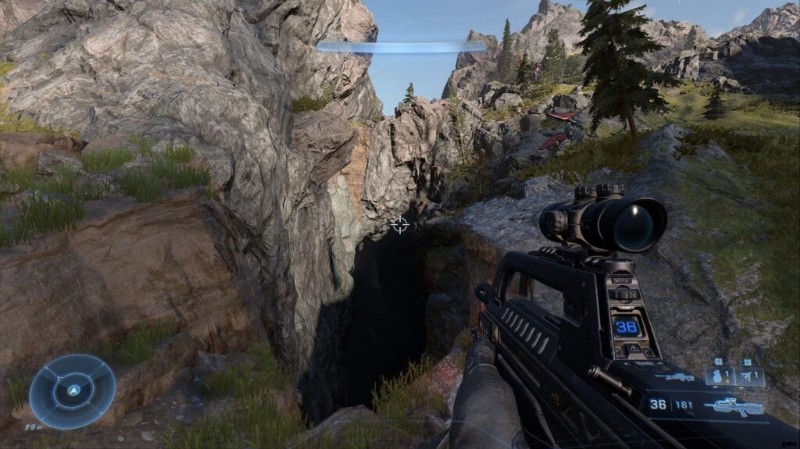
山の中のリージョン1の南側にあります。これはかなりトリッキーです。山の斜面で山頂が2つに分かれている隙間を探し、六角形に沿って歩いて2つの山頂に入ります。ジャンプした場所から数メートル下の小さな露頭にある右側の山に取り組むことができるまで、ギャップをゆっくりと横切って進みます。頭蓋骨は割れ目に隠れます。
スパルタン コア #1
スパルタン コア #2
スパルタン コア #3
スパルタン コア #4
スパルタン コア #5
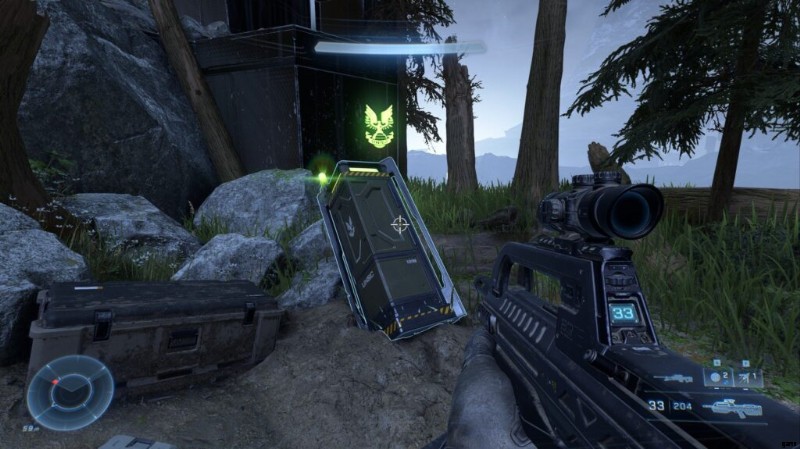
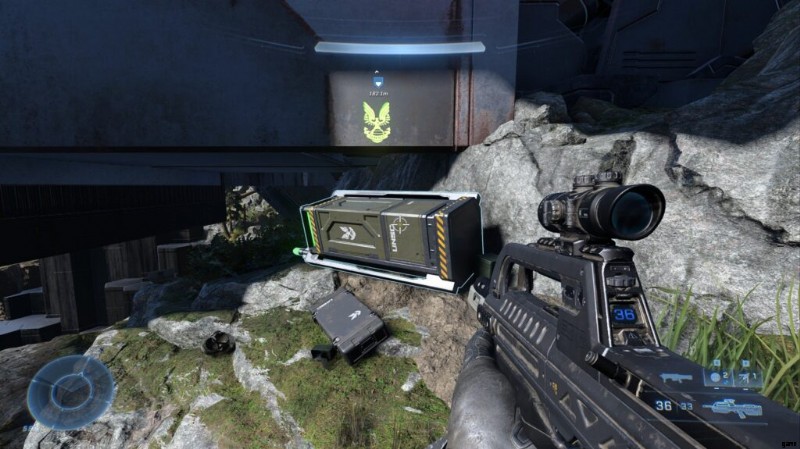
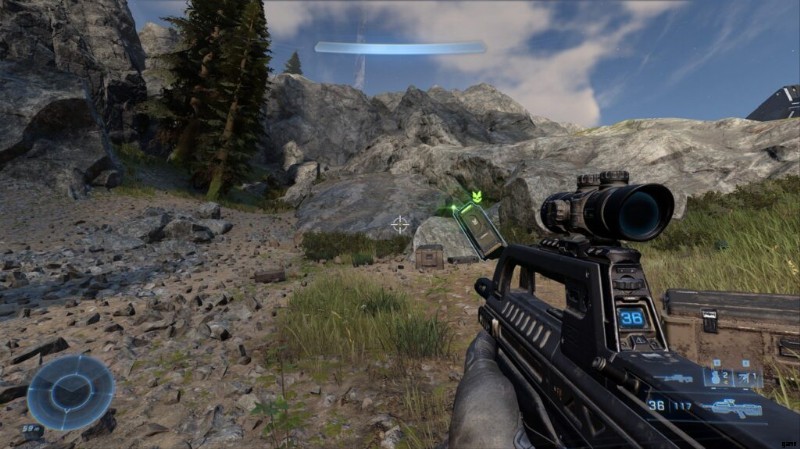
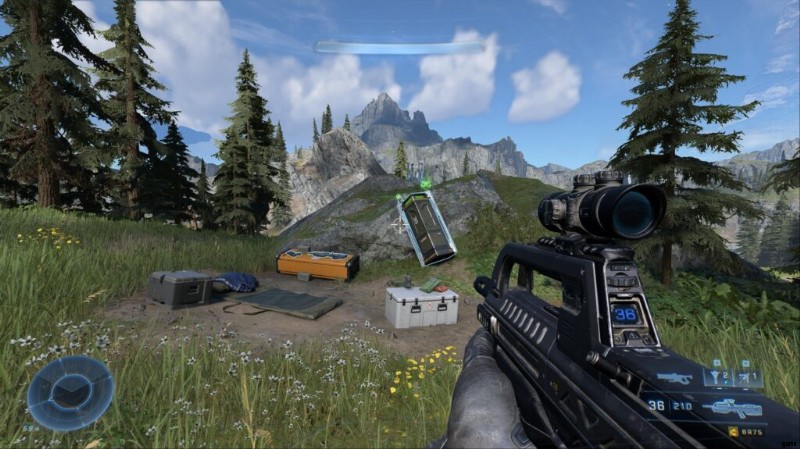
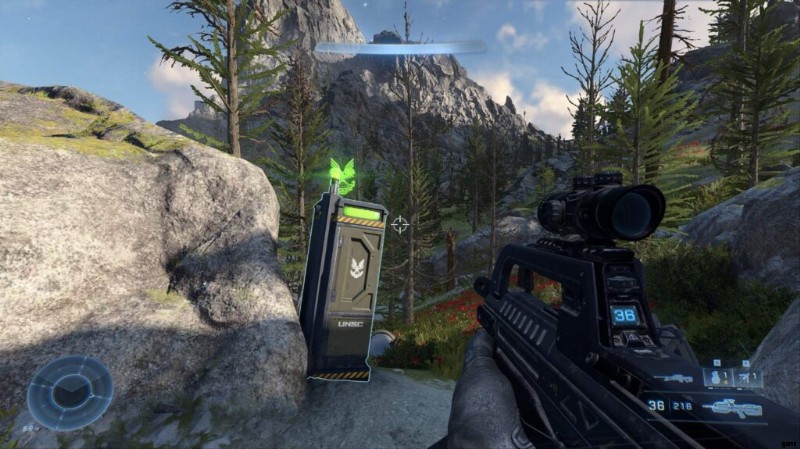
ムジョルニア ロッカー #1
ムジョルニア ロッカー #2
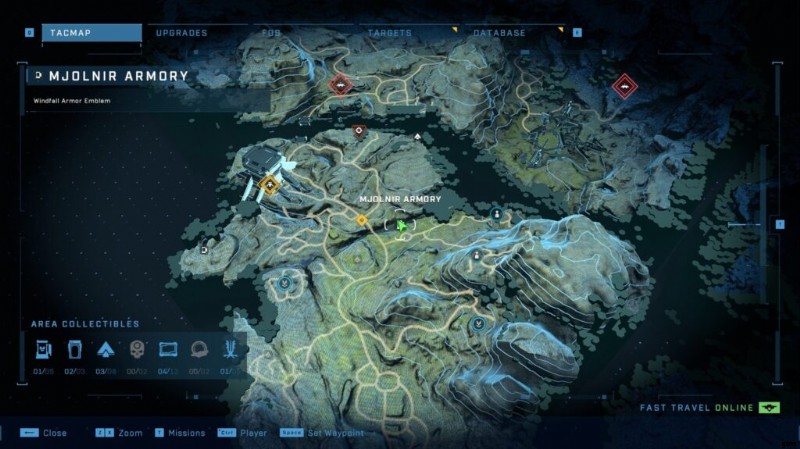
ムジョルニア ロッカー #3
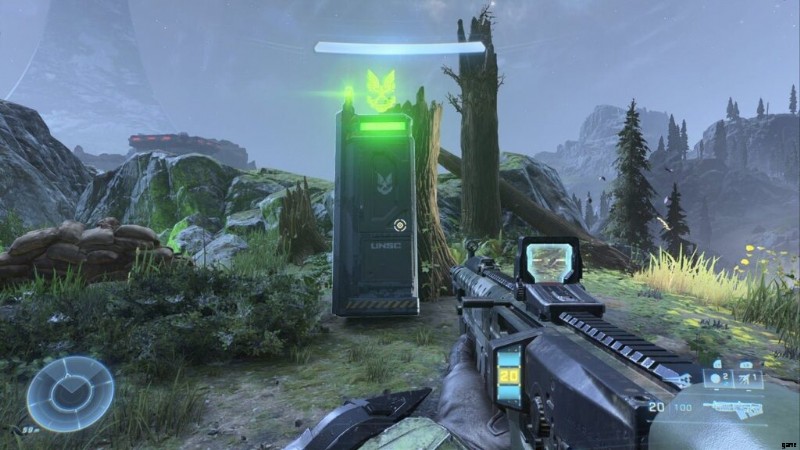
ムジョルニア ロッカー #4
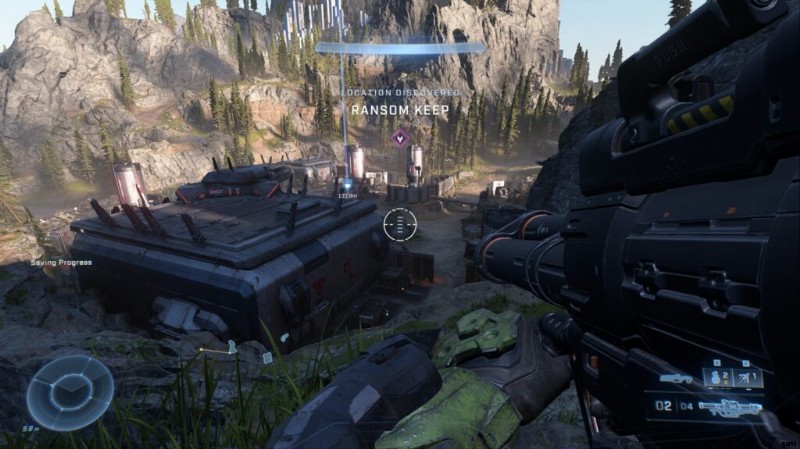
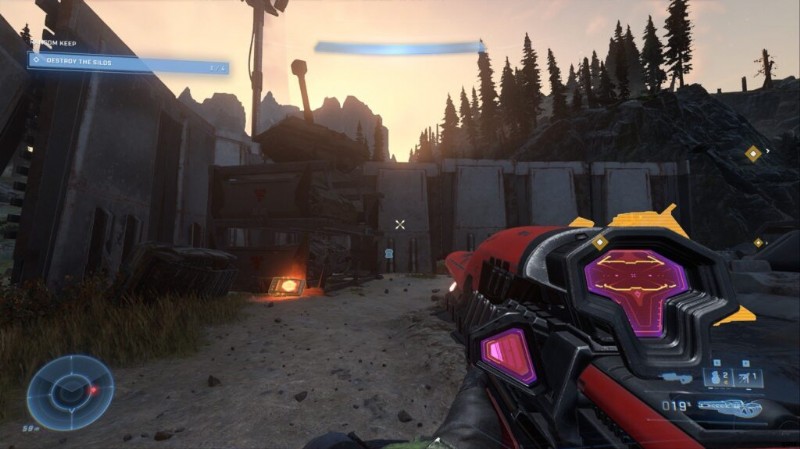
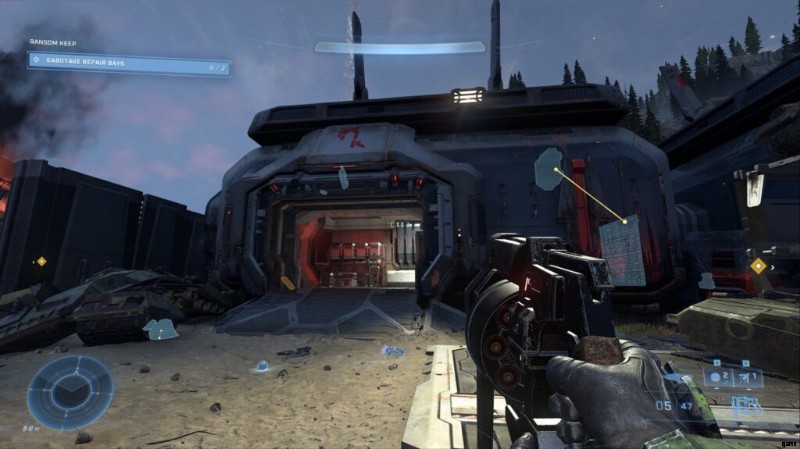
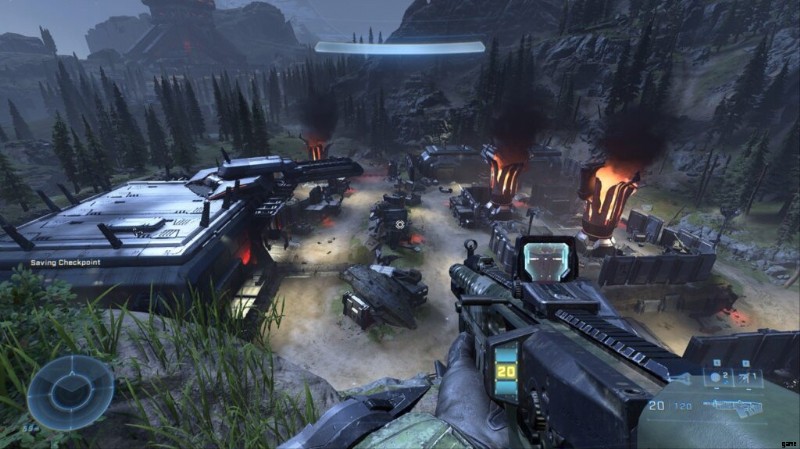
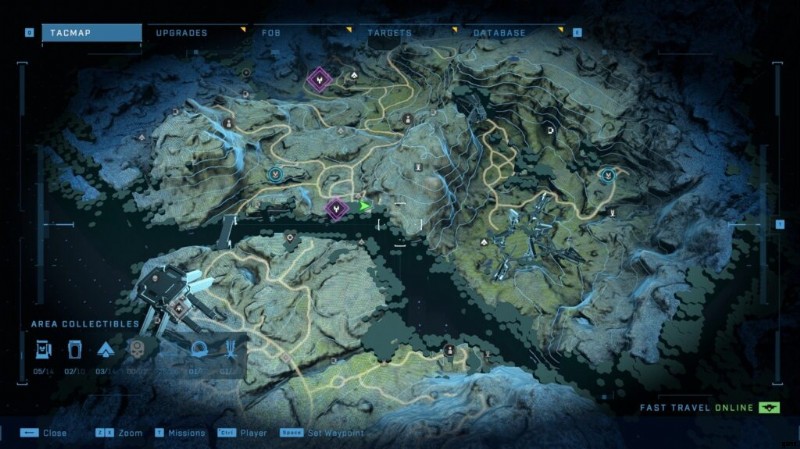
ランサム キープ
追放されたオーディオ ログ #1 – アトリオックスの夢
バリケードのすぐ隣にあるサイロヤードの南東の角。探索キーをスパム送信している場合は、非常に簡単に見つけることができます。
追放された音声ログ #2 – 不自然な防御
4 つのサイロと新しい敵を破壊した後、北の建物が次の目的の一部として開かれました。建物に足を踏み入れた後、左に曲がると床にあります。
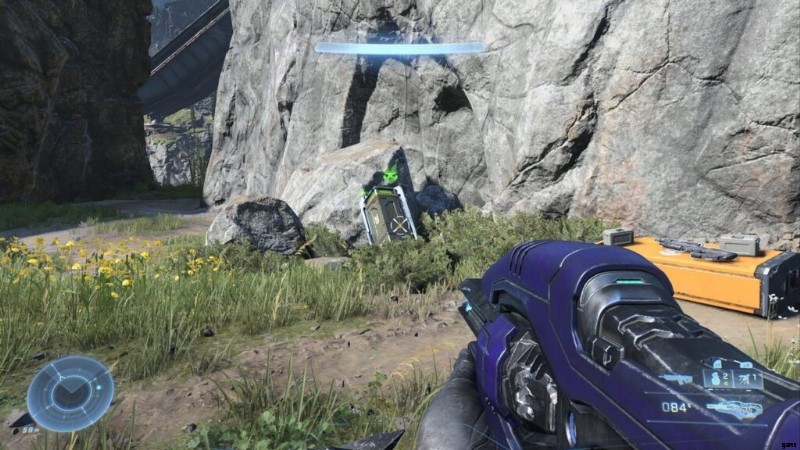
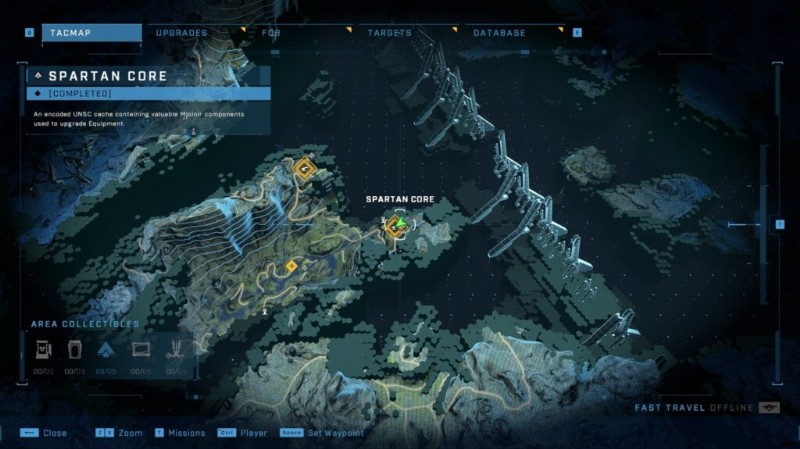
スパルタン コア #1
これは、実際には砦自体の外にあるため、非常に紛らわしいです。橋を渡って南へ。コアは小さなシェルターの下にあります。

UNSC 音声ログ #1 – やりくり
Spartan Core のすぐ近くでビープ音が聞こえます。この音声ログを見つけるには、小さなトンネルがある場所のすぐ上の崖を登ってください。
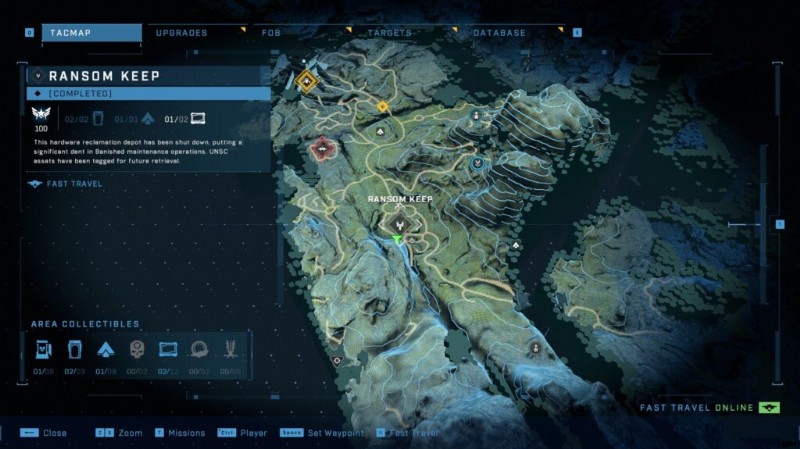
UNSC 音声ログ #2 – アンドリュー・バレロスへ
音声ログ #1 のすぐ近く、谷のすぐ下に、ゴーストに乗ったエリートがいます。そのまま南下すると、トンネルの終わりにこれが見つかります。

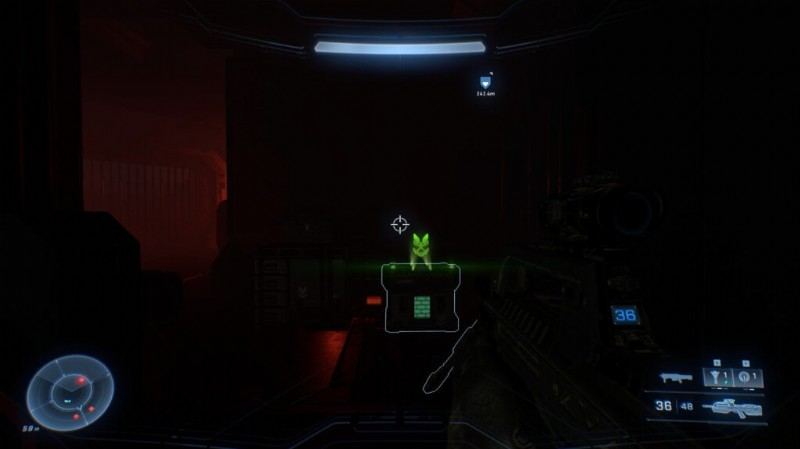
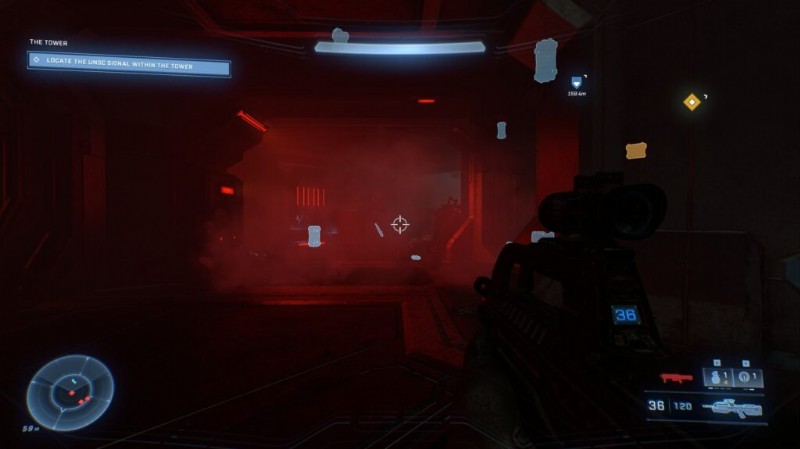
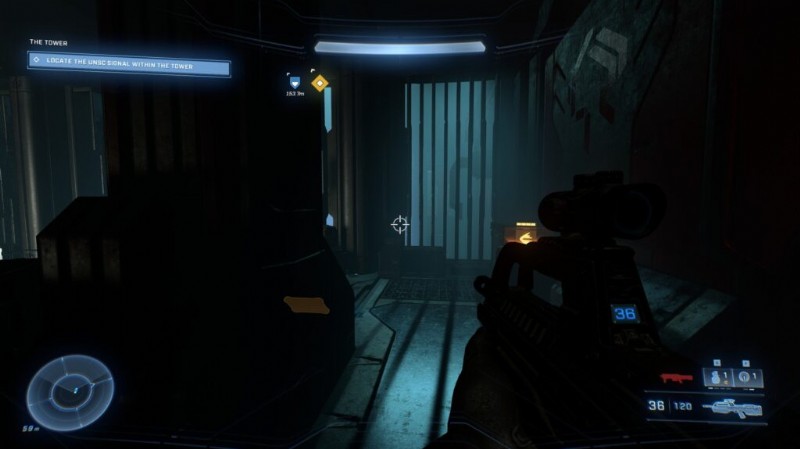
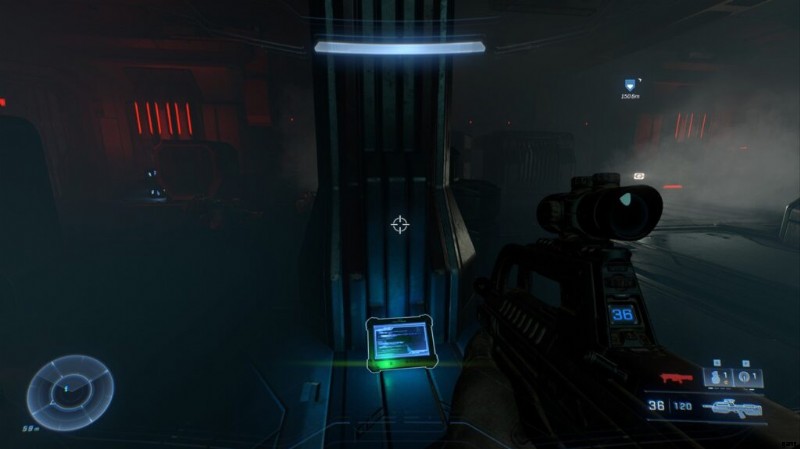
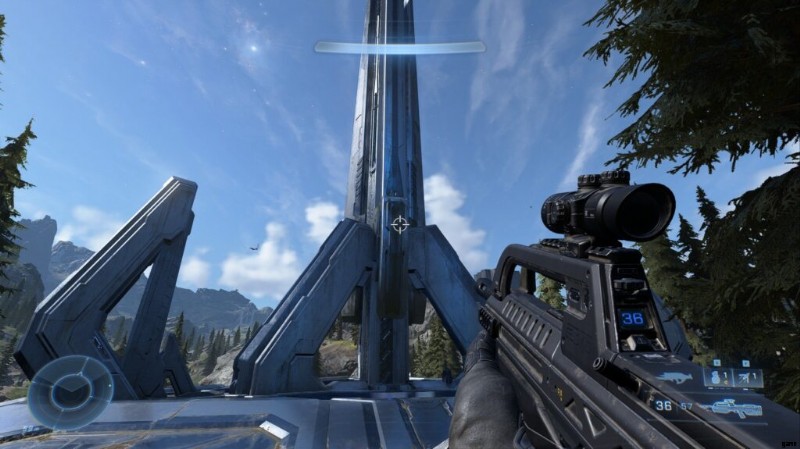
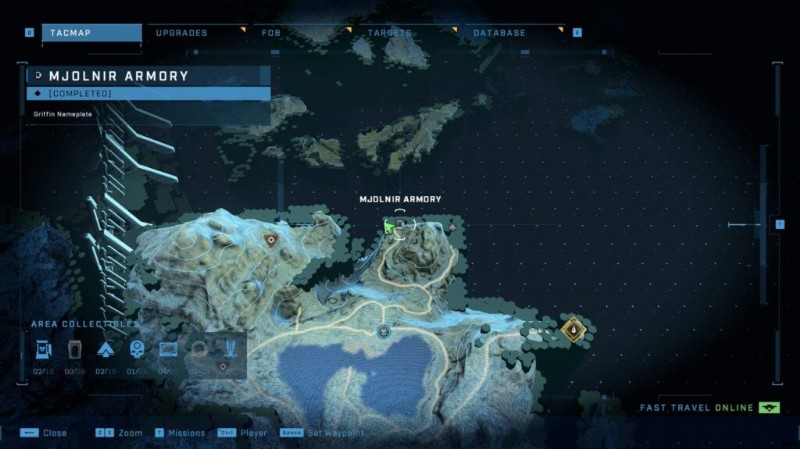
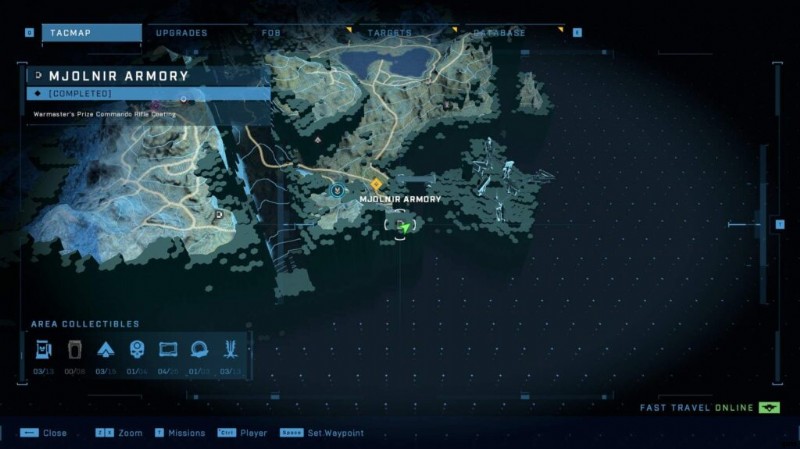
タワー
ムジョルニア ロッカー #1
塔の南西にある金属製のプラットフォームの下に向かいます。このミョルニル ロケットを見つけるための小さな岩の道があります。
追放された音声ログ #1 – ハービンジャー
タワーコンプレックスの内部。エリアが開いたら右に曲がると、右側に小さなトレーラーがあり、2 つの爆発ボックスと音声ログが表示されます。
スパルタン コア #1
タワー複合施設の内部、鎖でつながれた兵士のすぐ隣、家のすぐ内部。

スカル #3 – IWHBYD
グラップルで塔のてっぺんに登ります。グラップルのアップグレード #3 を持っていない場合、これは比較的難しいので、最初にスパルタン コアを見つけるか、単に翼を広げます。スイングに慣れてしまえば、登りはさほど難しくありません。
スパルタン コア #2
タワーに移動し、3 階に向かいます。これは、目に見えないエリートとボスが戦った場所です。 Spartan Core はここにあります。
UNSC 音声ログ #1 – 内容
塔の内部の 2 階、柱の 1 つの後ろにこの音声ログがあります。見逃すのは非常に困難です。
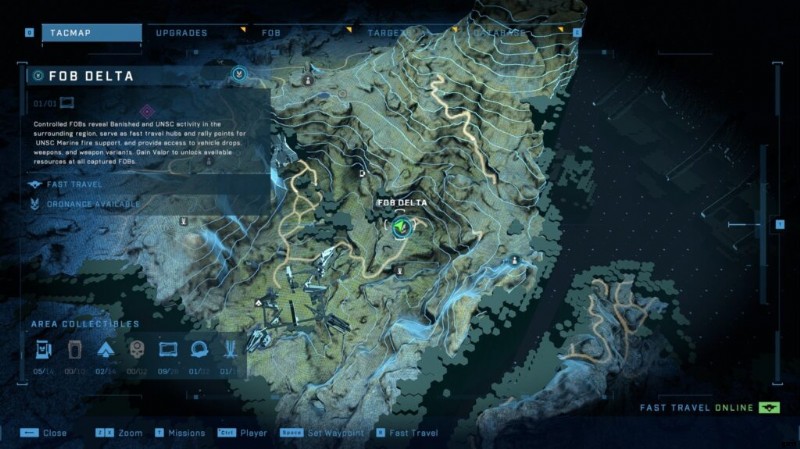
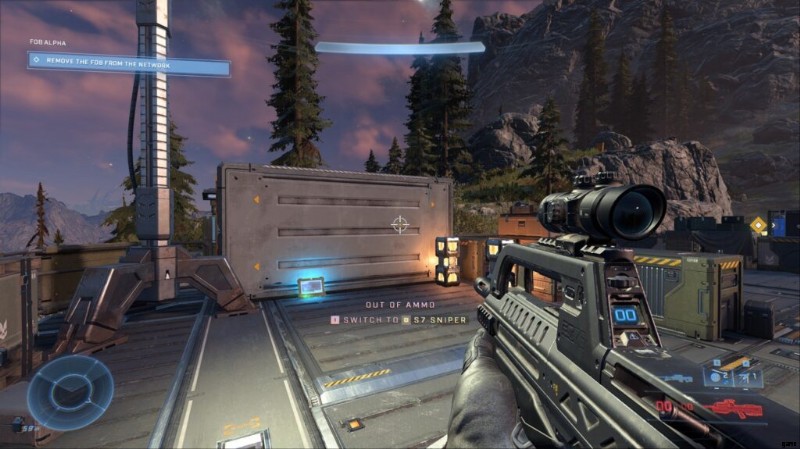
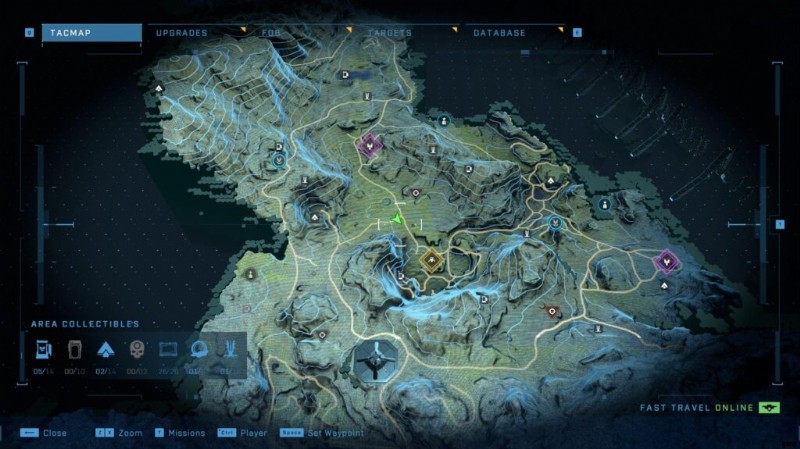
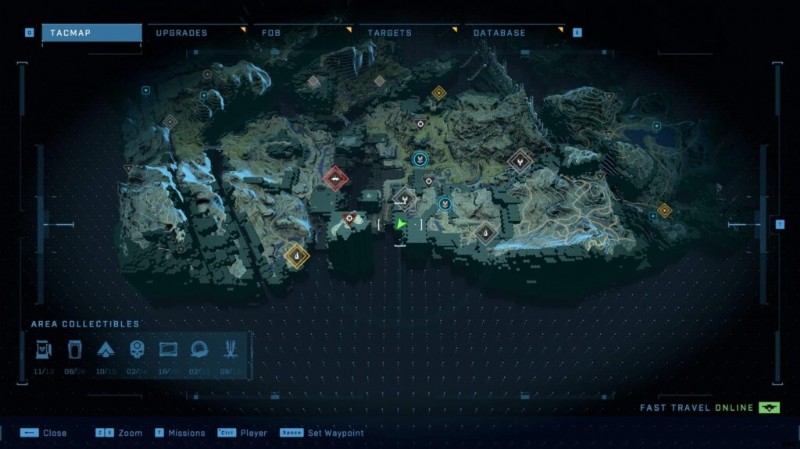
接続 [地域 2]
UNSC 音声ログ #1 – 義務クリアランス
FOB の車両スポーン ポイントの左側 – エコー
UNSC 音声ログ #2
Pyramid Squad の南にある、人里離れた場所です。丸太の隣には海兵隊員の死体があります。
UNSC 音声ログ #3 – スパルタン音声ログ – 敵のテリトリー
FOB エコーを過ぎて、真北に進み続けます。丸太はちょうど崖の露頭にあります.

UNSC 音声ログ #4
坂を下ったところ、エコーから 100 メートル。死んだ海兵隊員の隣で。
UNSC 音声ログ #5
小さな湿地/湖の中で、前者のブラケットにジャンプすると、そこに丸太のある小さな野営地があります.美しい景色も!
UNSC 音声ログ #6 – 到着
ボタンのすぐ右にある FOB チャーリーを強化します。
UNSC 音声ログ #7
倒されたイボイノシシの隣にある、巨大な前身の構造物であるスパイアのすぐ隣。丸太自体のすぐ隣にはパワーコアもあります.
UNSC 音声ログ #8
Fob-Delta をキャプチャするのと同じように。見逃すのは本当に難しい。
UNSC 音声ログ #9
巨大なフォアランナー ストラクチャーのすぐ左側にあります (マップ上では、地上からは見えません。丸太は UNSC ギアの隣の小さな木箱にあります。
UNSC 音声ログ #10
丘の上、プロパガンダ塔の上、小さな野営地。大きな岩の後ろを見ると、これをつかむことができます。
UNSC 音声ログ #11
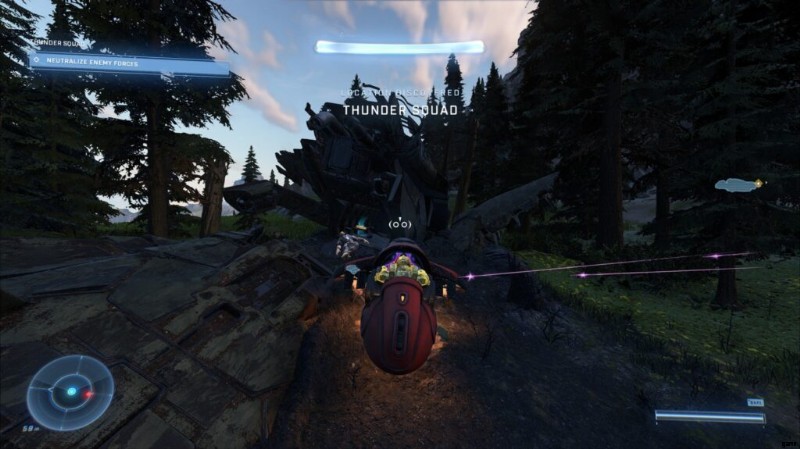
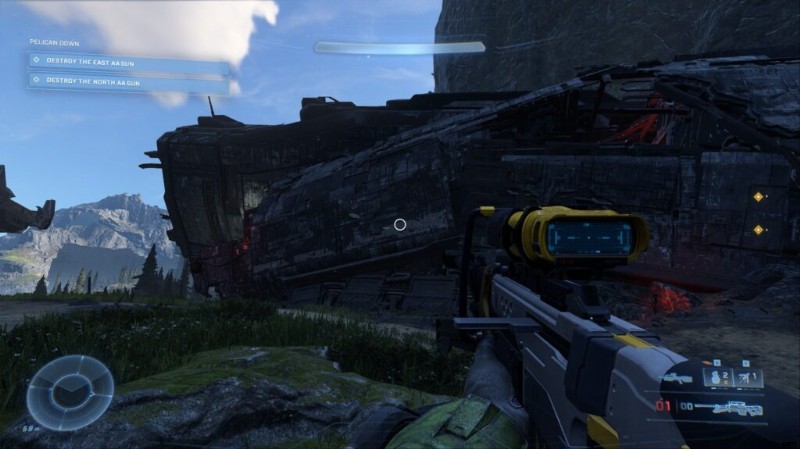
サンダー隊の着陸帯のすぐ西に、墜落したペリカンがあります。この音声ログはバックエンドにあります。ここにはかなりの数の追放者がいるので、荷物は重くしましょう。
UNSC 音声ログ #12
いくつかの箱、樽、墜落したペリカンの隣の分隊フォックスハウンドのゾーンのすぐ内側。
UNSC 音声ログ #13
床に置かれた Fob-Bravo の内部。簡単です。
UNSC Audio Log #14
Inside Fob-Alpha, resting on a container. Can’t miss it.
UNSC Audio Log #15
Quite far out from anything, on a mountain South East of Bengal Squad. This one is very easy to miss if you’re not careful. The log is in a small camp on the side of the mountain.

UNSC Audio Log #16
Quite far out from anything, on a mountain South East of Bengal Squad. This one is very easy to miss if you’re not careful. The log is in a small camp on the side of the mountain.
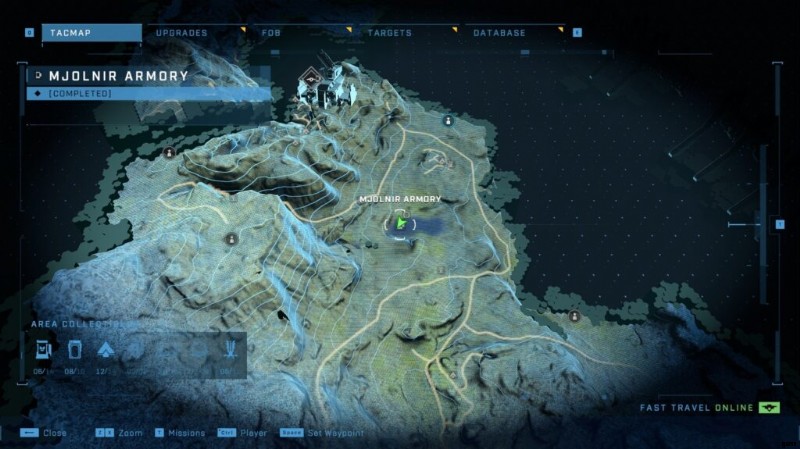
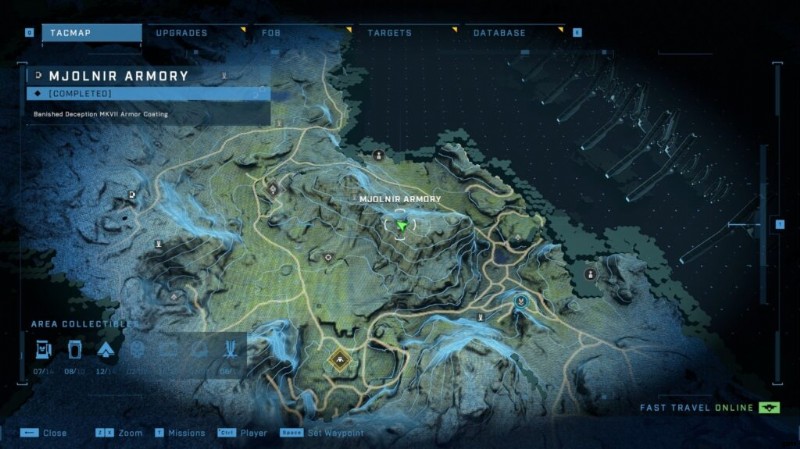
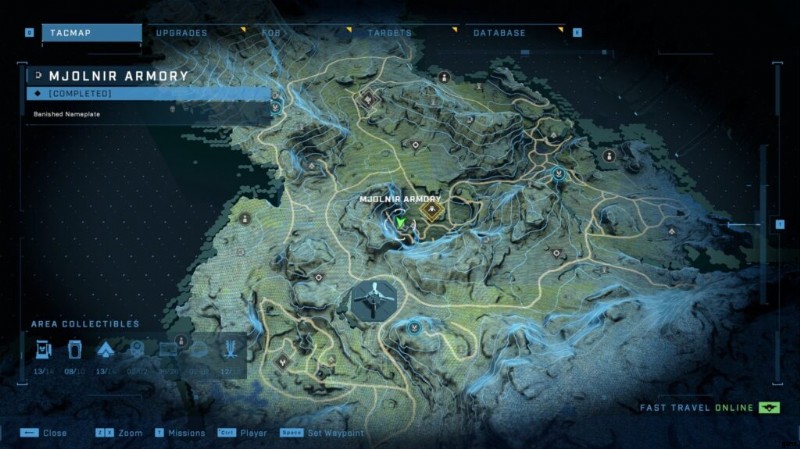
[P2] Mjolnir Armour Lockers
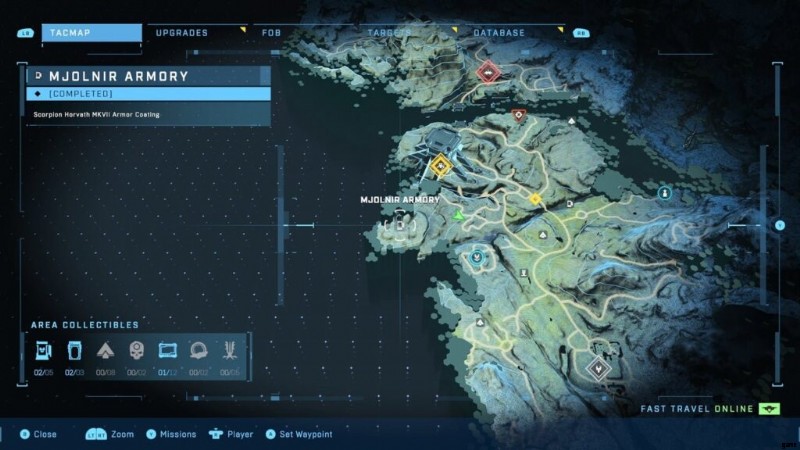
Mjolnir Armoury #1
Due South of FOB Echo, jump up a hill overlooking the bridge.
Mjolnir Armoury #2
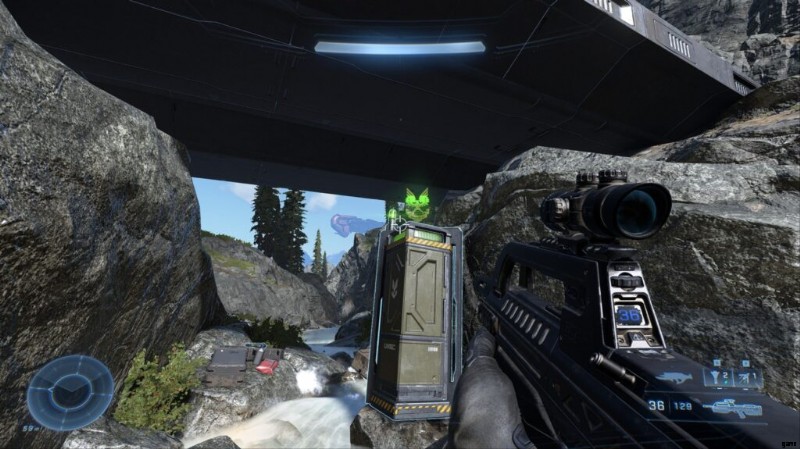
On an intersection of road due north of the assassination target, you’ll find a bridge. Under it is the Mjolnir collectible.
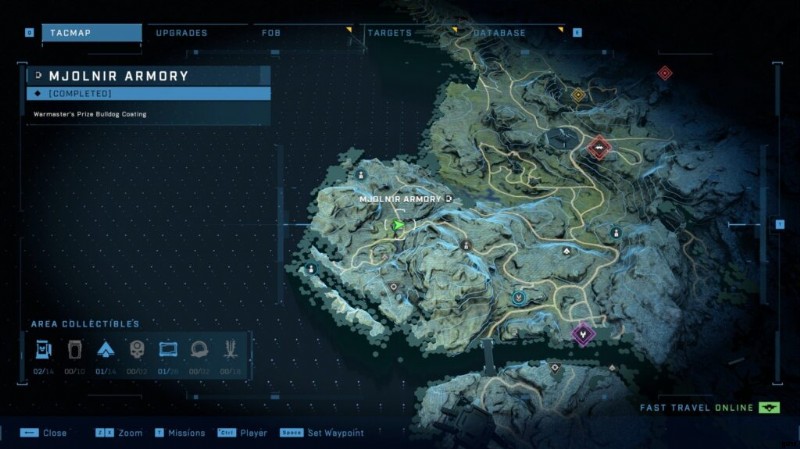
Mjolnir Armoury #3
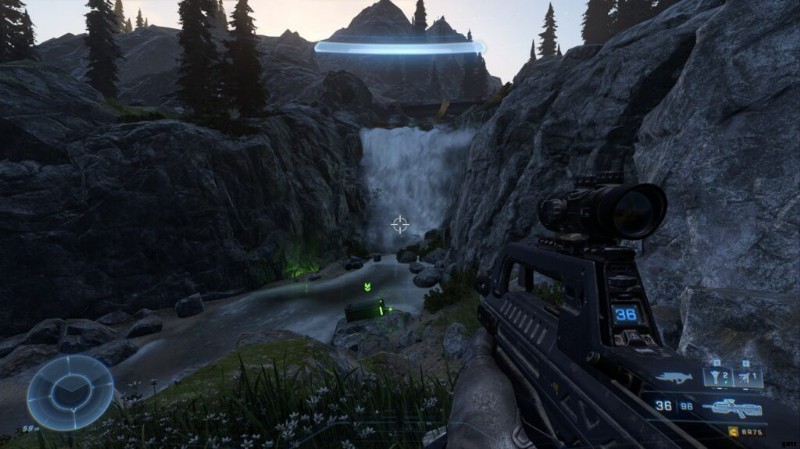
Again, just north of Spartan Audio log, head down a little more to a waterfall. The Mjolnir locker is in the river underneath.
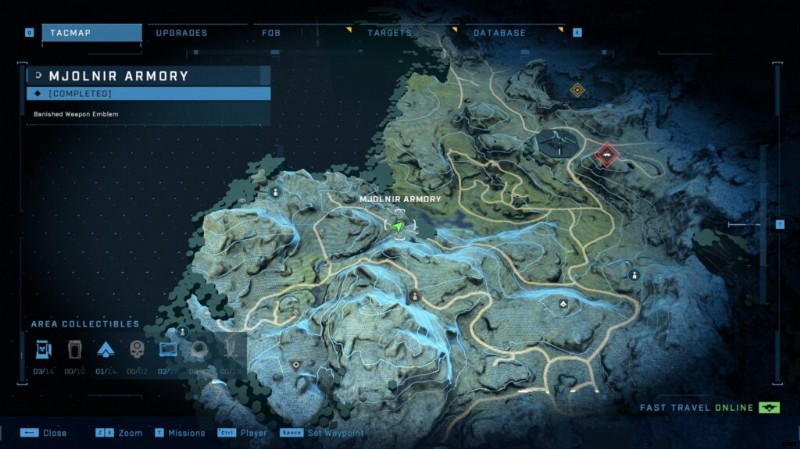
Mjolnir Armoury #4
Just North East of the battle site of Courier Squad, the Locker is on the side of a mountain.
Mjolnir Armoury #5
Straight South from Lancer Squad’s position, the locker is situated next to a small human camp.
Mjolnir Armoury #6
Directly north of FOB Alpha. You will see the Armor Locker past some rocky cliffs in the pool.
Mjolnir Armoury #7
Scale the mountain to east of the Banished tower, and you’ll find this in a clearing on a rock.
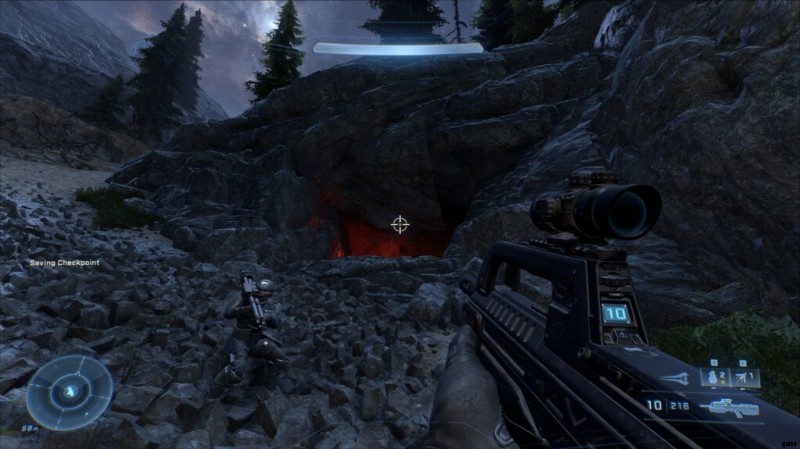
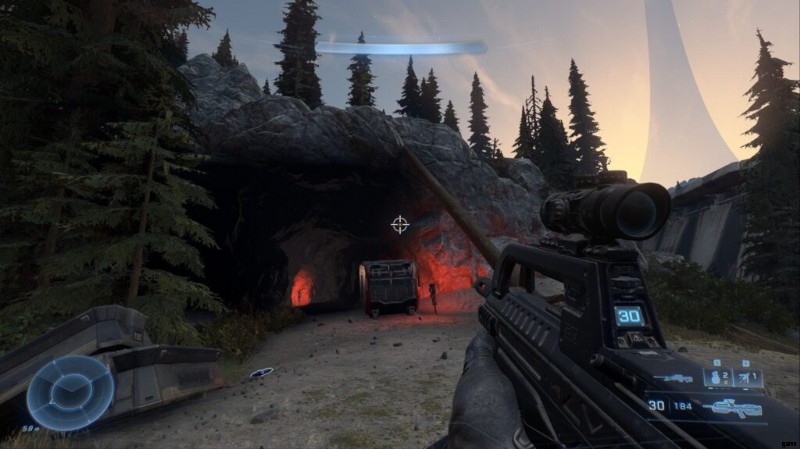
Mjolnir Armoury #8
Literally 50m up from FOB-Alpha, just go North and you’ll see a cave entrance [Marked on map]. There will be Banished hiding in there, and the Locker is yours.
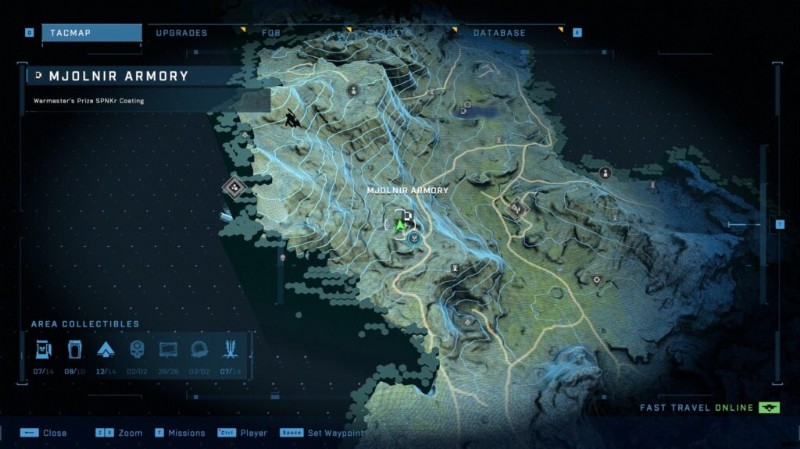
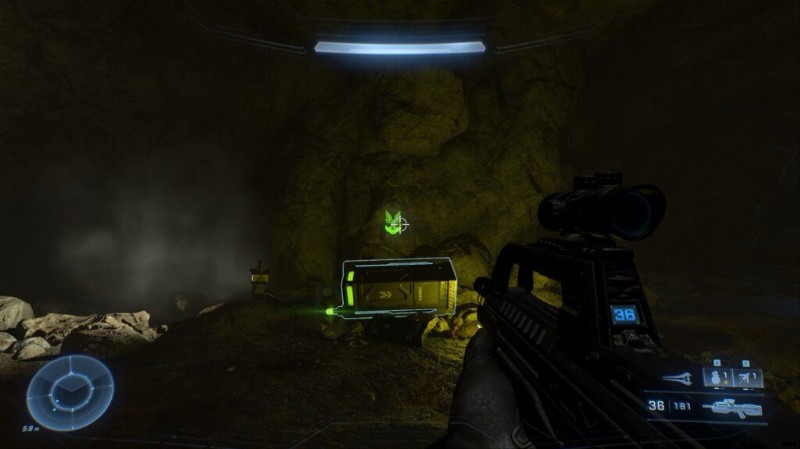
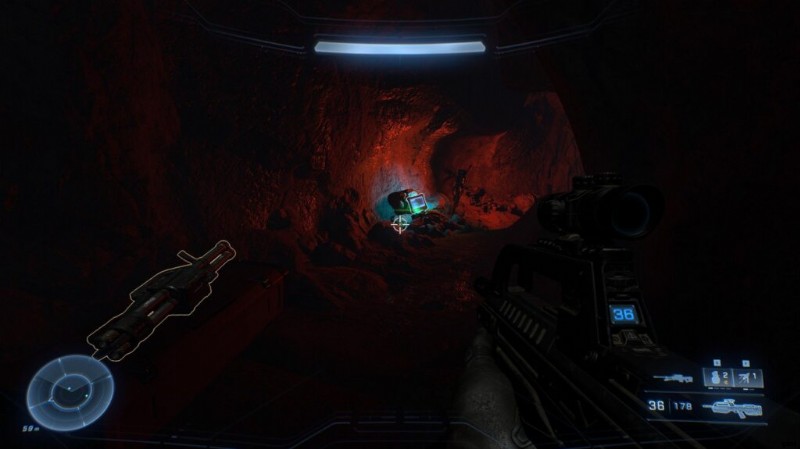
Mjolnir Armoury #9
Close to the Spire, and the other Spartan Core (next to the AudioLog). You’ll find a cave entrance. The Spartan Core is at the end of the passage.
Mjolnir Armoury #10
Go directly East of FOB Bravo and climb on the mountain ridge at the edge of the area. Then, drop down and you will see a small UNSC camp.

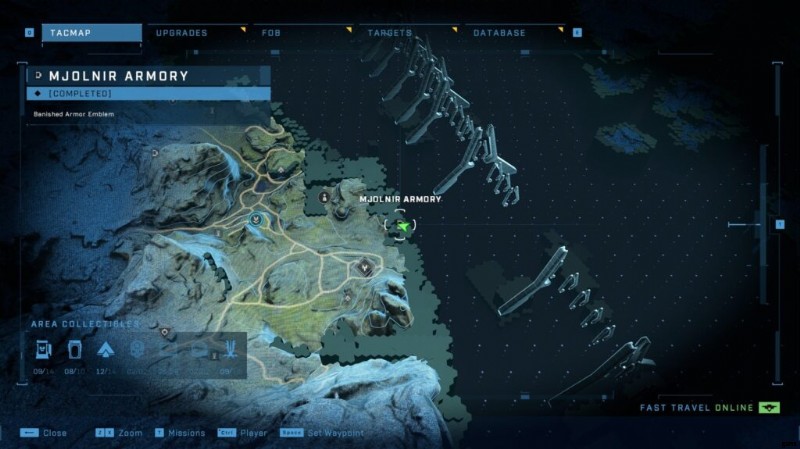
Mjolnir Armoury #11
On a mountain cliff edge close to FOB-Delta.
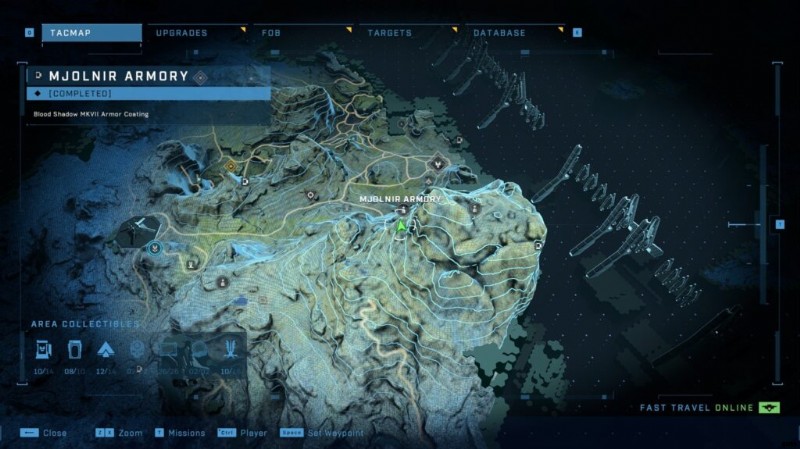
Mjolnir Armoury #12
North of FOB Delta. You’ll find this one at the very peak of the mountain next to Delta.
Mjolnir Armoury #13
South of the Excavation Site, in a small forest clearing.
Mjolnir Armoury #14
Just North of FOB-Delta, at the bottom of a mountain outcropping, with some Banished resistance next to it.
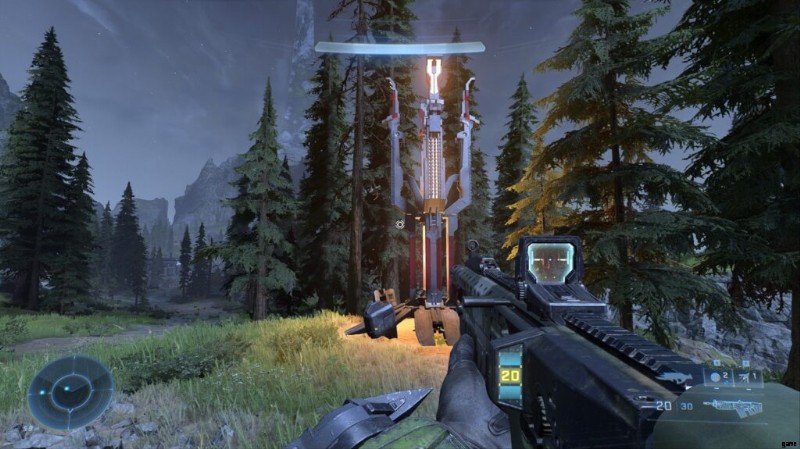
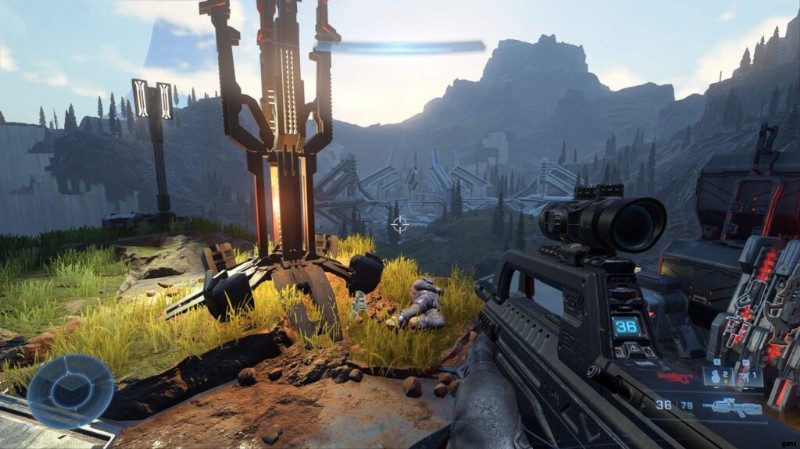
[P3] Propaganda Towers
Propaganda Tower #1
On the highest point of the mountain due South of Indiana Squad.
Propaganda Tower #2
Just North of outpost Tremonius.
Propaganda Tower #3
East of the Artefact in the little pool, this tower is stationed on the hill looking over the water.

Propaganda Tower #4
Straight North of Paladin Squad, up a really high mountain.
Propaganda Tower #5
Head south of Cobra Squad, on the far north side of the second island, and you’ll find this Propaganda Tower.
Propaganda Tower #6
In the mountains east of the Armory of Reckoning.
Propaganda Tower #7
East of Bengal Squad, next to a small Banished outpost.
Propaganda Tower #8
Just South-East of FOB-Alpha, on the edge of the mountain.

Propaganda Tower #9
Just South-west of FOB-Bravo, near a small Banished encampment.
Propaganda Tower #10
Just South of FOB-Bravo, carry on down the road into a fork in the road. The Tower is on a small cliff above.
Propaganda Tower #11
In the hills just East of Thunder Squad.
Propaganda Tower #12
East of FOB Charlie, you can’t miss this one.
Propaganda Tower #13
Just west of the Excavation site, over the mountain on the other side. You can’t miss this one if you just head West over the mountain.
Propaganda Tower #14
Straight East of Titan Squad, on a small hill.
Propaganda Tower #15
Overlook a banished tower thingy, just go north from FOB-Echo.
Propaganda Tower #16
South west corner of Region 2. On a section of Forerunner foundation plating. Easy one.
Propaganda Tower #17
Just North-East of Sundering, roll up the hill and you’ll be in sight of this tower.

Propaganda Tower #18
South of FOB-Delta, underneath a stone outcropping, with some Banished just milling around.
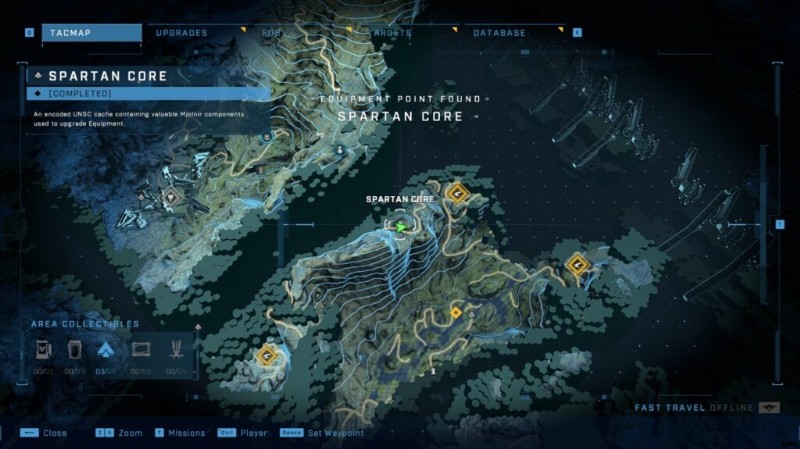
[P4] Spartan Cores
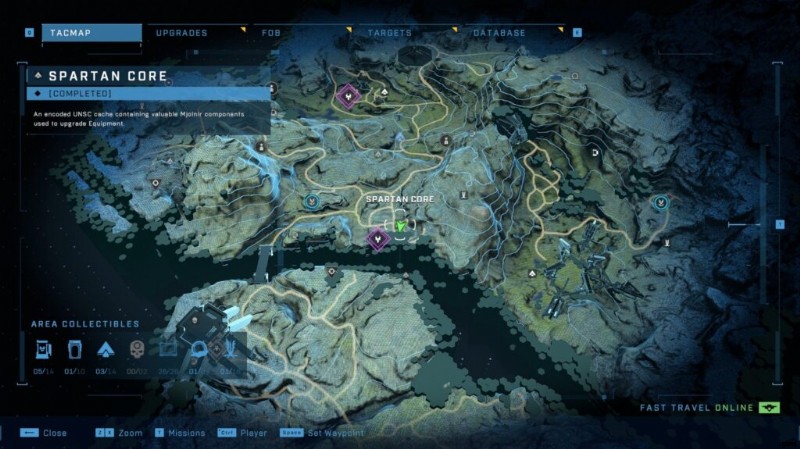
Spartan Core #1
Just North of the Assassination Mission IK’Novus, there is a classic Forerunner structure very reminiscent of Halo CE.
Spartan Core #2
Just due North of ‘Redoubt of Sundering’, on a hill. The Core can be found on a rescue pod crash side.
Spartan Core #3
In the centre of the Spire, next to the Audio Log.
Spartan Core #4
This one is quite hard to find, regardless if you’ve had the icon pop. Go to the hexagonal cliff edge, look down, and you’ll hopefully see some more 1×1 hexagonal squares. Make your way down, land on the tiles, and you should be able to scan your way to finding the entrance to the little cave with the Spartan Core.
Spartan Core #5
Inside a Banished camp. You’ll have to clear out the camp, jump into the hole with lots of Banished automated turrets. Sooner or later you’ll see a grav lift going up into the building with the Core in.
Spartan Core #6
The core is on the west side of the map, on the side of a hill. Surrounded by Banished forces.

Spartan Core #7
Right at the Northern peninsula of the map. The Core is inside a small Forerunner bunker which is located in a small cave [Map marker indicates the cave entrance].
Spartan Core #8
Probably one of the most confusing secrets in the entire game. You’ll first find this secret just North of Jester Squad, and can be identified by the monolithic Forerunner structure, under which is the Core itself. To get down there you need to jump down to the bottom of the mountain and find the red door. Then move down the path to the right until you reach a small Banished outpost. On the left is a door leading down a corridor [See the map pic for where the door is]. You’ll find considerable size of Banished troops here. Clear them out, and you’ll find one more Elite Brute next to the Core. Kill him, and the Core is yours.
[P5] Skulls, Artefacts, Targets
Skull #1
Just to the west of FOB Alpha. Walk along the cliffside, until you see a little outcropping which you can walk through.
Once you see the doll on the ground you know you’re on the right track.
Swing to the pillars until you get to the opening of the platform at the top. There you’ll see one final jump and an opening. The Skull is inside there.
Skull #2
On the far Northern island, which you can get to via grapple, or Wasp. The Skull is defended by a large contingent of Banished, as well as two Hunters. These things will blow you away in seconds, so It’s highly advised to jump from the cliff, grab the Skull, and make a run for it.

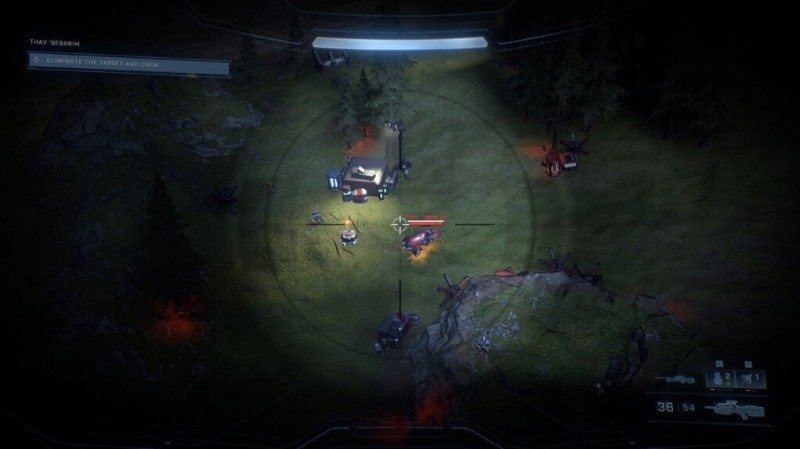
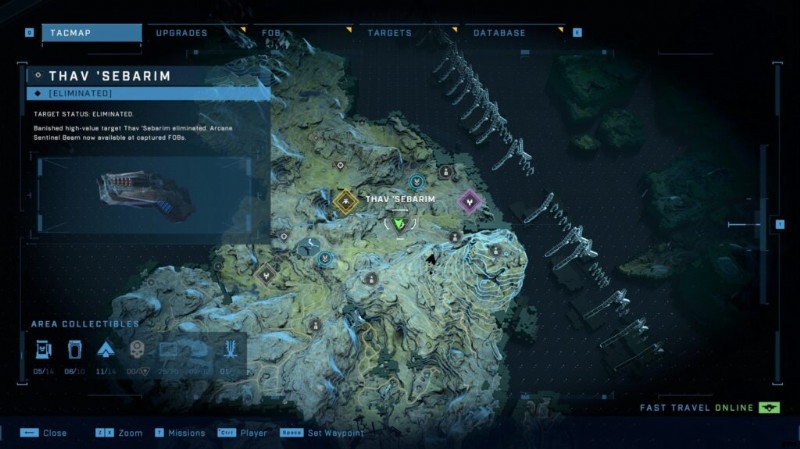
Assassination Mission:Thav ‘Sabarim
This target is in a ghost and surrounded by Grunts. The easiest thing to do is just jump on the top side of the hill and snipe him out.
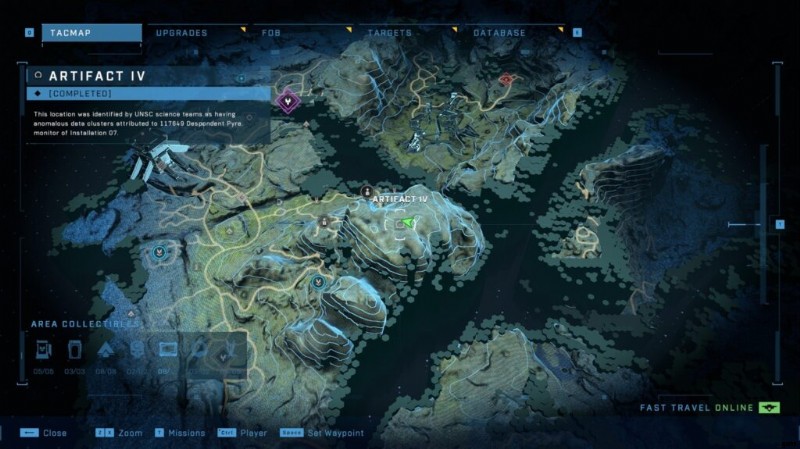
Artefact #1
Just east of Harpoon Squad, up on the side of a hill. The Forerunner architecture will be easy to spot from a distance.
Artefact #2
On the North side of the map, in the middle of the small bed of water. Pretty easy to find, even if you’re not paying attention.
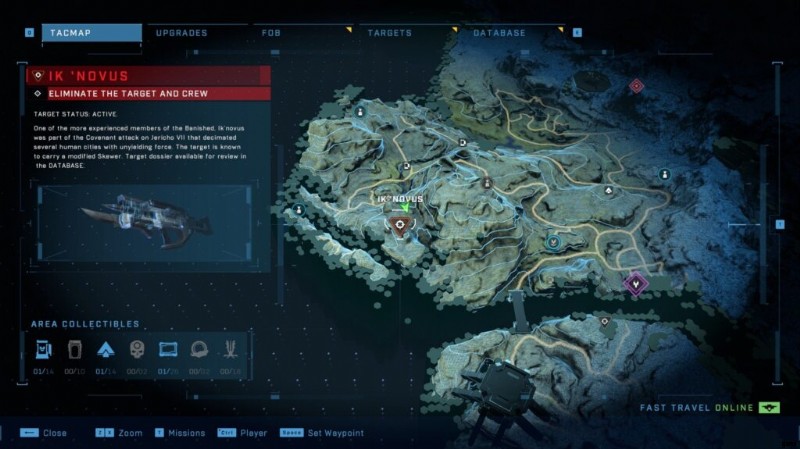
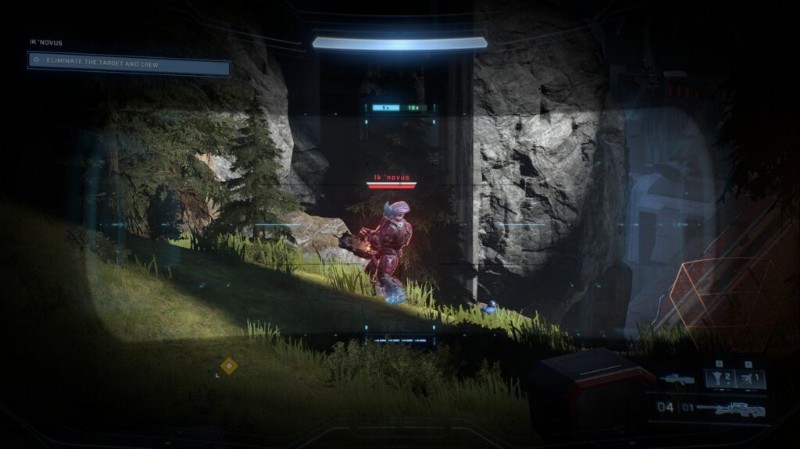
Assassination Mission:IK’NOVUS
Really easy target. IK’Novus fires the scrap launcher which is super innacurate, so just camp up on a hill, kill the sniper Jackals, and pump him full of lead.
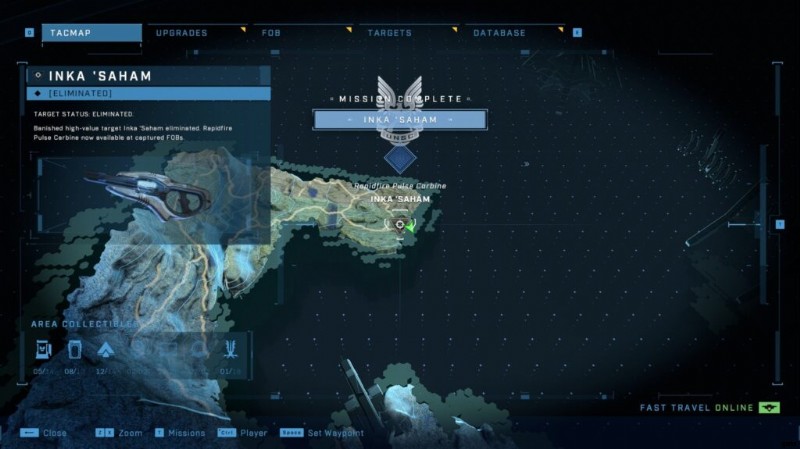
Assassination Mission:Inka ‘Saham
On the far Northern Island, you’ll have to fight a large Banished force and the leader himself, who has a pumped up Pulse Rifle. This thing will shred your shields quickly, so a vehicle is strongly advised.
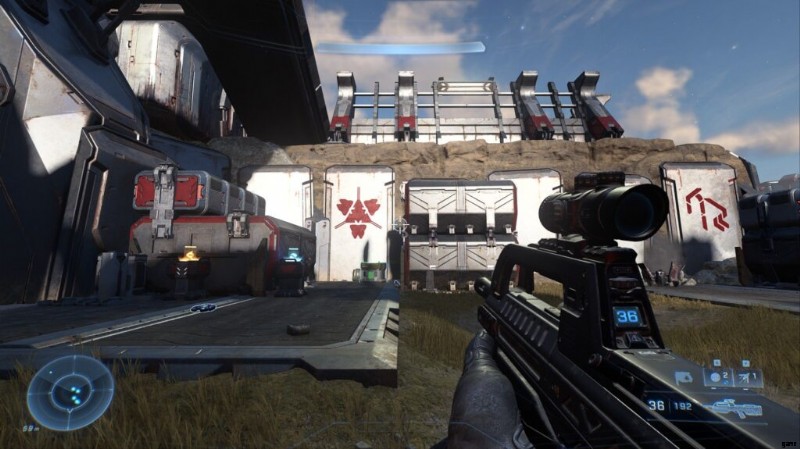
Sundering of Redoubt
UNSC Audio Log #1
Right outside the Sundering of Redoubt fort, the log is on a cliff right next to the Northern wall.
UNSC Audio Log #2
Just outside the fort itself is a small cave at the southern most point. Kill the enemies inside, and the log will be at the back of a cave under a red light.
Banished Audio Log #1
Inside the Redoubt fort, you’ll see a large building with some ammo refill stations. The Log is just inside next to it.
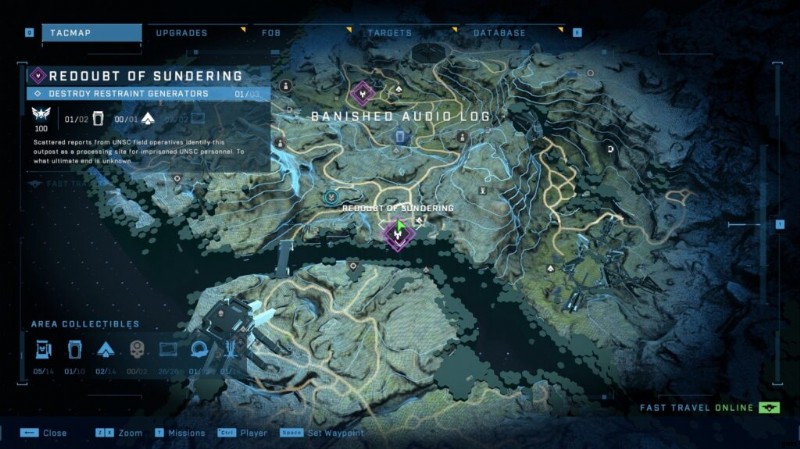

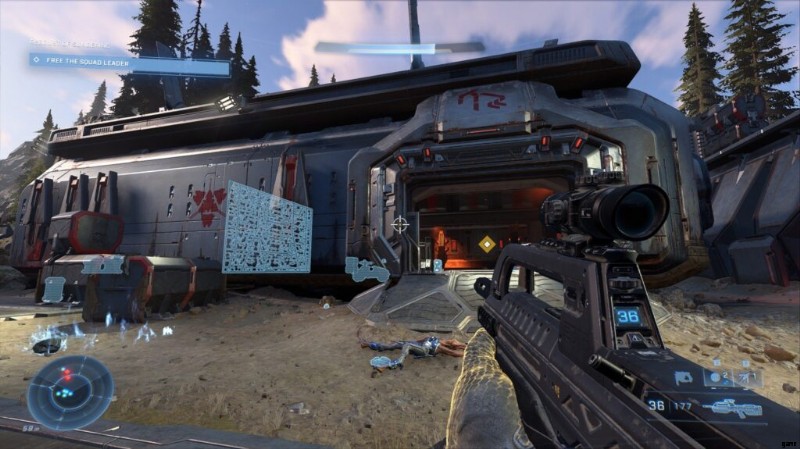
Banished Audio Log #2
Inside one of the buildings inside the fortress. You must free the Marines before you may enter. Once you have done this, you can grab the Log. Be very careful upon entering, as a Brute Chiefton with a hammer will ambush you.
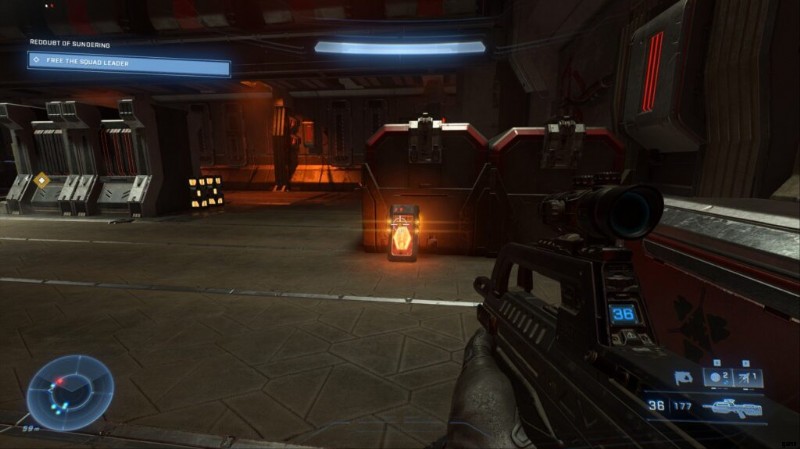
Spartan Core #1
Inside the Redoubt fort, just outside the south entrance you’ll see the Core right next to the wall.
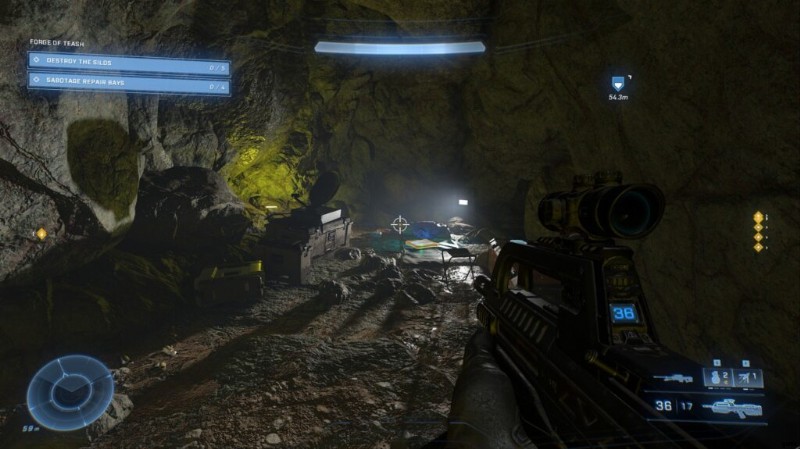
Forge of Teash
UNSC Audio Log #1
On the eastern section of the hill overlooking the south side of the Forge, you’ll find a small UNSC post with this audio log.
UNSC Audio Log #2
Northeast of the Forge of Teash, look for a cliff. Around halfway to the top (or bottom if you’re descending). You’ll find a small cave with green light emitting from within. Crawl through the tunnel to find a hideout for a UNSC troop, and the audio log is sitting on a sleeping bag.
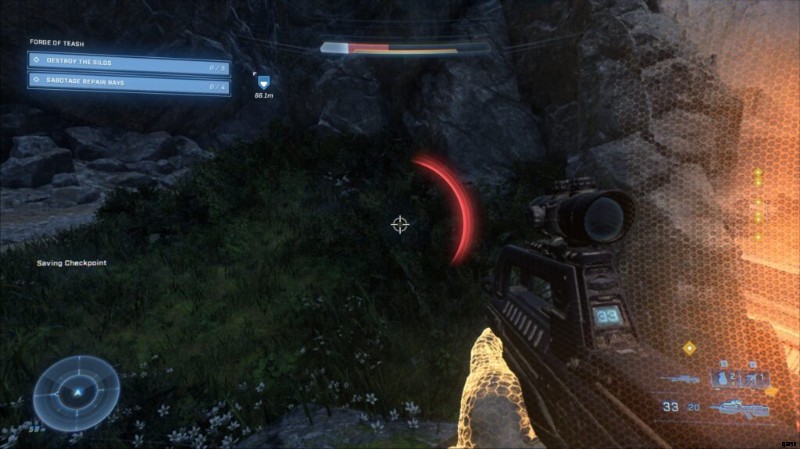
Banished Audio Log #1
Just inside the Forge itself, once you’ve unlocked the door you can roll in and grab the Log.

Banished Audio Log #2
Inside a banished silo. Carry on down the ramp and you’ll see the Audio log at the bottom of the stairs.

Spartan Core #1
Right next to Banished Audio Log #1, just upstairs.
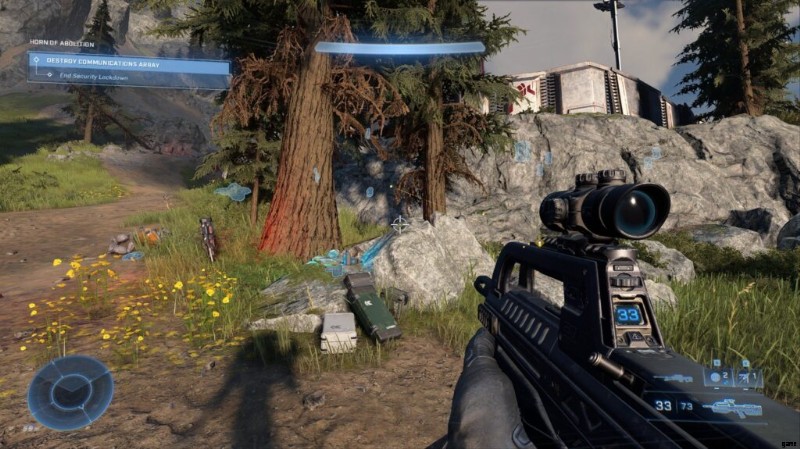
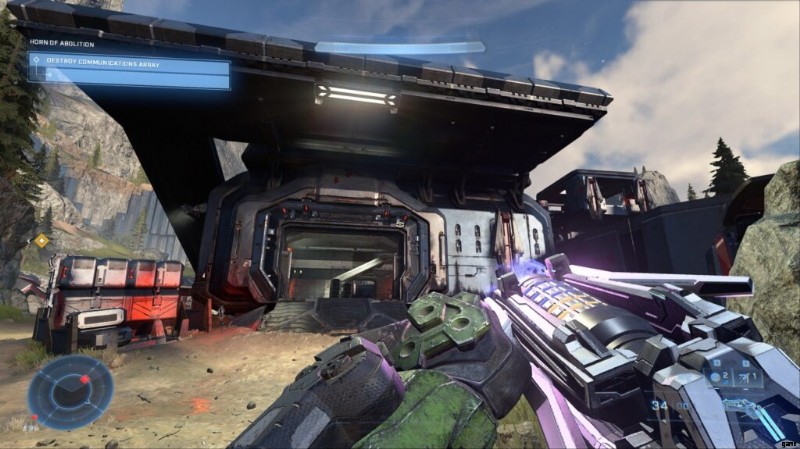
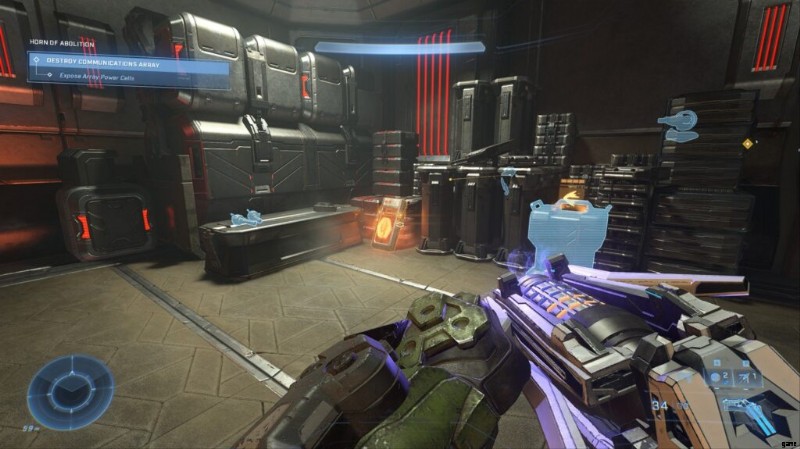
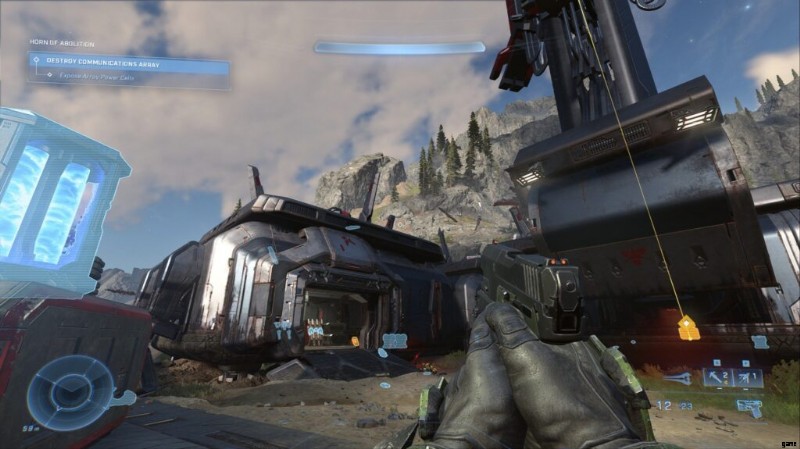
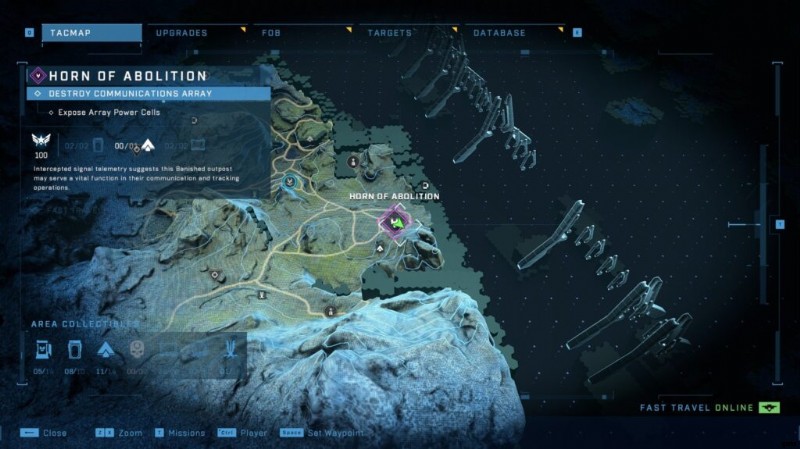
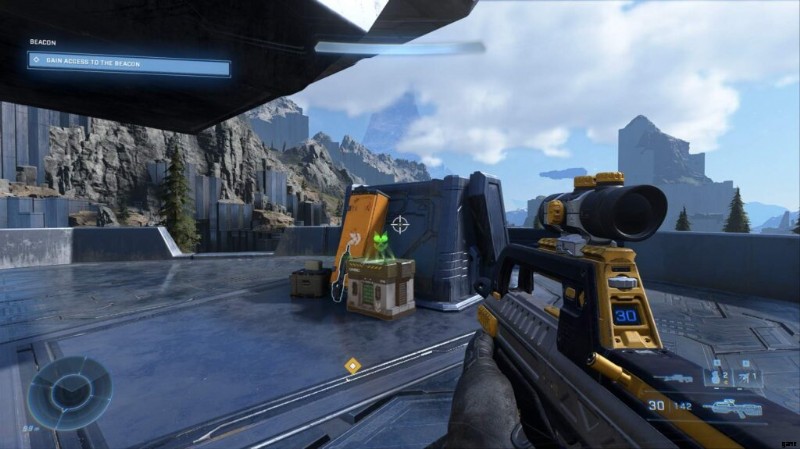
Horn of Abolition
UNSC Audio Log #1
On the south side of the outer Fort. The Core is inside a sunken building with broken doors. You can’t just run in through here; just jump on on the roof and enter through the broken grate. The Core is at the bottom.

UNSC Audio Log #2
High above the Fort on the southern mountain is a little tactical UNSC with a rocket launcher and mongoose. The Log is next to it.
UNSC Audio Log #3
In contrast, the next log is on the North East outer wall, just under a grassy hill outside the base.

Banished Audio Log #1
Straight inside the Fort on the West side. You’ll have to unlock the door to gain access to the log.
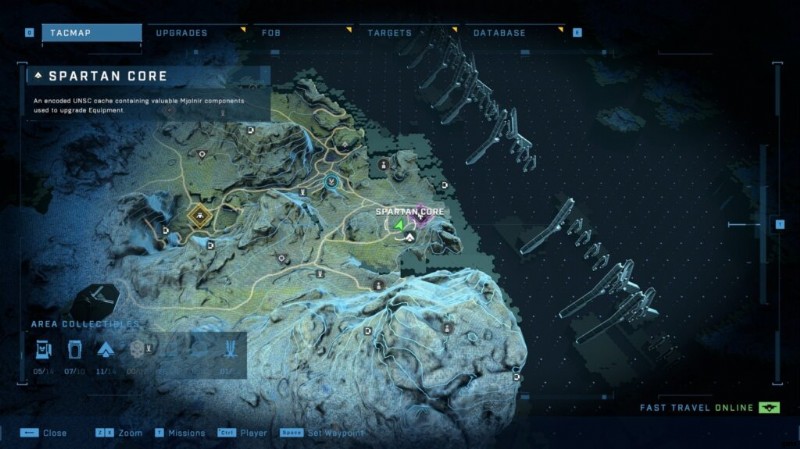
Banished Audio Log #2
In the building by the large Banished tower. You’ll have to unlock the door before you can get this Log. Inside is a Elite Ultra with a sword, so watch out.

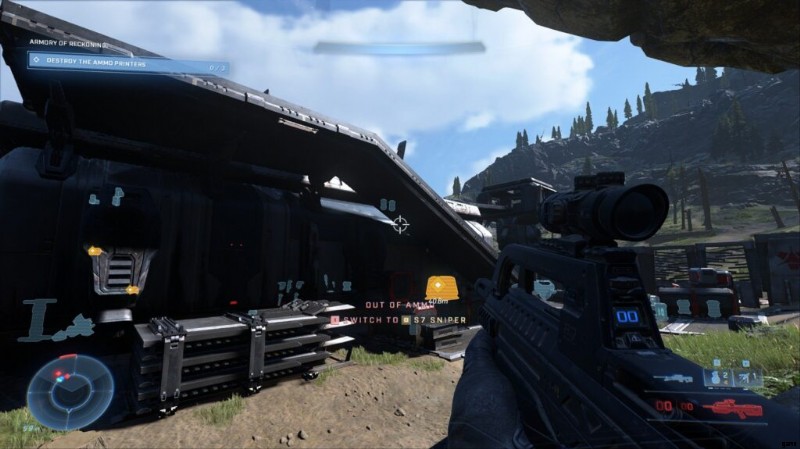
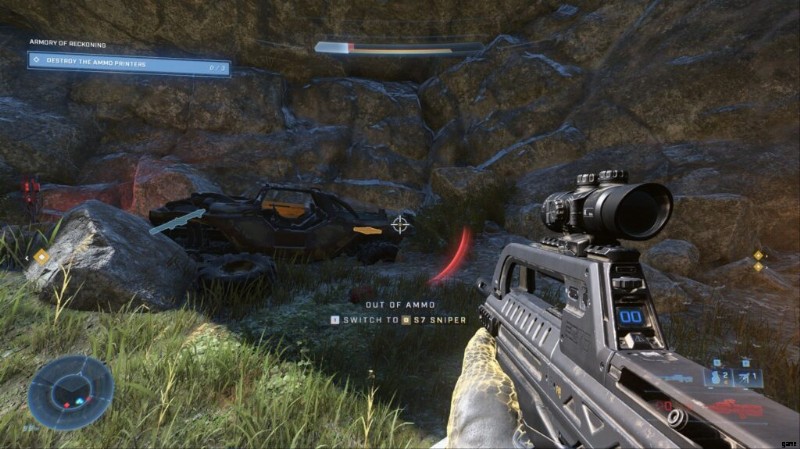
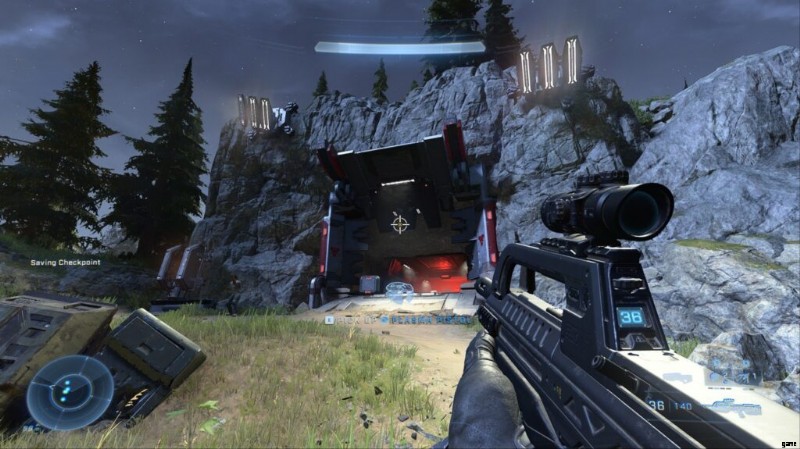
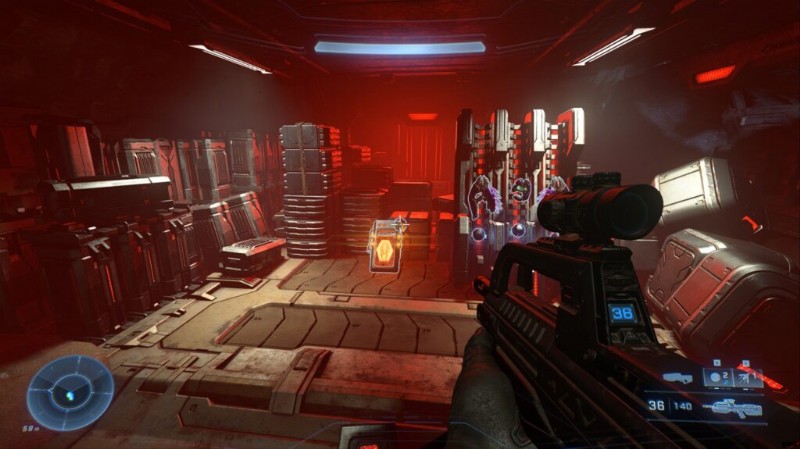
Armoury of Reckoning
UNSC Audio Log #1
In the northeast side of the Armory of Reckoning, there is a small mountain pass between the rocks. You’ll find the audio log on the ground near a destroyed UNSC pod.
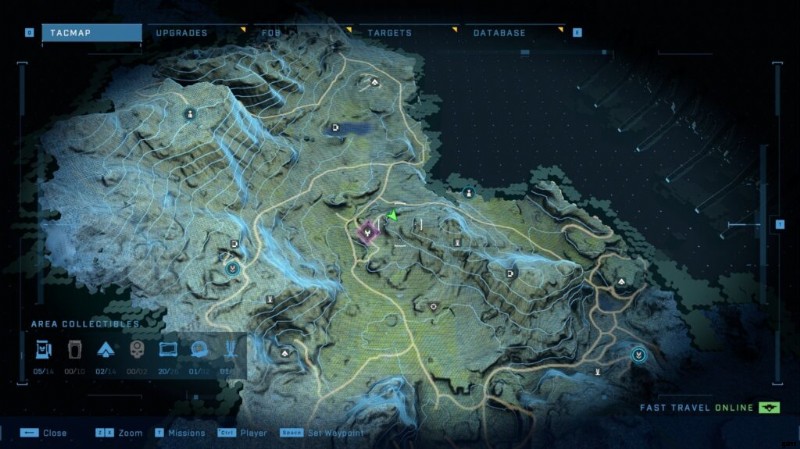
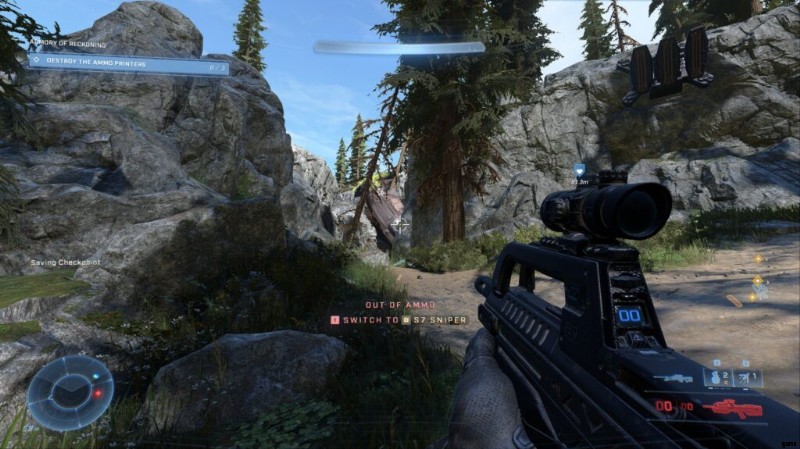
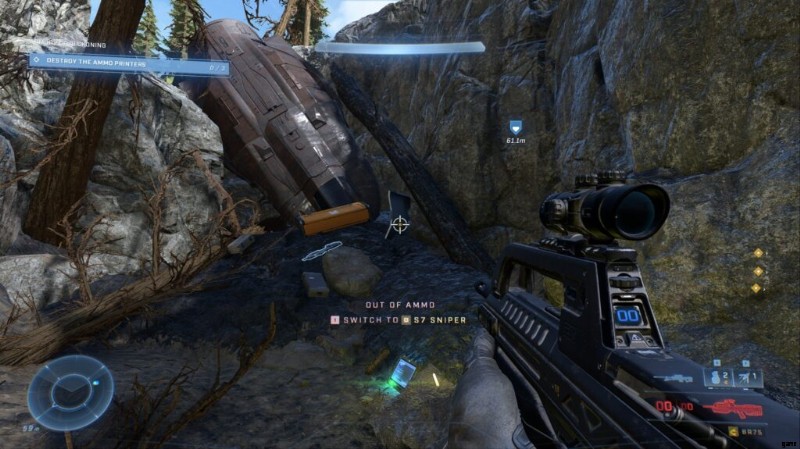
UNSC Audio Log #2
Inside the fort itself, you’ll find a jutting rock overhang near a Banished building. The log is inside a destroyed Warthog underneath the overhang.
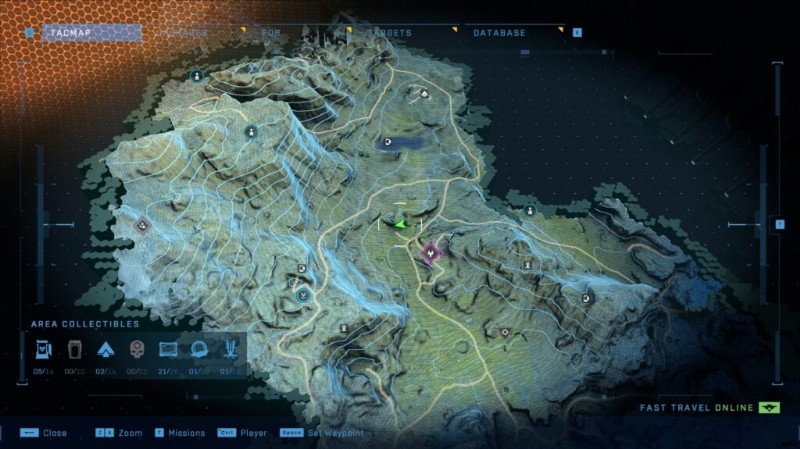
Banished Audio Log #1
Just inside the East side of the Armoury, you’ll find a small hanger with a lazer grid door. Once you’ve de-activated the door you can enter. There will be a few Marines trapped in there, along with the Banished Log.
Spartan Core #1
Inside a Banished underground bunker. To get in, look for some barricades over the door and squeeze through them. Follow the ramp and you’ll find the intersection with some enemies at the bottom. Clear them out, and the Core is at the end.
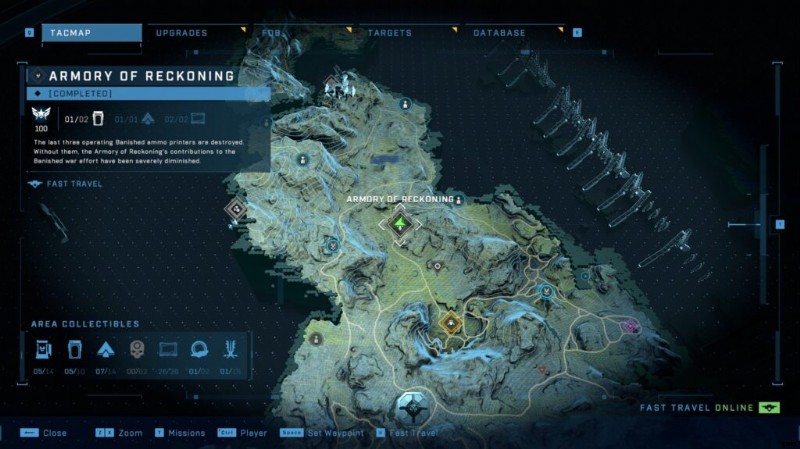

Banished Audio Log #2
This one is inside the locked house. This will be the last building that you’ll get into, which you’ll need to get into via the bunker which has the Spartan core in. Continue up the grav lift and the Log will be on the floor.
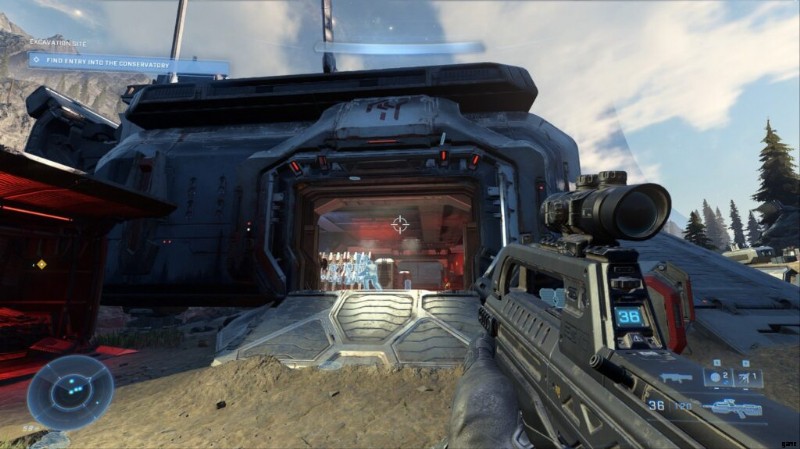
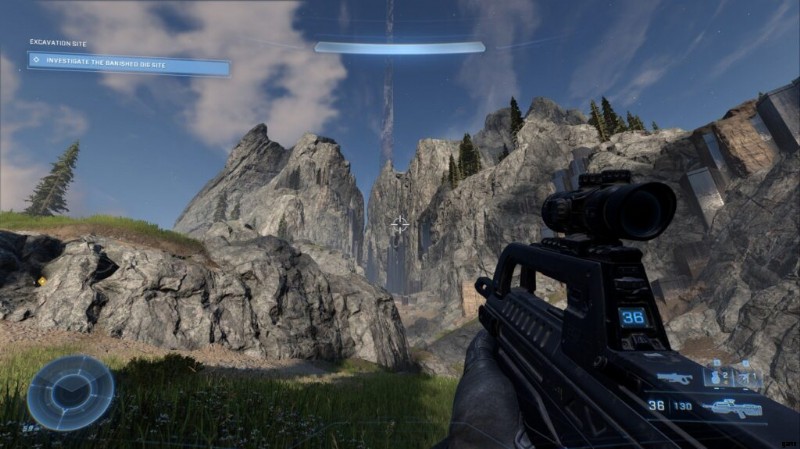
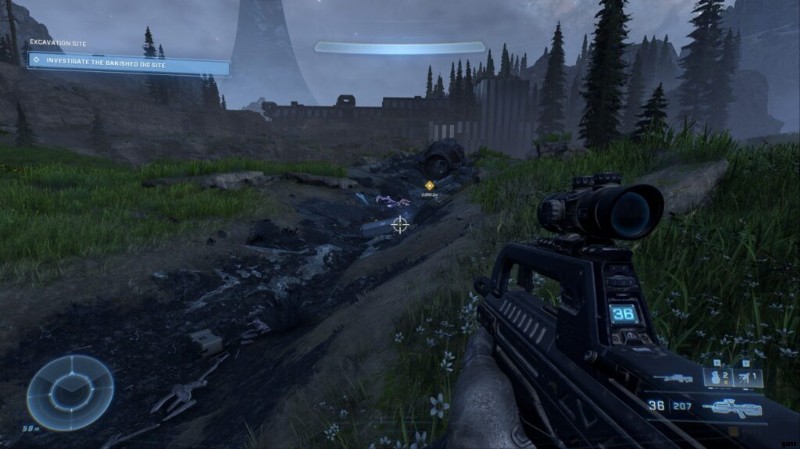
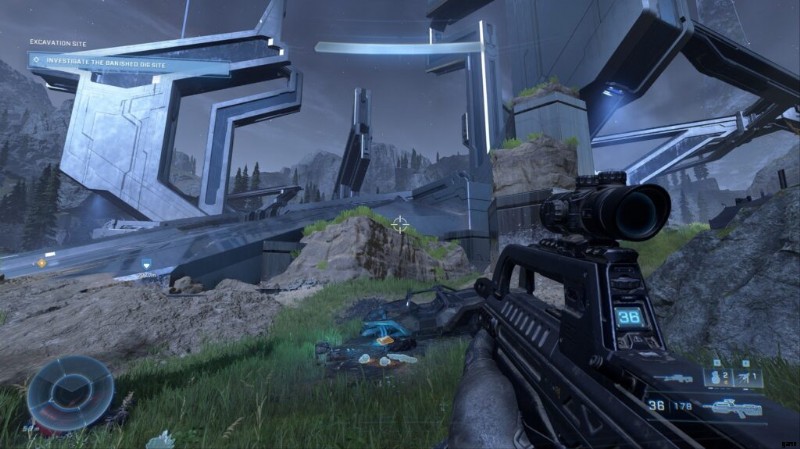
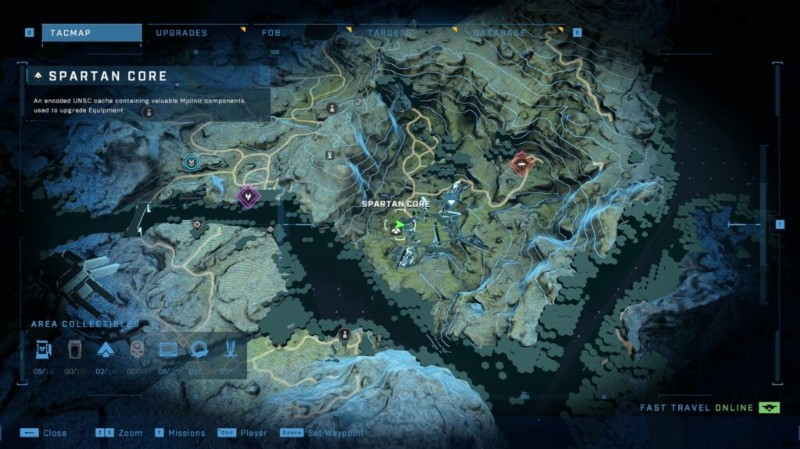
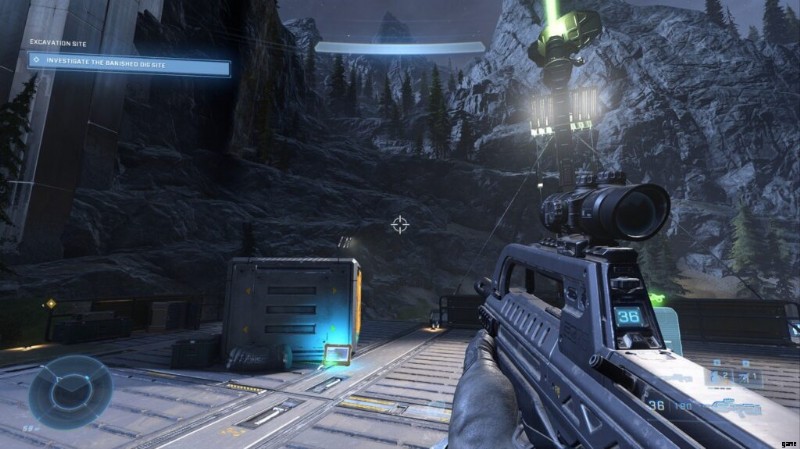
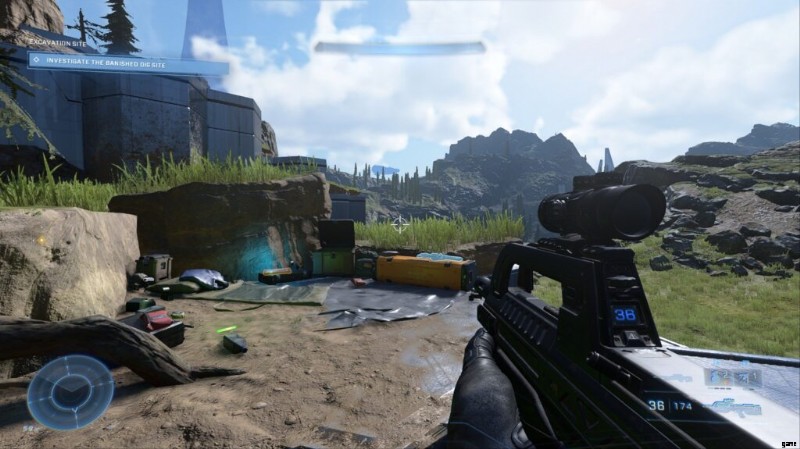
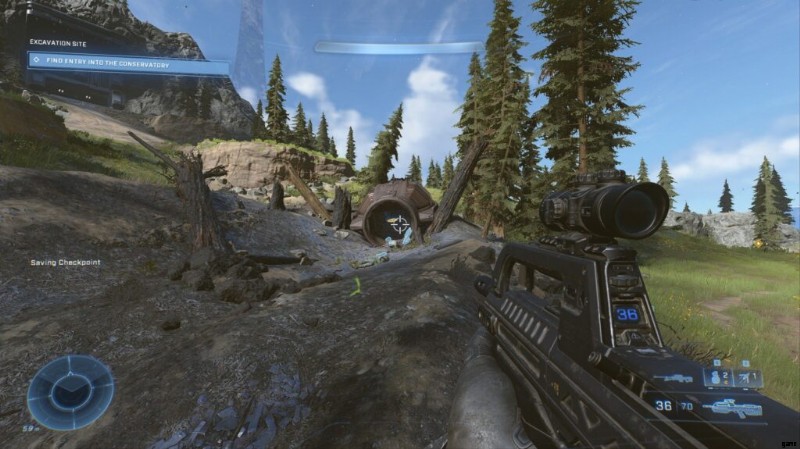
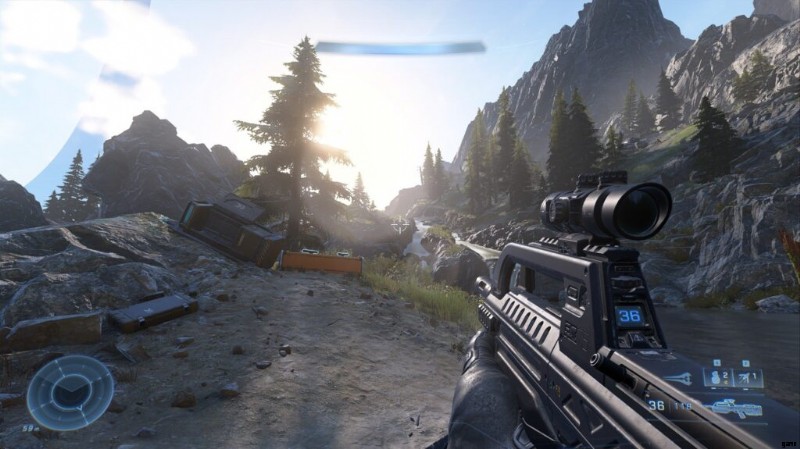
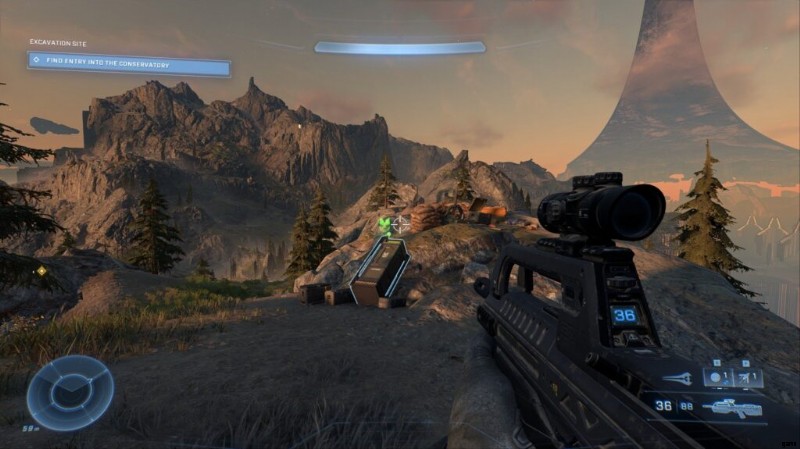
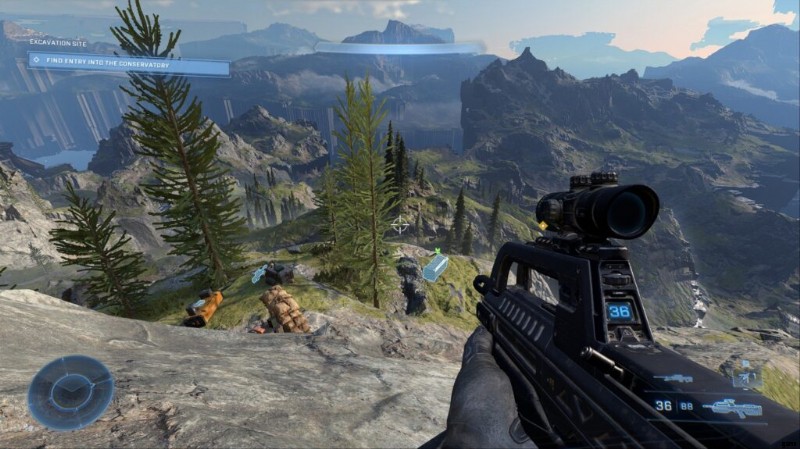
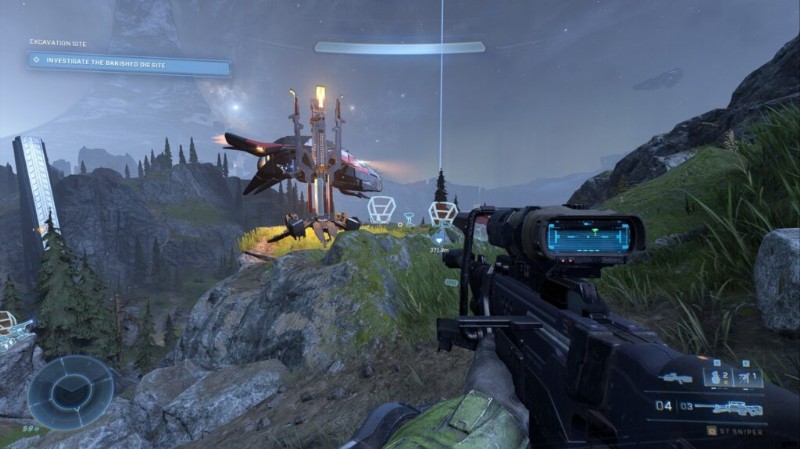
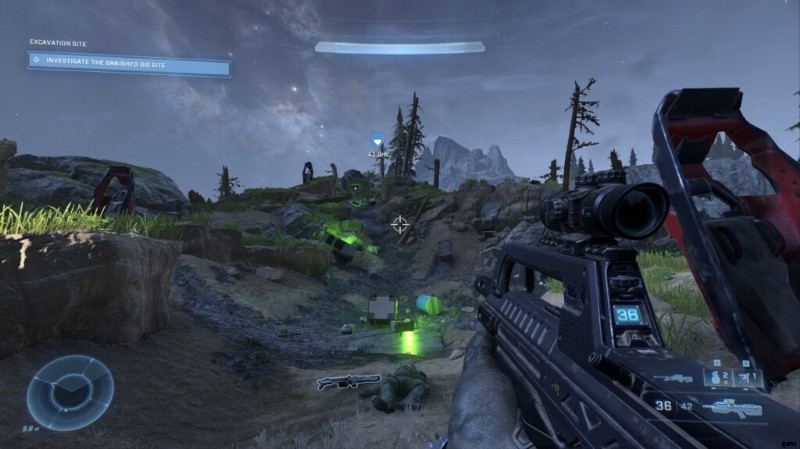
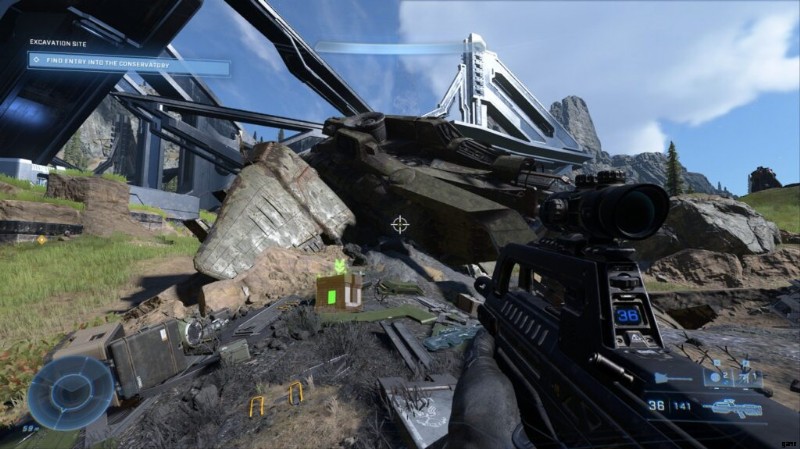
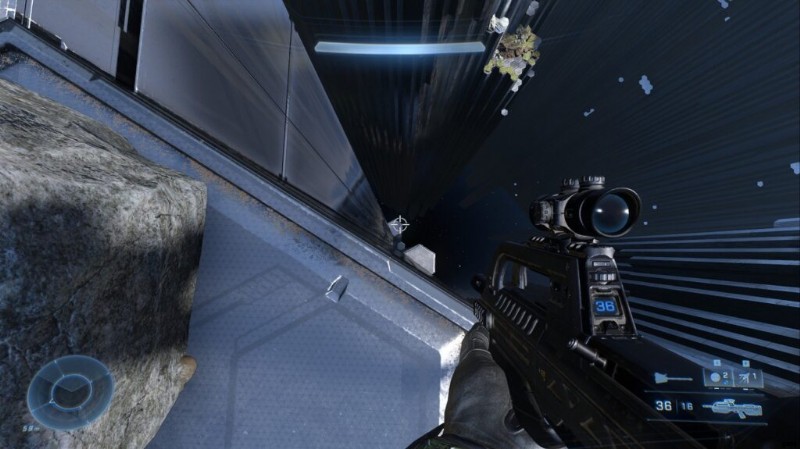
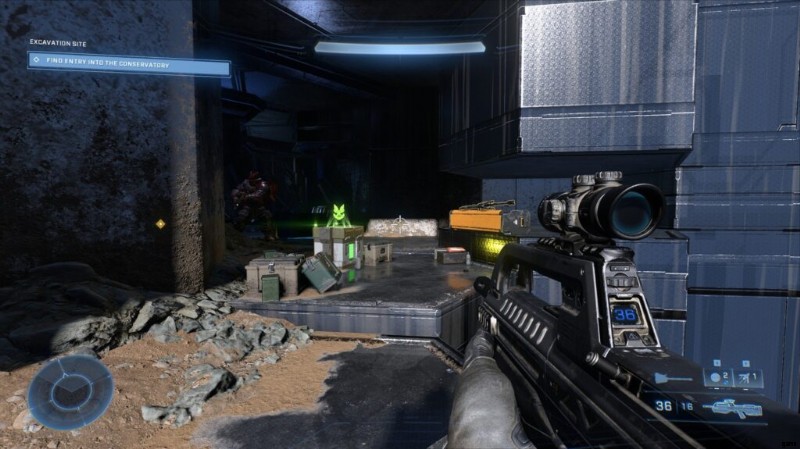
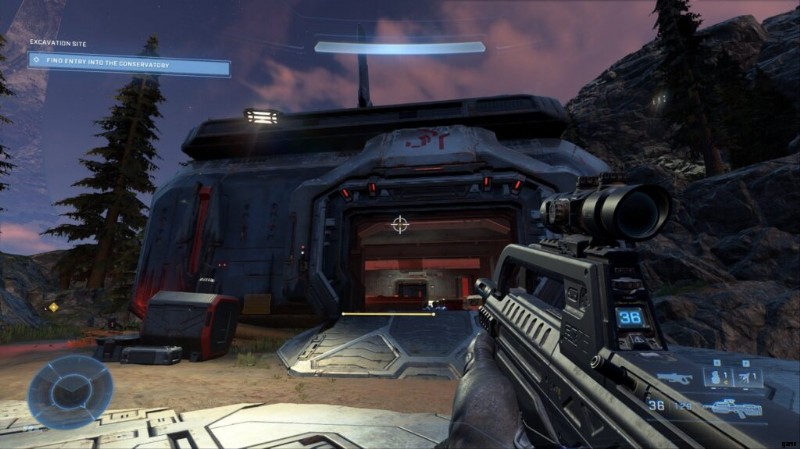
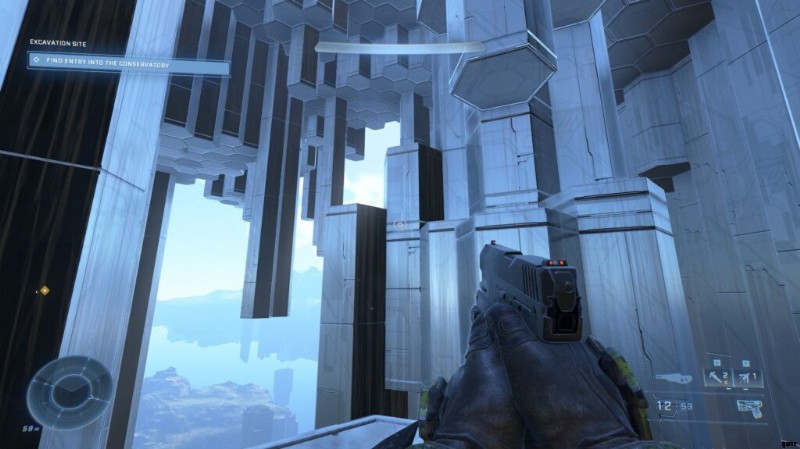
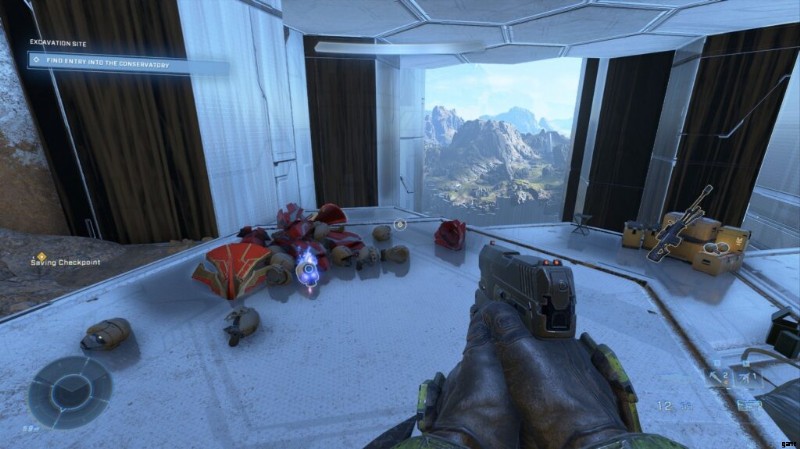
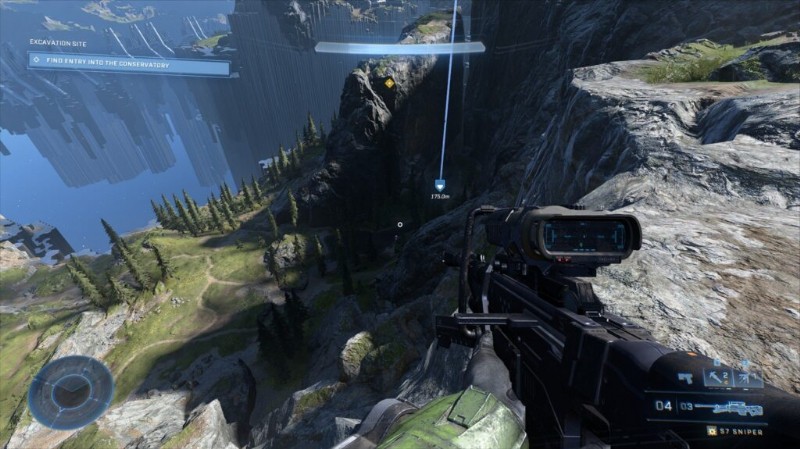
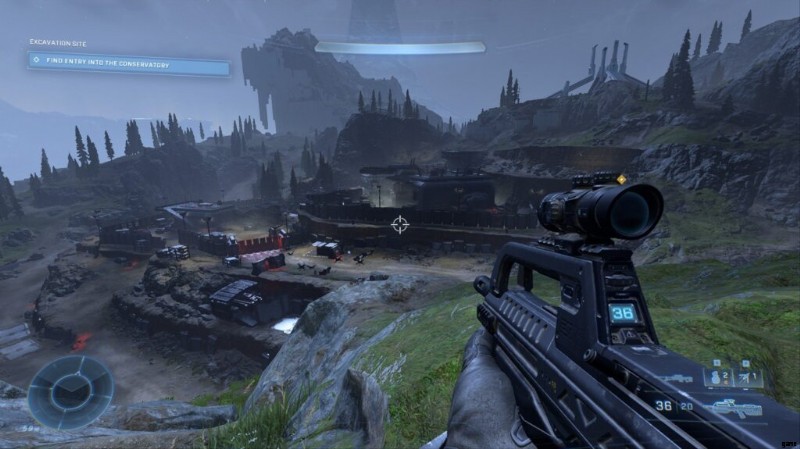
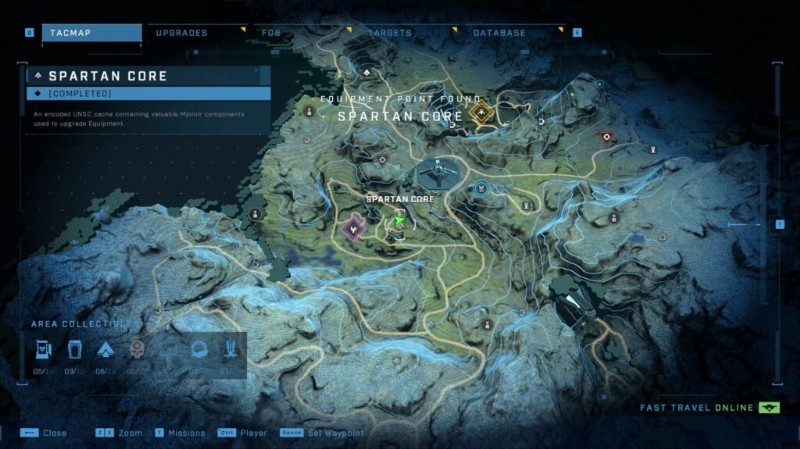
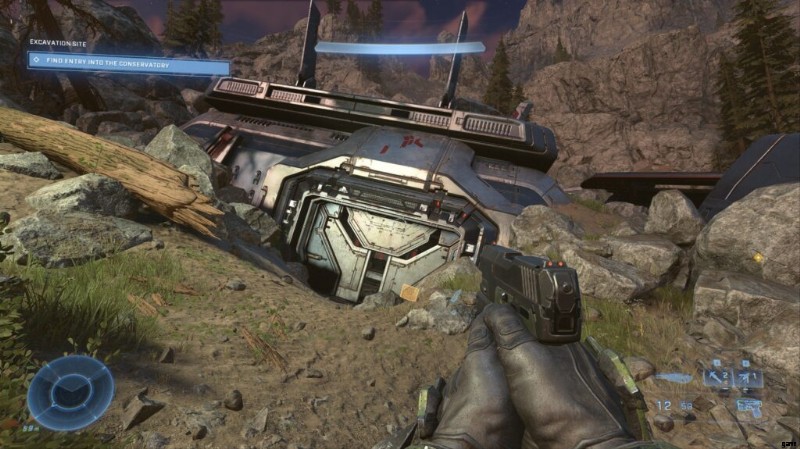
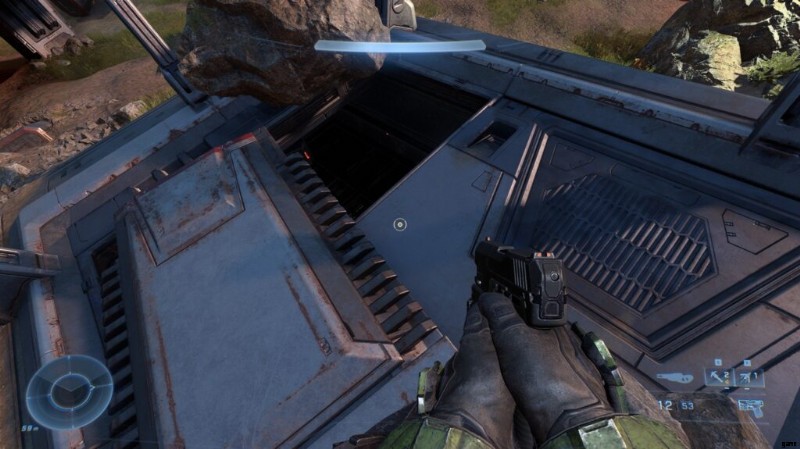
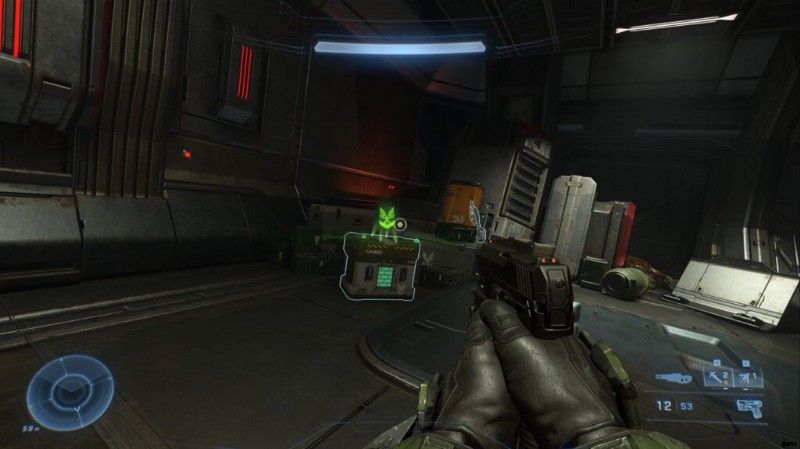
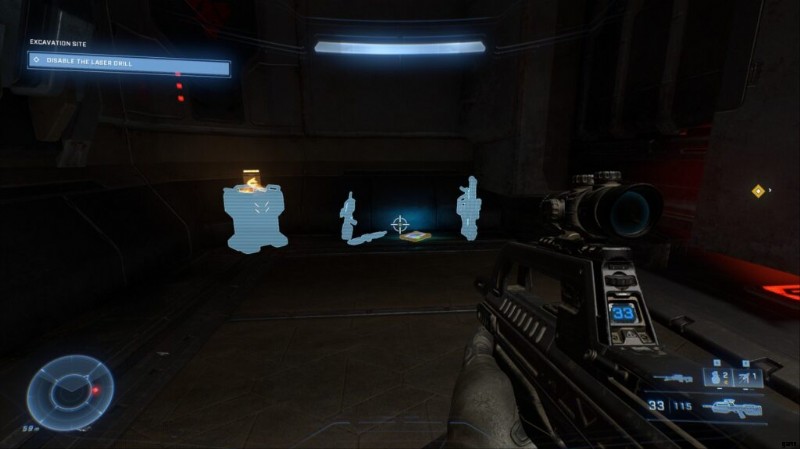
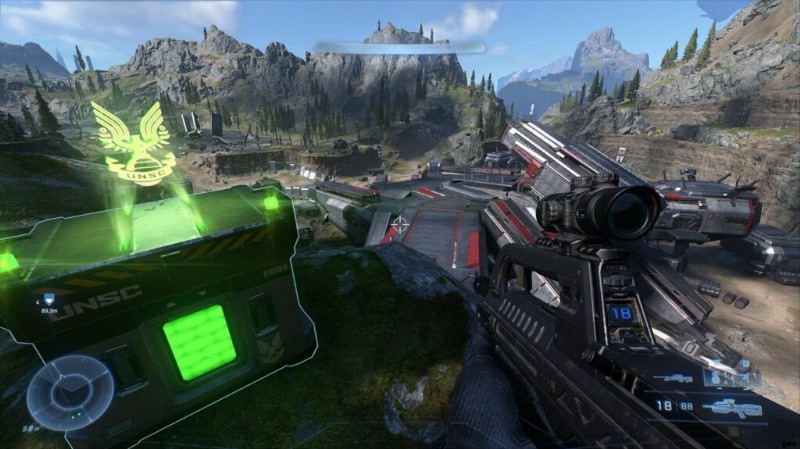
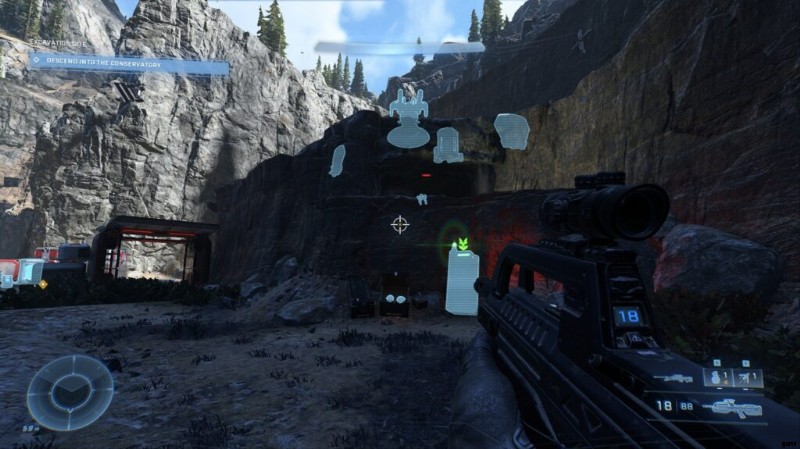
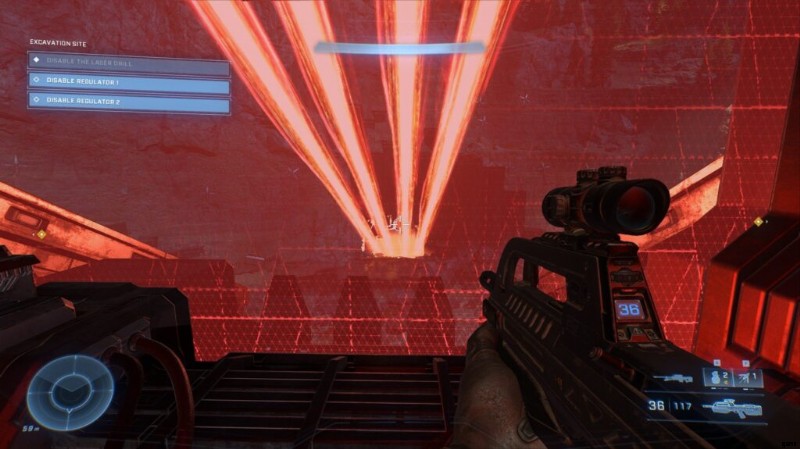
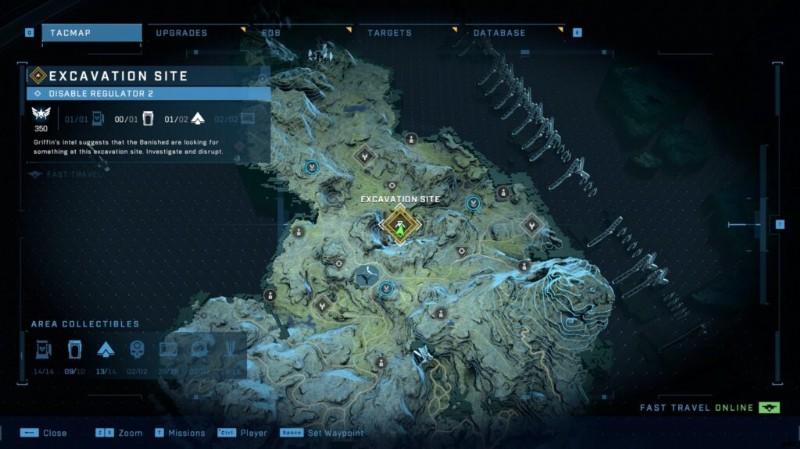
Excavation Site
UNSC Audio Log #1
Inside the blasted wasteland; there is a destroyed truck. Next to it is the Audio Log.

UNSC Audio Log #2
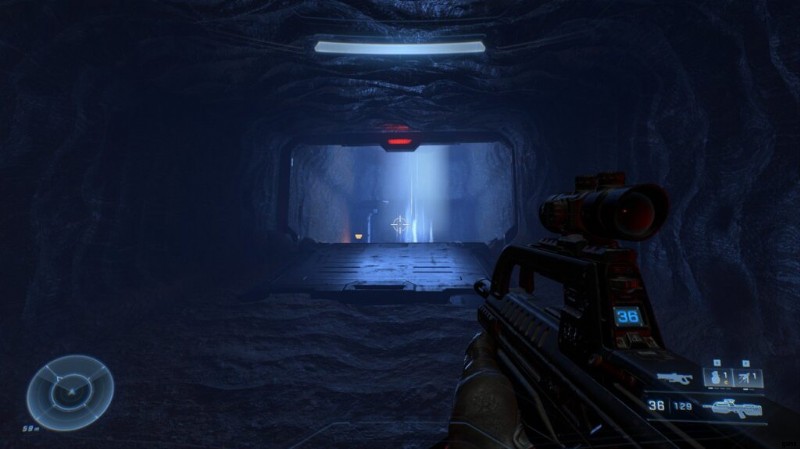
Can only be accessed by continuing on through the level. Once you’re inside the drilling platform, look in one of the legs, and the log will be on the floor.
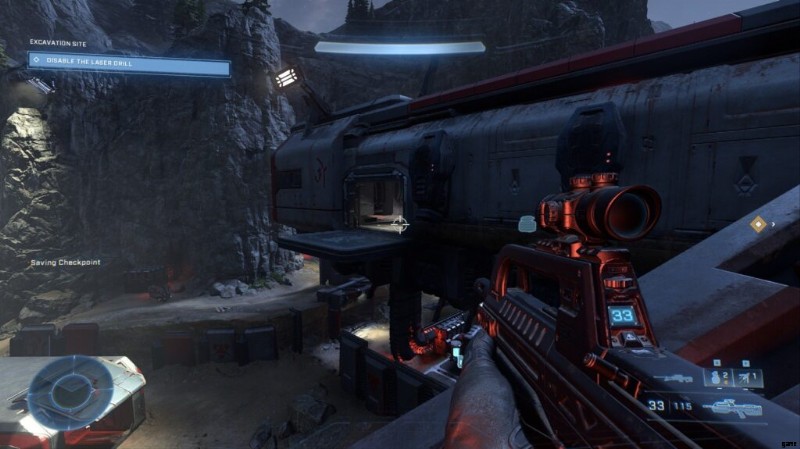
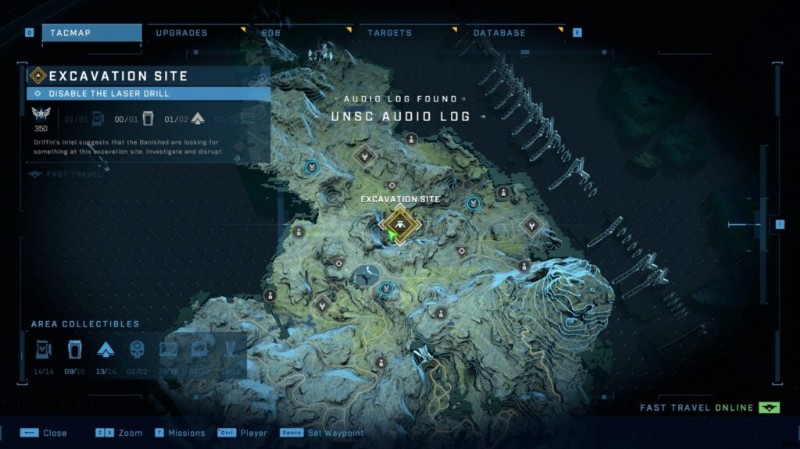
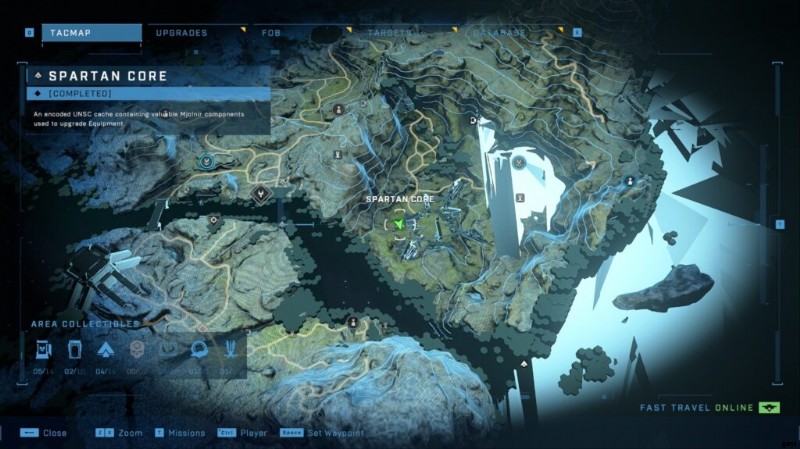
Spartan Core #1
In the centre area of the site, jump up on a hill, and the core is at the top, overlook the giant gun/drill.
Spartan Core #2
On the South side of the complex inside a little building. Just roll in, and the Core is on the grating above.l
Mjolnir Armoury #1
Right next to the core, on the left. Jump down and you’ll find the Locker right in the corner of the dig site, up against some stone.
Banished Audio Log
Can only be accessed by continuing on through the level. Once you’re inside the drilling platform, look into the central control room, and do a 180 degree turn. You’ll find the log behind the laser window.
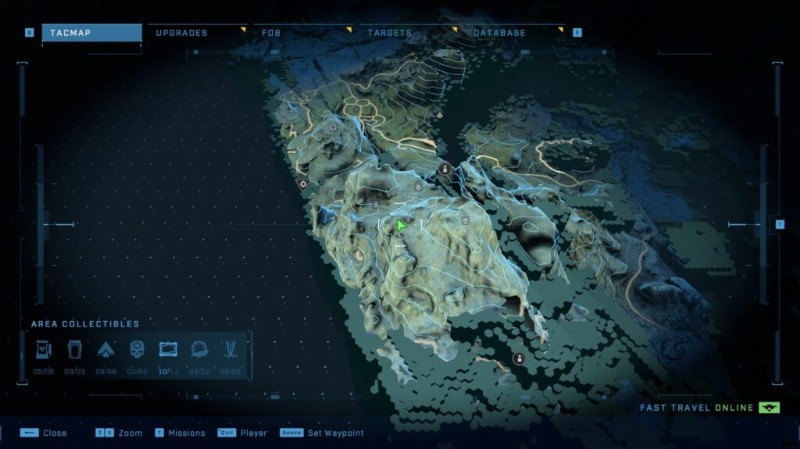
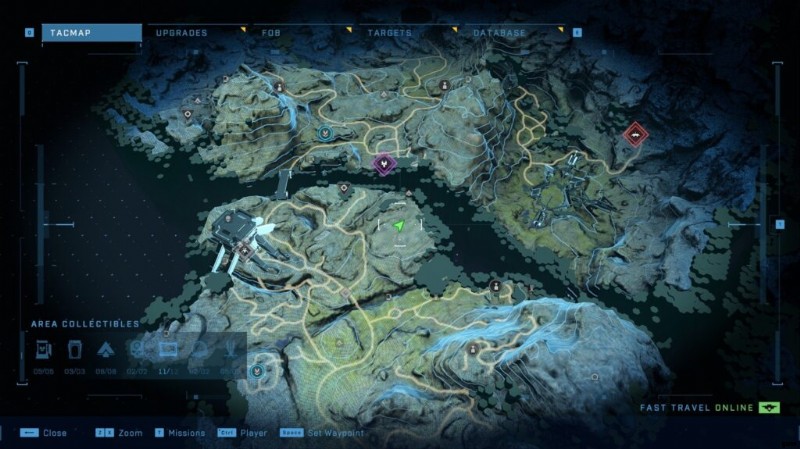
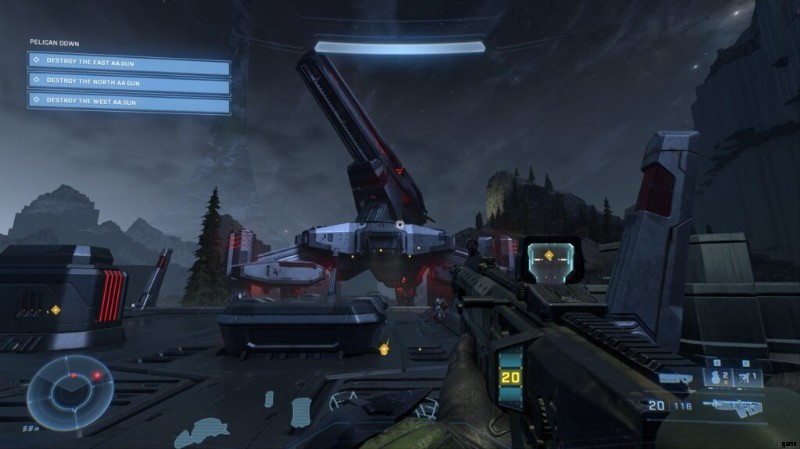
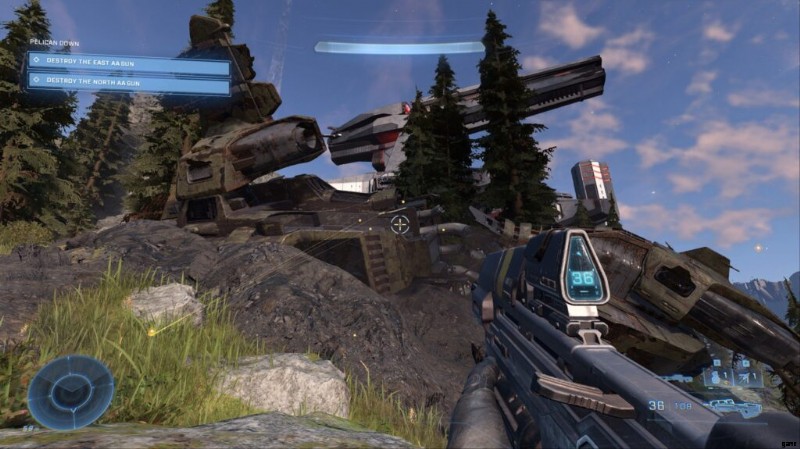
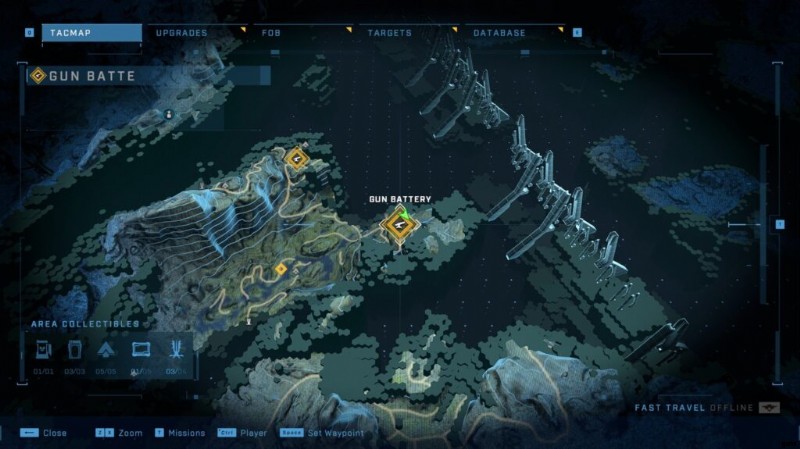
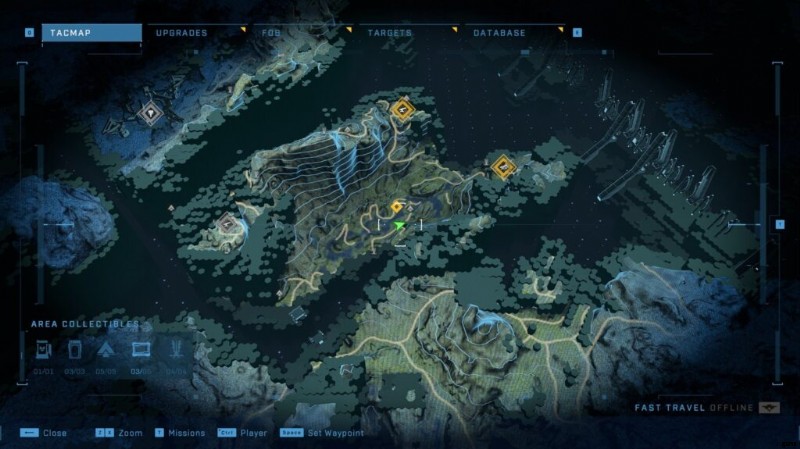
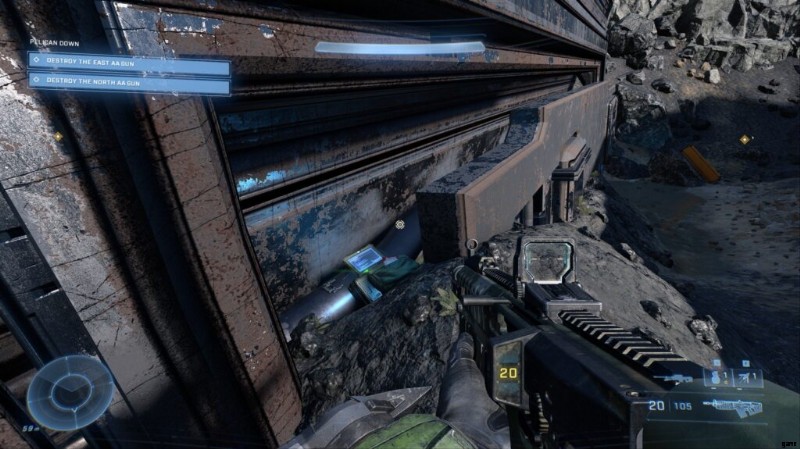
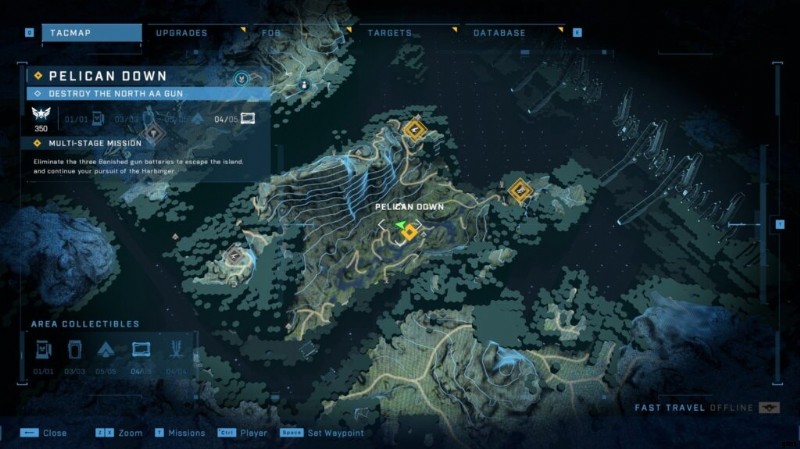
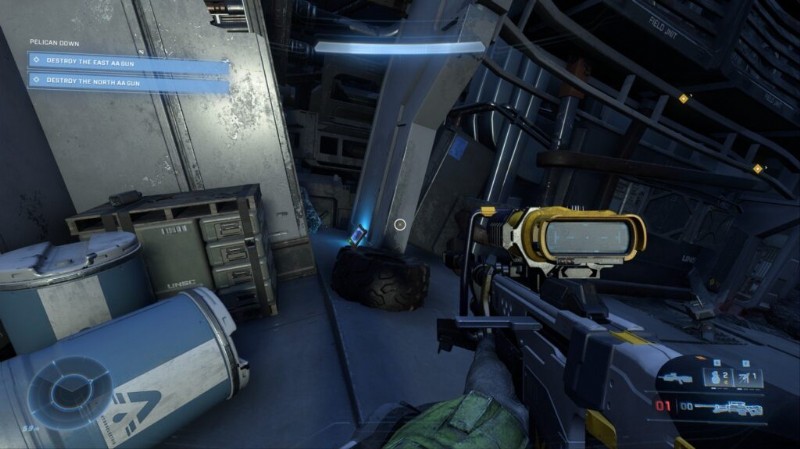
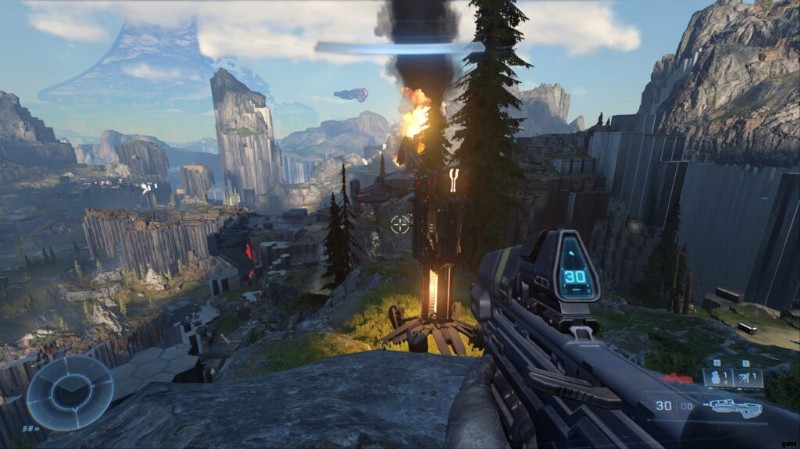
Graveyards [Region 3]
Spartan Core #1
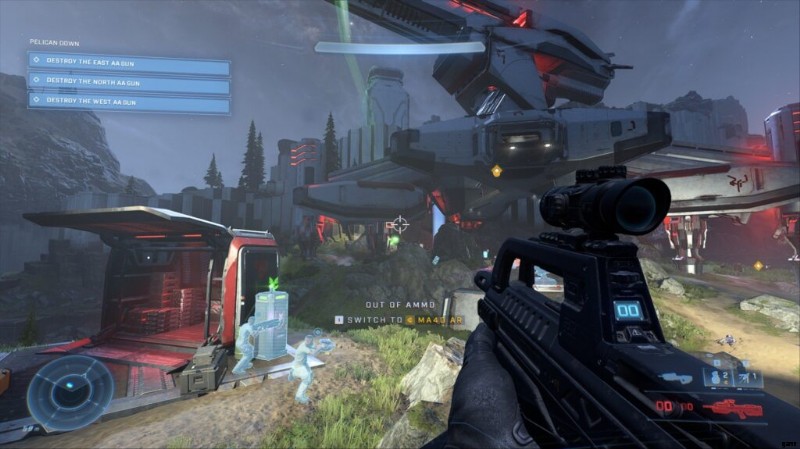
Near the beggining of when you get to Region 3, just head east, fighting through the Banished forces until you see some more Infinity/Random UNSC ship wreckage. The Core is on there.
Spartan Core #2
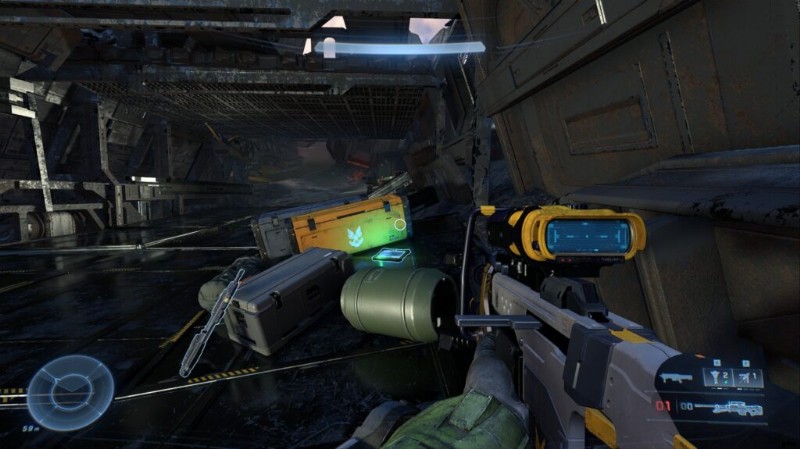
Make your way to the west-mot Anti-Air gun. Look to the left of the giant elevator, and you’ll find the crate.
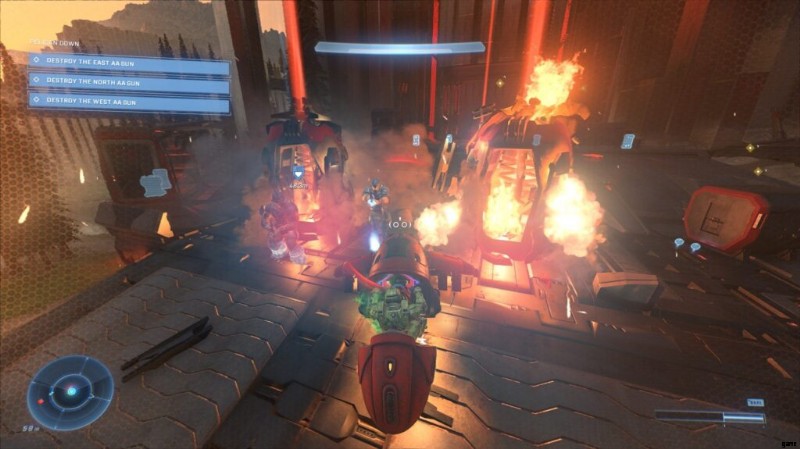

Spartan Core #3
Either go up a long trail from the Northern AA gun, or just grapple up the mountain. Either way, you’ll find the Core at the top of the rock face.
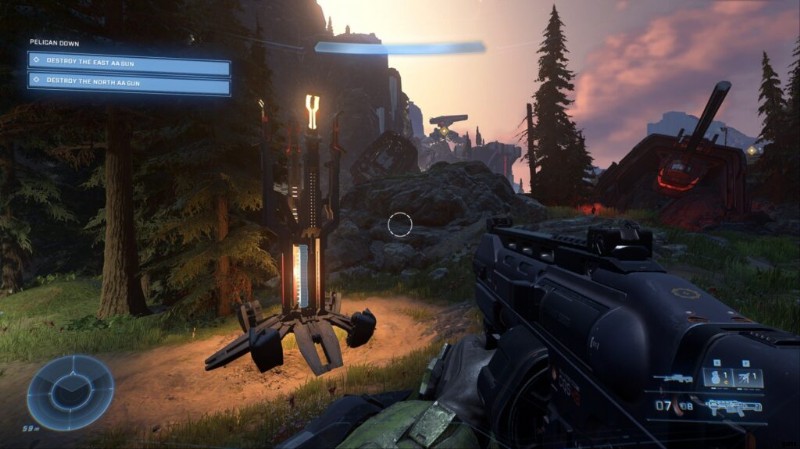
Spartan Core #4
Inside the camp with the Northern AA gun. Head past the gun itself and into one of the far buildings.

Spartan Core #5
The last Core in the region lies right inside the Eastern AA Gun and it’s camp. Just past the hill with the gun on, you should see a small tunnel leading into a shaft with the Spartan Core in it.
Mjolnir Armoury #1
Banished Audio Log #1
Banished Audio Log #2

Banished Audio Log #3

UNSC Audio Log #1
UNSC Audio Log #2
UNSC Audio Log #3
UNSC Audio Log #4
UNSC Audio Log #5
[P2] Propaganda Towers
Propaganda Tower #1
Propaganda Tower #2
Propaganda Tower #3
Propaganda Tower #4
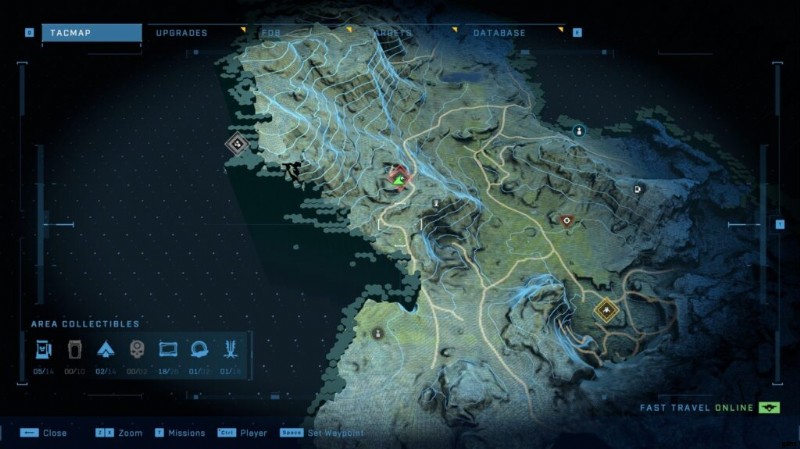
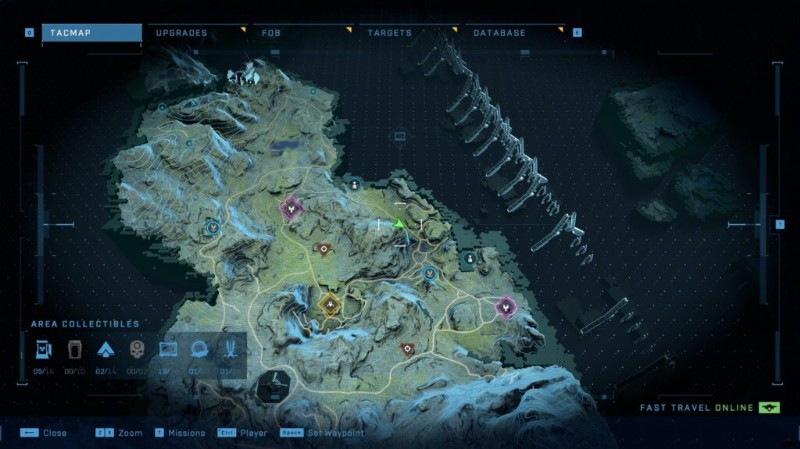
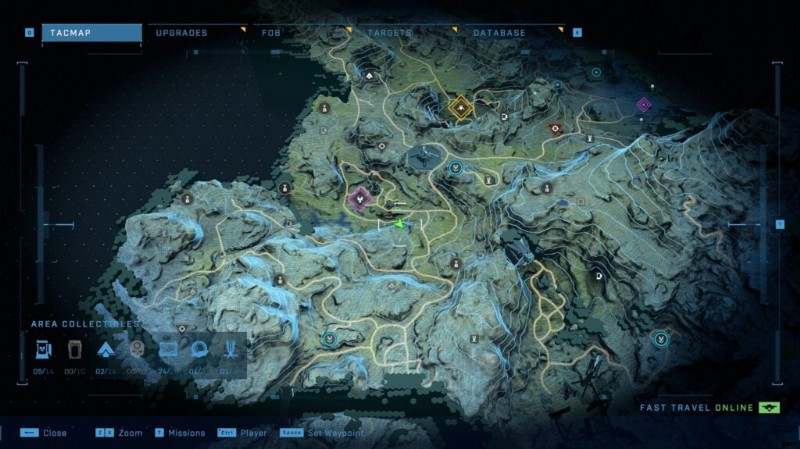
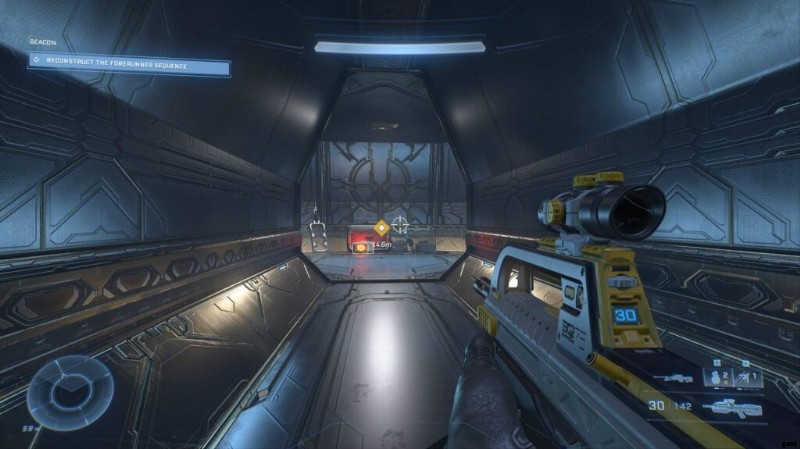
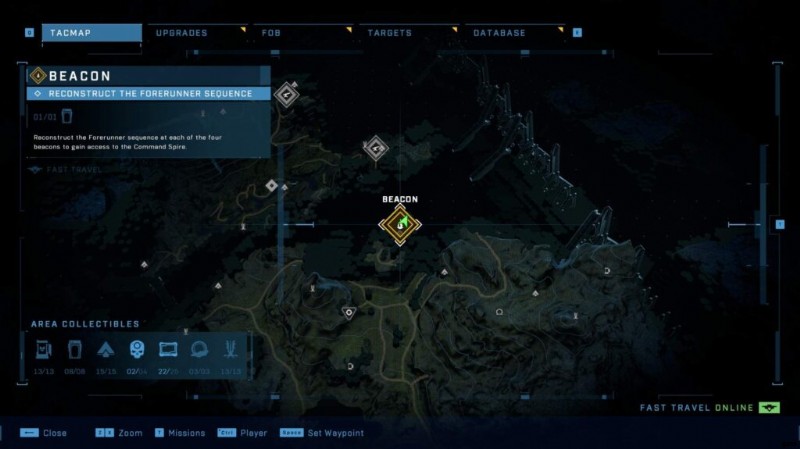
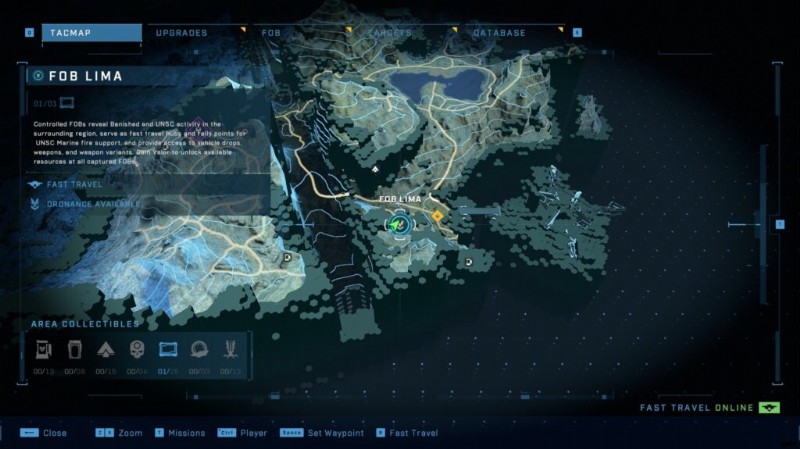
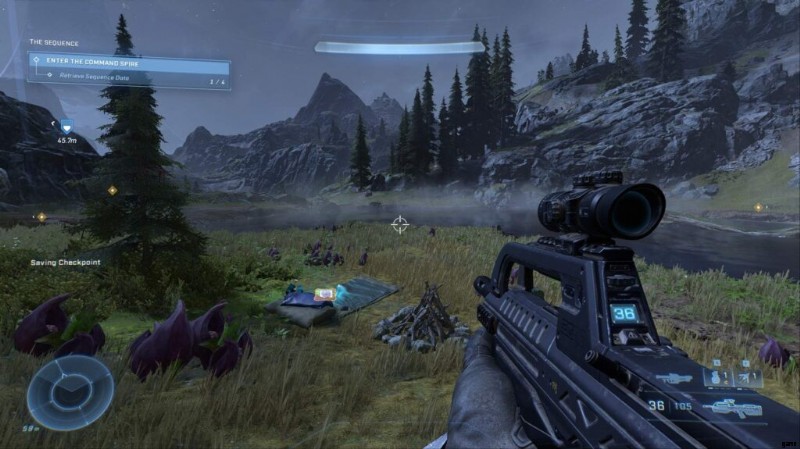
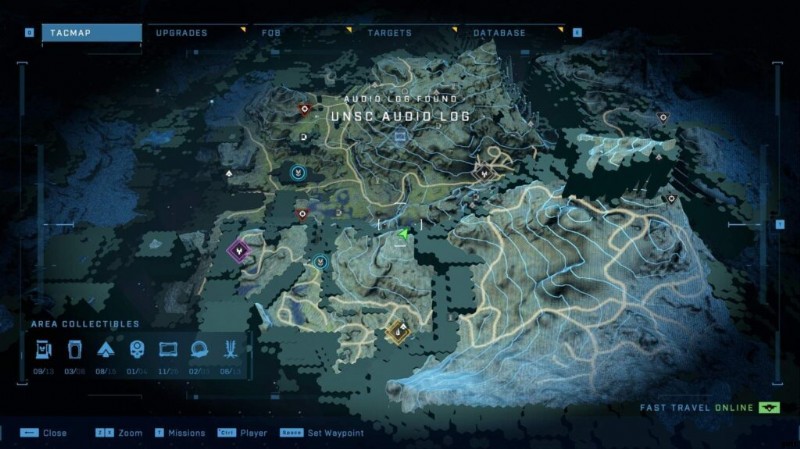
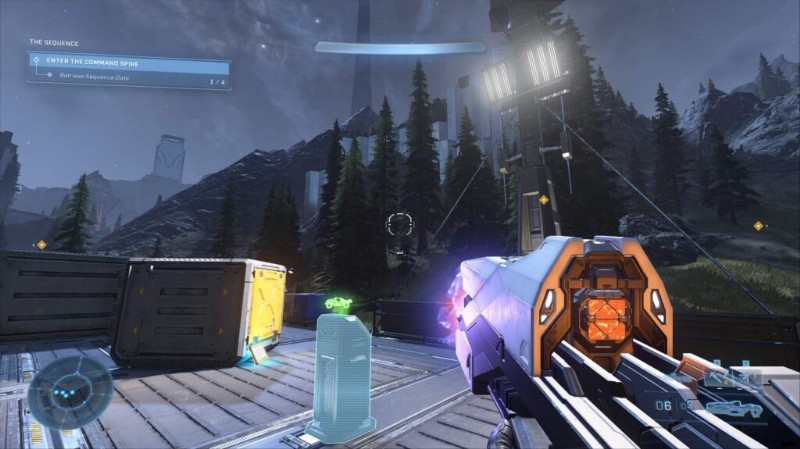
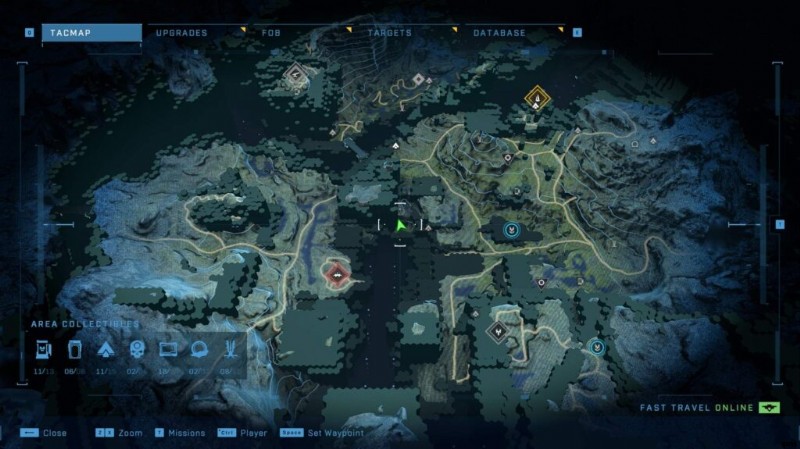
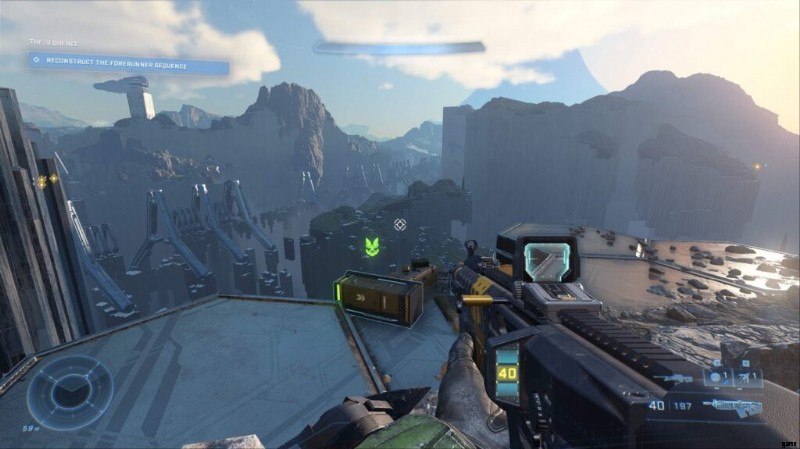
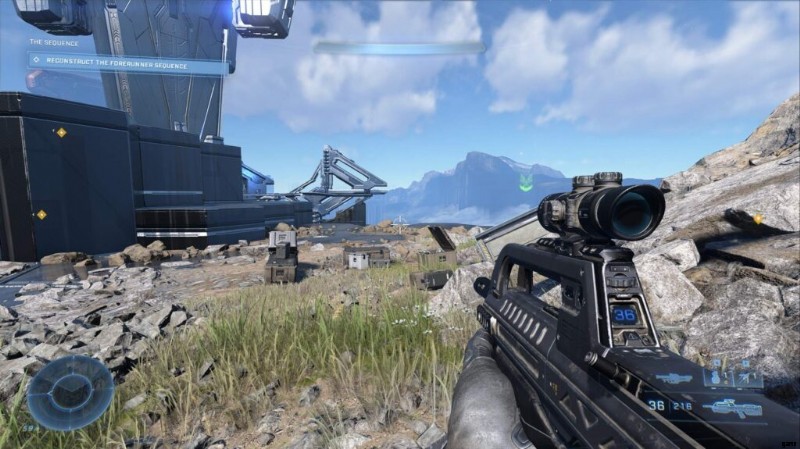
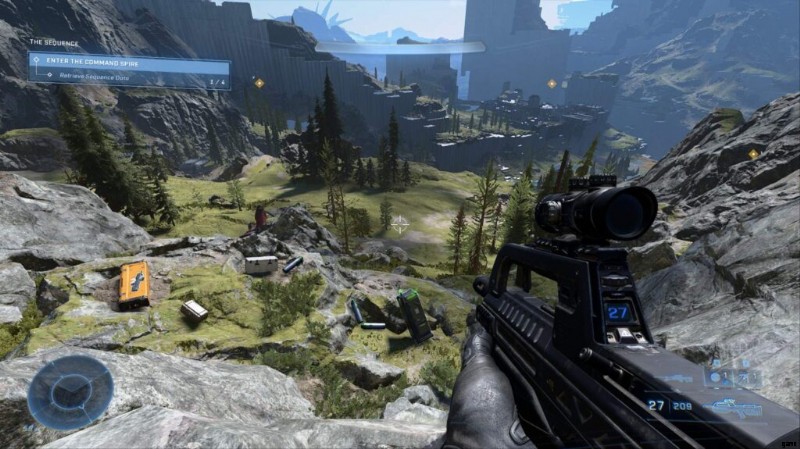
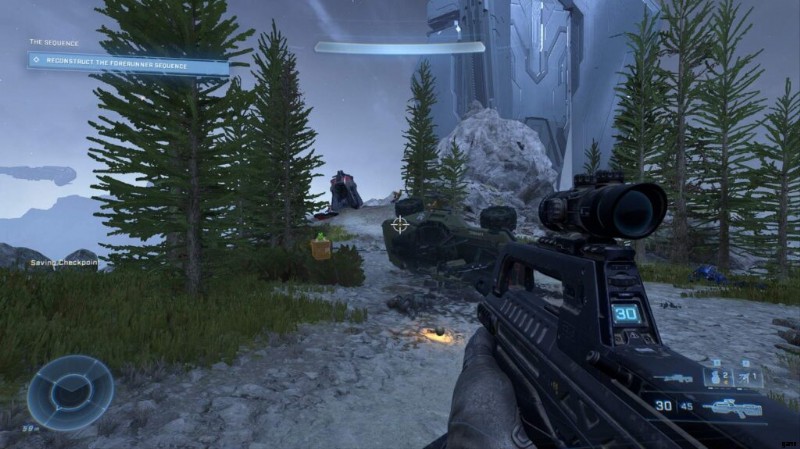
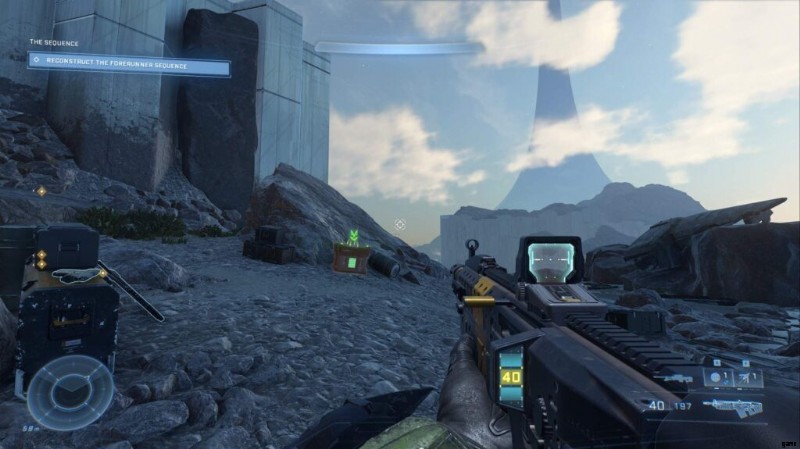
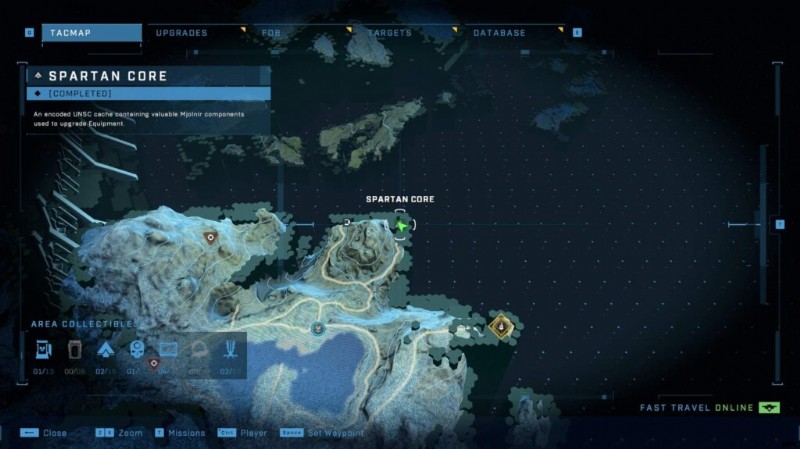
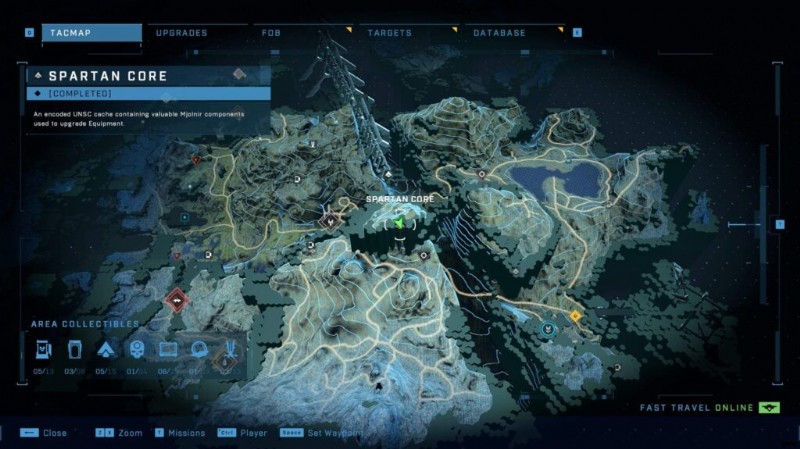
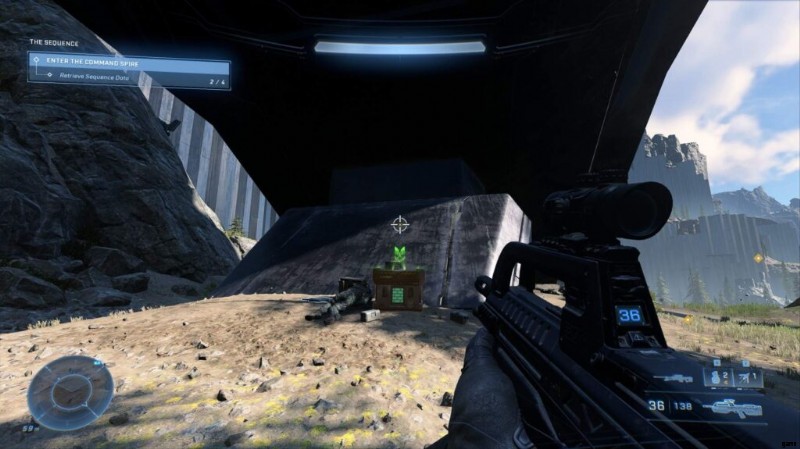
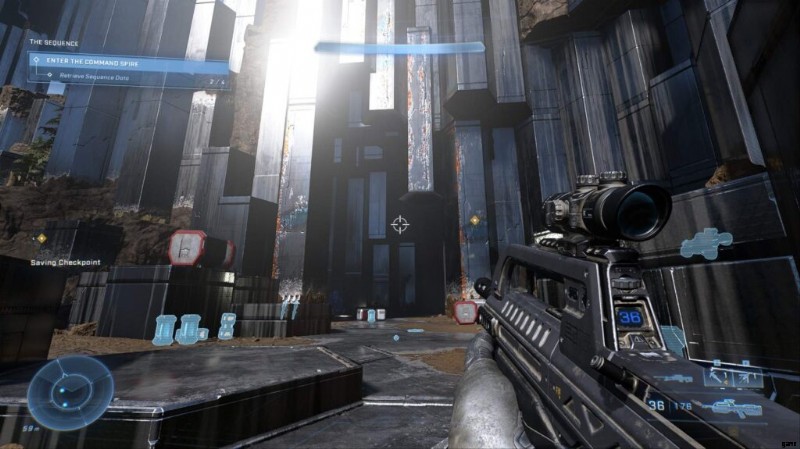
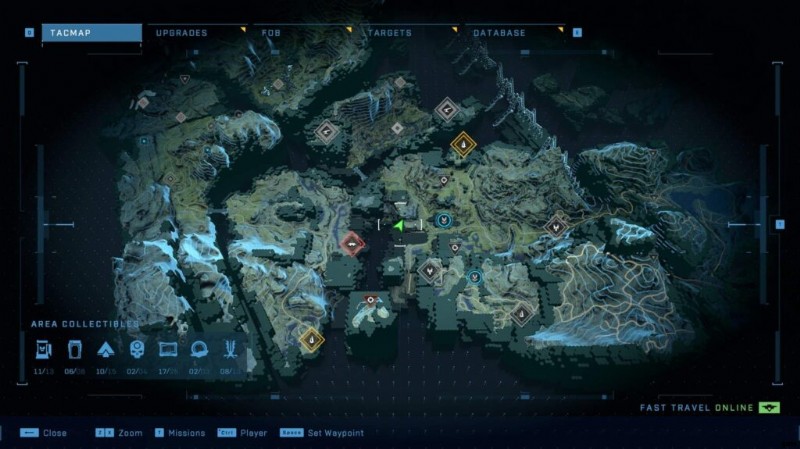
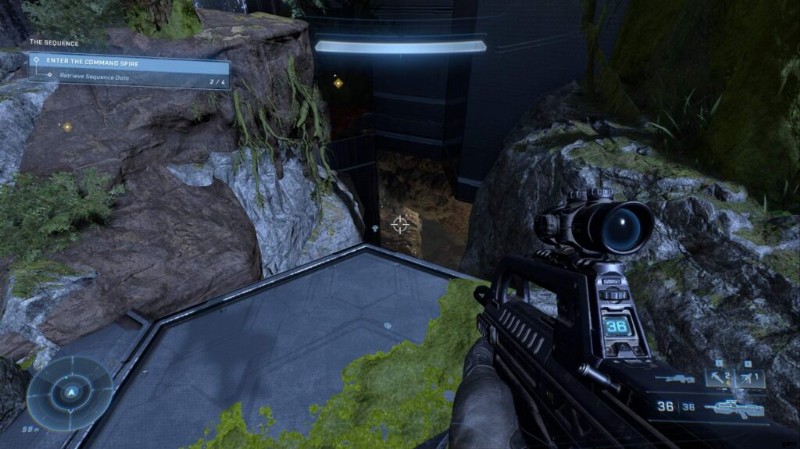
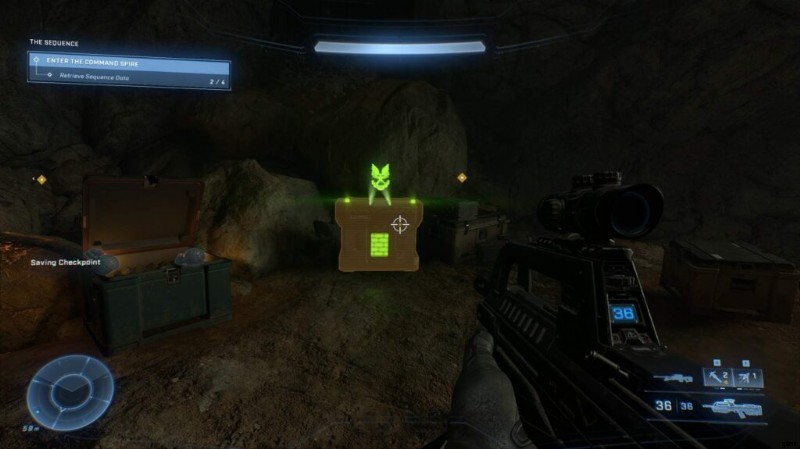
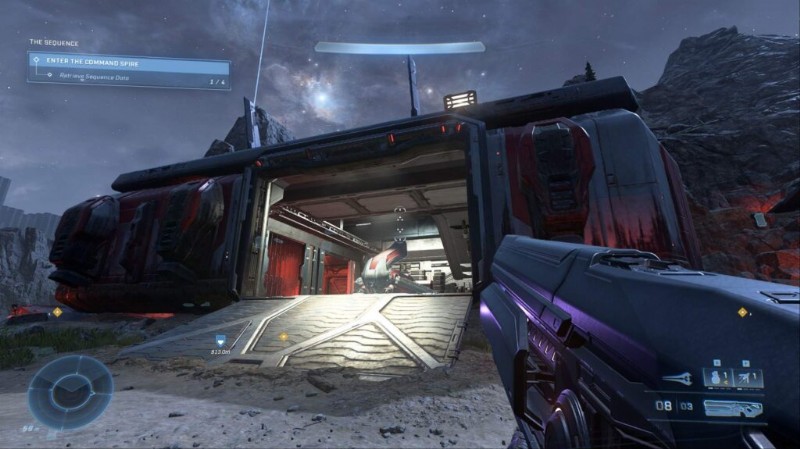
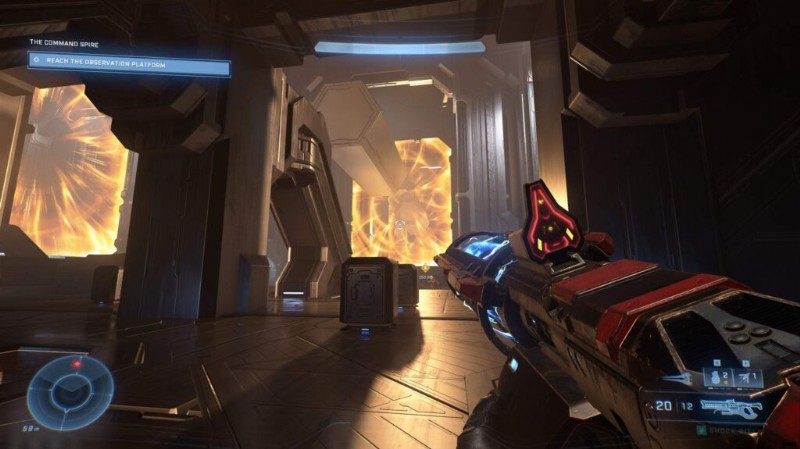
Reformation [Region 4]
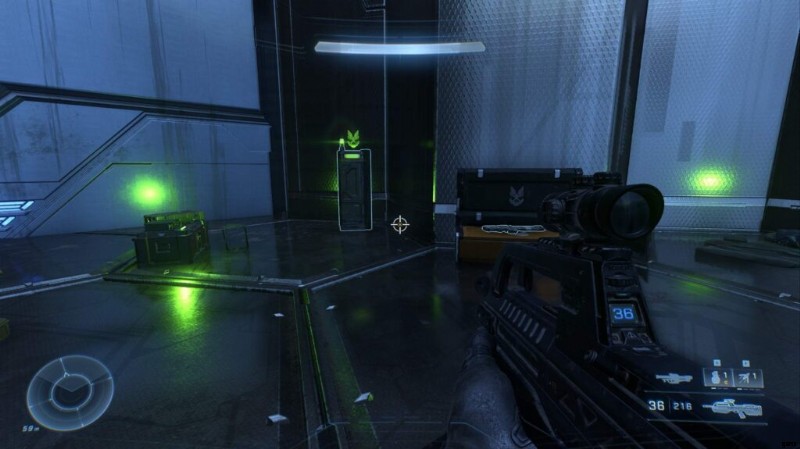
Banished Audio Log #1
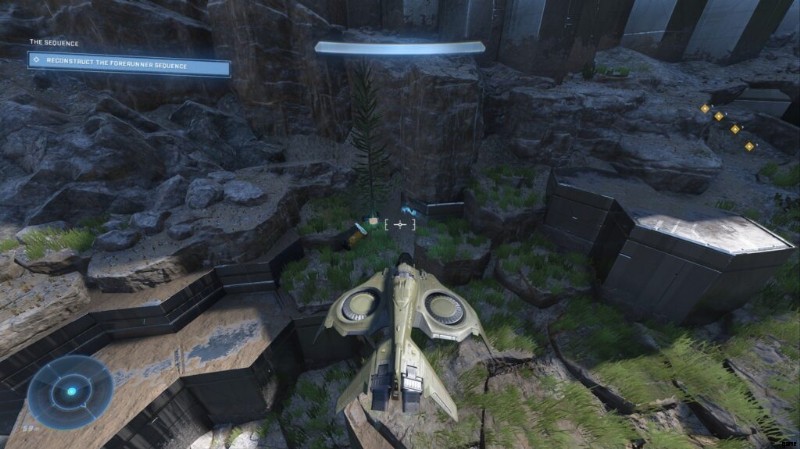
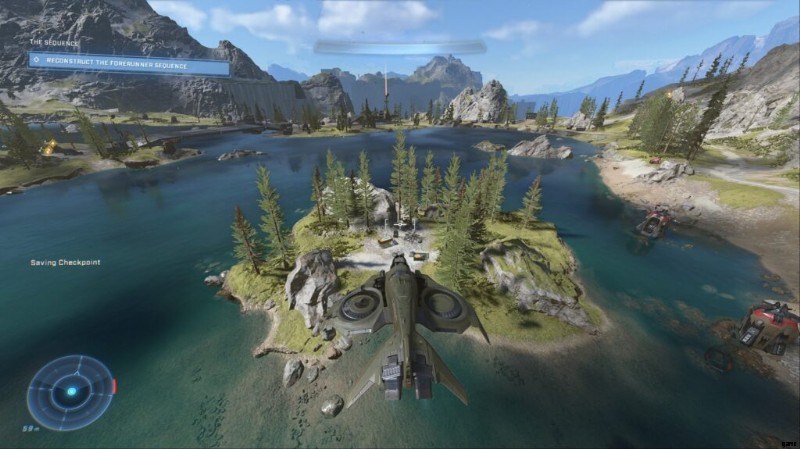
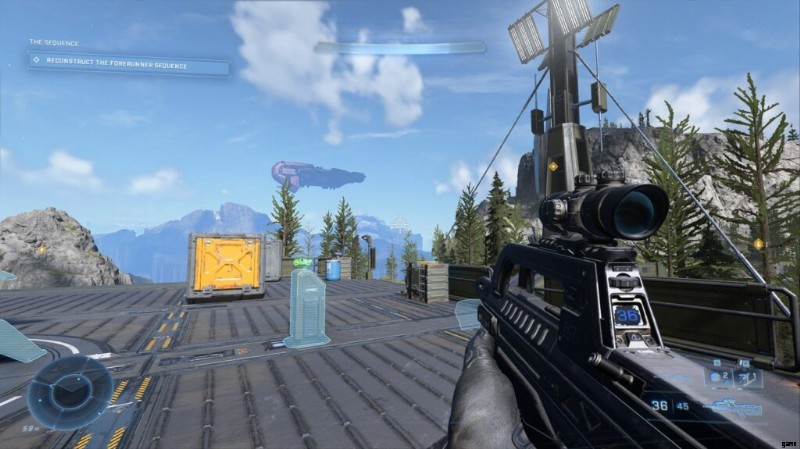
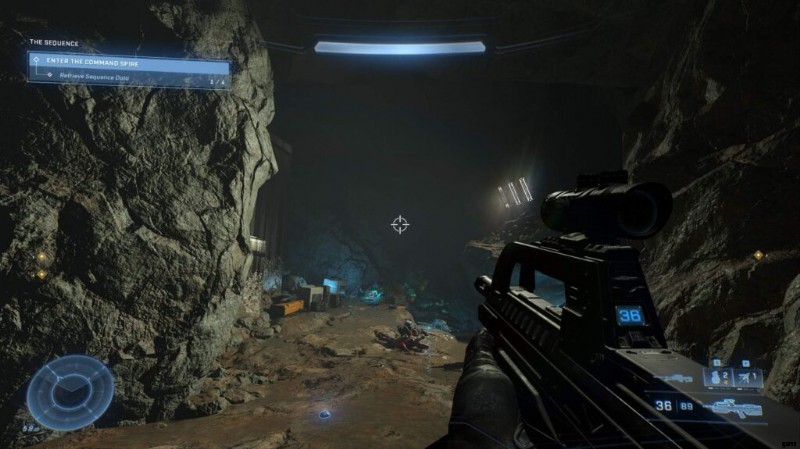
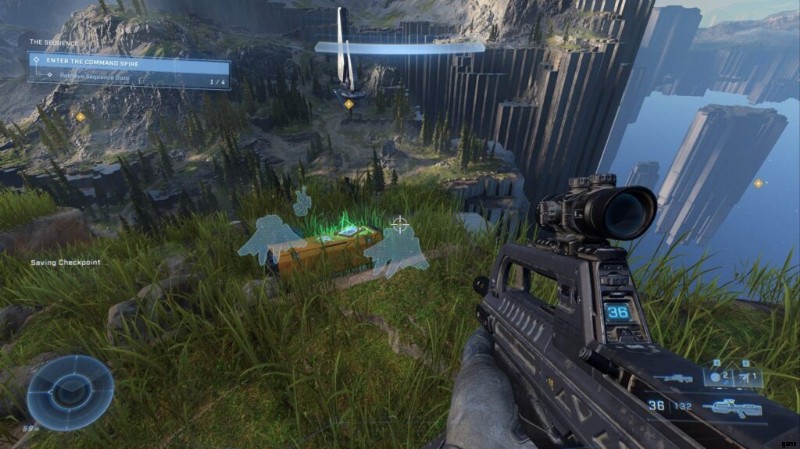
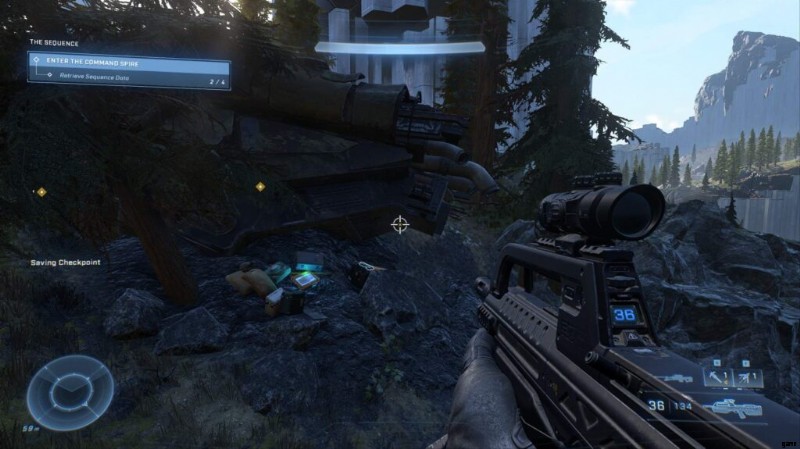
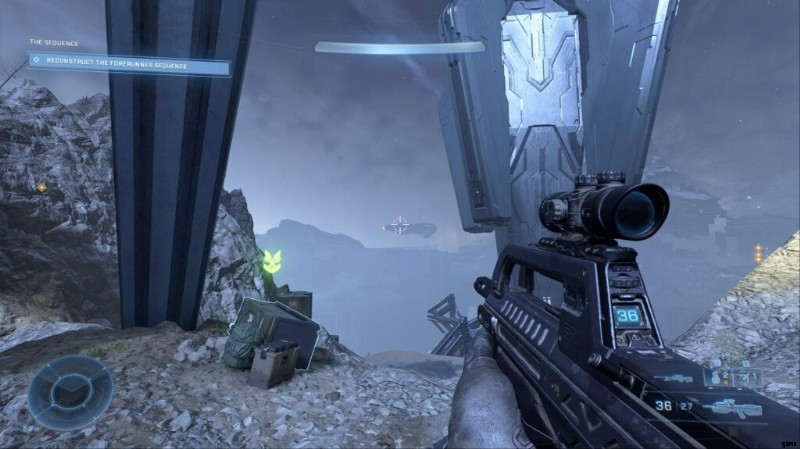
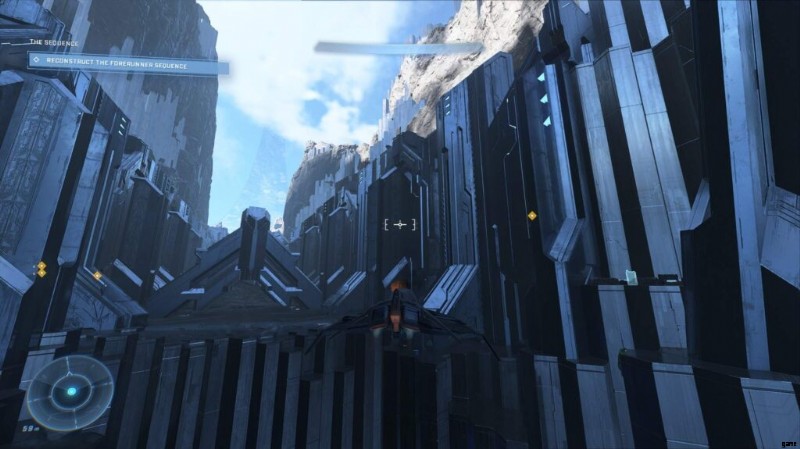
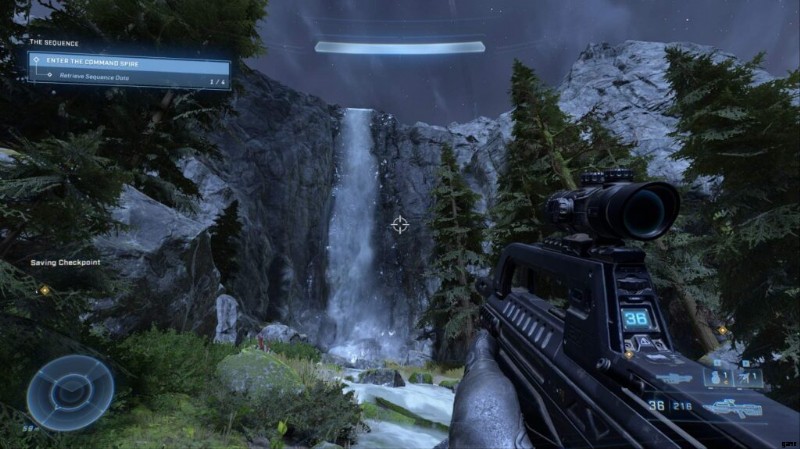
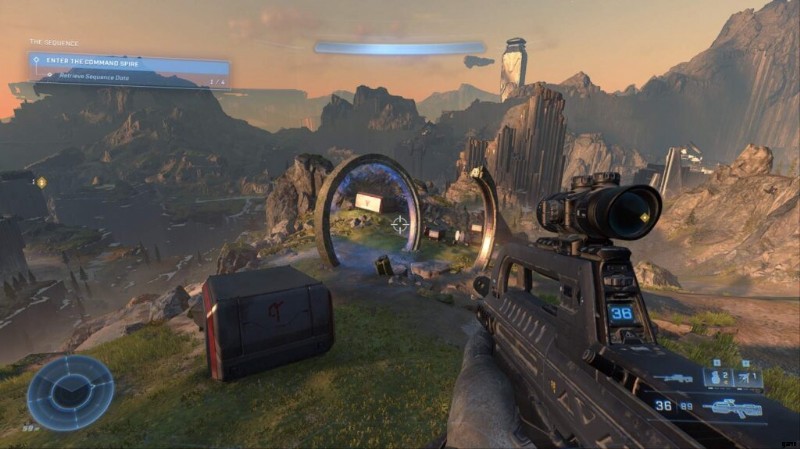
During the mission:The Sequence, you’ll have to gain access to the structure on East end of the map. Once you’re in the building, the Log will be on the side of the wall.

Banished Audio Log #2
Likewise, during the same mission:The Sequence, run over to the South-most objective market. The Banished Log is in the building, next to a dead Brute.
Banished Audio Log #3
Also, during the same mission:The Sequence, run over to the South-East objective market. The Banished log is also inside the building, like the rest in this mission.
Banished Audio Log #4
The north objective in The Sequence. The Banished log is also inside the building.
UNSC Audio Log #1
Just South of FOB-Lima, nestling against the rock face.
UNSC Audio Log #2
Right inside FOB-Lima, on the left side of the landing pad.
UNSC Audio Log #3
In the middle of Region 4’s first section, in the shallow lake. The Log itself is in the middle.
UNSC Audio Log #4
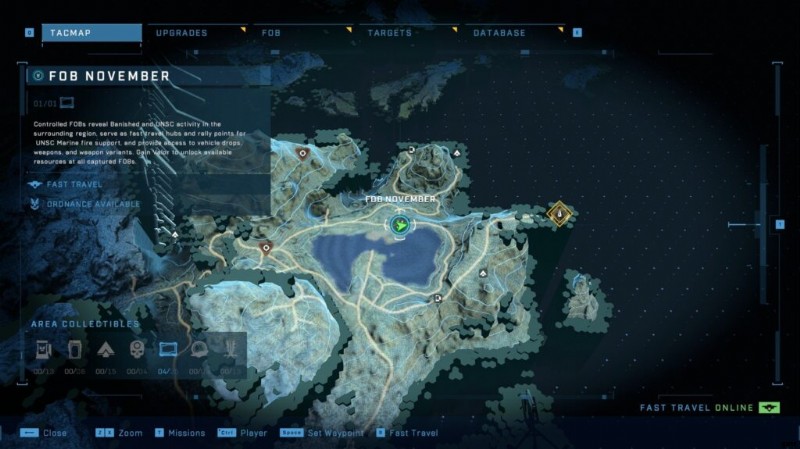
On FOB-November’s main template.
UNSC Audio Log #5
Inside the Forerunner canyon structure dividing region 4 up. This one is right next to Spartan Core #4. Just walk away from the massive structure, and look down a small shaft going down off the ring. There is a small overhang at the bottom, with the log at the bottom.

UNSC Audio Log #6
This one is IN the mountain north of Riven Gate. Just get to the top of mountain, and find the massive split in the earth. Drop down, fight the Banished force inside, and you can find the Log down the a small corridor.

UNSC Audio Log #7
On FOB-Kilo’s station. Can’t miss it.
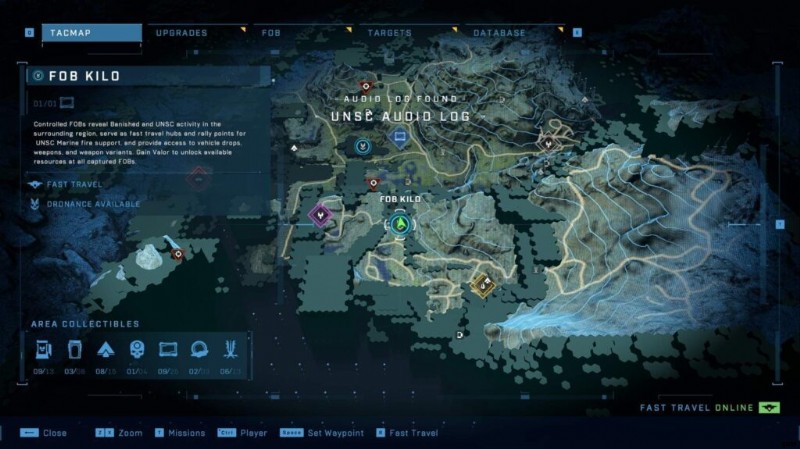
UNSC Audio Log #8
South East of FOB-Kilo’s location, just behind the mountain.
UNSC Audio Log #9
Next to the Black Eye skull.
UNSC Audio Log #10
Inside FOB-Juliet.

UNSC Audio Log #11
South of FOB-Juliet, on the cliff edge overlook it.
UNSC Audio Log #12
Southwest of FOB Kilo, at the bottom of the corner of the elevated area.
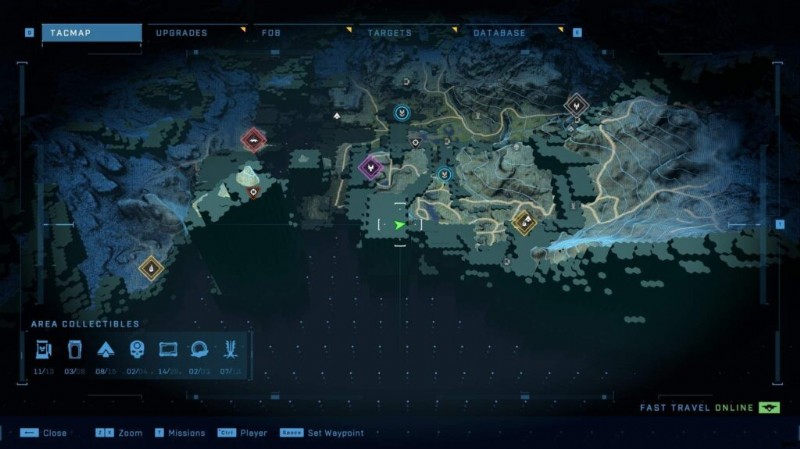
[P2] UNSC Audio Logs
UNSC Audio Log #13
NorthWest of FOB-Juliet, in a little swap. There’s a small Banished force with a ghost guarding it.

UNSC Audio Log #14
Just north of the massive drop, directly opposite that you’ll see a mountain. The Log is resting in a small camp next to it.
UNSC Audio Log #15
Northwest of FOB Juliet, you’ll find a crashed Pelican on the edge of a large hill. This audio log is lying on the ground beside it.
UNSC Audio Log #16
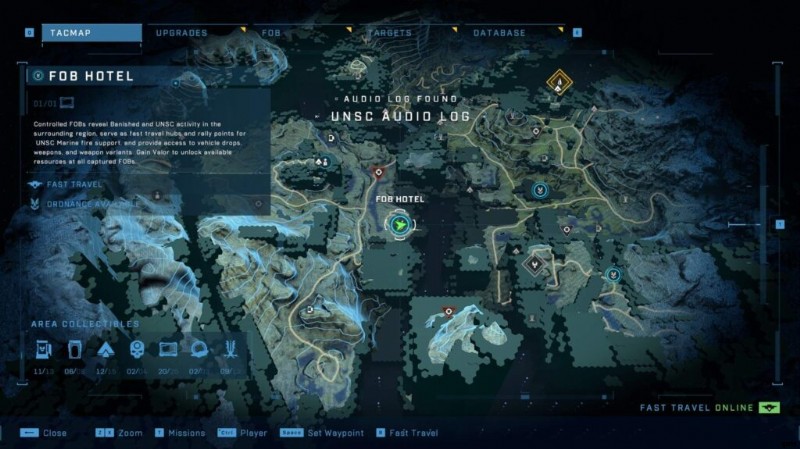
At FOB-Hotel.
UNSC Audio Log #17
On the same section as the Target Writh Kul, grapple your way down to the lowest level of the map. On a muddy ledge near the bottom of the pillar, you’ll find the audio log on a crate near a sleeping bag.
UNSC Audio Log #18
North of FOB-Hotel, there’s the remains ofa pelican that’s been split in half. The Log is in there.
UNSC Audio Log #19
At the very top of a highest mountain.
[P3] Mjolnir Armour Lockers
Mjolnir Armoury #1
Under the massive bridge, south of FOB-November.
Mjolnir Armoury #2
Right at the Northern end of the map. On the left side of the outer mountain, next to a Spartan Core.
Mjolnir Armoury #3
On the far Southern edge of the region.
Mjolnir Armoury #4
Very difficult to get if you don’t have a Wasp/Banshee. Just fly to the far South West corner of the region and fly down to the Forerunner stuff way down below. On the side of the mountain is a small alcove with a little UNSC camp in it. The Locker is in there.

Mjolnir Armoury #5
Way down at the bottom of the map, South of FOB-Kilo. You’ll find this one hiding on the side of a rock.
Mjolnir Armoury #6
South of Riven Gate, behind a large rock. Just grapple up the mountain, and you’ll find this easily.
Mjolnir Armoury #7
North of Riven Gate, on the mountain overlooking it.
Mjolnir Armoury #8
At the very Northern point of the region 2’s second half, of on top of the mountain.
Mjolnir Armoury #9
North of FOB-Kilo, and right next to the Assassination Targets.

Mjolnir Armoury #10
South of FOB-Juliet, and directly North of the Target:Skimmer Alpha.
Mjolnir Armoury #11
On the south Southern edge of the map, and south of the Beacon on the bottom edge of the map.

Mjolnir Armoury #12
Just North of FOB-Hotel, past the assassination target.
Mjolnir Armoury #13
The last locker in the game is just southwest of FOB-Hotel. Follow the road and then you will see a mountain pass.

[P4] Propaganda Towers
Propaganda Tower #1
Just South of the pool in the middle of region 4.
Propaganda Tower #2
North East of FOB-November.
Propaganda Tower #3
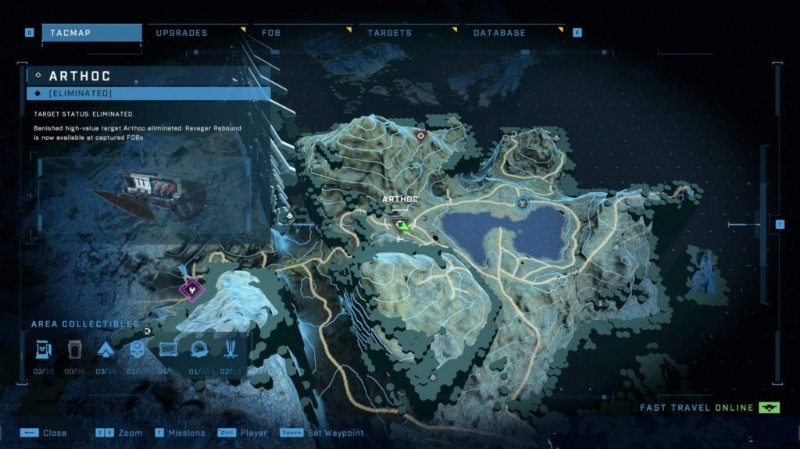
Right next to the Target mission:Arthoc. The Tower is on the hill next to him.
Propaganda Tower #4
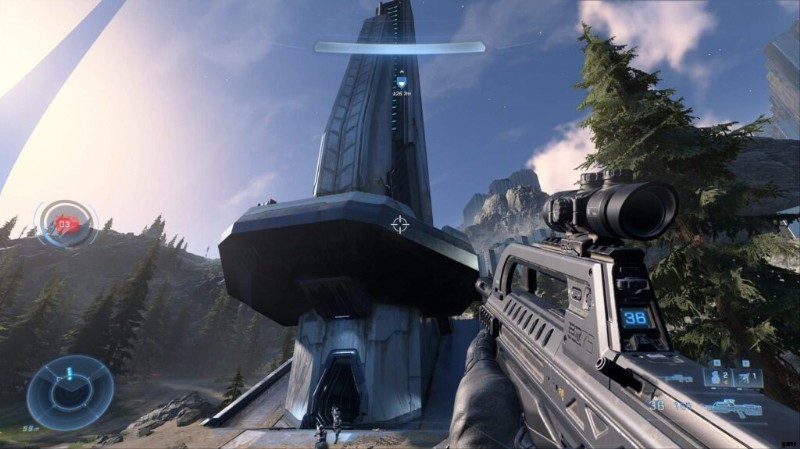
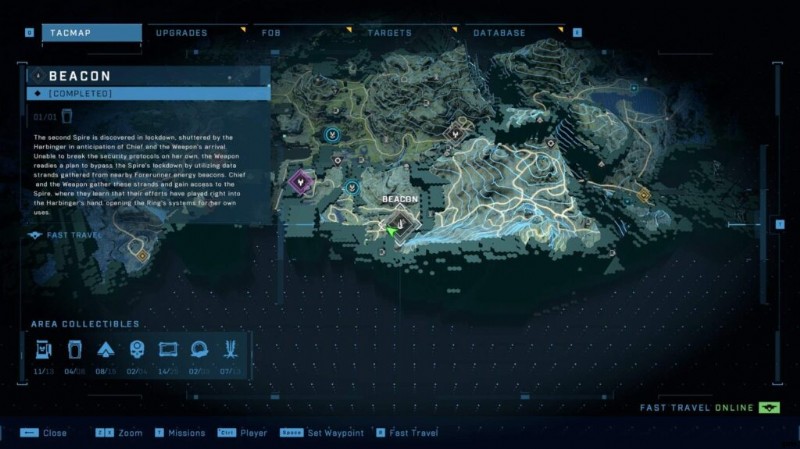
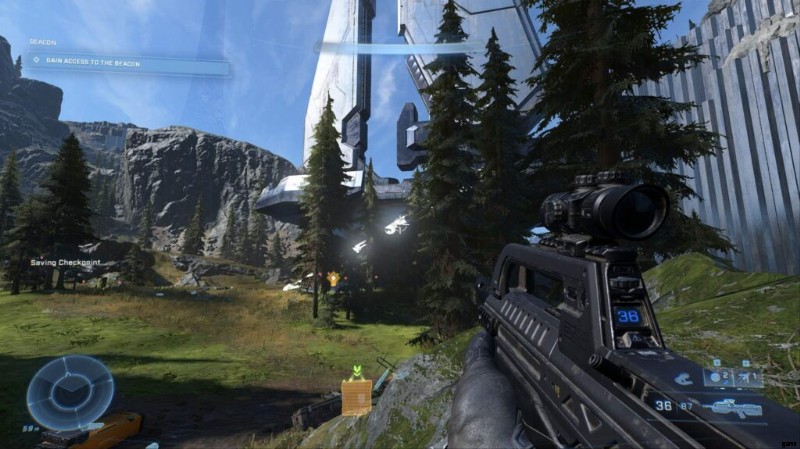
Right of the main mission:‘Beacon’, on the side of the mountain.
Propaganda Tower #5
On the mountain north of Riven Gate. Right at the peak, you’ll find a small dip, and there you’ll find the Tower.
Propaganda Tower #6
Straight East of FOB-Juliet.

Propaganda Tower #7
There’s a mountain southeast of the bridge that goes into region 3, go round the mountain, and the Tower is in a little outcropping.
Propaganda Tower #8
Just South of Annex Gate, right on the edge of the map.
Propaganda Tower #9
South of the bridge going to Region 3, on top of the mountain.
Propaganda Tower #10
On the West side of the of the mountain overlooking the second half of region 4.
Propaganda Tower #11
On the West side of the map, under the mountain which leads off the edge of the map.
Propaganda Tower #12
Right next to Tower #11, head northeast and you’ll find a tower along the northern edge of the island.
Propaganda Tower #13
The Tower in the game (hopefully). SouthWest of FOB-Hotel, up the mountain closest to the large Forerunner cliff.
[P5] Spartan Cores
Spartan Core #1
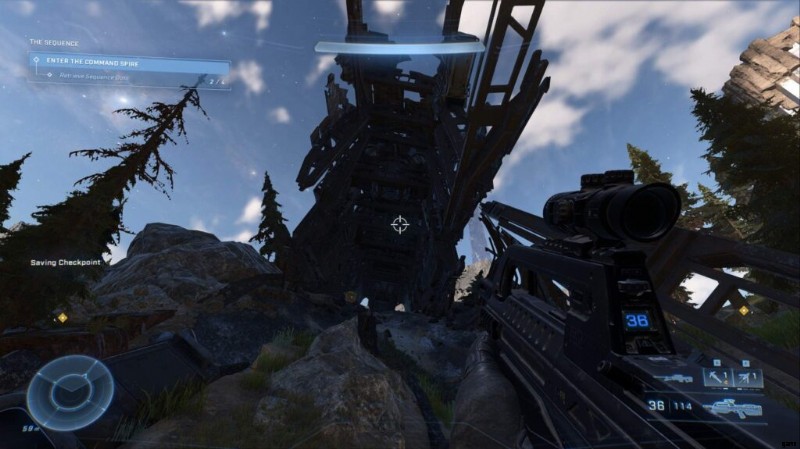
Just South-East of FOB-November, under the shadow of the command spire.
Spartan Core #2
At the Northern point of the map, under the mountain. The Core is inside a small camp.
Spartan Core #3
On the same mountain as the assassination target:Barroth; but higher. You’ll find the Core at the top of the mountain, next to a small camp.
Spartan Core #4
Inside the Forerunner power structure which devides the pieces of region 4. The Core is on the ground, under triangular monolithic structure, and just next to the Audio log found in the same place.
Spartan Core #5
A really interesting one. This one is IN the mountain north of Riven Gate. Just get to the top of mountain, and find the massive split in the earth. You can drop down into a massive hollow spot in the mountain, which has a few things inside, including the Core; and a large Banished contingent. Find the core next to the broken Forerunner artefact.

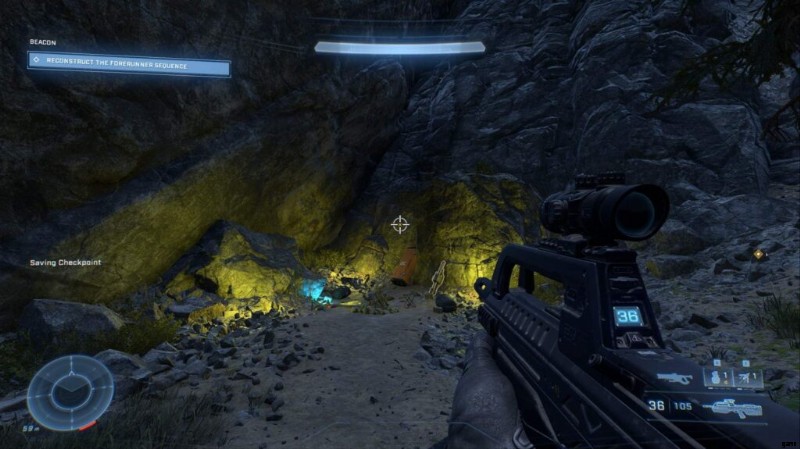
Spartan Core #6
Just South East of the ‘Beacon’ mission. Just head away from the area and you’ll see an opening in the mountain (map pic related).Go inside, kill the Banished, and grab the Core at the end of it.
Spartan Core #7
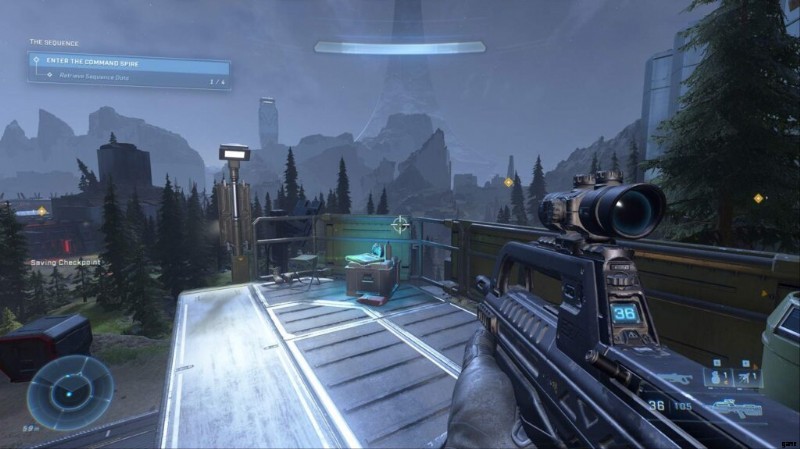
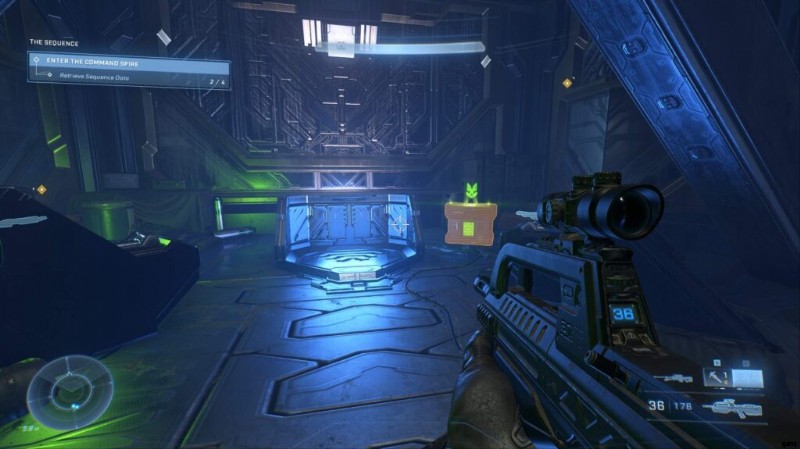
In the Southern objective for ‘the sequence’, you’ll find one of the beacons. Just behind the structure is the Core.
Spartan Core #8
Just over the cliff, west of FOB-Juliet, under the mountain. This can be found through a little door in a hollowed part of the mountain. To get to this you’ll need to fight through a sizeable Banished outpost.
Spartan Core #9
The very north end of region 4, inside a piece of crashed UNSC warship. Just run inside the wreckage and grab it.
Spartan Core #10
Just inside the mountain where you save Fortune Squad. Jump down from the battle, then go into a little hole, which will lead straight to the Core.

Spartan Core #11
You’ll find the last core inside the Southern most objective in the mission ‘the sequence’. Just next to the Forerunner structure, go a little further out of the perimeter and you’ll it next to some trees.
Spartan Core #12
North objective in the mission ‘the sequence’. Just on top of the Forerunner structure.
[P6] Skulls, Artefacts, Targets
Skull #1 – Famine
One of the easiest Skulls in the game. Just on the far right of the map, on a lone island mountain floating out on the Eastern region. The Skull is on the side of the mountain, in the grasp of a dead Elite.

Skull #2 – Black Eye
Follow the waterfall to its base then look up at it. About midway up on the right of it is an opening which you can fit through.Just grapple onto the waterfall, and you’ll see the opening quickly. Just crouch through and you’ll find the Skull in a red lit room.
Skull #3 – Thunderstorm
Very easy to grab if you have a flying vehicle. Just fly off to the Northern most point in Region 4, on a mountain that also has an audio log on the top. Fly down a little, and you’ll find a small pillar, with the skull on it.
Artefact #1
On the top of the Northern-most mountain on region-4. Right next to a Core, and Mjolnir locker.
Artefact #2
Artefact is on the western side of the mountain directly east of FOB Juliet. Northwest of Riven Gate.
Artefact #3
North of FOB-Hotel, at the very edge of Region 4’s map connecting to Region 1. In a little dip of the intersecting mountains.

Assassination Mission:Arthoc
Right next to the Propaganda Tower. This dude is a push over. Just blast him with some Fusion coils and he’ll go down by headshot.
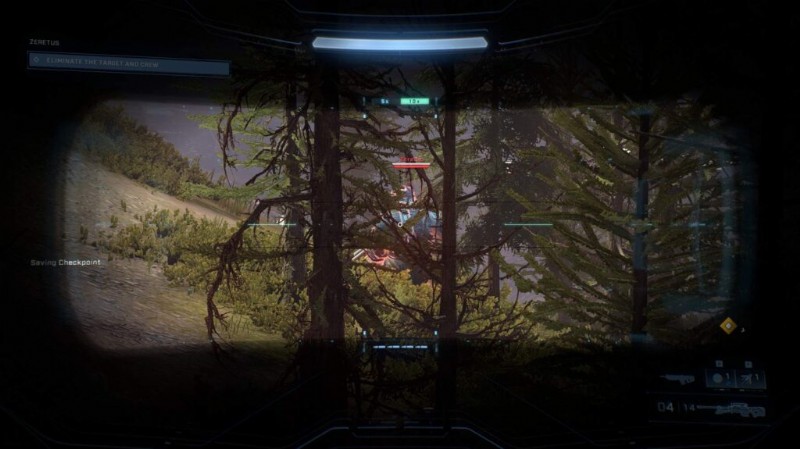
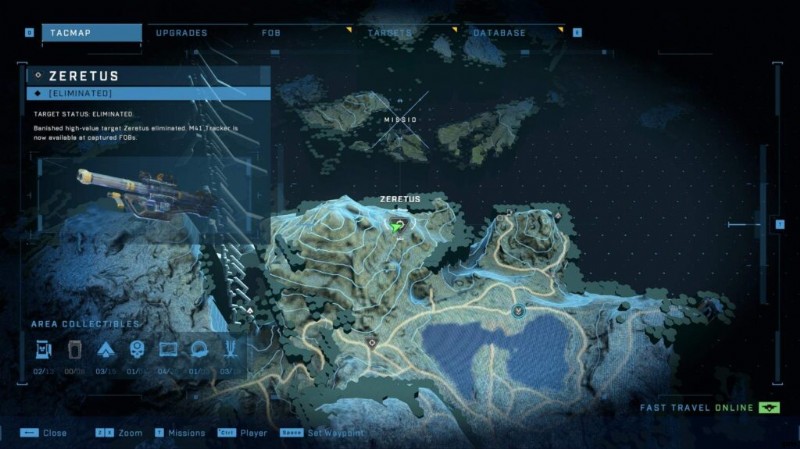
Assassination Mission:Zeratus
On the hill just North of the other Target. Zeratus’ rocket launcher homes in on your, so it’s a good idea to take him and his squad out at range.
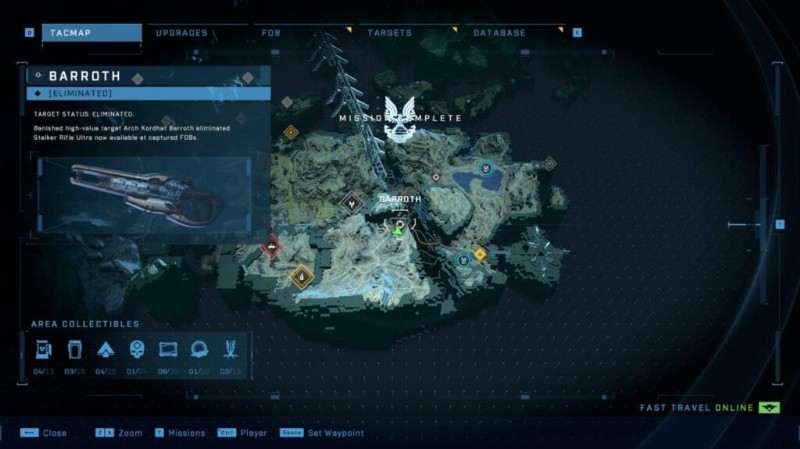
Assassination Mission:Barroth
Just west of FOB-Liima. Barroth is a sniper Jackal, with a nice gun.それはそれについてです。 Just mow him down anyway you see fit. Easy one.

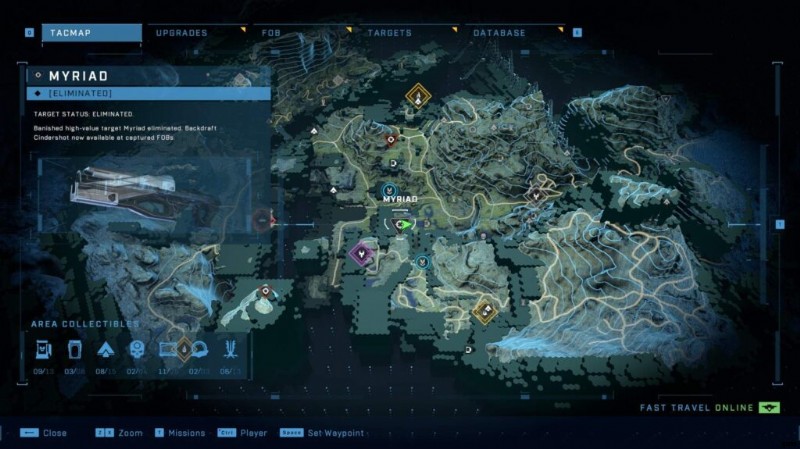
Assassination Mission:Myriad
Two Hunters hiding in the swamp, south of FOB-Juliet.These guys are brutally powerful and will wipe you out in seconds. The best way to deal with these guys is load up a razer back full of marines, and use them in a Razorback, combined with some Skewer/other long range guns to blast them from far away.

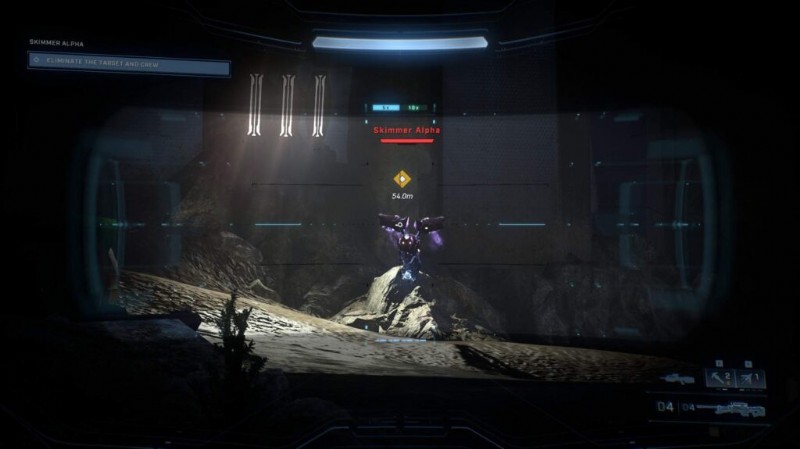
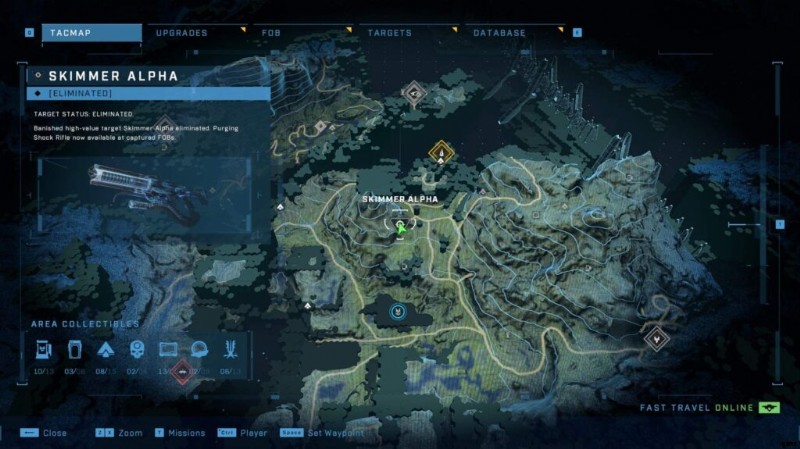
Assassination Mission:Skimmer Alpha
Just north of the FOB-Juliet. This one is barely a challenge. Just imagine this as a normal Banished incursion.
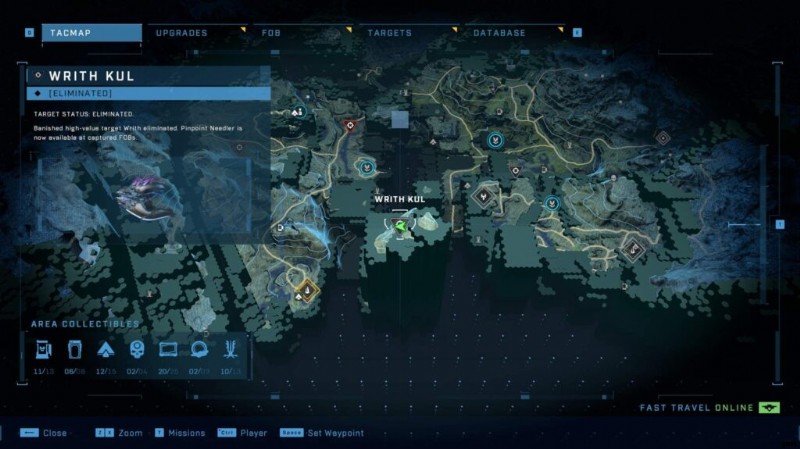
Assassination Mission:Writh Kul
Just north of the FOB-Juliet. This one is barely a challenge. Just imagine this as a normal Banished incursion.
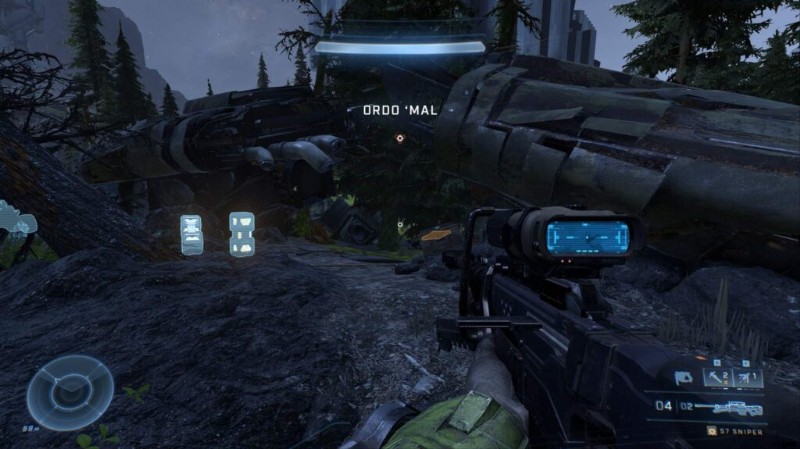
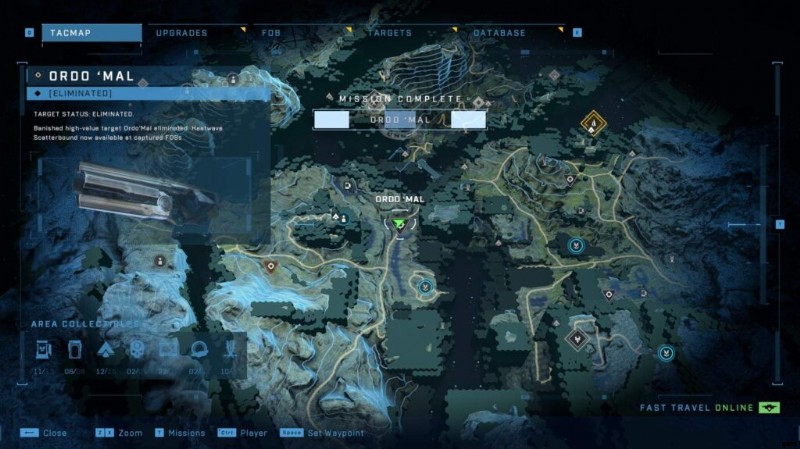
Assassination Mission:Ordo ‘Mal
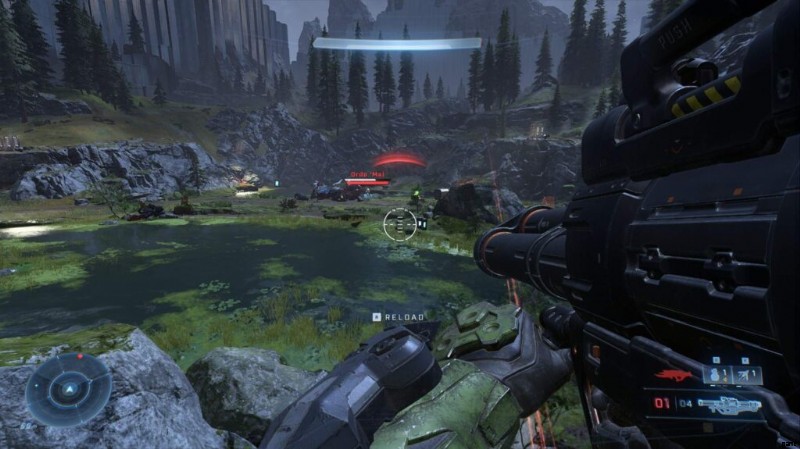
North of FOB-Hotel, you’ll find this dude hanging in a giant pool, in his gigantic Wraith; along with a small army of Banished. You can decimate Ordo ‘Mal pretty easily; just blow up his Wraith with some heavy equipment. He’ll quickly jump out and you can finish him off.
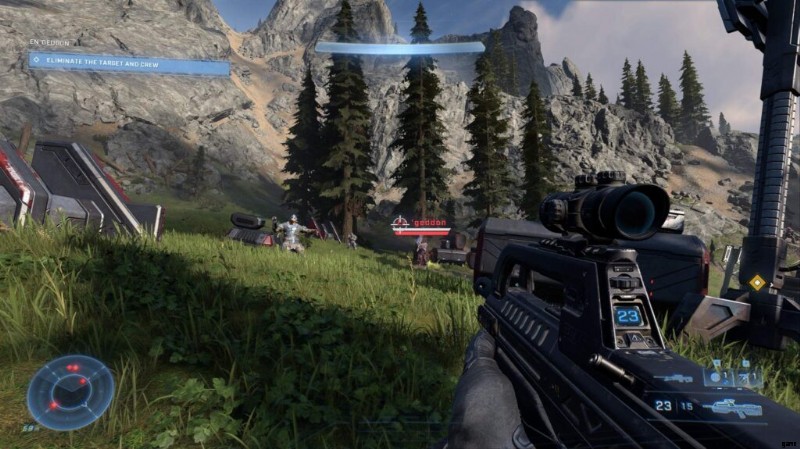
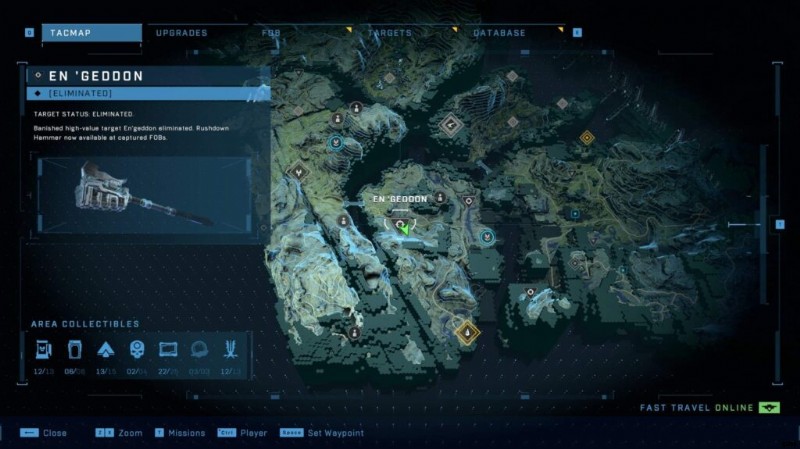
Assassination Mission:En ‘geddon
West of FOB-Hotel. This dude just has a grav hammer and upgraded shields. He isn’t the danger; his squad of sniper brutes are. Clear them out, and he’ll be easy pickings.
Riven Gate
UNSC Audio Log #1
Just to the east of Riven Gate, outside the entrance, you’ll find this audio log. Climb the cliffs on the south side of the road to find a sniper’s perch and the audio log, lying on the ground next to a sniper rifle.
UNSC Audio Log #2
Northern edge of Riven Gate, you’ll find a small scouting post. Located near the westernmost gate, you can grapple up to the ledge from near a gravity launcher and a small tunnel in the cliff.

Banished Audio Log #1
Head to the cliffside along the southern edge of the area and head inside the building on the right. Previously, there was a gate blocking the way, but now the way is open, and you’ll find the audio log sitting just inside the tunnel at the back of the building.
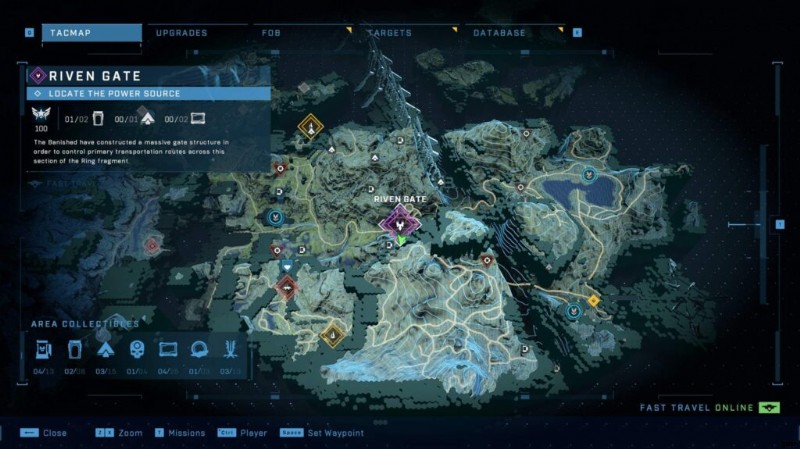
Banished Audio Log #2
Near the gate on the eastern side of Riven Gate, there is an upper ledge with a tower, a locked building, and some captive marines. Open the building by activating the terminal in the tower, then drop down and head inside and you’ll find this audio log leaning up against a counter in the back right corner of the room.
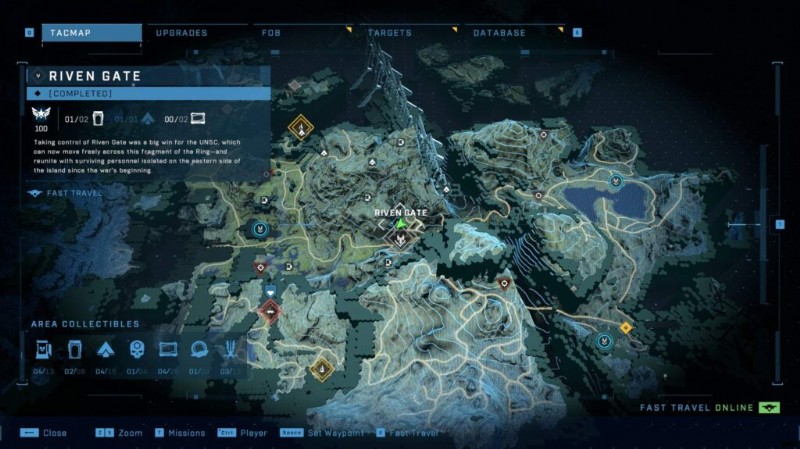
Spartan Core #1

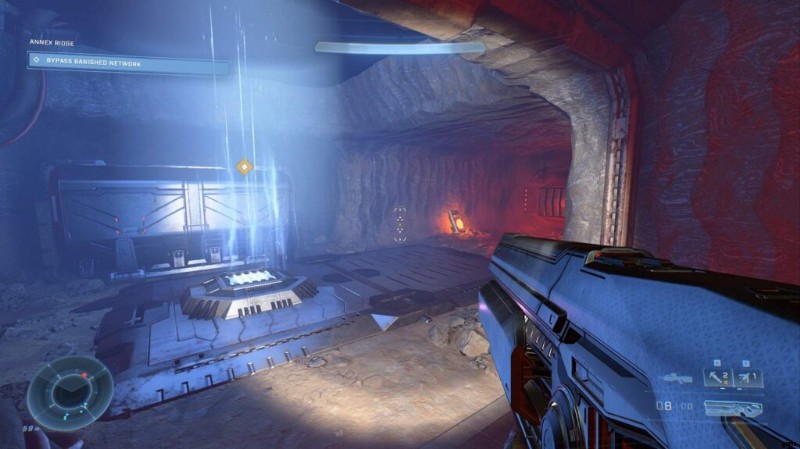
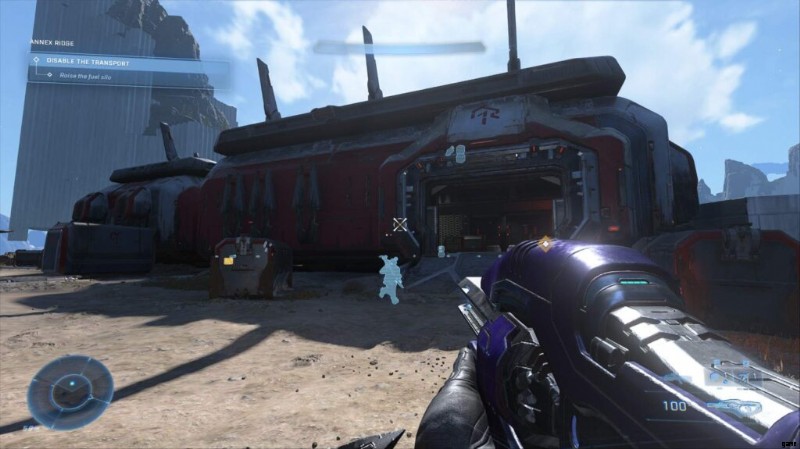
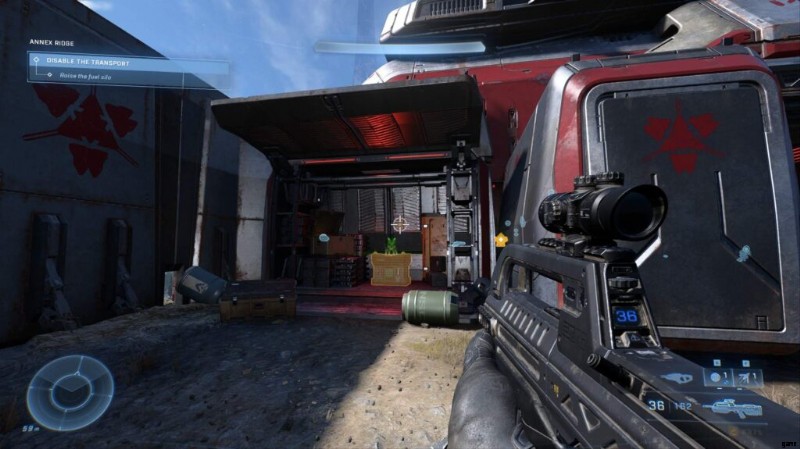
Annex Ridge
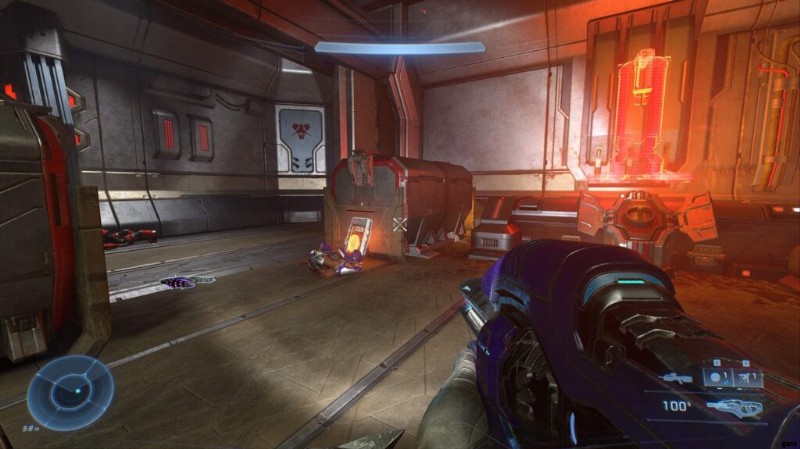
Banished Audio Log #1
In the centre of the base, there’s a bunker which leads through the base. Next to a grav lift, which leads up into a control building, the Log sits next to it.
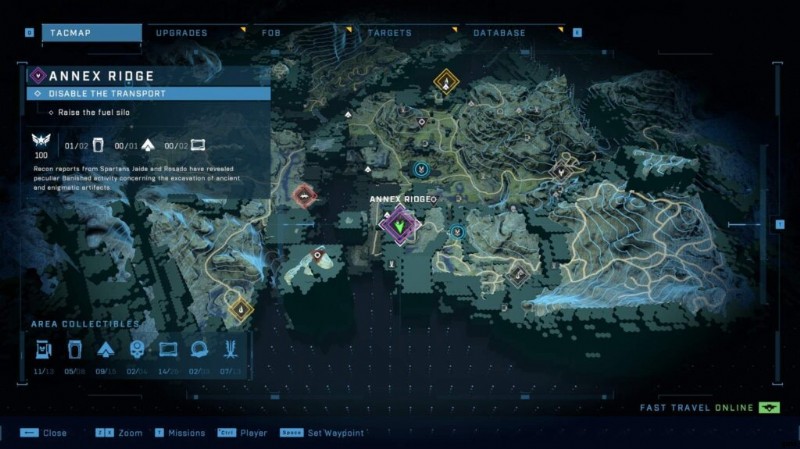
Banished Audio Log #1
After you’ve lifted the lockdown from the fort, you’ll access the building to the North. The Audio Log itself it on the floor.
UNSC Audio Log #1
In the northeastern corner of Annex Ridge, there is a small cluster of metal spires. This audio log can be found near a sniper rifle on the first level of the spire.
UNSC Audio Log #2
There is a small cluster of metal spires; the log can be found near a crate of grenades on the first level of the spire closest to the Banished buildings.
Spartan Core #1
Outside the building containing the Banished Log #2, go outside, and the Core is inside a little hut.
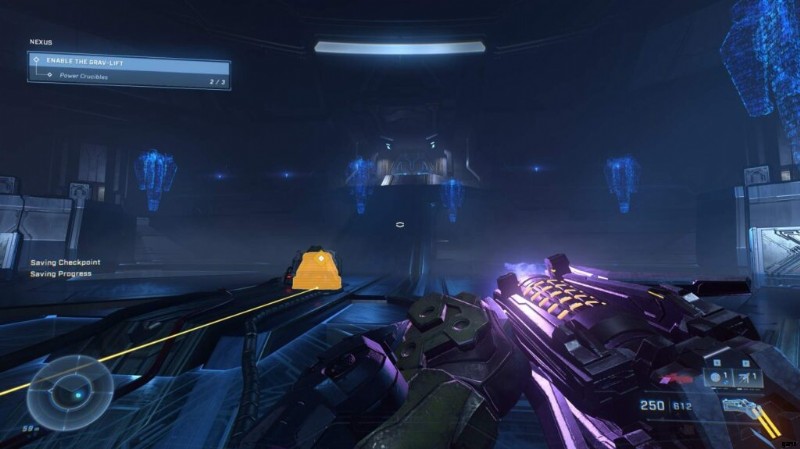
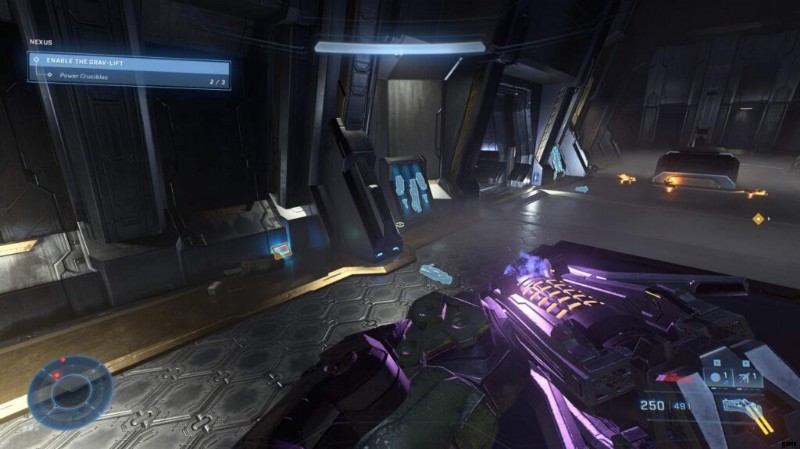
Nexus
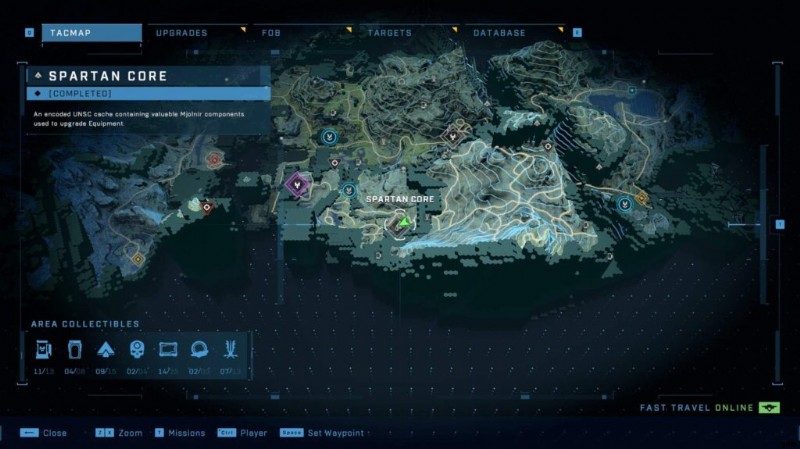
Note:This level’s collectibles count towards the wider Region 4 Map summery. You cannot miss these if you want to 100% the game in one playthrough.
UNSC Audio Log #1
Unmissable. Unlocked through a cutscene.
UNSC Audio Log #2
When you get down to the bottom of the level, after MC and Weapon have had their little tiff, you’ll have 3 different avenues to take to grab the power seeds. The middle avenue is longer than all the others and on the left, has the Log you’re looking for.
Skull #1 – Mythic
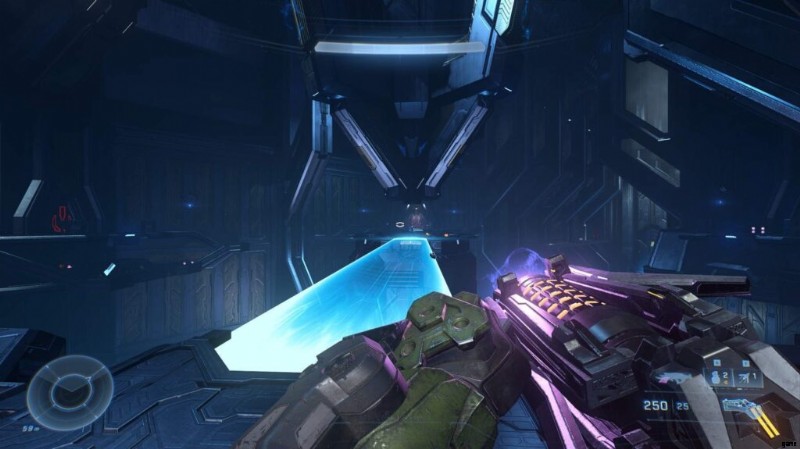
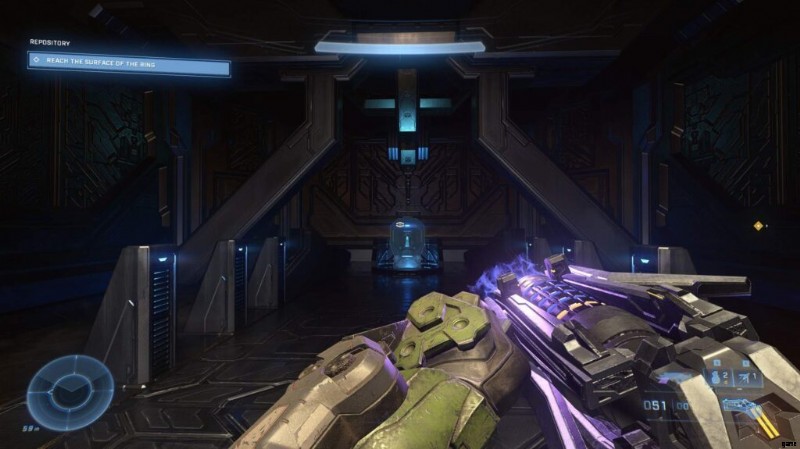
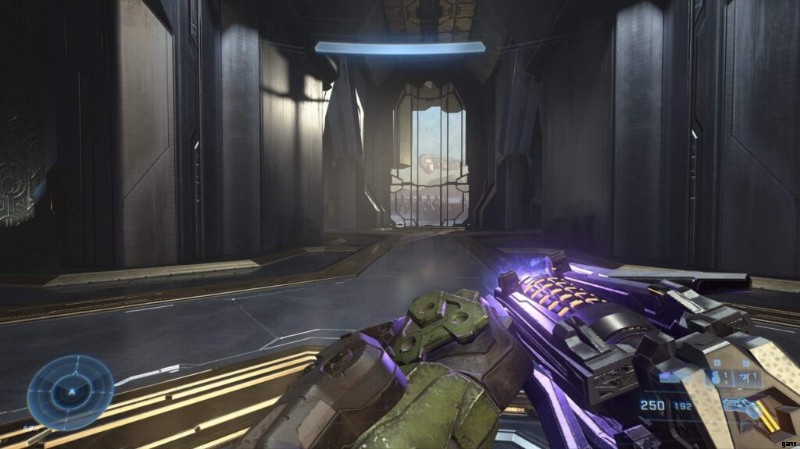
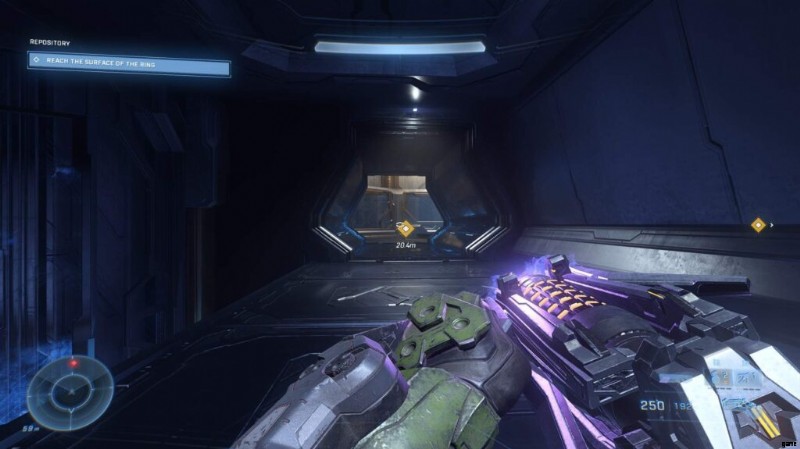
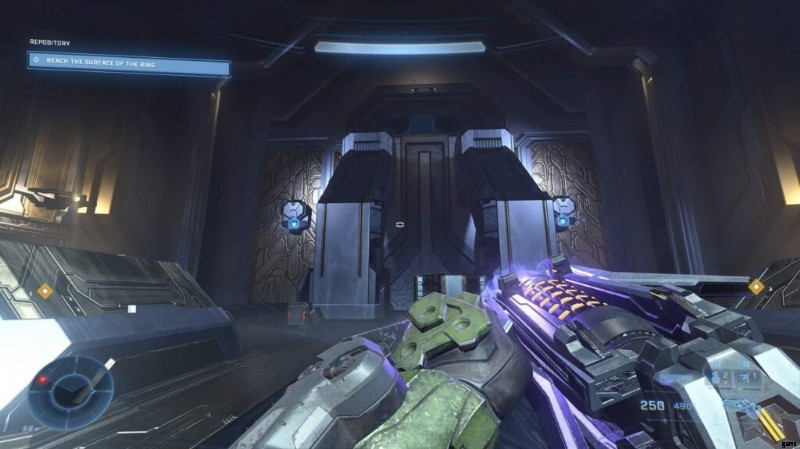
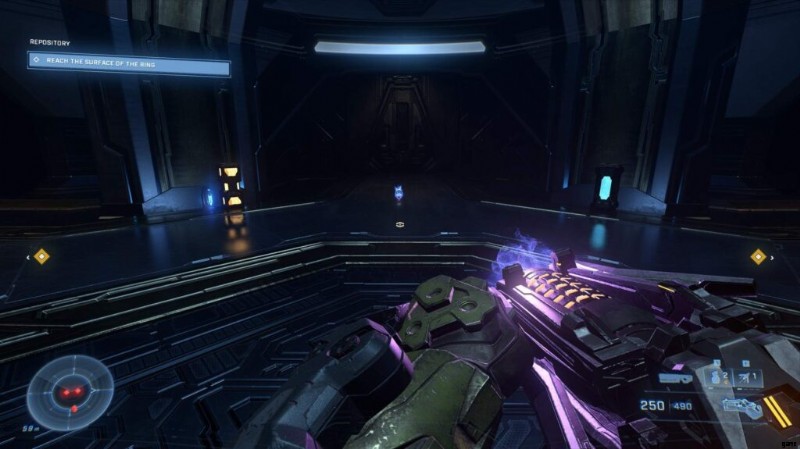
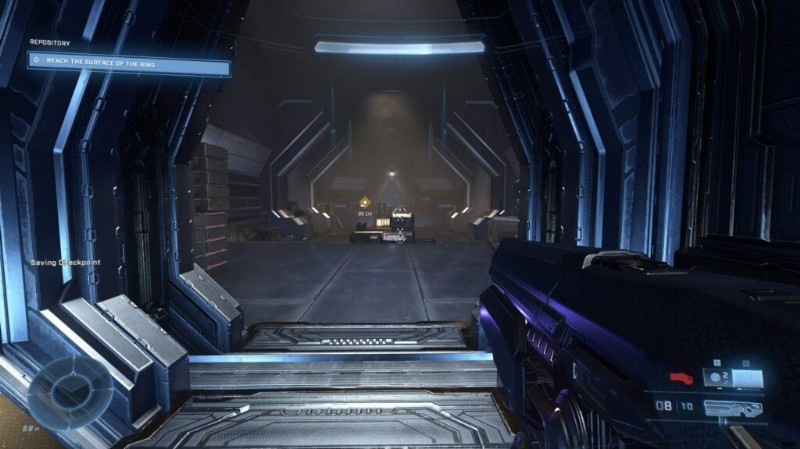
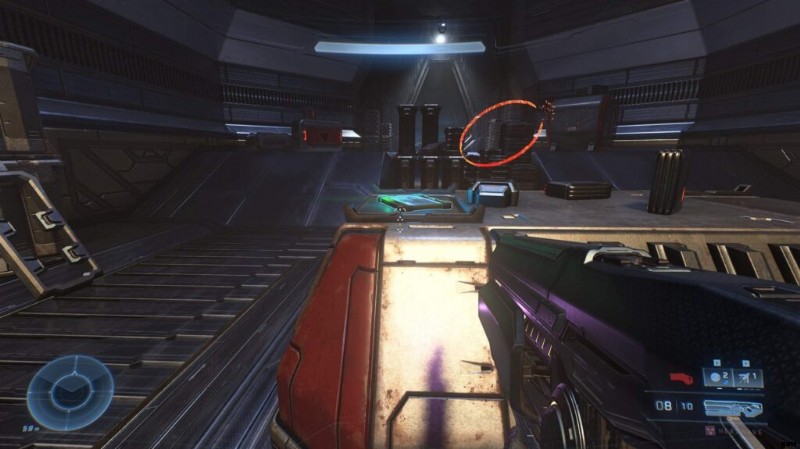
Repository
UNSC Audio Log #1
Unmissable. Unlocked through a cutscene.
Skull #1 – Grunt Birthday Party
To grab this, continue through the mission until you reach the section where there are 3 locked doors. After a cutscene all will open. Find the one that has a power-seed in, and take it through the door you need to go through to continue the quest. You’ll find the core on the left.

After you’ve done that, continue through the level until you reached a large ramp like object. Grapple over it and through a window. The Skull is through there, guarded by 3-4 Sword wielding Elites.
UNSC Audio Log #2
After you’ve find out what Cortana did to the Brute’s homeworld, continue on. Just before you reach the entrace, you’ll go through a hallway with some cases on tables. The Log will be on the side, next to a hologram of Zeta Halo.
The Road
- No Collectibles.
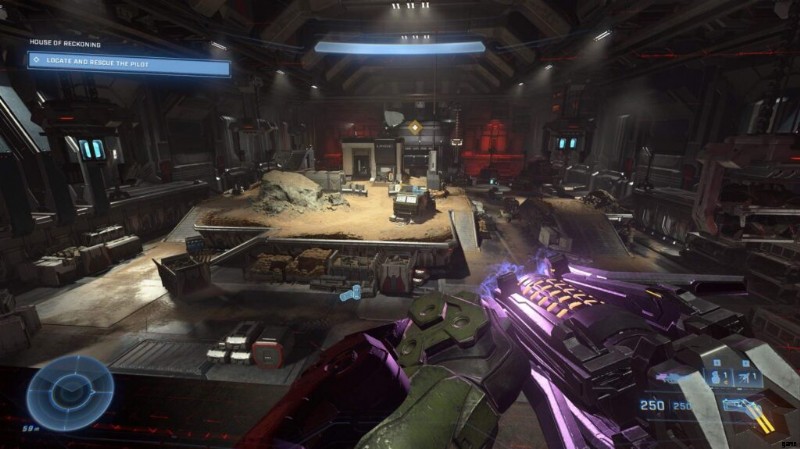
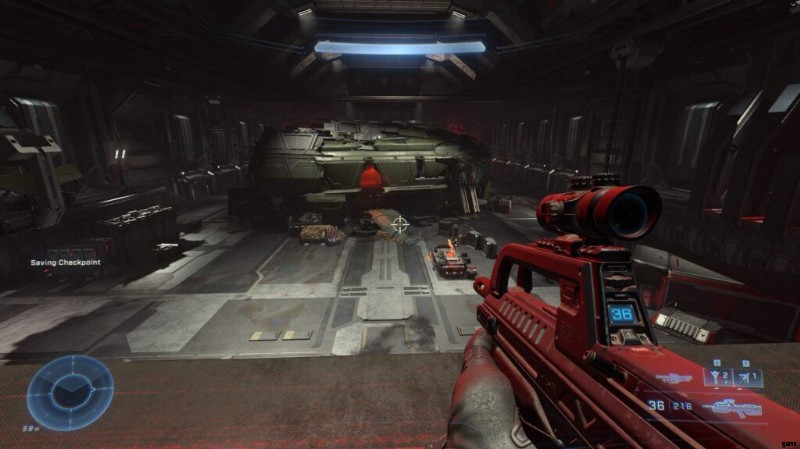
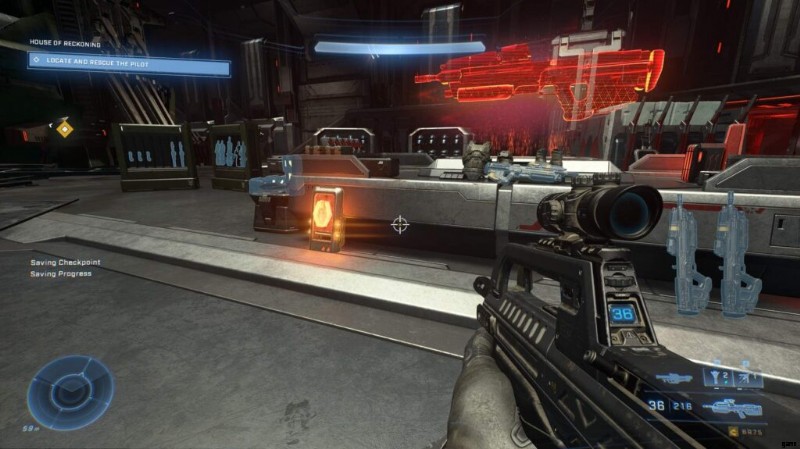
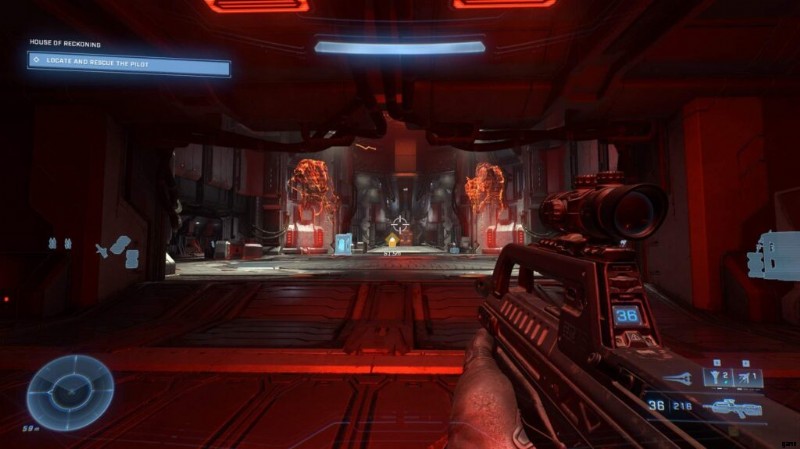
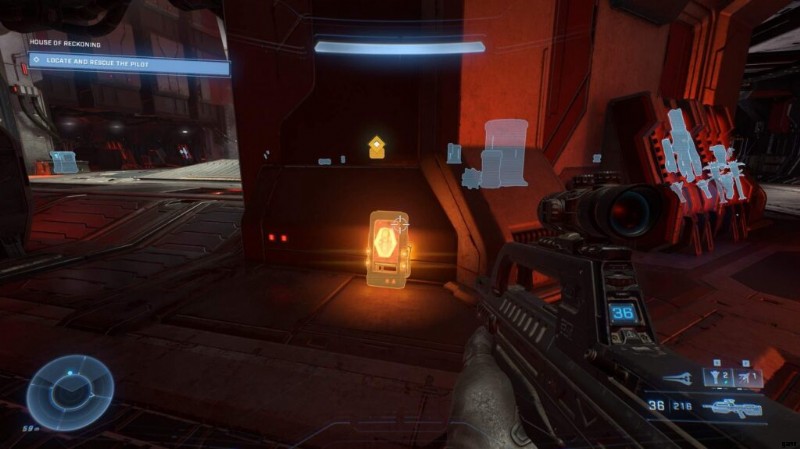
House of Reckoning
UNSC Audio Log #1
On the first Banished survival course, on the right against a small weapons table.
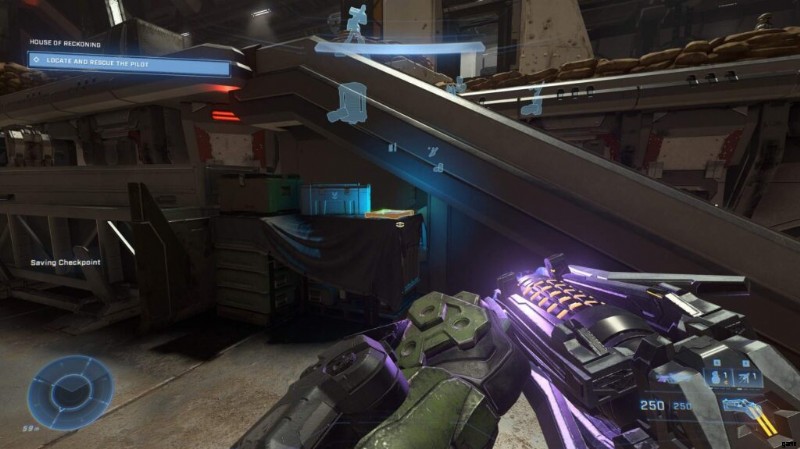
Banished Audio Log #1
On the third survival course up against a Banished table. Difficult to miss.
Banished Audio Log #2
Just before you fight Escherum. In his boss arena. Before you rescue Esparza, run over to the side and grab the last log in the game.
Silent Auditorium
Skull #1 – Bandana
This one is quite annoying, especially if you’re playing on Legendary. You have to go through the entire level WITHOUT killing any Sentinels. They only show up about 1/2 way through the mission, and there’s only one or two large engagements with them. Just ignore them and try and run past the fights with them in.
If you manage to avoid killing them, you’ll be able to get the Skull. Just before going along the long bridge leading to the final boss, divert to your right through a door (which would be closed normally). Go through the area, and the Skull will be there.
ウィップ