Dread X Collection:The Hunt – 総合ハント ガイド

これは Dread X Collection:The Hunt のガイドです。ランチャーの主要な進行ポイントに触れます。ネタバレを先に!
狩りのガイド
バンカー
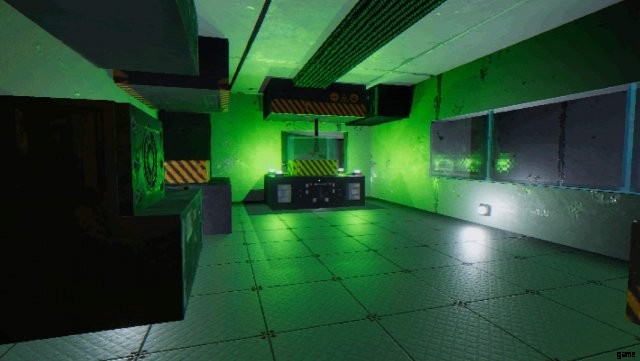
バンカーは、コレクション内のすべてのゲームの中心的なランチャーとして機能すると同時に、それ自体がゲーム体験でもあります!建物の寒い内部とその周辺を横断し、部屋のロックを解除し、症例報告 (ゲーム) からコードを取得した後、地下の研究室からサンプルを取得します。

最初の鍵
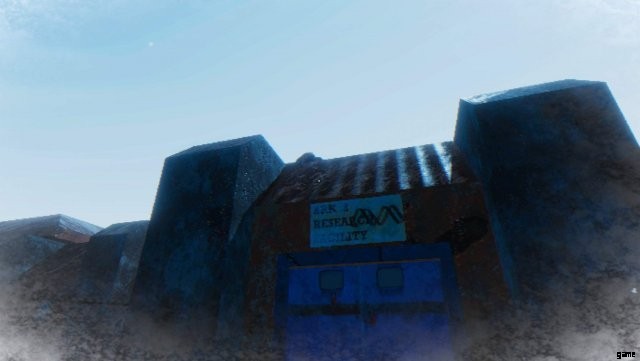
最初の鍵は施設の正面玄関の上にあり、点滅するライトが付いています。ライフル (デフォルトでは M2) を装備してライトを撃つと、キーが床に落ちてバンカーに入ることができます。
食堂の鍵
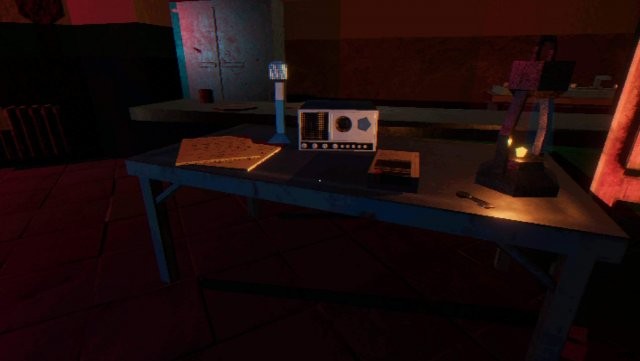
バンカーに入ったら、ユーティリティ ルームにある発電機を起動する必要があります。この時点で、すべてのドアがロックされます。レコーダー、メスホールの鍵、ケースレポートのメモが中のテーブルにあるメスホールに向かって進みます。キーを使用して廊下へのドアのロックを解除します。発電機室は廊下のすぐ下にあります…
ラボ キーカード
発電機が稼働すると、快適なアラームが鳴り、化合物の地下室を確認するよう合図します。ユーティリティルームへ行く途中に通った階段を降りて、ドアのメモを読んでください。 2 階に向かい、Roof Access というラベルの付いたドアを見つけます。屋上に出ると、近くの地面にキーカードが付いた死体があります。キーカードを持って地下に戻り、ドアの横にあるカードリーダーでキーカードを使用します。ラボに入ったら、壁のアラームを無効にし、近くのコンピューターとやり取りします。

ポンプの再起動
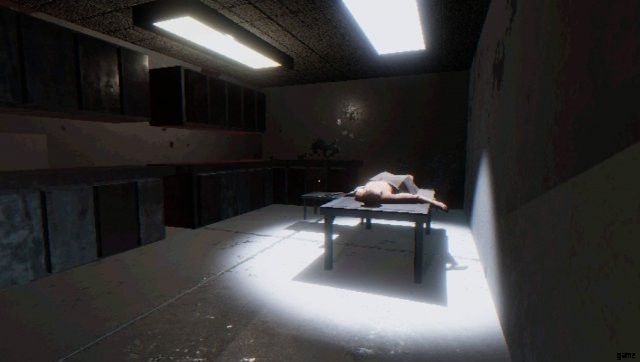
サンプル コンピュータとの最初のやり取りは簡単なもので、特定のポンプを再起動するために訪問するよう促されます。階段を上って 1 階に戻り、近くのドアから冷蔵倉庫に向かいます。冷蔵倉庫に到達するまで、外の塹壕をたどります。中に入ると、再起動が必要なポンプと凍った友達が見つかります。

事件簿
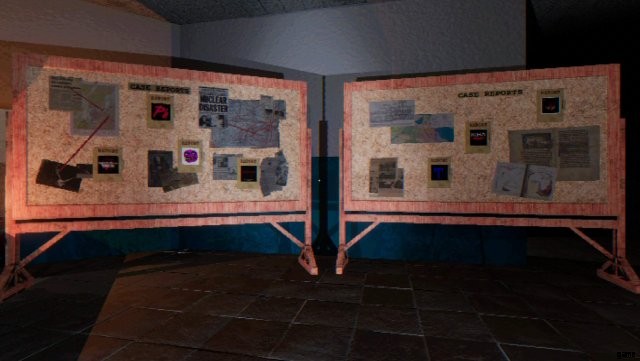
カットシーンのために研究室に来た道を戻ります。すべてのライトとドゥーダッドがアクティブになると、ケース ファイルが表示されます。それぞれにサンプル コードが含まれており、完了時に地下のラボのコンピューターに入力するために提供されます。
サンプル アナライザー
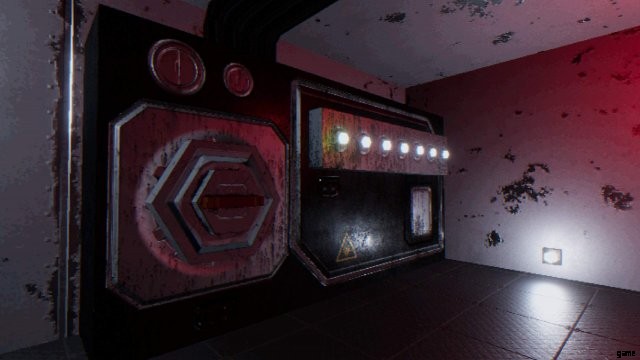
最後の部分で述べたように、各ゲームは完了時にサンプル コードを提供します。地下のコンピューターにコードを入れると、サンプルが渡されます。まだ気づいていないかもしれませんが、コンピューターの隣に大きな装置があり、そこにサンプルをドロップします。マシンには、サンプルの進行状況を示すライトがあります!
3 番目のサンプル
3 番目のサンプルのコードを入力すると、サンプルが 1 つ短くなることを除けば、ケースは削除されます。 Instead, there’ll be a note and a Storage Key inside of it. The storage room is located on the second floor so head up there next. Search the room for a tape deck recorder on one of the shelves. You’ll find the third sample next to it behind a blood-stained box.

The Fourth Sample
The fourth sample, much like the third, will require extra finesse to acquire. After entering the code you’ll be given a proximity tracker and a note from the holder of the fourth sample. Go out the door leading to the trench, make a sharp left, and follow your tracker into the snowstorm until you come across a chilly fellow.

The Fifth Sample
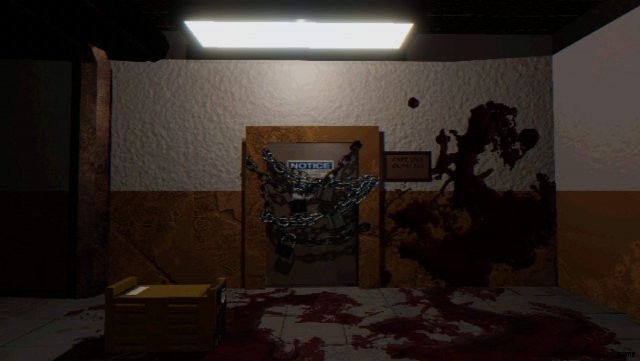
Like it’s predecessors, the fifth sample’s container will be empty, except for the key to the Bunk Room located upstairs. Inside the bunkroom you’ll find a knife on one of the tables that you can make use of. Go downstairs and use the knife on the rope holding the Medical Room door shut. Utilizing the tools available (Scalpel, Bonesaw, Scalpel, Tweezers in that order), you’ll obtain the fifth sample.
The Sixth Sample
Almost a running gag at this point, the container for the sixth sample will only contain a note and key to a footlocker in the Bunk Room. Inside the footlocker lies a space heater and plasma cutter base. Take the space heater down to the garage to melt the ice off the frozen door. Grab the plasma cutter torch and go back upstairs to the Captain’s Room. After two passes on the chains with the cutter the power will shut back off, prompting you to return to the utility room and restart the generator again. After the power is restored, head back up to find out that someone finished the job for you. Inside the Captain’s Quarters is the sixth sample, as well as a tape and note.
The Seventh Sample
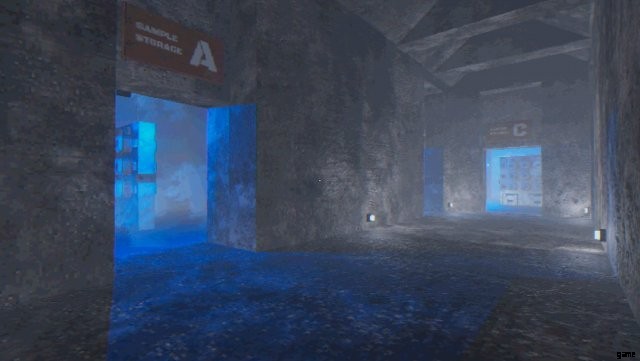
With the computer unavailable to give out any more samples, you’ll have to go to Cold Storage and find it yourself. Make sure to pick up the Cold Storage Key from the broken box on the floor before you leave the computer room. While crossing the icy trench the creature will give chase, leaving you no choice but to close the first door of Cold Storage behind you to stop it. Behind the second door lie shelves of samples that you’ll need to use the final sample code to navigate. (D6C3) Go into the Sample Storage D section, and locate the shelf side adorned with the number 6. From there, look through the samples until you come across the seventh sample.
The Experimental Weapon
After placing the seventh sample into the Sample Analyzer, you’ll be able to enter the lab itself. Once you interact with the experimental weapon, the creature will break in, forcing you to shoot it. Upon its death, you’ll find a tape recording that’ll activate once you leave the lab area.