Tactics Ogre:Reborn - Chapter 3 Chaos Route ウォークスルー
タクティクス オーガ:リボーン 3方向に分岐します。あなたが取るルートは、あなたが行う選択に依存します。第 1 章の最後で秩序の道を選んだ場合は、そのコースに閉じ込められます。しかし、もしあなたが混沌の道を同じ瞬間に選んだなら、あなたの物語は第二章の終わりで再び分岐するでしょう.
レナーの条件を拒否して、コースを維持しましたか?あなたはニュートラル パスに切り替える機会を逃しました。つまり、第 3 章(混沌) に向けて全速力で進んでいます。 .他の章で行ってきたように、主な決定事項について説明し、Denam が間もなく直面するすべての戦いの概要を説明します.
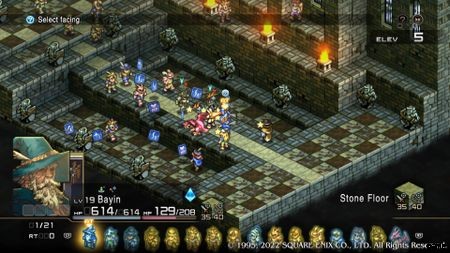
ストーリー バトル:ポート アサイトン
| 敵 | リーダー :ガノン(バーサーカー) | |
|---|---|---|
| 2x アーチャー、2x テラー ナイト、1x ウィザード、1x ルーン フェンサー、1x クレイ ゴーレム | ||
| 展開 | 10 ユニット | |
| ゲスト | 該当なし | |
| 勝利条件 | ガノンを倒す | |
| 難易度 | ★☆☆☆☆ (1/5) | |
第 3 章 カオスは簡単ではありませんが、少なくともそのように始めるには良い恵みがあります。 Port Asyton でのこの衝突と以前の衝突との違いは、優位な立場にあることです。 . Port Asyton のようなマップでは、それは重要な意味を持ちます。
- ほとんどの場合、チームのスポーン地点周辺に身を潜め、敵を待つことができます。 戦車の多いユニット、特にランパート オーラなどを備えたユニットを前線に集めてください。
- 「よりソフトな」ユニットを開始位置から数行後ろに配置します。これと最前線の間では、敵のアーチャーとウィザードがあなたに到達するのは、あなたが最初に攻撃できる範囲内に入るまでかなり困難です.
ストーリーバトル:ゼオド・ムーアズ
 <表>
<表> この Xeod Moors の戦いの問題は... Xeod Moors です。最も開かれた戦場の 1 つであるため、当然のことながら、敵には遠距離部隊が詰め込まれています。あなたの最善の策は、同じことをすることです。
- 遠距離の友達が少ない場合は、突進しない .代わりに、「自分の」マップの 3 分の 1 程度 (自分がスポーンした場所の近く) で敵に会おうとします。これにより、必要に応じて簡単に引き戻すことができます。
- チームを分割しすぎるため、これをお勧めすることはあまりありませんが、個々のユニットを角度を付けて前進させ、それぞれ 1 人の敵に対処することを検討してください .これは主にあなたの大柄なパーティー メンバーに当てはまりますが、回復アイテムを十分に持ってきており、あなたのクレリックがあなたの陣営の中央にいる限り、メンバーごとに 1 つの近接ユニットと 1 つの遠隔ユニットを扱うことができるはずです。
- フェイナトーレは通常、戦いの後半になるまで攻撃しません 、これは少し悪化しています。彼がそうしたら、残りの敵がどのように戦っていようと、彼に向かうことに集中してください。 彼は騎士なので、呪文を使うのが最善です (可能な場合はフィニッシュ ムーブも使用します)。
ストーリーバトル:コリタナエ城
コリタナエ キャッスルは通常、十分に防御されていますが、 そうではありません あなたが以前に見た、そしてこの章で何度も見られる本格的な城の攻城戦。かなり簡単な試合の後にそれほど多くない試合が続く 2 試合です。
拠点戦:コリタナエの門
 <表>
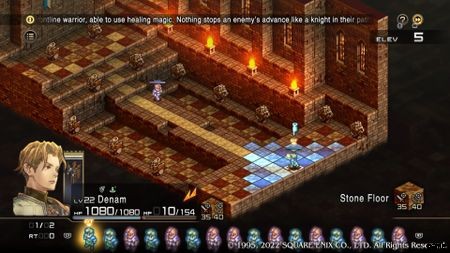
<表> この戦いは楽しいものであり、皮肉なことに変化を意味するものではありません. 橋を越えて敵に会いたい場合は、難易度をいくつか星を上げてください 、しかし、離れた石と水の上を別のルートを選ぶと、比較的楽な道になります。 (完璧な勝利!) スクリーンショットでわかるように.
- 戦闘が始まったらすぐに、全軍、もちろん最初は戦車で、下の道を横切って注ぎ込み始めます。 北に展開する部隊は、あなたの側面を強く圧迫しないように、ゆっくりと橋を渡る必要があります。 実際、私たちはこの戦いを 2 回行いましたが、どちらの場合も、敵の騎士は私たちに何もすることができませんでした。
- ストーン ゴーレムは唯一の本格的な脅威なので、ナイト/テラー ナイトで占領し続けて、ギルドラへの道を開いてください。
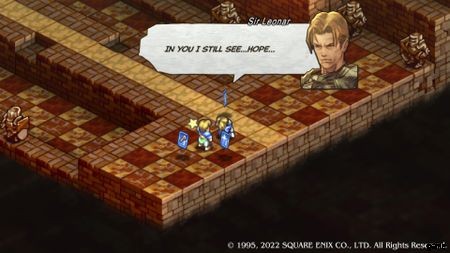
ギルドラさん、最後の最後で心変わりしました。
砦の戦い:コリタナエ ワード
 <表>
<表> Gildora がウォームアップだったとしたら、Xaebos はその後に続く突然の 10 マイルのスプリントです。最初は、Xaebos と彼の部隊がマップの端に集まっているのを見ると、それほど悪くはないように思えます。百匹もいるわけじゃない。しかし、聖職者と彼自身の野生の防御でゼボスの息を楽に保ち、残りの部隊が持つ優れた見晴らしの良いポイントの間では、これは簡単なことではありません.
- たくさんの戦車を持ってきたくなるでしょう。 そのうちの 2 人でテラー ナイツと正面から対決しますが、ザエボス自身がすぐに盛り上がった中央のプラットフォームで争いに参加することに注意してください。 3 分の 1 を割ける場合は、それらを持ってきてください。 最高の攻撃者、できればメイジでそれらすべてをバッファリングします Xaebosはめったにこのエリアを離れないからです。
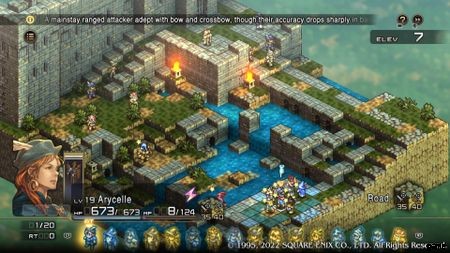
- 他のレーン、プラットフォームの北と南にある低めのスポットについては、ルーンフェンサーは南のレーンを好んで通り抜け、アーチャーはその後ろにいます .アリセルを持っている場合 (そうすべきです)、スランバー ショットを使用して、彼女を南レーンの端に留めておきます。 ルーンフェンサーの脅威を一時的に排除することができるときはいつでも。
- 私たちが言及した聖職者は、Xaebos の健康を維持するのに非常に優れています。他の場所で必要なカノープスでさえも、スポーンする遠端にユニットを連れてくることはお勧めしないので、ゼボスを 2 ターン、できれば 1 ターンで倒すことができるまで、ゼボスを攻撃しないでください。とどめを刺す。
ストーリーバトル:レイサンウェイ
 <表>
<表> 突然、ガイドにボーナス目標が含まれるようになりました。この背後にある戦闘 (および第 2 章のカオスのすべて) のために、できるだけ早くそれらを追加します。とにかく、これはラッド・バウトですね。ジャンプからの4つのアンデッド、すべて静止。いつものように、彼らは 3 ターンで上昇します。カサンドラへの道のりには、さらに多くのターンが必要です。
- カサンドラ自身はガラスの大砲です。 フィニッシュ ムーブを備えた 2 つの強力なユニットを彼女に届けることができ、特にどちらかが フィジカル アップ カードを取得した場合 、戦闘が始まる前に実質的に戦闘を終了できます。そうでない場合は、これがやがて彼女を倒す方法であることを知っておいてください.
- すべてに到達しようとしてターンを無駄にしないでください 復活前のアンデッド。代わりに、あなたに近い南にあるものに焦点を合わせ、他の場所で起こるようにしてください. Donnalto をここに連れて行くと、作業が確実にスピードアップします。
- 石の橋の中央あたりで敵軍の大部分にぶつかる可能性が高いので、カサンドラに数回「忍び寄り」、彼女に核攻撃を加える良い機会です。
ストーリーバトル:バハナハイランド
 <表>
<表> Hektor は基本的に弱い Xaebos であり、マップは間違いに対してはるかに寛容です。とはいえ、ここには十分な数の危険な敵がいます。
- ヘクトルを急がせるな .そうすることで、すべてのユニットをマップの西端に移動させる必要があり、その斜めの行進を実行している間、ヘクトールのユニットはあなたを隅に追いやるのに適した状態になります.
- フレイム ドラゴンを持っている場合 、フロストドラゴンに対してそれらを展開すると、それらを簡単に処理できます.まあ、他のドラゴンと同じように「短い作業」なので、まだ数ターンかかりますが、簡単です.そうでない場合でも、かさばるモンスターが 1 つか 2 つある場合は、代わりにそれらをドラゴン (およびグリフォン) に対して展開します。
- そうでなければ、これらのクリーチャーとの戦いは長引くことになりますが、ナイトとテラー ナイトは彼らを食い止めることができます。 ドラグーン、特にドラゴンは生来の獣殺しであるため、例外的な選択です。
ストーリーバトル:ブリガンティス城
最初の小競り合いでどのステージを選んでも、カノープスを連れて戦闘中の楽しい冗談を言い合いましょう。
要塞戦の選択肢 A:ブリガンティの西カーテンウォール
 <表>
<表> 一見すると、この広大なマップは実際よりも威圧的に見えるでしょう。 Canopus をバックアップするチラシが複数ある場合を除き、他のルートよりもこのルートをお勧めします。 これについては後ほど説明します。
- Tactics Ogre:Reborn は、ボーナス目標に対して非常に寛大です。バフ カードの入手は常に便利です。ドラグーンを 1 つか 2 つ持ってくるとよいでしょう。 それらのタコと戦うために。
- オクトピといえば、最高のビースト キラーを派遣して水中で (または、理想的には、湖に点在する氷のプラットフォームで) 正面から遭遇させます。
- ほとんどの敵パーティは、あなたに到達するのが遅いか、戦闘の大部分でマップの反対側で真っ直ぐ高架のままになります 、流行遅れのように Magical Leaf アイテムをポップします。
- 彼らはする 北に向かう道も南に向かう道も、あなたを迎えに来てください。 いずれにしても、1 つの道を選んでそれを貫く 、それらの獣に夢中になっていない人を連れてきます。 南の小道の方が楽だった 、右のものは、より多くの敵ユニットに、オルゴーへの進行を妨害する長期的な機会を与えるためです.
要塞戦の選択肢 B:ブリガンティの南カーテンウォール
 <表>
<表> はい、これは悩みの種です。ご覧のとおり、非常に低く、半密閉されたエリアから始めます。 サウス カーテン ウォールは非常に高い位置にあるため、敵がアーチャーを持っているのは当然のことです。 They will immediately begin raining down hell upon your party, and the Witch and Wizard aren't far behind.
- If ever there were a battle that's simplified with fliers, it's this one. Even if all you have for flying units is Canopus, send him up at once . If he has backup, you're in far better shape.
- The best approach is to get to Kakrinoros with the fliers and take him out early in the game. He'll be healed, sure, but as a Wizard, he's not very sturdy. Even if he gets buff cards (and he will), at least there's no Defense Up buff.
- If you can't risk sending fliers to Kakrinoros, this will be a much more prolonged fight. This likely goes without saying, but get your team to a higher elevation ASAP.
- Your saving grace in this scenario is that the Archers will probably still be over near the edge of their wall, where they were picking you off at the start. This should afford you just enough time to do some real damage to the other foes before they have the chance to get to you again, at which point you'll be better off heading to Kakrinoros.
Stronghold Battle:Brigantys Hall

| Enemies | Leader :Xaebos (Knight) | |
|---|---|---|
| 2x Stone Golem, 2x Cyclops, 2x Archer, 2x Cleric, 2x Terror Knight 1x Wizard, 1x Witch | ||
| Deployment | 10 Units | |
| Guests | N/A | |
| Victory Conditions | Defeat Xaebos | |
| Bonus Objectives | Win with an Archer in the battle party. | |
| Perform an attack with 100 percent accuracy. | ||
| Perform an action to debuff an enemy. | ||
| Difficulty | ★★★★★ (5/5) | |
Xaebos is not going out on a whimper. Everything we said during the Coritanae Ward clash with him holds true here, except amplified in every sense. Let's get to it.
- There's no 'center platform' and 'lowered paths' here, so the idea of splitting your team up as much is out of the question.
- Quickly send tanks and strong strikers to meet the quartet of horror that is the Stone Golems and Cyclops. You should try kiting them toward the north wall, preferably between two suits of ornamental armor , getting them out of the way and keeping them occupied.
- Leave the remainder of the party fairly close, and prepare to handle those Archers, Terror Knights, and spellcasters by deploying your own Archers , and ideally some Ninja, alongside either Warriors or Rune Fencers/Valkyrie. If you have a powerful enough Beast Tamer, and at least one monster to justify bringing them along, remember that their Finishing Moves are spectacular.
- Apart from our recommendation for the Stone Golems and Cyclops, you're going to be wanting to smack the enemy as soon as the fight ensues — don't dawdle positioning yourself much, because they sure won't.
- Xaebos' Cleric protection is back with a vengeance, so our advice about only trying to harm him once you have several Finishing Moves prepped is also back. Denam, Canopus, and ideally one more unit, combined, should do the trick. If not, hurry to make up for whatever the Clerics cast upon him the following round.
Story Battle:Bahanna Highlands (Again)
| Enemies | Leader :Modiliani (Warlock) | |
|---|---|---|
| 2x Ninja, 2x Berserker, 2x Wizard, 2x Archer, 2x Rogue, 2x Cleric | ||
| Deployment | 10 Units | |
| Guests | N/A | |
| Victory Conditions | Defeat Modiliani | |
| Bonus Objectives | Win with an Archer in the battle party. | |
| Use magic to remove a debuff. | ||
| Difficulty | ★★☆☆☆ (2/5) | |
If you want Hobyrim, you're going to have to rescue him. And even if you don't care about him as a character (which would be a shame, because he's awesome), you should care that he's an ace addition, especially if you lack a Swordmaster.
- Between his high evasiveness coupled with counterattacking in the form of Preempt , the distance he begins with from the enemy, and his likelihood of scoring a hit or two and then retreating back, keeping Hobyrim around isn't as hard as some other NPCs.
- Since he'll probably come to you, don't leave him unattended. Seize the chance to form a barrier near him, but dispatch your attackers further on toward the enemy . The Ninjas will toss some of their summon spells at your group, so keep distance between your units to avoid being hit for all that's worth.
Craft a ton of Mending Essences, or at least Mending Salve +3s, if you can. You'll want four for Denam during the second battle, if you are dueling Leonar.
Story Battle:Coritanae Castle, Part Two
You don't have to accept Leonar's offer to a duel once you've breached Coritanae's walls here, but depending on what sort of player you are, and your feelings toward Leonar as a character, you may feel completely compelled to do so. We get it.
Stronghold Battle:The Gates Of Coritanae 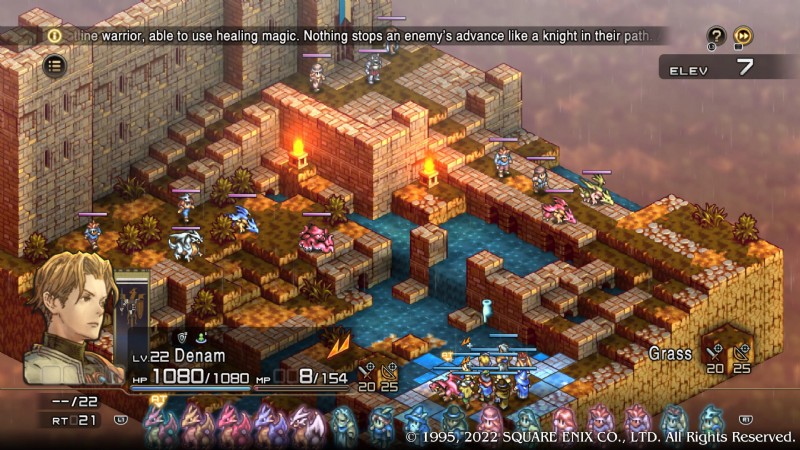
| Enemies | Leader :Marino (Terror Knight) | |
|---|---|---|
| 2x Archer, 2x Beast Tamer, 1x Witch, 1x Cleric, 1x Flame Dragon, 1x Flood Dragon, 1x Cloud Dragon, 1x Arc Dragon, 1x Octopus | ||
| Deployment | 10 Units | |
| Guests | N/A | |
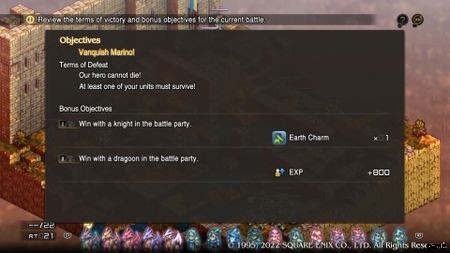
| Victory Conditions | Defeat Marino | |
| Bonus Objectives | Win with a Knight in your battle party. | |
| Win with a Dragoon in your battle party. | ||
| Difficulty | ★★★☆☆ (3/5) | |
As frightening as this stage seems, we've been through worse. In a reversal of your initial foray at The Gates of Coritanae, you should consider heading north, up the bridge . It's the path of least resistance, if not by much.
- Position your tanks on both ends of the team to ward off the approach from the other enemy squad, because they will get to you before you've completely carved your path to Marino.
- So long as you can maintain a bulwark to protect your soft center, you'll only need to worry much about the Archers and Witch . Pick them off by diverting your attention to them first, though wiping out even just one of them should do to make the trek to Marino substantially less taxing.
Stronghold Battle Choice A:Coritanae Ward
We'll have coverage of this version of the Leonar fight soon. For the time being, know that it functions mechanically similar to both Xaebos battles, albeit closer to the first (easier) one than the second (borderline-nightmarish) one.
Stronghold Battle Choice B:Coritanae Ward (The Duel)
| Enemies | Leader :Leonar (Knight) | |
|---|---|---|
| N/A | ||
| Deployment | Denam | |
| Guests | N/A | |
| Victory Conditions | Defeat Leonar | |
| Bonus Objectives | Win without any incapacitated units. | |
| Obtain a buff card. | ||
| Difficulty | ★★★★★ (5/5) | |
We've got to hand it to this one's bonus objectives. Granted, there's not much else they could have chosen for a one-on-one, but when the first objective is 'don't get a game over', and the follow-up is 'do the one thing that will let you win', it's still worth a chuckle.
- Don't do this with a non-tank class . Heavens above, it's doable, but it's an absolute catastrophe.
- Honestly, just... do it with a Knight .よく考えないでください。
- This is the Vyce duel 2.0, but harder. Meander around the map, picking up buff card after buff card . Whenever Phalanx activates, that's your time to strike. Whenever it does not, keep running.
- Courtesy of Tactics Ogre:Reborn's Union Level gating off excessive grinding you're almost guaranteed to be unable to survive more than two hits from Leonar without Phalanx active, and then only barely. Bring a four-stock of the most powerful healing items you have crafted, preferably Mending Essences.
- The fight's a five-star affair in our book, but only because Leonar is the powerhouse that he is. If you're unlucky with the RNG on buff cards, it might take you a long while to get enough to seal his fate, and if Leonar himself is especially lucky, things can get even uglier, and quickly at that.
Enjoy being sad.
Story Battle:Mount Weobry

| Enemies | Leader :Ganpp (Beast Tamer) | |
|---|---|---|
| 2x Gryphon, 2x Cockatrice, 2x Archer, 2x Juggernaut, 1x Cleric | ||
| Deployment | 10 Units | |
| Guests | N/A | |
| Victory Conditions | Defeat Ganpp | |
| Bonus Objectives | Win with an Archer in your battle party. | |
| Obtain a buff card. | ||
| Difficulty | ★★★★☆ (4/5) | |
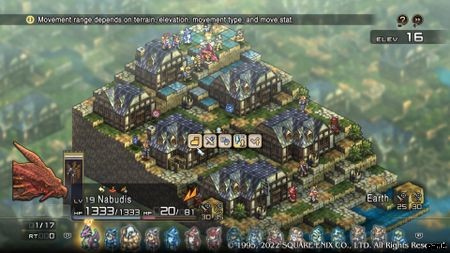
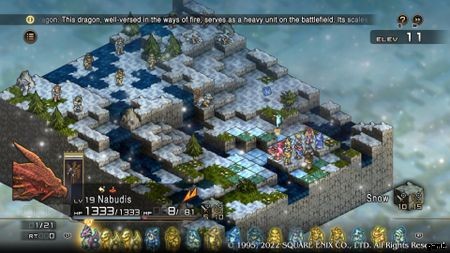
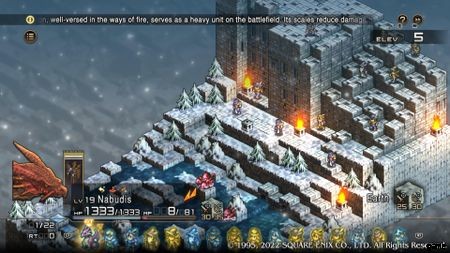
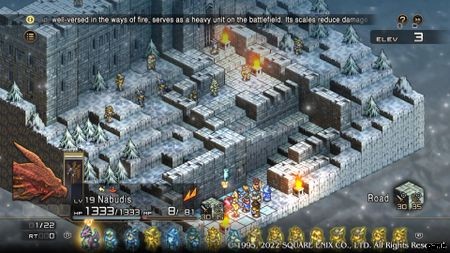
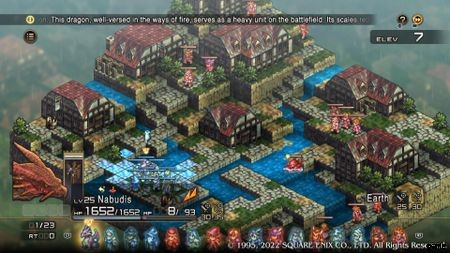
If you're wondering why so many of our screenshots feature our Flame Dragon, Nabudis, the answer's simple. He's fast as heck, so if we snap a screenshot at the start of a battle, there he is, basking in the attention, knowing that a dragon named after a Final Fantasy 12 town will be seen by hundreds of people, if not thousands.
- If you slay Berda, Ganpp's Attack increases, and the entire party suffers Breached. If you slay Obda, Ganpp is healed, and the party's Weakened. Banga 's death inflicts Falsestrike on the party, and Zanga 's causes everyone to suffer from Staggered.
- Further complicating matters, Ganpp's linear approach to your side of the map gives him plenty of time to trigger Berserk, as well as collect buff cards. If he gets more Attack Up , in conjunction with Berserk and the Berda death boost, this dude is nigh-unstoppable.
- The solution is simple, but somewhat difficult to achieve. You want to be able to occupy all of Ganpp's beasts with a mixture of units whilst maneuvering units with your best Finishing Moves both to the bottom of cliff and on to the rock platforms on the left and right of the narrow stone path that Ganpp crosses to meet you.
- If he's at risk of ascending the cliff too early, get some Knights, Terror Knights, or Dragoons along the wall. Unleash a flurry of Finishing Moves from the platforms as well as ahead of him , knowing there's a good chance the unit in front will get knocked out by a retaliatory blow. It's an all-in-one gambit.
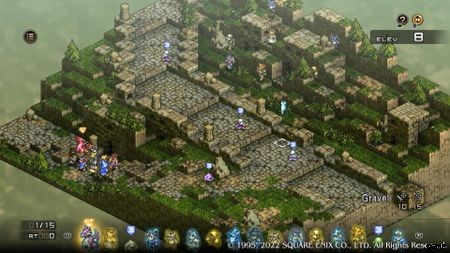
Story Battle:The Arkhaiopolis of Rhime
| Enemies | Leader :Hiram (Terror Knight) | |
|---|---|---|
| 3x Knight, 1x Octopus, 1x Warlock, 1x Beast Tamer, 1x Cleric | ||
| Deployment | 10 Units | |
| Guests | N/A | |
| Victory Conditions | Defeat Ganpp | |
| Bonus Objectives | Win with an Archer in your battle party. | |
| Win with a Knight in your battle party. | ||
| Difficulty | ★☆☆☆☆ (1/5) | |
For once, there's not much to say about a battle. This has to be the easiest fight this chapter. At least there's dialogue ahead of it establishing these blokes as canonically weak. Just treat this like a training battle, because it really is that easy.
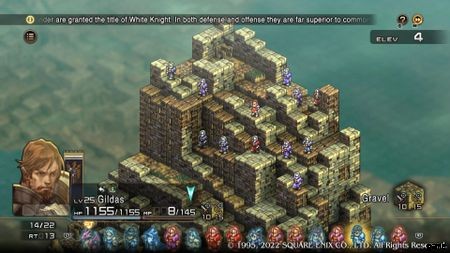
Welcome aboard, Gildas and Mirdyn. Both upstanding gentlemen are White Knights , which are essentially Knights cranked up to 11. You'll want them in your active party more often than not. You'll be given five White Knight Marks, but sadly, their usage is limited. They're mainly there in case you need them after swapping the lads to another class, which you probably shouldn't bother doing in the first place.
Ravness makes a great White Knight, but you surely understand why she's not an option on this run!
Story Battle:Boed Fortress
| Enemies | Leader :Oz | |
|---|---|---|
| 11x Templar (!) | ||
| Deployment | 10 Units | |
| Guests | N/A | |
| Victory Conditions | Defeat Oz | |
| Bonus Objectives | Perform an action to debuff an enemy. | |
| Obtain a buff card. | ||
| Difficulty | ★★★★☆ (4/5) | |
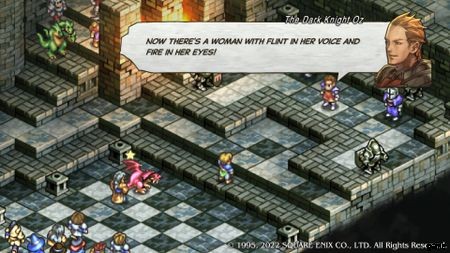
As befits a Dark Knight of Lodis, Oz doesn't mess around. His penchant for doling out pain also seems to come with a near-guarantee that he won't be harmed in the process, because this guy's brought 11 Templars with him. Not only is that a wild number, but this is your first time against them, too. Quite the first impression.
- Templars are souped-up versions of other classes that share some similarities in the stats department (and, clearly, have a different look). The closest class the Templars are uniformly akin to is Terror Knights , but they come with an assortment of weapons and elemental spells.
- Sta rt by sending everyone up Boed Fortress' east 'stone stairway' ( for lack of a better term). Single-file, with Templars having area-of-effect spells, sounds more dangerous than it is; you'll only play victim to their antics for a couple of turns before you can take the fight to them directly.
- The Templars are, we don't want to say fodder when they're fairly strong, but still susceptible enough to your own magic to warrant targeting them with it. They aren't stocky enough to withstand things like Arycelle's Finishing Moves , either. Having your long-range party members tucked behind your tanks is as savvy as usual. Focus your fire on the Templars one by one .
- As for Oz, he's deadly. The characters you select to finish the fight by defeating him will be buffeted by his strong special moves. It's likely at least one will get knocked out before he goes down.
Story Battle:Phidoch Castle
Chapter 3C is nearing its end, but before you can kiss it goodbye, you must go through a lopsided gauntlet:it's another stronghold situation, in which you choose from two possible routes into a castle. The ways in are deceptively breezy next to the much harder interior finale.
Stronghold Battle Choice A:Phidoch West Curtain Wall 
| Enemies | Leader :Mercure (Swordmaster) | |
|---|---|---|
| 2x Stone Golem, 2x Iron Golem, 3x Archer, 1x Rune Fencer, 1x Cleric, 1x Warlock, 1x Berserker | ||
| Deployment | 10 Units | |
| Guests | N/A | |
| Victory Conditions | Defeat Mercure | |
| Bonus Objectives | Perform an action to restore an ally's HP. | |
| Obtain a buff card. | ||
| Difficulty | ★★★☆☆☆ (3/5) | |
Crushing damage of any sort is your best friend here. That, coupled with ample spells, is how you'll bypass the quartet of Golems who will quickly rush you when the fight begins.
- Split into two groups, each with a couple of tanks at the forefront, followed directly by melee fighters, with healers at the rear.
- Take the more offensively-capable team up the side of the map as our screenshot demonstrates. The turbulence they'll face won't be as bad as the team that heads up the center , with the unenviable task of staving off the Golems.
- You will need to mix them up a bit before you can reach Mercure; a unit or two from the offensive team may well have to take a detour to help the defensive center crew at some point. Don't get too distracted for too long , because you want to reach Mercure in swift order.
Stronghold Battle Option B:Phidoch South Curtain Wall 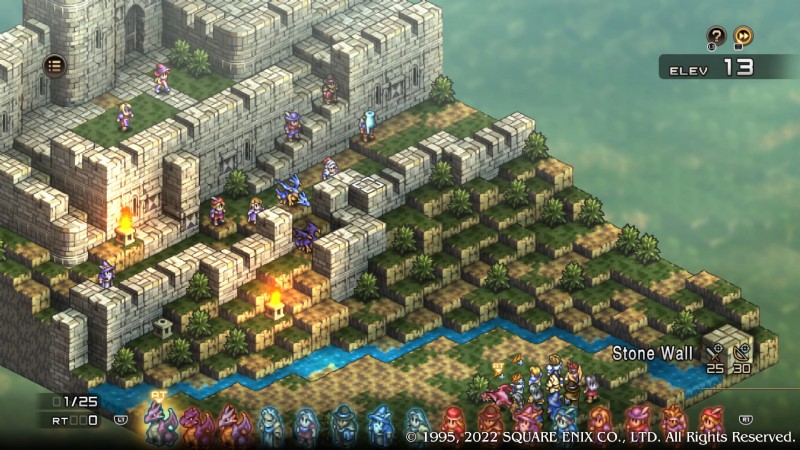
| Enemies | Leader :Vestiarri (Enchantress) | |
|---|---|---|
| 3x Archer, 2x Knight, 2x Cleric, 1x Flood Dragon, 1x Thunder Dragon, 1x Warlock | ||
| Deployment | 10 Units | |
| Guests | N/A | |
| Victory Conditions | Defeat Vestiarri | |
| Bonus Objectives | Win with a Dragoon in your battle party. | |
| Perform an attack that strikes multiple tiles. | ||
| Difficulty | ★★☆☆☆☆ (2/5) | |
- Bring a Dragoon or two to trivialize the Dragons. Beating them still takes time, but it's helpful.
- Your objective is to break enough of the enemy's ranks that Canopus and any other fliers can go for the throat and down Vestiarri .
- With as many walls as there are here, it won't so much be a matter of leading with tanks like usual; instead, you'll just be exchanging arrow and spell fire until Canopus can do his thing. This is the easier battle.
Stronghold Battle:Phidoch Hall
| Enemies | Leaders: Oz (Knight Commander) and Ozma (Knight Commander) | |
|---|---|---|
| 4x Templar, 1x Hydra, 1x Knight, 1x Cleric, 1x Beast Tamer, 1x Archer, 1x Witch, 1x Terror Knight | ||
| Deployment | 10 Units | |
| Guests | N/A | |
| Victory Conditions | Defeat Oz and Ozma | |
| Bonus Objectives | Win with an Archer in the battle party. | |
| Perform an action to debuff an enemy. | ||
| Obtain a buff card. | ||
| Difficulty | ★★★★★ (5/5) | |
If you thought the Oz battle was hard, this one's that much harder. Your units, even Knights and Dragons, will be dropping like flies at some point, so bring healing stones and Resurrection . Get a Beast Tamer with Lob to help deliver the goods in more expedient fashion.
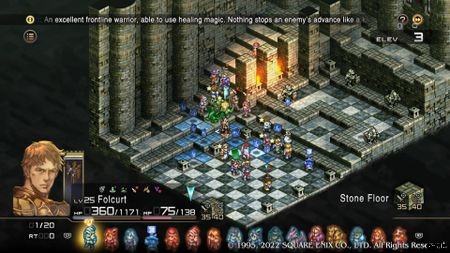
- Quickly send tanks to the staircase. Their job is to hold off all the upstairs forces, but they won't pull it off with aplomb. Once Ozma is in front of them, she's going to wreak havoc. At that point, try to separate your tanks and melee attackers in this area, just by one to two tiles, to prevent Ozma, as well as the Witch, from multi-targeting you as much.
- Don't send everyone to the staircase, or Oz will box you in on the lower side whilst Ozma does the same from above. Take tough beasts to absorb his ridiculously high damage. Swordmasters are prime here, as Preempt and their overall evasiveness will help to keep Oz at bay until you can bring him down with a flurry of Finishing Moves.
- Neither Oz nor Ozma seem to gain any automatic buffs when their sibling perishes, but that doesn't change the fact that they're mighty enough as-is. By the time Oz is a goner, Ozma will probably be sandwiched between a smattering of your friends and foes. Focus fire on her, even if it means trampling your own allies , once you think you can kill her in time before they're dead for good.
Congratulations on getting through a tumultuous chapter!