ワンダーソング ストーリー ウォークスルー – 第 5 幕 (パート 2)
ワンダーソングで行き詰まっていますか?このウォークスルーはあなたの耳に音楽をもたらします。 Chaandesh の地で、第 5 幕で何をすべきかを知るために読んでください。
- ワンダーソング ストーリー ウォークスルー – プロローグ &第 1 幕
- ワンダーソング ストーリー ウォークスルー – 第 2 幕
- ワンダーソング ストーリー ウォークスルー – 第 3 幕
- ワンダーソング ストーリー ウォークスルー – インターミッション &第 4 幕
- ワンダーソング ストーリー ウォークスルー – 第 5 幕 (パート 1)
- ワンダーソング ストーリー ウォークスルー – 第 5 幕 (パート 2)
- ワンダーソング ストーリー ウォークスルー – 第 6 幕 (パート 1)
- ワンダーソング ストーリー ウォークスルー – 第 6 幕 (パート 2)
- ワンダーソング ストーリー ウォークスルー – 第 7 幕
Wandersong の Into Indie Games ウォークスルーへようこそ!
Wandersong は、ほとんどのアドベンチャー ゲームと同様に、自分で自由に探索してプレイするのが最適です。しかし、行き詰まったり、何をする必要があるかを忘れてしまった場合は、このウォークスルーを参照してください!
Wandersong の詳細については、こちらの公式 Web サイトをご覧ください。
第 5 幕:二国間の戦争 (続き)
パート 2 (Chaandesh)
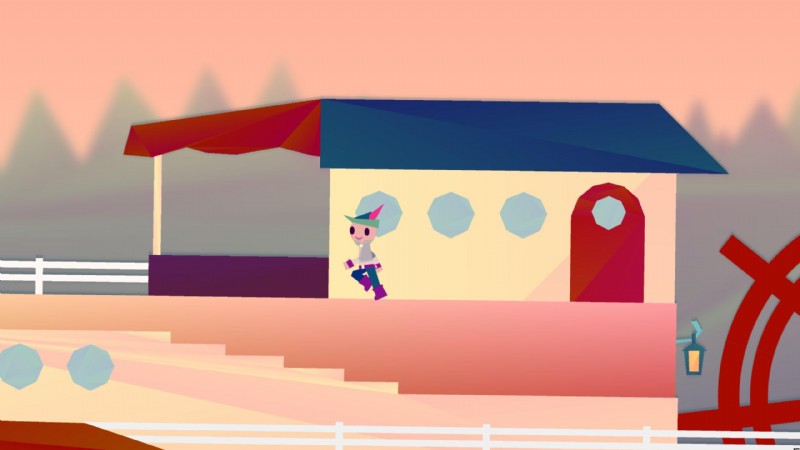
手漕ぎボートでは、最初にミリアムと会話します。会話の後、左に向かい、片眼鏡を持った青い髪の女性に話しかけます。彼女から学んだように、このボートには別のバンドがいて、音楽を演奏することは完全に可能ですが、演奏するには実際の音楽が必要です.
屋内に向かい、船内の 3 人のミュージシャンに会うために人々に話しかけます。それぞれの楽曲を制作。自分で音楽を演奏する必要はないので、彼らのために何を作曲するか心配する必要はありません。
全員が音楽を聴き終えたら、外に出て青い髪の女性ともう一度話します。いよいよショーの時間です。創作活動の成果をお聞きください。別の会話が続き、ボートが目的地に近づいていることがわかります。
吟遊詩人は、行為の早い段階で彼にメッセージを与えた王女の精神から連絡を受けます.彼女はあなたの次の目標を持っています:Chaandesh の女王と話すことです。会話の後、ボートはドッキングし、船長から無料の地図を受け取ります。
ここからは、たくさんのゲーム画面にまたがる非常に広大な場所であるモハブミの街を探索できます。地図が役に立ちます。
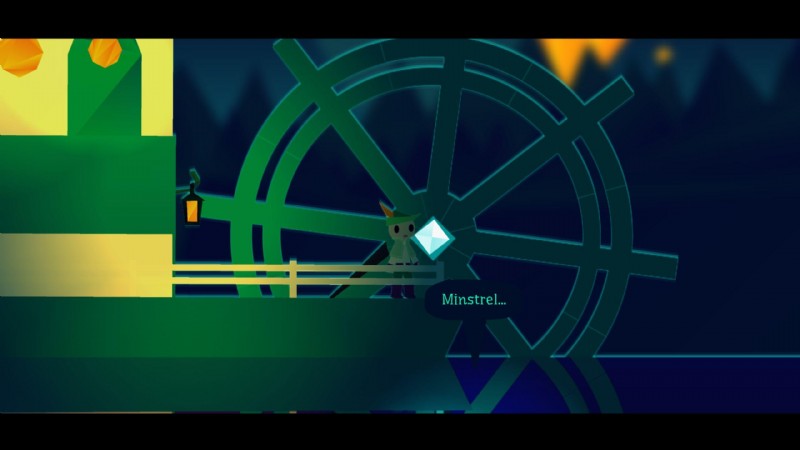
ストーリーを進めるには、できるだけ左側の図書館に向かいます。ここで、カンドラに会います。彼女と話すと、会話の後、音楽の呪文にアクセスできるようになります.呪文を唱えて水晶玉を弾ませる。この呪文を使うと、モハブミの新しいエリアを探索できるので、街をぐるぐる回って、新しい場所を見つけてください。
マップ上に次の目標が表示されるので、それに向かって進みます。 At the edge of the cliff, you’ll find a building where you’ll meet Badriyah. Hala will talk to her and you will gain access to another spell, this one letting you walk on the crystal walls. As before, this will let you access new places.
You can only have one spell active at a time, but you can switch spells as often as you like. You will have to re-sing the spell each time you enter a new screen, however.
With the wall-walking spell, it is recommended that you check out The Crater, a nightlife hotspot where you can attend a concert and have a very important conversation with Miriam.
When you’re ready to proceed, follow the map to get to the next sister:Amaris. To get to her, you will have to make alternating use of the two spells you have learnt so far. Talk to Amaris, and you will have access to a new spell that lets you walk through the crystal blocks.
To reach the next objective, follow the map and use the three spells you have learnt as necessary. Once you reach the outdoor walkway, go left and use the walk-through spell to pass the crystal block in the way. You’ll find Mohabumi Palace on the other side, so enter it and go all the way left to find another of Hala’s sisters, Purnima.
After talking to Purnima, talk to the Queen of Chaandesh and convey Hala’s message by singing the marked notes. At the end of it all, the Bard will be on the floor and another conversation will follow.
After the conversation ends, exit to the right and keep going until you’re stopped. You will be taught the Overseer song here, so head out and go back the way you came. Keep going until you meet Miriam and talk to her to return to the nexus point.
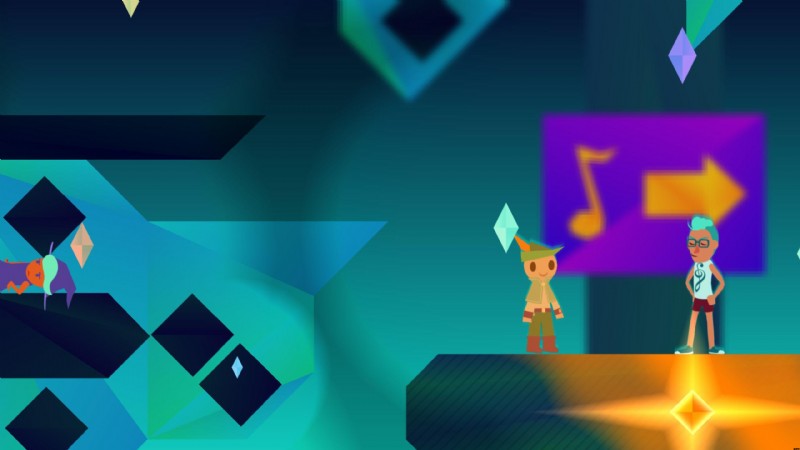
At the nexus point, feel free to ask any questions you have, and then sing the Overseer song to enter the spirit world.
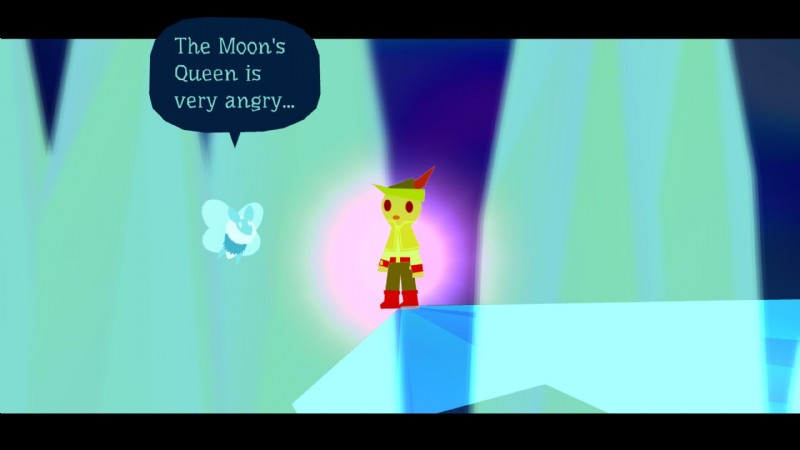
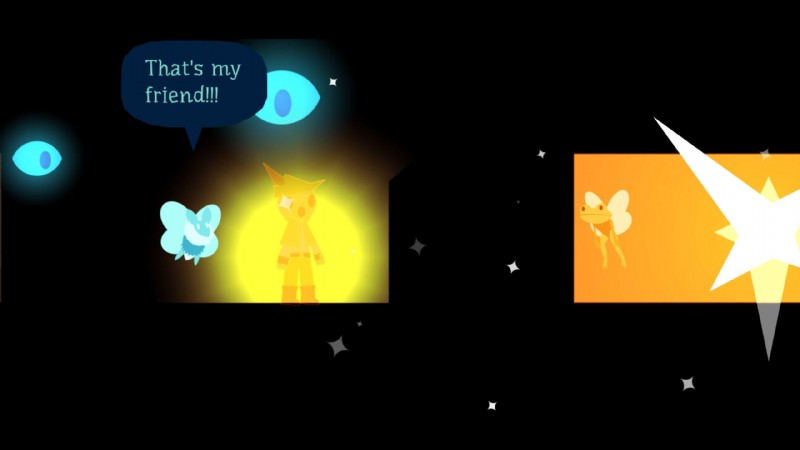
In the spirit world, you’ll end up on an icy platform with no way off. Run around to the left and right until you meet a new character:the Moon Fairy. She’ll tell you what you need to do here and open up the path for you, so head right.
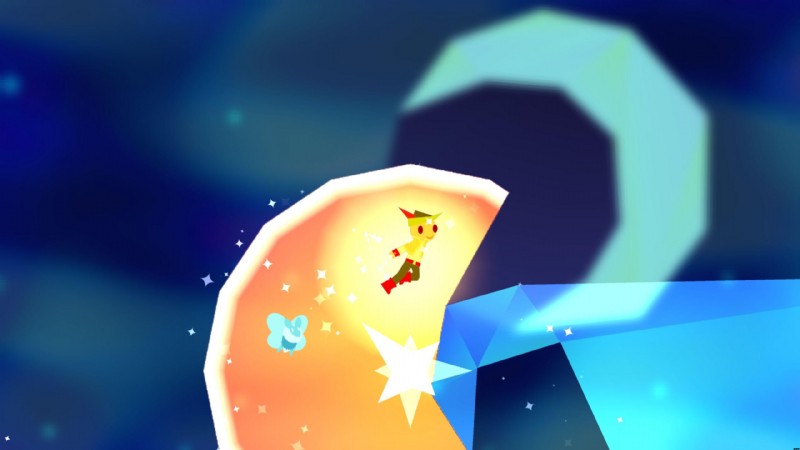
The mechanic here consists of glowing orbs that you can sing to in order to expand them into giant bubbles. Once you enter a bubble, you can fly freely within it and if you exit it, you will be launched at speed.
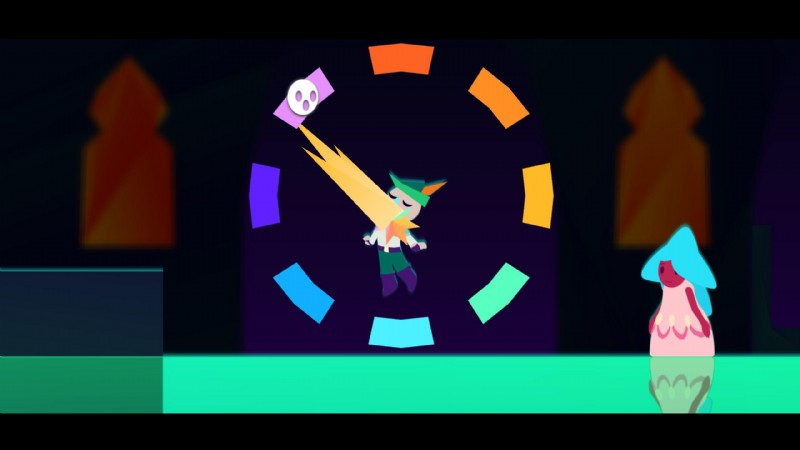
Keep singing at the bubbles and jumping from one bubble to the next. As you may have noticed, your singing now illuminates a cone of light that you can use to aim for the bubbles. It may take some practice to jump from one bubble to the next, so keep trying!
At the very end of this sequence of puzzles, you’ll find a shaft with orb that activates a beam of light when you sing to it. This beam will carry you far to the right and into the Sun King’s Palace.
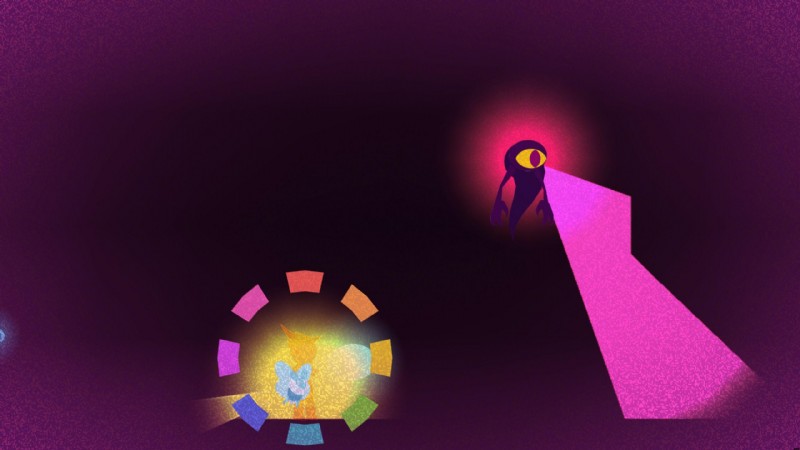
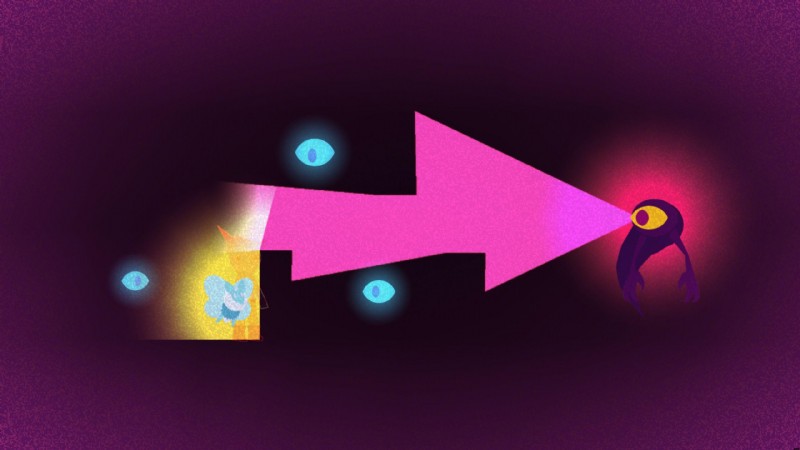
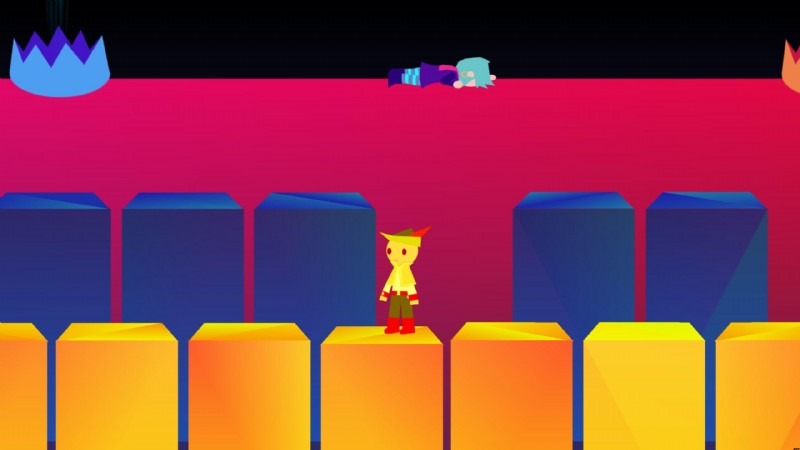
Enter the place to find yourself in pitch darkness. You can use your singing-light to spot ledges and platforms, but otherwise, you’ll have to walk around in the dark. Head right and up as required, until you find a purple monster. The monster has a pink cone of vision that you want to avoid at all costs. Thankfully, the monster can’t see your singing-light, so feel free to sing as you wish.
For the first monster, you’ll notice that his vision snaps 90 degrees anti-clockwise. When he’s looking to the right, jump on to the platform he’s on and walk underneath him. When he looks up, head past the monster to the right.
The second monster cannot be avoided. Wait until his cone of vision goes to the right and run straight into it. The monster will spot you and chase you, so keep running to the right while singing and you’ll expand a light bubble. As it turns out, the monsters are repelled by the light bubbles.
Proceed onwards and upwards to find another monster. This time, there is a platform below the monster that is blocking its cone of vision. When the monster looks right, run under the platform and wait. If you stand in the shadow, the monster won’t spot you. When it looks left, make a run for the right.
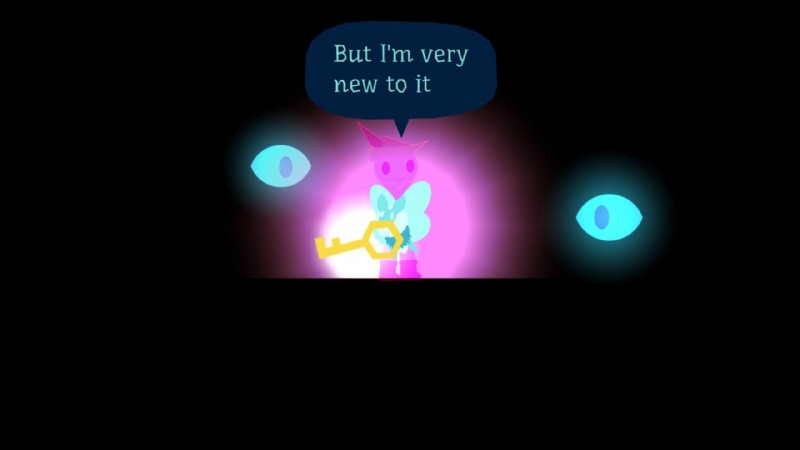
Here, you’ll find a lock. Proceed upwards and to the left, and you’ll find a key for the lock. Proceed to the right from the lock, past the gap. Here, there’s another monster with a shadow platform underneath. Grab the key when it isn’t looking, use the platform for cover as required, and return to the gap we ignored before. Jump down to find the lock and unlock it to proceed.
Continue to the right, past another gap, to find a set of two locks above and a monster to the right. For the first key, you’re going to have to jump straight into the monster’s gaze. Jump into the gap, grab the key, and run left to the light bubble. Once the monster is gone, take the key back up to the locks to unlock the first gate.
After the first lock is done with, jump over the monster who chased you, onto the next platform. Proceed right to find another monster, who looks left and up.
As before, you can use shadows to avoid his gaze. First, jump onto the platform to the monster’s upper-left, then grab the key on your way to the platform to the monster’s upper-right. Of course, you’ll have to time your jumps for when the monster isn’t looking. Repeat the jumps to return to the locks and unlock the first gate. If the monster does spot you, try and make a beeline for the light bubble located in the gap before the locks.
With the second gate unlocked, head up and right. Continue jumping up ledges to the right and you’ll find Sunny, the Sun Fairy. He’s very chill, but he’s also locked in a cage. Jump over his cage and head to the right to find a monster. Run past the monster to the shadow in the right (while avoiding his gaze, of course), and then jump up the platforms to find another monster.
As before, you have to use the platform’s shadow to get past the monster. The only difference is that the platform is above the monster instead of below it. Jump onto the platform and then to the right while the monster isn’t looking.
Yet another monster appears to the right. This one looks slowly from left to right before snapping its attention to the left again. Jump across the obstacle and when the monster is looking to the right, run under the monster (when it snaps to the left, it will look anti-clockwise, so it won’t spot you).
Drop down the ledges from here and proceed right to find the most intimidating monster yet. It doesn’t seem to let up its eye on the key below, so you have no choice but to run into its vision. Wait for it to look to the right, grab the key, and run as quickly as you can all the way back to Sunny’s cage. The other monsters will be gone, so you don’t have to worry about them.
Once you make it to Sunny’s cage, the light bubble will expand and knock away the monster that was chasing you.
Use the light bubble to jump upwards, to the next bubble. Continue jumping from bubble to bubble and exit to the left.
Finally, you’re out of the castle, and you’ll meet a familiar face here.
After the long conversation, talk to Miriam and then you’ll be free to learn the next piece of the Earthsong. For this one, you need to jump on the right piano keys, as marked by the white glow.
This one’s a bit tricky, so take your time and watch the order of the keys before jumping. You don’t have to do them within a time limit, just in the correct order. Also, a key only sounds when you jump on it, not when you simply step on it. Keep this in mind for when you need to reach keys that are further away.
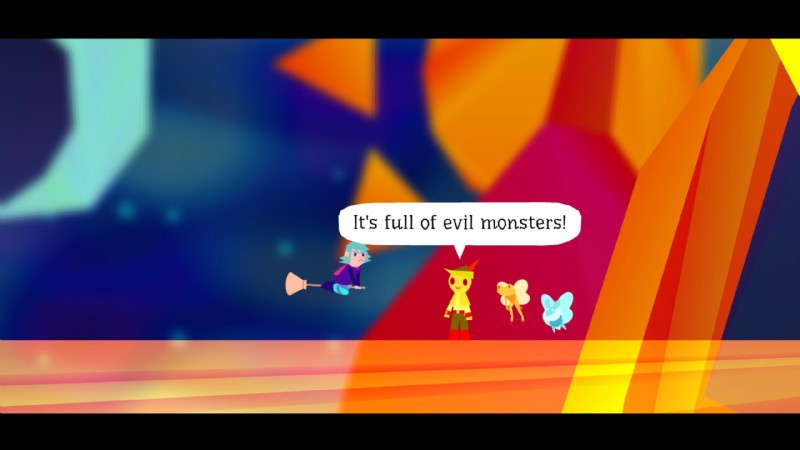
Once you play your keys right, you’ll learn the next part of the Earthsong and return to the normal world. Watch the conversation unfold and then head right (at a snail’s pace). Descend the Sky Temple (or what’s left of it), and you’ll find a situation going on at its base. Once you’ve descended far enough, the Bard will get involved.
Another song will burst forth from the Bard. Sing the notes marked by the sun and moon symbols until the song ends. After the conversation, you’ll enter another conversation, this time with Miriam. After this conversation ends, hop onto Sandra’s broom and you’ll be whisked away to Act Six.