ワンダーソング ストーリー ウォークスルー – 第 3 幕
ワンダーソングで行き詰まっていますか?このウォークスルーはあなたの耳に音楽をもたらします。ゲームの第 3 幕で何をすべきかを知るために読んでください。
- ワンダーソング ストーリー ウォークスルー – プロローグ &第 1 幕
- ワンダーソング ストーリー ウォークスルー – 第 2 幕
- ワンダーソング ストーリー ウォークスルー – 第 3 幕
- ワンダーソング ストーリー ウォークスルー – インターミッション &第 4 幕
- ワンダーソング ストーリー ウォークスルー – 第 5 幕 (パート 1)
- ワンダーソング ストーリー ウォークスルー – 第 5 幕 (パート 2)
- ワンダーソング ストーリー ウォークスルー – 第 6 幕 (パート 1)
- ワンダーソング ストーリー ウォークスルー – 第 6 幕 (パート 2)
- ワンダーソング ストーリー ウォークスルー – 第 7 幕
Wandersong の Into Indie Games ウォークスルーへようこそ!
Wandersong は、ほとんどのアドベンチャー ゲームと同様に、自分で自由に探索してプレイするのが最適です。しかし、行き詰まったり、何をする必要があるかを忘れてしまった場合は、このウォークスルーを参照してください!
Wandersong の詳細については、こちらの公式 Web サイトをご覧ください。
第 3 幕:アラビカ夫人の航海
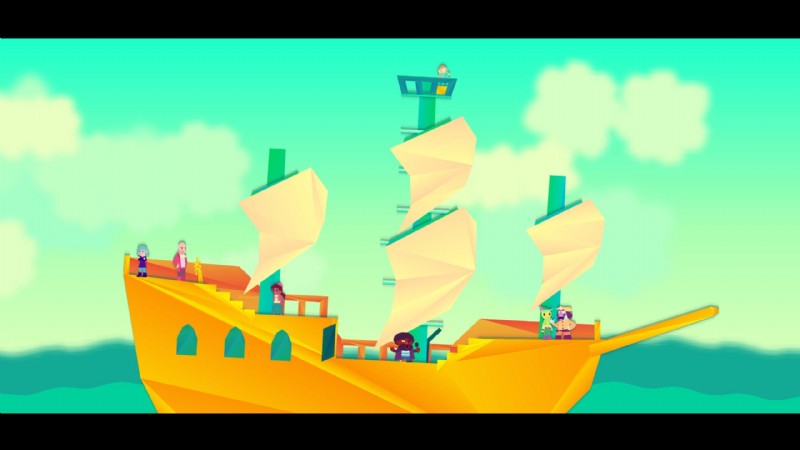
私たちは船でこの行為を始めるので、走り回ってLady Arabicaの乗組員に慣れます.船の前部近くの甲板にいる海賊船長に話しかけると、コーヒーを持ってきてくれるように頼まれます。
眼帯をした料理人がいる船の内部に駆け込みます。彼に話しかけてコーヒーをもらい、2 階の船長のところに持っていきます。コーヒーを持ったまま歌わないように注意してください。歌っている方向に投げてしまいます。
船長がコーヒーを飲んだら、歌い始めます。合図に従って、他の海賊と一緒に海賊小屋を歌います。歌の後、船は目的地に向かいます。
夜に船長に 2 回話しかけ、コーヒーが欲しいかどうか尋ねられたら「はい」と答えてください…かなりエキサイティングなイベントが繰り広げられます。
目が覚めたら、船の甲板に戻ると、船がドッキングしていることがわかります。島に着いたら、気軽にタタンゴの町を探索し、お好きなように地元の人々と話をしてください。
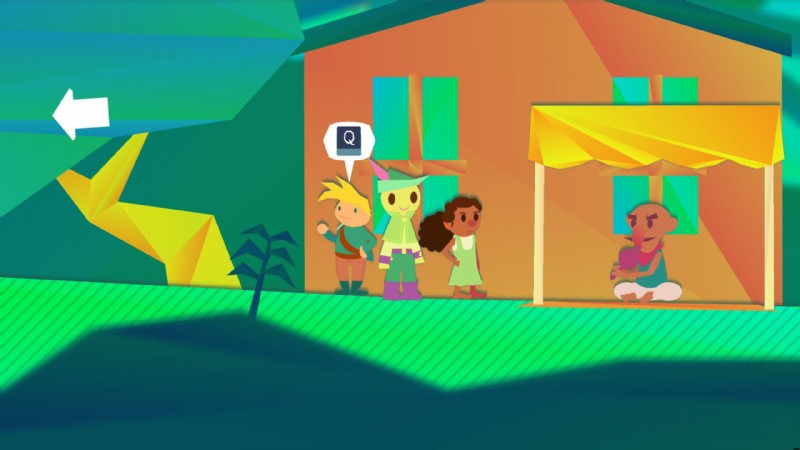
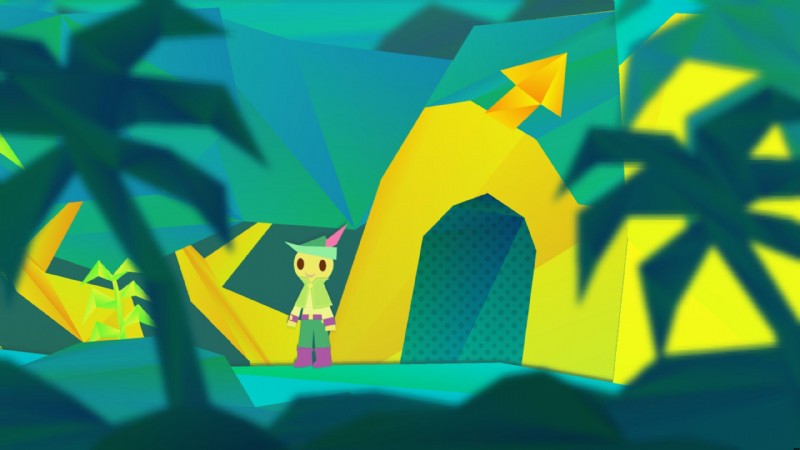
物語を進めるには、タタンゴの入り口手前にある坂を上る必要があります。丘の頂上に別の矢印の看板があり、右を向いているので、右に進み、ブードゥー教の女性の家が見つかるまでさらに登ります。
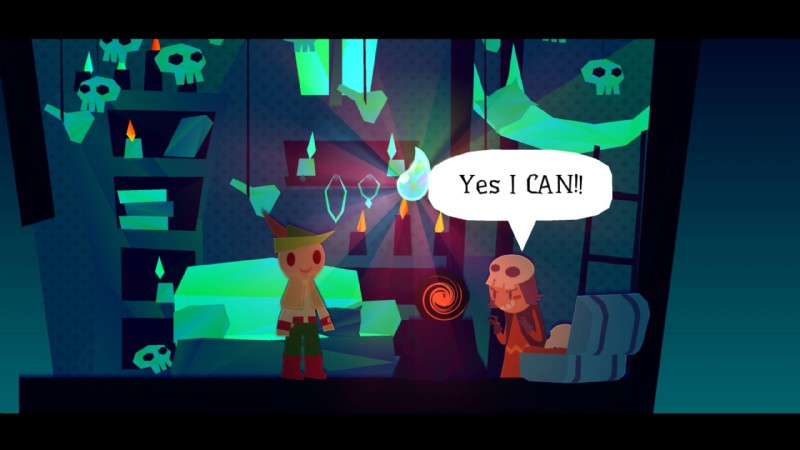
内部で、ブードゥー教の女性であるカリオペに話しかけると、彼女は宝石を見つけるためのサイドクエストにあなたを置きます.タタンゴの町に行き、右端に向かうと、船長がバーの中にいます。船長と話してください。その会話が終わったら、船長はあなたを必要な場所に連れて行くことに同意します.
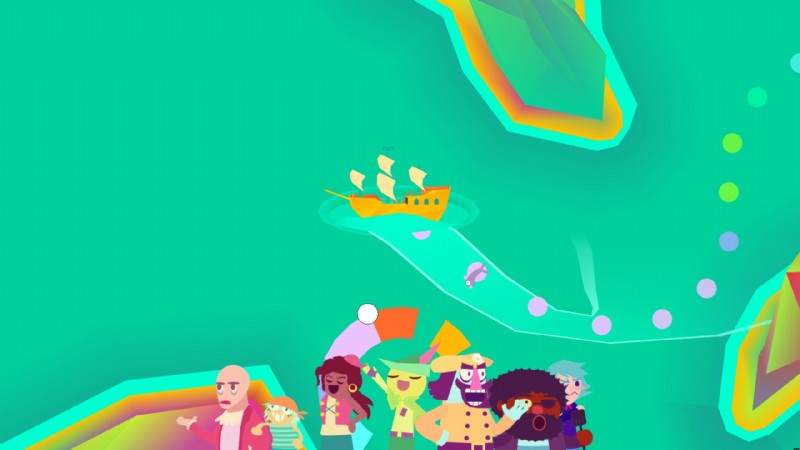
バーから出て、船が停泊している場所に戻ります。ここで、ミリアムに話しかけて船に乗り込み、出航することができます。
船を航行するのは、航行したい方向に向かって歌うのと同じくらい簡単です。定期的に地図を参照することを忘れないでください!
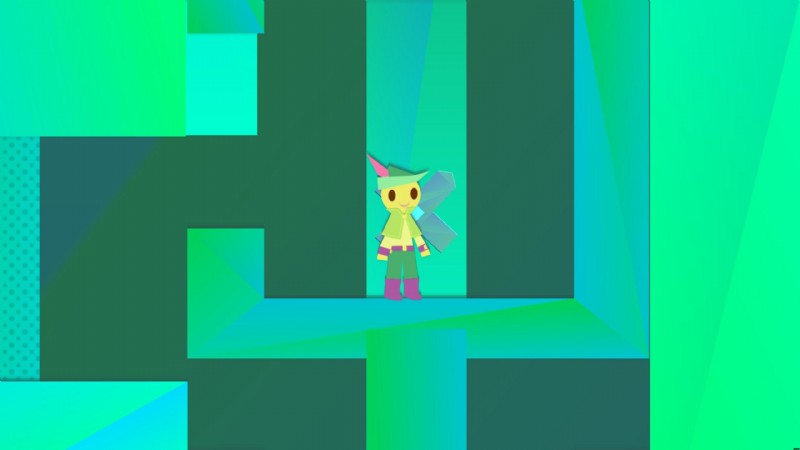
人魚の遺跡に出航し、船長の指示に従って下船します。島では、閉じたドアで止められるまで右端に向かいます。ドアの近くに十字形の取っ手があります。その近くに立って時計回りに歌い、取っ手を回してドアを開けてください。
中に入ると、一連のパズルがあります (非常にゼルダ風の音楽と共に)。最初のパズルには、下にあるハンドルを回転させることで持ち上げることができる 3 つのプラットフォームのセットが含まれます。最初の 2 つを上げて、どんどん高くジャンプできるようにします。 3 番目のプラットフォームでは、できるだけ高く上げます。 3 番目のプラットフォームが下降し始めたら、最初のプラットフォーム、次に 2 番目のプラットフォームにすばやくジャンプし、3 番目のプラットフォームが手の届くところまで来たら、それを使用してより高い棚に到達します。右に進みます。
この次のセクションには、それぞれの柱を上げるために解決する必要がある 3 つのパズルがあります。
左端の柱の場合は、ドアに入り、ハンドルを回して、右側のプラットフォームが左側のプラットフォームよりも低くなるようにします。右から左にジグザグにジャンプし、左の棚に乗ります。ここには、右側の棚のドアへの道を開くために回すことができる別のハンドルがあります.下のハンドルに降りて、左側のプラットフォームが右側のプラットフォームよりも低くなるようにプラットフォームを移動し、前と同じようにジャンプして右側の棚に到達します.ドアを通って向かいます。ここに、時計回りに歌って上げることができるエレベーターがあります。エレベーターが一番上に到達するまでそうすると、最初のプラットフォームが上がります。
真ん中の柱については、右側にハンドルが付いた大きなブロックが見つかるまで、右に向かい、棚をジャンプします。時計回りに歌って、ブロックをそのパスに沿って移動させ、それに沿って移動します。ブロックを左に持っていくと、その上に立つことができ、より高い棚に連れて行くことができます。ここのドアに入ると、前のパズルと同じようにエレベーターがあります。この柱のパズルを解くために、最後まで進めてください。
一番右の柱については、ドアに向かい、ハンドルでプラットフォームにジャンプします.そのパスの終わりまで時計回りに歌い、次のプラットフォームにジャンプします。もう一度時計回りに歌って、パスの最後まで歌います。ここには、右側のゲートを制御する別のハンドルがあります。 Keep singing until the gate is fully open, and then jump onto the third moving platform. Sing clockwise to take it all the way to the end and enter the door. Here, you’ll find another elevator, which works the same way as the previous two.
Once you’ve raised all three pillars, jump up the stairs to the left of the puzzle room, up to where the statue of the mermaid with the trident is. Head right, jumping cross the raised pillars and get to a large platform with a rotating handle. Sing clockwise to raise it, but be mindful of the obstacles on the way up. You’ll have to move the Bard around as you sing to get him clear.
After that platform takes you as high as it can go, sing clockwise again to open the horizontal gate, and jump up just before it closes, so that you are standing on the gate itself. From here, jump up the stairs, go through the door, jump up some more steps, and you’ll find a part of the jewel you were looking for.
Head to the left and jump off the ledge to start a fun sliding section. When you make it to the bottom, head left past the masked dude to exit the ruins and return to the captain. Talk to him and return to the ship when prompted.
Once back at the ship, return to Calliope and she’ll tell you that she needs the whole Tear. To find the rest of it, return to your ship and use the map to navigate to Turtle Shores (to the South). After disembarking here, head all the way right, until you reach an inscribed rock that needs three musical notes to activate.
To solve this puzzle, you need to input three notes according to three specific colours. You’ll find the colours you need by keeping an eye out for arrows on the same screen as the rock. The first arrow is to the far left, just near the end of the screen. The second arrow is hidden in the ground and can only be seen once the Bard passes it running right. The third arrow is above the rock itself. The colours are purple, blue, and gold, in that order. Enter them to open up the cave behind the rock.
Descend the cave to find another musical rock, this one marking three objects. There’s a conspicuously shaped rock, a bird, and a flower. If you’ve been observant, you may have noticed these three objects on the island already. Head back to where they are to find the colour associated with those objects, and then sing those colours in order to the musical rock.
The colours are:blue rock, yellow bird, and red flower. Once you input the colours, the rock will raise, revealing the other part of the Tear. Take it back to the pirate captain and return to Tatango Island. Head up to Calliope to show her the Mermaid’s Tear.
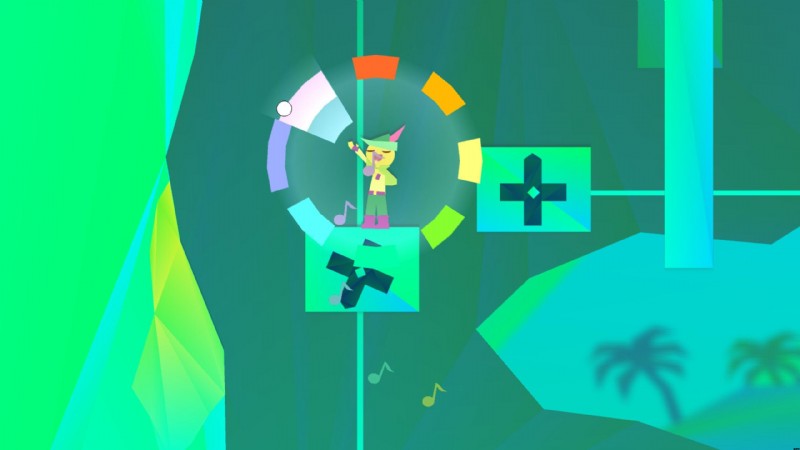
When Calliope asks you to sing, bring up your singing wheel and sing each of the notes until you find one that’s excited the most. Hold that note until the blast, then repeat the process for the next two notes. Calliope will mark the location of the mermaids on your map and take the jewel from you.
Return to the docks and talk to Miriam to set sail again. When your singing doesn’t work, you’ll find that the ship interior is empty. Head out to find that the crew has been tied up by a rather toxic man.
After the conversation is completed, head downstairs to the kitchen, where you’ll find a choice of three objects to take with you. Take the cup of coffee and return to the toxic man. When he asks if you are offering it to him, say no, and the Bard will drink it himself.
Once the toxic man is gone, return to the captain and set sail from Tatango Island. The Mermaid Hideaway is now marked on your map, so head straight there and disembark.
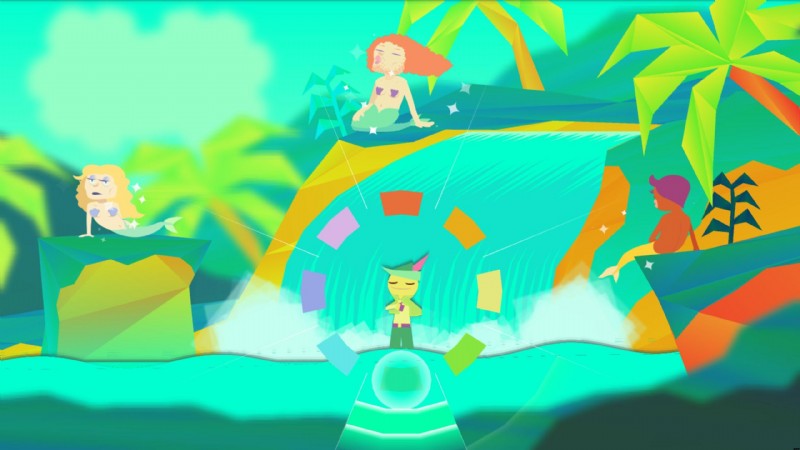
At the Hideaway, head right until you find the mermaids. After the conversation, head to the waterfall, between the three mermaids and start singing. The mermaids will teach you the Overseer’s song, and the red-haired mermaid will then give you a task. Head back to the ship and talk to Miriam to get aboard the ship, then sail to the Lost Waterfall.
After disembarking at the Lost Waterfall, head up the hill and then left into opening. Head right past Francisco and Penny, up the ledge, past Nina, and to the Captain. You can talk to him and convey the message from the mermaids if you like. Continue heading right until you get to the waterfall and start singing the Overseer’s song.
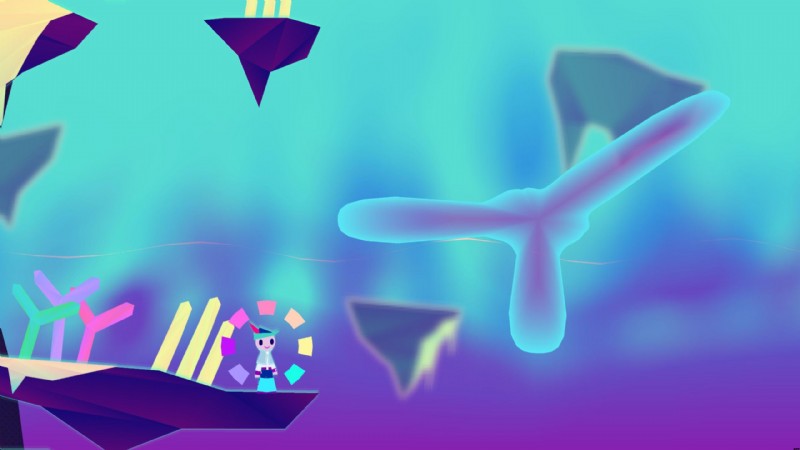
Once you enter the spirit world, head right across the floating islands and onto the next screen. Here, you’ll find a blob that will expand in a direction of your choice (depending on which way you sing). Have the blob expand left, get to the middle of it, then have it expand right to get to the next platform.
In the next screen, head right past the first blob and make the second blob expand upwards to find a fish (who is also a key). Return to the first blob and have it expand upwards to get onto the platform with the locked gate. The fish will unlock the gate, allowing you to proceed.
In this screen, you’ll find that the blobs don’t always expand in the same direction as your singing, so you will have to experiment with the notes to find out how they expand. To get the fish, head all the way down, and you’ll find the fish in a nook to the right. Then, climb the blobs up to the ledge with the locked gate.
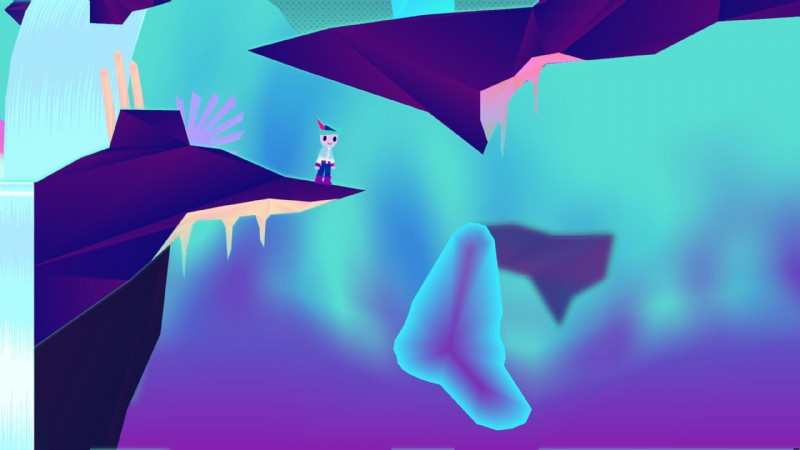
The next screen will introduce you to multi-pronged blobs. As before, experiment to find out how to manipulate it. This section is a bit tricky, and you’ll have to guess and jump at the same time. Head to the right to find the fish and then head to the left, up onto the floating island. Jump left again, get past the locked gate, and head up the waterfall. You’ll have to cross another pair of multi-pronged blobs to head right.
On this screen, head right, jump up the blobs as high as they’ll take you (you’ll end up on a waterfall). Head right from the waterfall, and drop down onto a floating island to find the fish again. Head left over the moving blobs, and enter the little tunnel with the locked gate. Go through to the next screen.
Head right to a waterfall lined by blobs and use them to jump up and out of the shaft. Continue heading up the hill until you find the Overseer’s castle. Talk to the fish and he’ll open the way for you.
Inside the castle, head to the right and go all the way up the stairs until you find an oscillating wave hovering above a platform. Sing anti-clockwise at the right speed, until your singing matches up with the wave’s oscillation.
Once the Overseer is revealed, watch the long conversation.
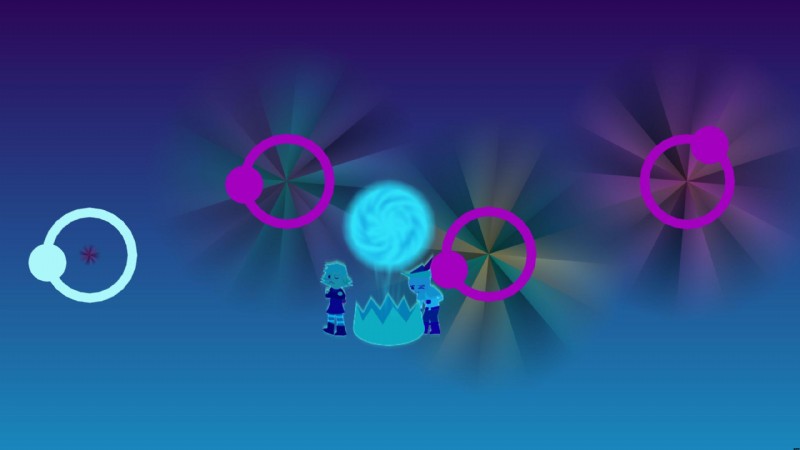
After you regain control of the Bard, start singing and you’ll reveal circles with oscillating waves. Walk near a circle, and sing at the right speed to match up your singing with the waves. Once you activate a circle, it will turn purple. Turn all of the circles purple and you will finally learn the piece of the Earthsong.
Click here for the next part of our Wandersong walkthrough!
Why are gamers turning to mousepads made of glass? Read our article here or take a look at our sponsored partner SkyPAD’s Kickstarter if you are interested in getting your own.