ワンダーソング ストーリー ウォークスルー – 第 6 幕 (パート 2)
ワンダーソングで行き詰まっていますか?このウォークスルーはあなたの耳に音楽をもたらします。洞窟を出た後、第 6 幕で何をすべきかを知るために読んでください。
- ワンダーソング ストーリー ウォークスルー – プロローグ &第 1 幕
- ワンダーソング ストーリー ウォークスルー – 第 2 幕
- ワンダーソング ストーリー ウォークスルー – 第 3 幕
- ワンダーソング ストーリー ウォークスルー – インターミッション &第 4 幕
- ワンダーソング ストーリー ウォークスルー – 第 5 幕 (パート 1)
- ワンダーソング ストーリー ウォークスルー – 第 5 幕 (パート 2)
- ワンダーソング ストーリー ウォークスルー – 第 6 幕 (パート 1)
- ワンダーソング ストーリー ウォークスルー – 第 6 幕 (パート 2)
- ワンダーソング ストーリー ウォークスルー – 第 7 幕
Wandersong の Into Indie Games ウォークスルーへようこそ!
Wandersong は、ほとんどのアドベンチャー ゲームと同様に、自分で自由に探索してプレイするのが最適です。しかし、行き詰まったり、何をする必要があるかを忘れてしまった場合は、このウォークスルーを参照してください!
Wandersong の詳細については、こちらの公式 Web サイトをご覧ください。
第 6 幕:イコル山の野獣
パート 2
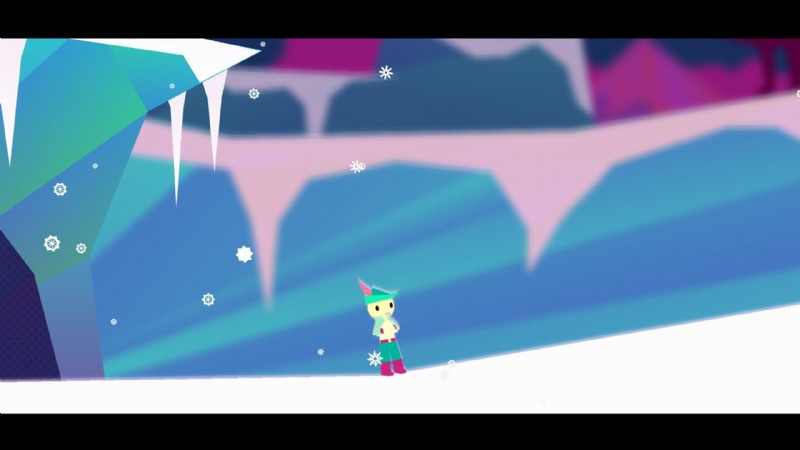
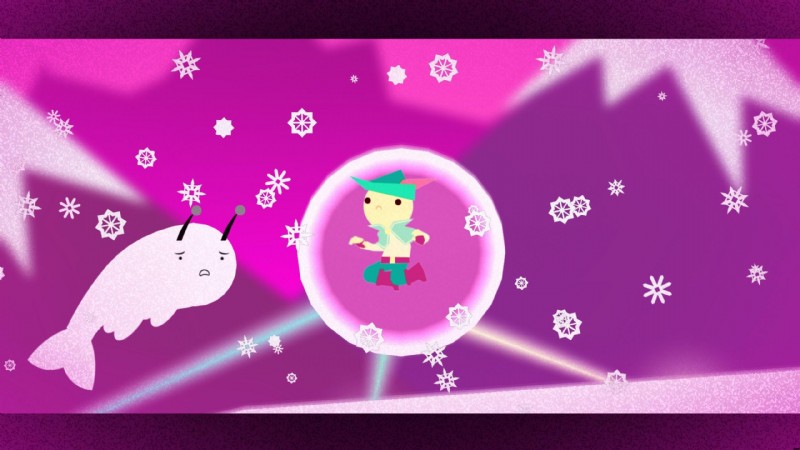
洞窟を出たら、別の不吉なカットシーンに向かいます。右に進むと、ここで最初のオットセイに出会います。これについてはまだ何もできないので、右に進んでください。
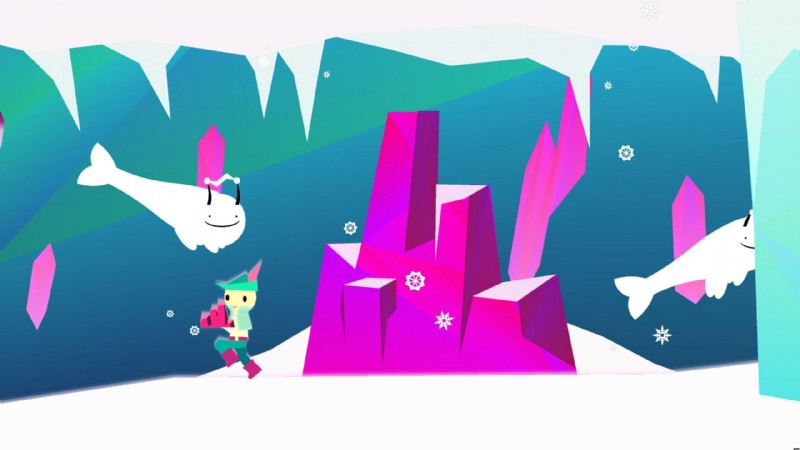
右に進むと、ピンク色の結晶と、自分のことをしているいくつかの空飛ぶアザラシが見つかります。大きな結晶構造に行き、それを使って自分で結晶をつかみます.次に、最初に見つけた飛行アザラシ、地面に横たわっていたアザラシに戻ります。彼はクリスタルにとても満足するでしょう。あなたが好きなら、彼を撫でることができます.
空飛ぶアザラシに乗ってもらうには、背中に乗ってジャンプし、行きたい方向に向かって歌います。鳥のように、アザラシは限られた距離しか移動できないので、どこに行くのかを確認してください。さもないと、気力が尽きてしまいます。鳥とは異なり、飛行アザラシはあなたについてきて、ピンクのクリスタルで充電する必要があります.
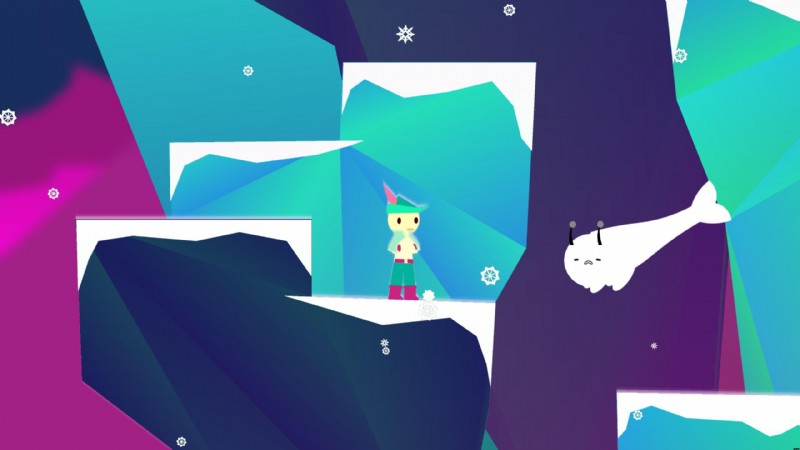
シールを手に入れて、ジャンプできない高い棚に連れて行ってください。ここでは、別の結晶構造を見つけることができます。クリスタルをつかみ、アザラシに渡して、次の高い棚に飛んでください。次の画面に進みます。
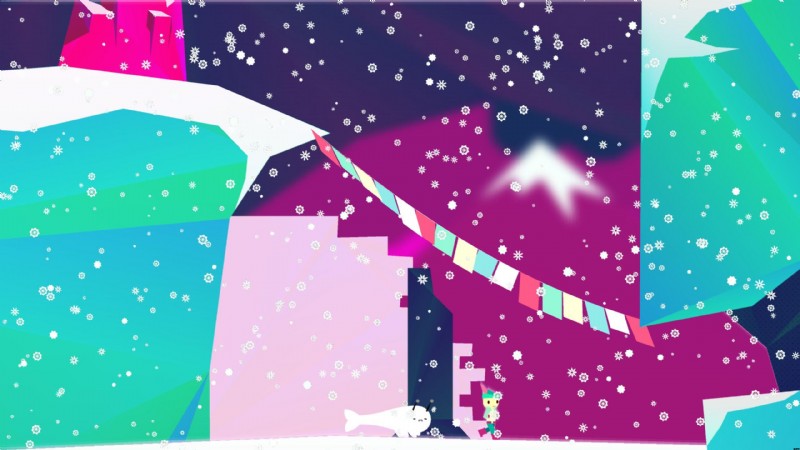
ここには、2 つの高い棚と結晶構造があります。シールを再充電し、棚の助けを借りて、できるだけ上に行きます.封印を再び充電し、色付きの祈りの旗を過ぎて右に進みます。反対側には、別の結晶構造と恐ろしく長い裂け目があります。アザラシを充電して、右上にできるだけ遠く、高く飛んでください。アザラシの汁がなくなる頃には、安全に雪の地面にいるはずです。
ここから降りて、結晶構造を使って封印を再充電します。一番高い棚までジャンプして戻ります。アザラシを使ってそこまで飛ばないように注意してください。そうしないと、エネルギーが足りなくなり、クリスタルを求めて下に戻らざるを得なくなります。一番高い棚で、アザラシに飛び乗り、右上に飛んで、別の大きな割れ目を横切ります。次の画面に進みます。
右に進み、封印をクリスタルで充電してから飛び乗ってください。右に進み、洞窟に入ります。上昇し、左上に飛んで (必要に応じて充電します)、再び上昇し、次に右に移動して、色付きの旗で橋を架けられた別の裂け目を見つけます。封印を充電して、別の洞窟構造に向かいます。真ん中のシャフトを通って上に進み、封印を再充電する結晶構造が見つかるまで登り続けます.右に進み、高い棚に飛びます。その後、雪の大地を右に進みます。
ここは風がとても強く、飛ばし方には注意が必要です。結晶構造を見つけたら封印を充電し、風が収まったらより高い構造に飛びます。右に進み、充電して、割れ目を越えます。今回は特に注意してください。割れ目を越えるまで安全な場所はありません。
ここから右に向かい、風が穏やかなときに凍った岩棚をジャンプします。ジャンプできない棚に到達したように見える場合は、風が強まるのを待って、風が棚に運ばれる方向にジャンプします。高くジャンプするときは注意してください。そうしないと、風で飛んでしまいます。
ジャンプして、穴が見つかるまで洞窟を通り抜けます。ここでは風が左右交互に吹いています。ジャンプのタイミングを風に合わせて、右側に移動します。クリスタルを手に取り、封印を再充電してから、再び風を利用して左にジャンプします。
ピンクの壁の洞窟を通って色付きの旗がある場所に戻り、シールを使用して別の結晶構造に飛びます.クリスタルをつかみ、封印をチャージし、先のとがったスパイクの上を風に乗って左に飛んでください。反対側では、風を利用してジャンプ力を高めながら棚の上を進みます。上部の棚で右に進み、結晶構造を見つけて封印をチャージします。それを過ぎて割れ目に行き、それを飛び越えます。風はあなたに逆らうでしょうが、あなたはあなたのシールでそれを作ることができます.小さなジャンプのために右に進みます。 The wind is still against you, but you can jump past it, and then repeat the process for another jump to the right. Continue on to the next screen.
Go right from here until a cutscene plays. Then run left! While trapped, sing in the direction of the binds to undo them. As you do, another cutscene will play, and then you can resume undoing the binds. Just as you finish, you’ll have a familiar character pay a visit.
Once the cutscene ends, you find yourself in a cave. Talk to the Hero and keep talking to them. You’re in for a fairly lengthy conversation, so keep talking to her over and over. Once you’re far enough into the conversation, the Bard will hear a sound. Head to the right of the cave and you’ll find some old friends helping you out.
Another conversation follows. At the end of the conversation, head right into the next screen. Here, you can sing to bugs again, so have them lift the red stone out of the way. Proceed right until you find another red stone and get the bugs to take it to the middle of the area and lift it up. Once you have it positioned right, Audrey will jump across. You can’t jump as good as Audrey, so take your time and get the bugs to carry you to near the ledge.
Continue right for a cutscene and then sing to get the bugs out of the way. Have the bugs mosey along under the floating platform and then lift the red stone as before. Once again, Audrey will jump across and you can follow. On the floating platform you two end up at, direct the bugs to go to the right and lift the second red stone. Once again, Audrey will jump first and then you can let yourself be carried to the ledge.
Go right into the next screen, and then another screen, then up some stairs until you find a throne. A conversation will follow in which the Bard and the Hero talk to the Heart Fairy. After the conversation ends, head right and go up the stairs in the next screen. Get out of the cave (or castle, however you wish to see it), and proceed right and then upwards. You have quite the climb ahead of you. Continue onwards and go left into the next screen.
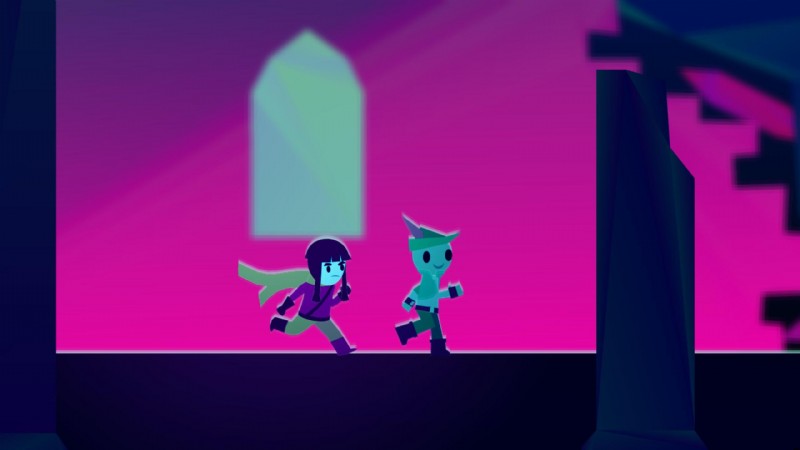
In this cutscene, the Overseer is being quite elusive. Follow the Overseer to the left, jumping up the ledges as necessary. On the next screen, at the end of the ledge, you’ll encounter another cutscene. After the cutscene, dive off the ledge and onto the platform with the Overseer and Audrey. Head left towards the Overseer for yet another cutscene.
In this boss fight, you have to work with Audrey to defeat the Overseer. She will charge her sword and you need to cover her while she does that. Follow her and keep an eye out for triangular attacks marked by coloured auras. Sing in the direction of the attack to create a defensive bubble that can protect Audrey.
Continue defending Audrey until her sword is charged and eventually she will shoot the Overseer. When he’s down, sing at the Overseer to make him smaller. Eventually, he’ll roar at you and the next phase of the fight will begin.
Here, the Overseer will conjure pillars of light with bombs on them. When the bomb hits the ground, spikes will emerge from the bottom. To interrupt this attack, create a defensive bubble and get to the pillar to stop the bomb from reaching the ground. Other than this attack, you will also have to block regular triangle-attacks.
Keep defending Audrey again until her sword is charged, and she’ll stun the Overseer. Sing at the Overseer again to make it smaller and have it roar at you.
In the third phase, the Overseer will attack you himself, and his angle of attack will be marked by direction and colour. As before, sing to conjure a defensive bubble in the right colour and defending Audrey. Apart from that, he will continue attacking you with the pillar bombs and triangle-attacks.
As with the previous two phases, keep defending Audrey until her sword is charged and she’ll stun the boss. Sing at the boss for the fourth stage of the fight. This one is the most intense phase yet, but there are no new attacks. Keep defending Audrey as before, have her stun the boss, and sing to it until it’s completely pacified.

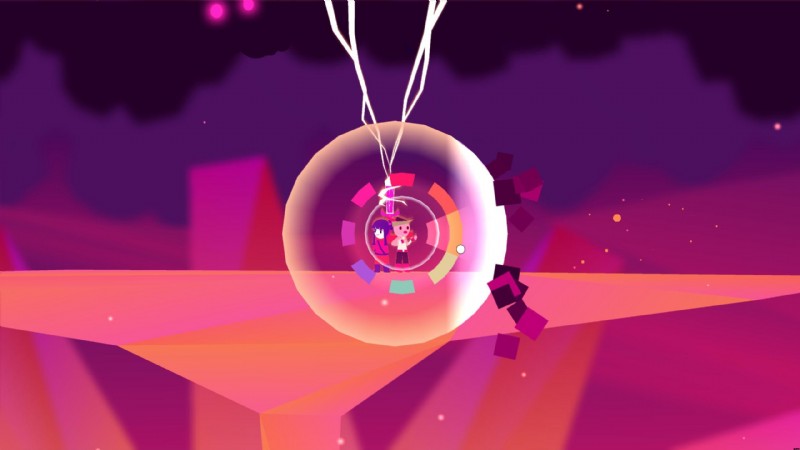
Watch the next cutscene and you’ll be able to learn the next piece of the Earthsong. Get to one of the white strings, sing in any colour, and release to strum that string. Do this with the strings until you start seeing coloured arrows pop up. Sing in the colour and direction of the arrows while near a string to assign that arrow to the string. You can assign any arrow to any string, so keep doing that. You’ll have to assign the arrows in several waves before you gain Earthsong piece. This one takes a while, so keep at it and you’ll learn the piece.
This will take you to the next act.