PunBall 初心者向けガイド:敵を倒すためのヒント、コツ、戦略
PunBall は、Arkanoid からパドルとボールをキャッチする必要を除いたシューティング パズル ゲームです。このゲームでは、複数の弾むボールを敵に向けて発射し、長く破壊的なバウンス コンボを繰り出します。人気の Archero の背後にいる人々、Habby によって公開された、あなたの目的は PunBall でもそこと同じくらい重要です。
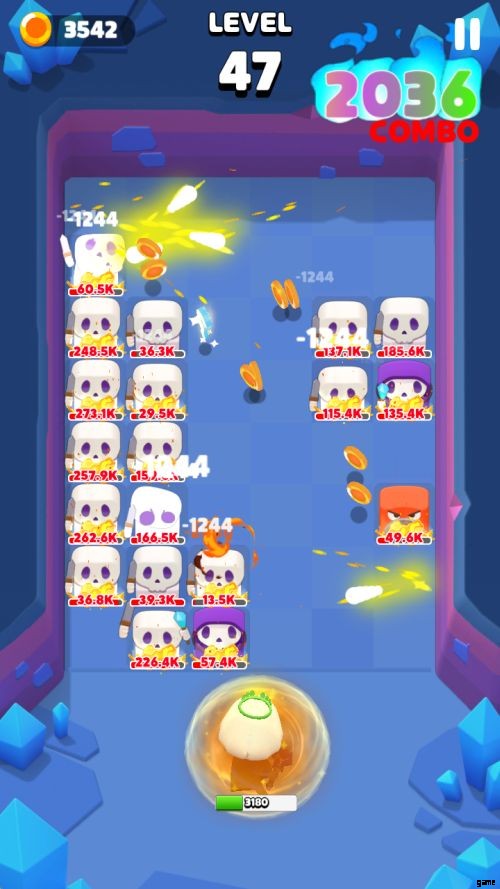
PunBall では、痛いほど愛らしい Mage を操作して、魔法の殺人ボールを撃ちます。毎ターンあなたに向かって移動し、あなたの顔を剣で刺したいとうずきます。これは比較的単純なゲームですが、ステージ 5 でプレイヤーの 90% が終了するようです。これは、戦闘が進むにつれて難易度が急上昇し、敵の HP がばかげて増加するためです。これは通常、大きな厄介なペイウォールの兆候です。そうは言っても、ステージ5でやめたり、そのために1セントも支払う必要はありません.必要なのは、計画、少しの努力、そして少しの運だけです。
そうは言っても、悪者を簡単に倒すことができるように、ヒント、トリック、戦略を含む PunBall の包括的な初心者向けガイドを用意しました!
1.射撃と戦闘のヒント
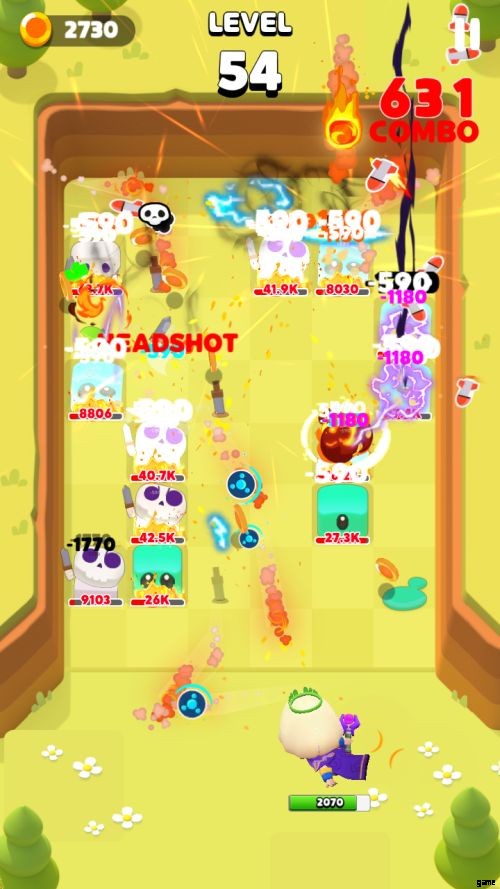
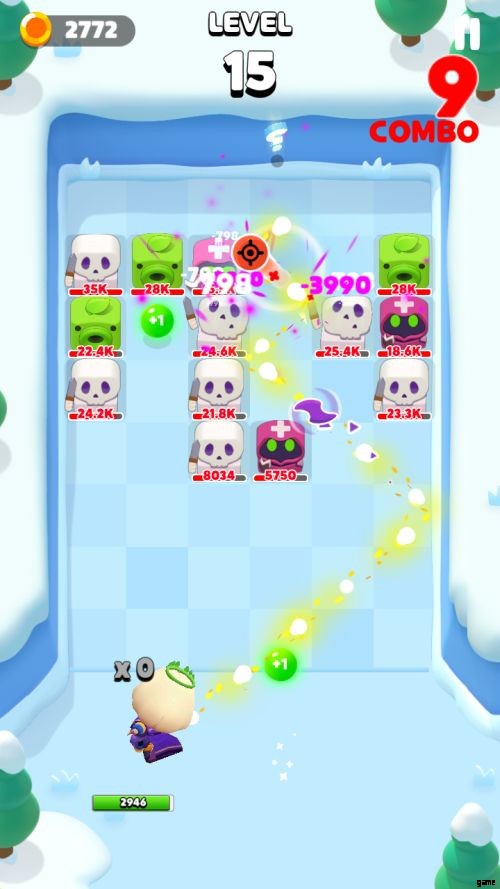
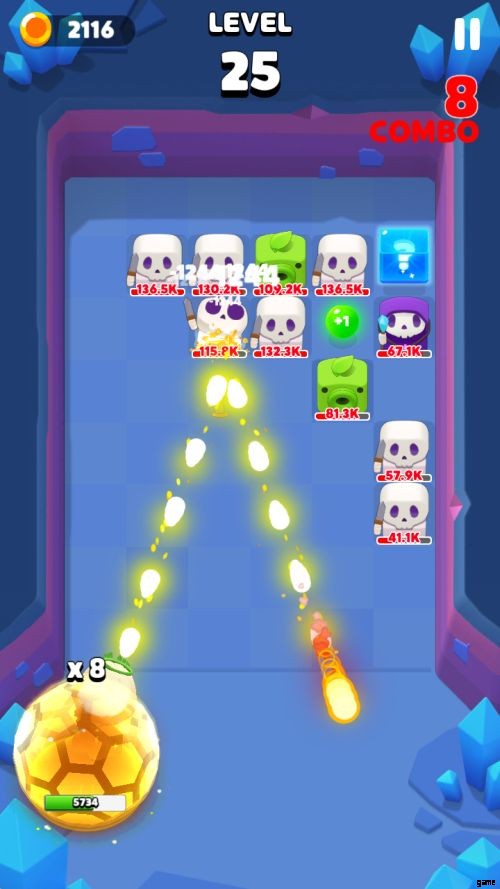
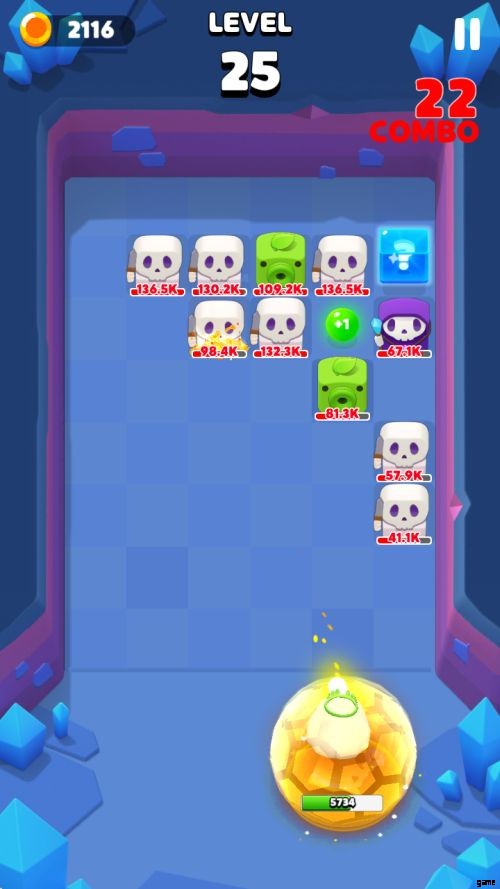
適切な狙い、ターゲットの優先順位付け、および適切なパワーアップの選択は、PunBall のゲームです。ダメージとコンボを積み重ねるための最善の方法は、ショットを敵の間で繰り返しバウンドさせるか、敵のバックラインに侵入して敵とバックウォールの間でバウンドさせることであることにすぐに気付くでしょう。フィールドで戦うためのヒントをいくつか紹介します。
真を目指し、グリッドを使用
極端な角度からのショットやほぼ真っ直ぐ前を狙う場合を除いて、グリッドを狙ってショットを当てると、ショットが確実に着弾します。およそ 45 度で射撃している場合、それらは多かれ少なかれ斜めのグリッドに従います。これにより、角度のついた隙間からショットをパスしたり、バウンス ショットで敵を狙撃したりすることができます。
It gets more difficult at harsher angles, though it’s still a good guide to give you an idea where your shots will go. Also, remember that you aren’t on a timer:Aim carefully and patiently, make the most out of every shot.
Look For Weak Spots In The Enemy Line

The best way to do heavy damage to the field is to let your shots penetrate through the enemy line, then bounce behind everyone repeatedly. Unfortunately, the enemy is often in the way of the juicy, juicy backline.
This means you have to look for weakspots to smash through (Whether it be a thinner part of the line, or an open spot guarded only bu a relatively low HP target, or a small nook that might let shots bounce a lot) so your shots can reach the back. Sometimes, it may be worth it to take a hit just to do this:You don’t want them plugging up that gap and killing you a few turns later, especially if there are Summoners in the field.
A Few Game Changing Powerups
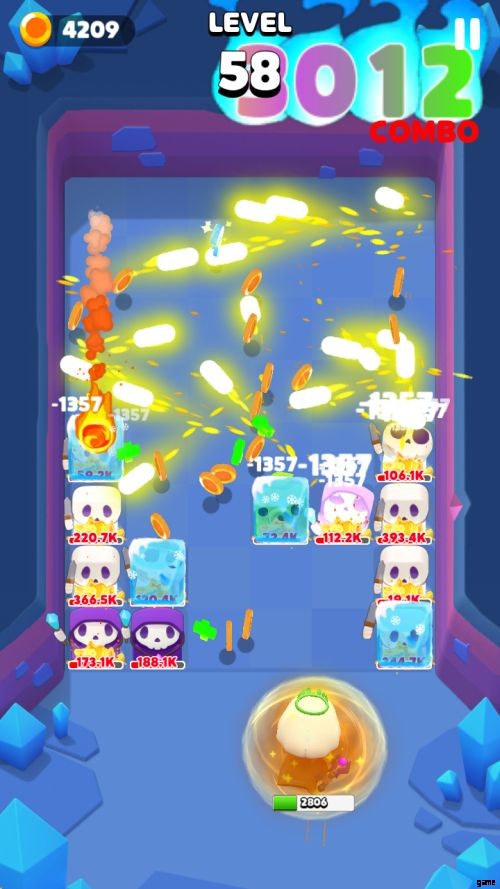
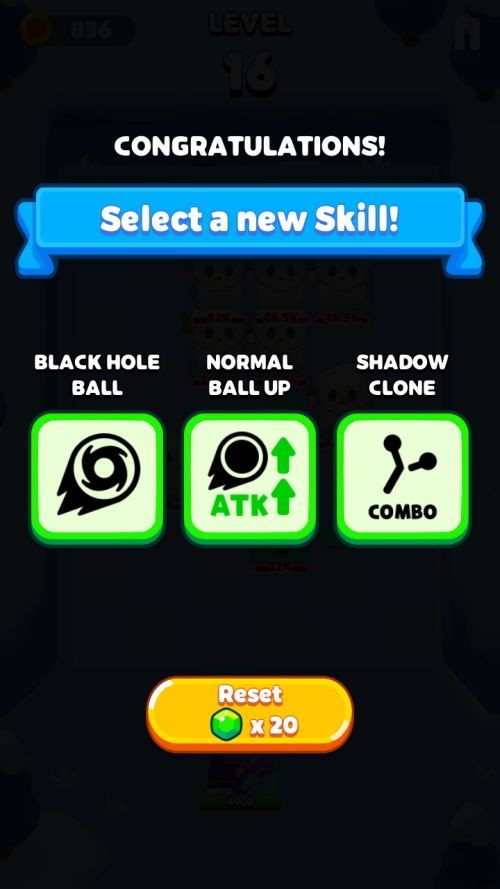
Among all the powerups in Punball you can get, there are a few of them that, when found, tend to allow a serious snowball. The Black Hole Ball and the Shadow Clone combo special. These two together are incredibly powerful, since they fill their specific roles very well. The Black Hole Ball is an attack that deals severe damage (It can do roughly 17k damage if you’re at a level where your normal shots do 550 damage per hit or so), but only bounces on walls and not enemies, immediately disappearing upon hitting a target. It is always the first shot to come out.
When paired with the triple damage of Starting Charge or extra Black Hole Balls, this allows you to more or less delete single high value targets like Peashooters and enemies a bit too close for comfort, and most importantly, force an opening into the enemy line. Once that line is broken, that’s when the Shadow Clone combo powerup comes in. Shadow Clone is a simple, cheap combo based powerup that spawns a new ball for every 30 hits you do in a shot.
Get even a few balls into the backline and you can rack up what is essentially a self-feeding combo that has the capability of ripping even the thickest of enemy formations to pieces. You usually also have a ton of other balls by the time you get them, so those will do their jobs too. On top of all this, you can also start piling up combo powerups so those giant multi-hundred hit combos do yet more damage to the enemy in the field.
Positioning
Your shots also determine where your character, the Mage, moves. The Mage will follow the spot where the first ball (unless it’s a Split Ball’s babies since they don’t follow every other ball’s trajectory) returns.
If you can’t get a good angle on your target, it may be worth trying to reposition with your shot instead of trying to get the most damage efficient shot you can get from such a bad angle, since you’re not gonna get much out of staying there anyway.
2. TARGET PRIORITIES
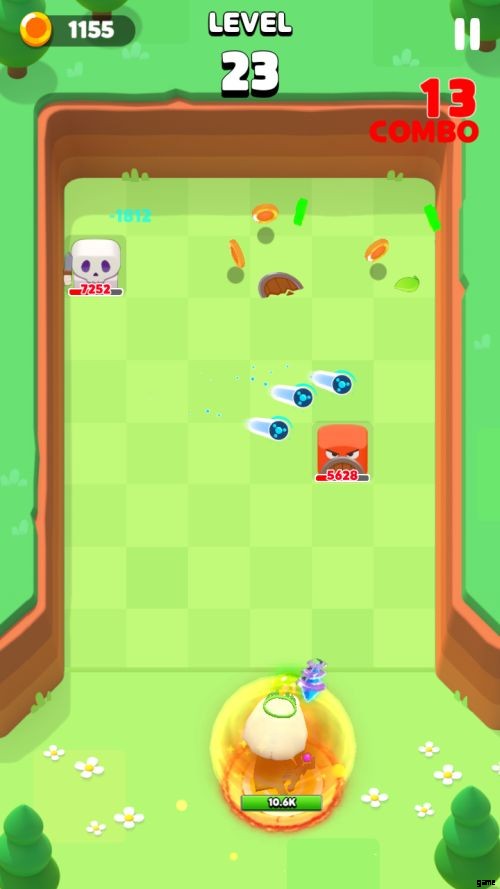
There are many kinds of enemies in PunBall, though they tend to fit a few archetypes. There’s also deciding whether or not sniping one particular foe is worth missing an opportunity to get an attack into the enemy rear. Spoilers, it almost never is! Here are your usual target priorities, in order of importance.
Injured Targets Guarding Chokes, And Gaps In The Line
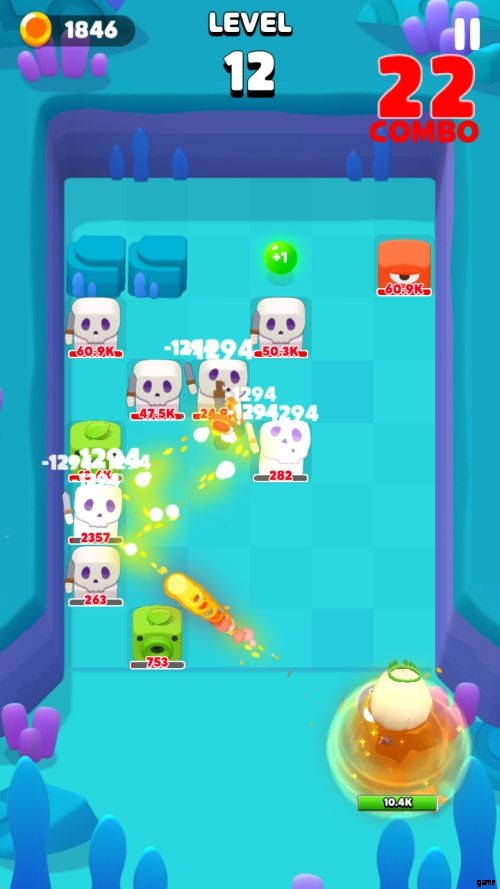
Above all else, you should try to get your shots behind the enemy (or at least between them) where they can do the most damage, especially later on where you have loads of attack balls and the enemy has enough HP that you can’t oneshot even the squishier mooks with a straight-on attack.
Comboing by bouncing shots across enemies is how you’ll kill the enemy most of the time, and the longer your combo, the better. And what better way to combo than to pin your shots between the enemy line and the back of the board?
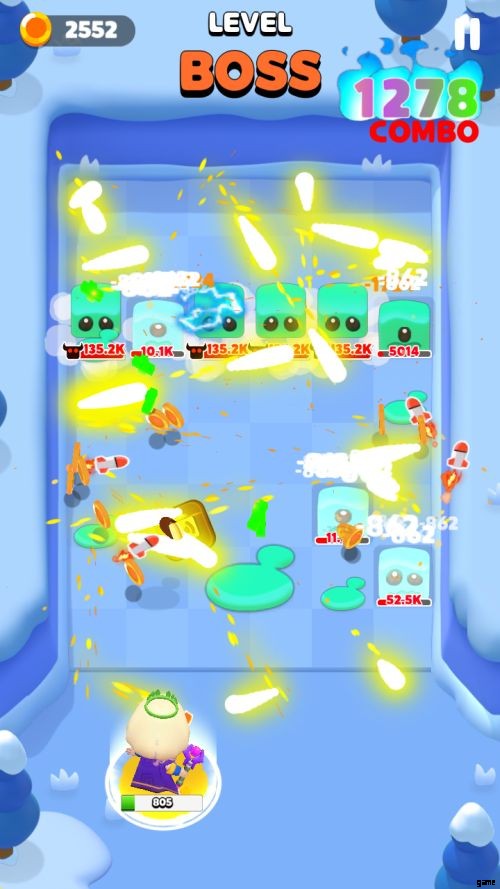
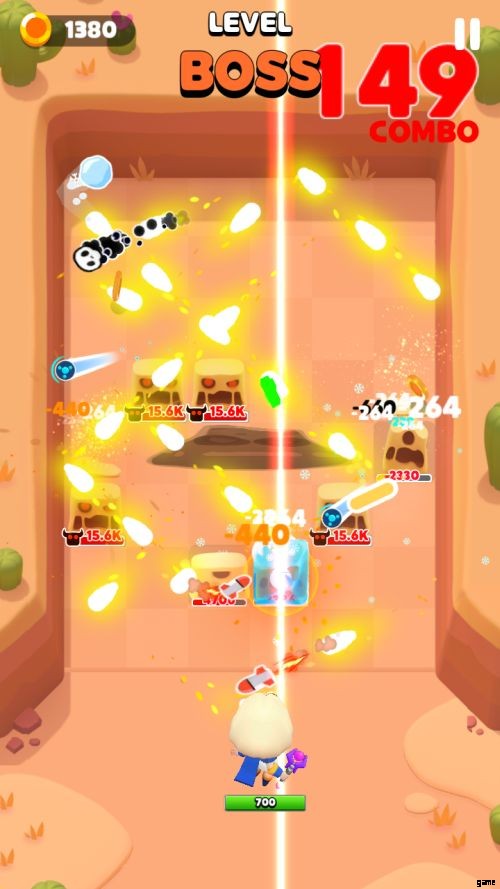
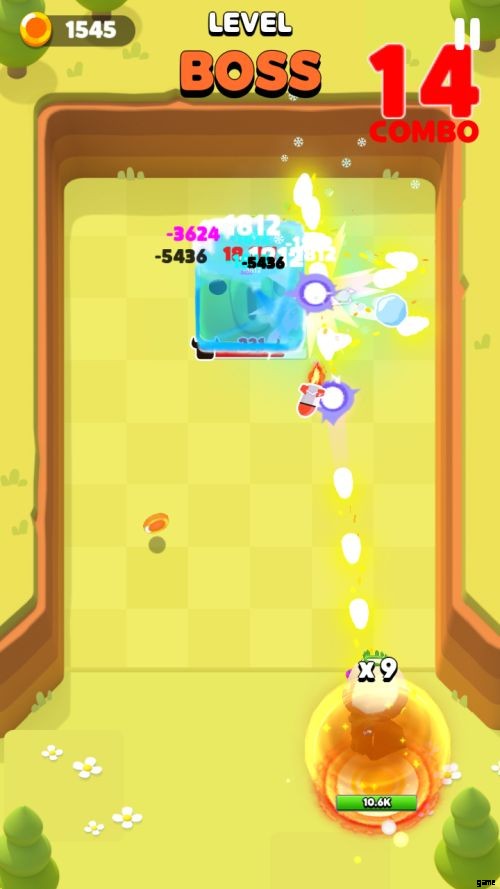
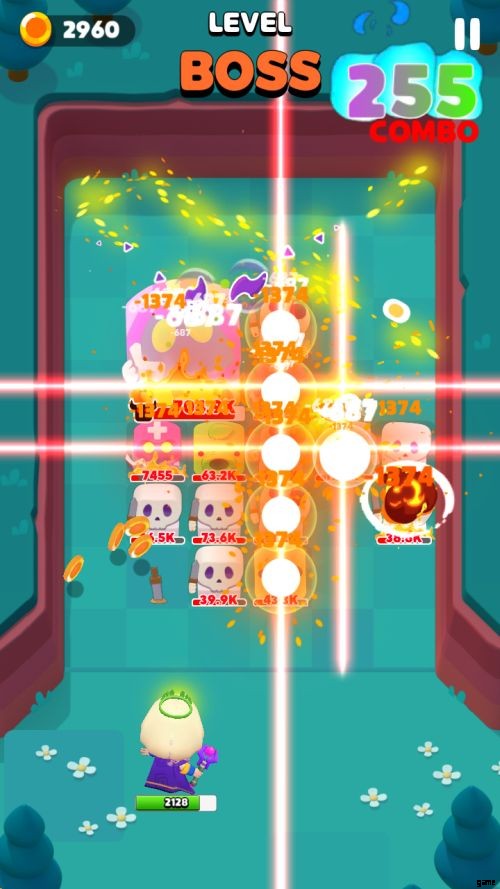
The Boss
Just below aiming for gaps in the enemy line for the sweet bounces, aiming directly for the Boss when they appear is very important during a bossfight. The only reason it’s second priority to gaps is because aiming for a gap so you can bounce shots behind the boss will do more damage to it than a straight-on attack.
Sometimes though, you find yourself in a situation where penetrating into the rear is impossible during bossfights (The Skeleton King’s 1 million HP summons that do only 1 damage sees to that!). When that happens, you can’t go wrong with shooting at the boss directly, especially if you bounce your shots off the boss and into something else. Preferably the weakest guy in the enemy line.
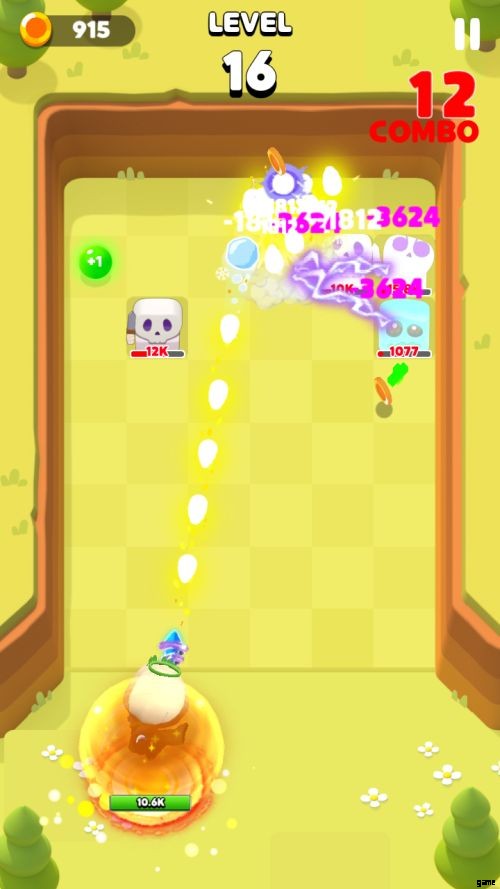
Skeleton Wizards, and Summoners In General
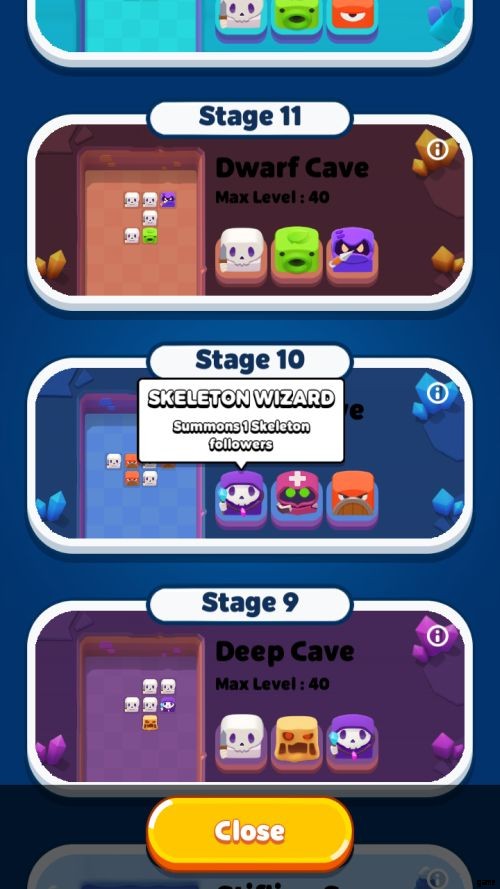
By a wide margin, these guys are the most dangerous enemies in the field, and that’s taking bosses into account! Every one of them in the field will summon a Skeleton Warrior onto the board every single turn. While these mooks have roughly ¼ the HP of Skeleton Warriors spawned by the board itself, they do the same amount of damage and will very quickly fill the board if you don’t snipe the Wizards right the heck NOW.
If you see these guys, always assume they’ll plug up the gaps you want to exploit. While their mooks die quickly, having three of them plug up a previously open gap in a thick enemy formation is often enough to get your poor little Mage clobbered to death.
Especially since they’ll do this every turn! If you see them, exploit whatever gaps are present ASAP before they attempt to plug it up, and kill as many enemies as you can in your next shot so the formation isn’t thick enough for them to plug up gaps safely. Or if you can’t, prioritize exposed Summoner-types as targets and hope for the best.
Healers

Keep this in mind when picking targets, and try to kill your main guy in one shot or spread your damage wide so the healers can’t heal them all. Thankfully, sniping exposed healers is easier than focusing other enemies down, since they have a relatively poor HP pool. Just pray the field doesn’t get so badly clogged that they’re protected by all the other bad guys, especially when they’re paired with Summoner-type foes.
Shooters
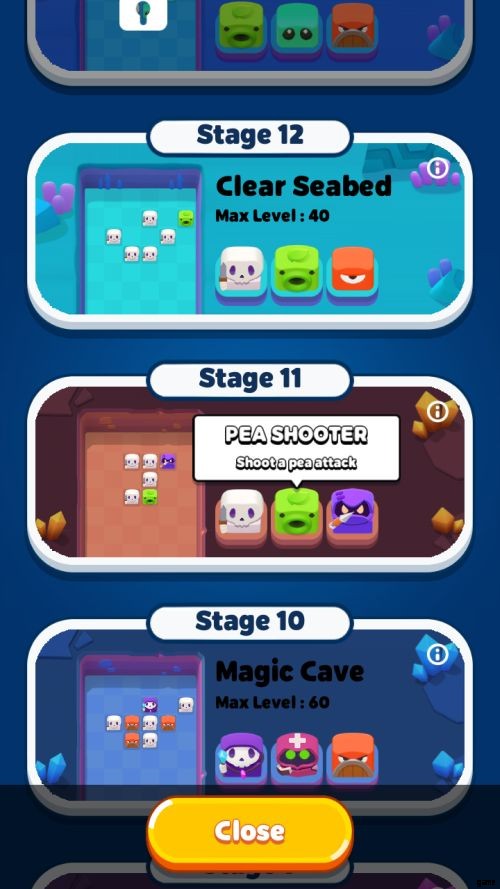
Don’t let these guys pile up too hard. Peashooters (Basic rangers that have weak damage but attack every single turn), Ninjas (Advanced rangers who alternate every turn between letting attacks pass through them harmlessly and readying a very powerful knife throw) and what have you. Shooting enemies are the actual main damage dealer of the enemy force, with melee guys often acting as nothing but meatshields until they bludgeon you up close.
Early in the stage, when you’re still able to kill them in one or two hits, you should snipe these guys as much as possible since they have the same damage power throughout the match, and you’ll need all the HP you can spare once these guys start getting harder to kill.
Besides, you can’t really do combos early in a stage since you’ve got maybe five balls and everything dies in one or two hits, stopping sick bounces. They tend to have lower HP than melee units, so if you catch one of these guys guarding a choke, it’s open season! Between killing a ranged enemy and a melee enemy who are both at the bottom of the board though, prioritize whoever hits harder between the two.
Rangers do the same damage in melee as their ranged attacks, so there’s little sense killing a Peashooter that’s in your face if there’s a Skeleton Warrior about to hit you with a sword, given equal HP anyway. But if it’s a Ninja, shoot the Ninja first.
Melee Mooks

Whether it be Skeleton Warriors (The most basic of mooks, with high HP and large numbers), Shielders (Immune from the front but not the sides or rear) or Berserkers (Do more damage to you the closer they are to dying), or anything else that blocks the way, they’re usually the last on your hitlist unless they’re guarding a corridor you want to bust through.
While they tend to hit hard, they only attack when they hit the bottom of the board, then disappear afterwards. If you get a good shot behind them, they’ll die en masse anyway regardless of their higher HP, just like everything else on the board.
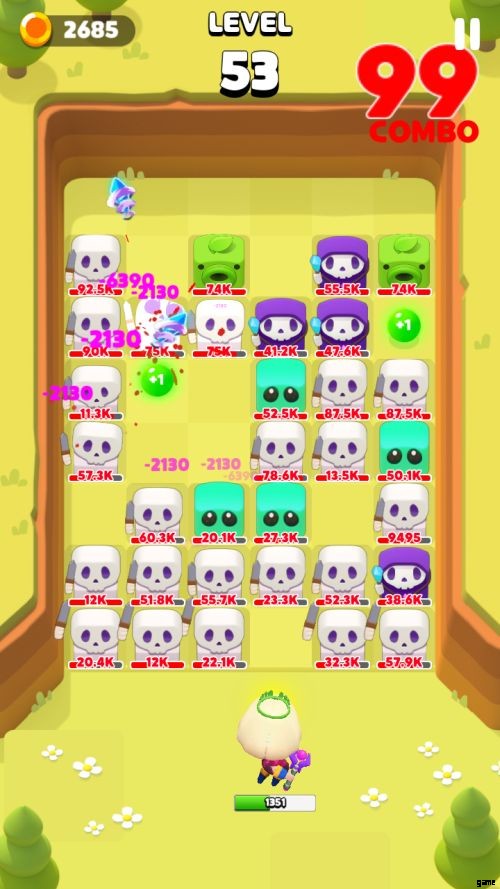
Splitters
Enemies that split upon death, like Split Slimes and Sandmen. These guys are both an annoyance to you, and a hilarious liability to the enemy. When they die, they split into two weaker versions of themselves, positioning in random spots on the board. This can get problematic for you if they split in such a way that they start protecting the enemy’s rear, but they have one fatal flaw:They split as soon as they die, even if your attack is still ongoing.
Sometimes, they will inadvertently trap your shots behind the enemy, letting you rack up absurdly high combo numbers. High enough to cause a PC emulator to lag or a tablet to cry for its mom if you’ve got the Shadow Clone powerup. If you have any combo-based power up, especially Shadow Clones, these poor idiots will accidentally help you clean the board!
Just pray your tablet doesn’t explode when this happens. Heck, boss versions of splitter-type enemies often do a good job killing themselves by trapping your shots, since they throw enemies all over the board while taking damage. This means you typically don’t want to hit them directly lest they split before you exploit a gap, but you want them to die when you’re already attacking the rear to keep your shots there as long as possible.
Repositioning Enemies
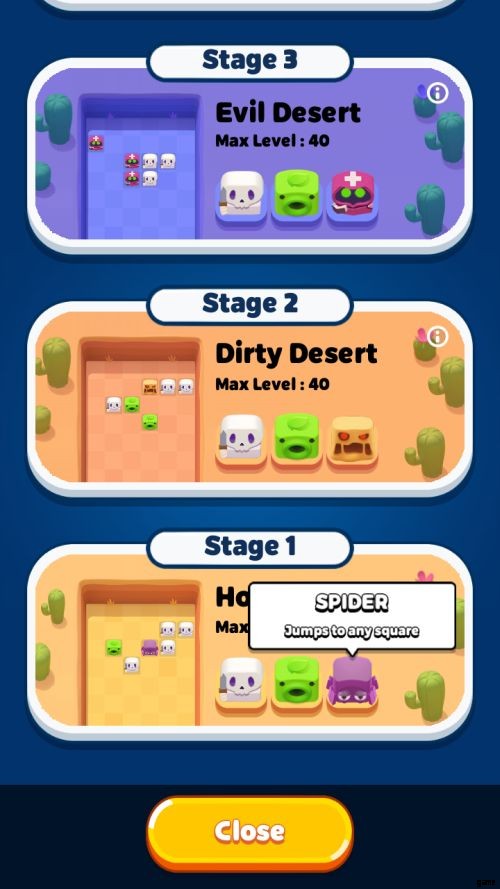
Dead last in kill priority are enemies like Spiders, which reposition themselves randomly across the board. Just wait for them to jump out of the gap’s way unless they’re so badly hurt that killing them will let you attack the rear immediately, or there are Summoners on the field. Unless they have some form of ranged attack, you’re usually in no hurry to kill them.
3. SHOT TYPES
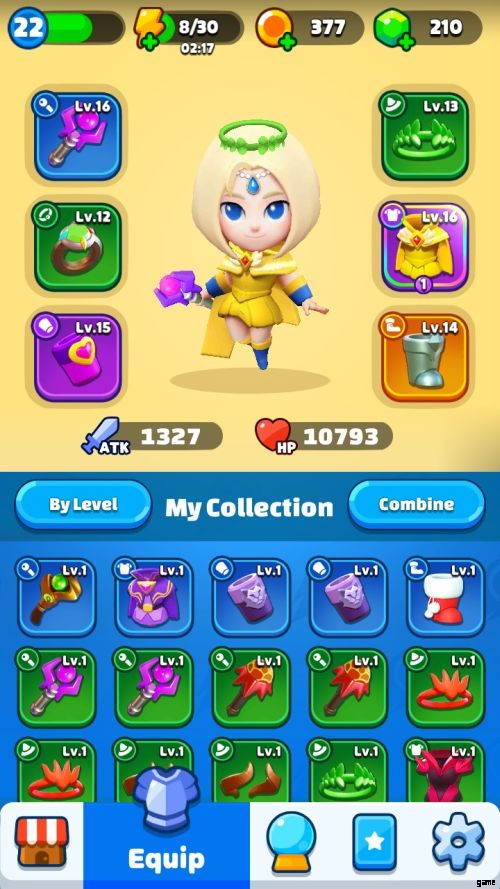
You start with a Normal Ball, but as a stage progresses you can get more balls through powerups that give them to you, along with the normal balls you get for hitting those green +1s in the field. Knowing which balls to pick according to your plan (Or at least according to your luck) is important to winning. Note that ball-giving powerups come in two flavors:Those that give you an entirely new special ball, and those that convert two existing normal balls into special balls.
Normal Ball
It’s a ball that bounces infinitely. You’ll mostly try to get as many of these as possible behind the enemy lines to make the most out of their bouncing, as they do relatively poor damage in a single blow.
Black Hole Ball
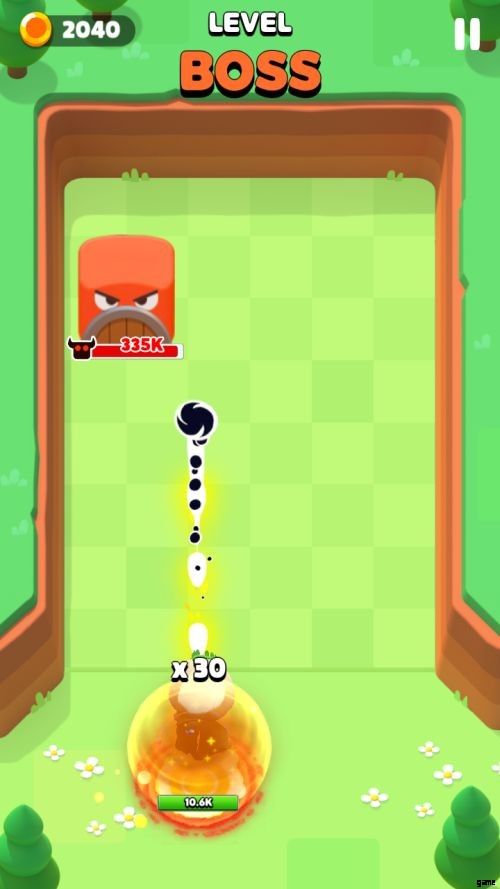
A ball that hits extremely hard, but only once since it vanishes on impact. This pairs extremely well with the Super Start powerup, which triples its already bonkers damage since Black Hole Balls are always the first shot to come out when you have them. You’ll usually use this to break through the enemy line or snipe important targets.
Missile Ball
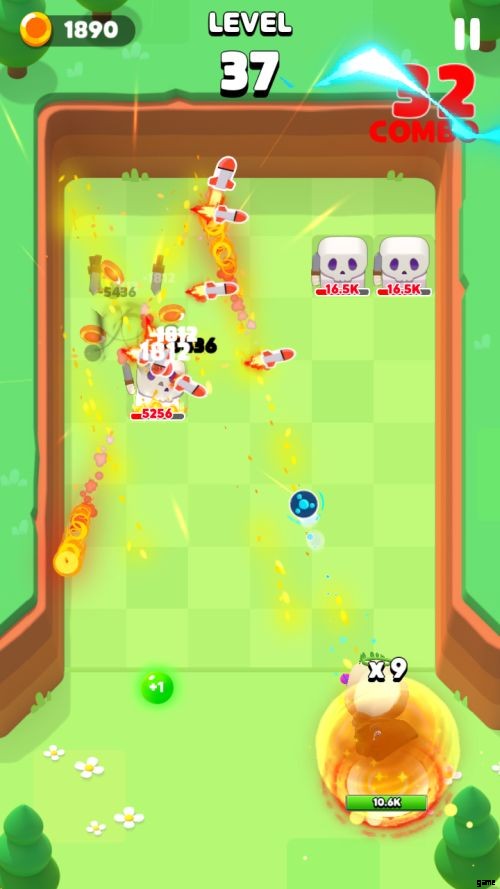
One of the best shots in the game, up there with the Black Hole Ball and Split Ball if you can get it behind enemy lines. And technically, not shaped like a ball. The Missile Ball launches guided missiles everytime it bounces into an enemy.
These missiles go after whatever has the lowest HP percentage on the map, often injured targets that clog up the board and may otherwise force you to waste a Black Hole Ball on.
Split Ball
A ball that splits into multiple infinitely bouncy balls on impact, basically more Normal Balls with blue and black colors. The bouncy balls spawn in random directions, often in such a way that extends your combo far longer than it has any right to go. Getting one of these behind the enemy line is always a fun time.
Bomb Ball

Similar to the Black Hole Ball in that it always comes out first and hits hard. It trades the crazy amount of damage for a surprisingly wide AOE of about a 3 block radius. The Black Hole Ball is typically better for breaking through a line, but the Bomb Ball is pretty good for grabbing items behind enemies.
Lightning Ball
It does a bit more damage than a Normal Ball, bounces infinitely, and chains lightning to nearby targets everytime it hits something. It’s a tie between this and the Fire Ball in terms of offensive usefulness. Usually a very good choice, just below Missile Balls in priority.
Fire Ball
Does the same damage as a Normal Ball, and sets things on fire. The fire hits for roughly twice the damage of a Normal Ball, but has a serious flaw:It applies its damage dead last during a turn, allowing enemies that would die from it (You’ll really notice this if you set a Peashooter, Healer or Summoner on fire) to fire off a shot before they keel over.
Ice Ball
If Lightning Ball and Fire Ball are the offensive options for elemental balls, Ice Ball is the defensive one. It has the chance to freeze enemies on impact, preventing them from moving, attacking, or doing anything else for that matter.
Freezing an enemy summoner, the bad guys in front, or just enough Peashooters to stave off death for a turn can flip a bad fight in your favor if it lets you break their line during that turn. On top of this, it can stop enemies from spawning since bad guys can’t move through their frozen buddies, and therefore can’t make space for new enemies.
H/V Laser Ball
There are two kinds of laser balls. H Laser Balls fire a horizontal laser attack everytime they bounce into something, and V Laser Balls do the same except vertically. Seems like a small distinction. The V Laser Ball is the more defensive option of the two, as it will do damage to the front line of whatever column it hits, meaning it tends to hurt those closest to attacking you.
Unfortunately, it’s also more likely to break a combo since it might blow a hole your balls can exit out of. The H Laser Ball is the more offensive option since hitting horizontally means while it can’t damage those guys most likely to hit you soon, it’s also less likely to blow an exit hole for your balls. And if it does so, it’s probably because it also wiped a whole row.
Sniper Ball and Combat Ball

Two kinds of ball that are the complete opposites of each other. The spiky Combat Ball damages enemies harder when they’re near you, and the red Sniper Ball hits harder against enemies further away from you. Between the two, Sniper Ball is usually the better choice, unless you need to finish off badly injured Berserkers about to attack you.
Backstab Ball
A ball that does more damage when hitting enemies from behind. You’re usually trying to get shots behind the enemy anyway so they’re pretty decent, but the Sniper Ball’s nature means it does the same job (You want shots to hit the backline, and the backline is far away, so the Sniper Ball does heavy damage there too) and can still hurt enemies from in front as long as they’re far away.
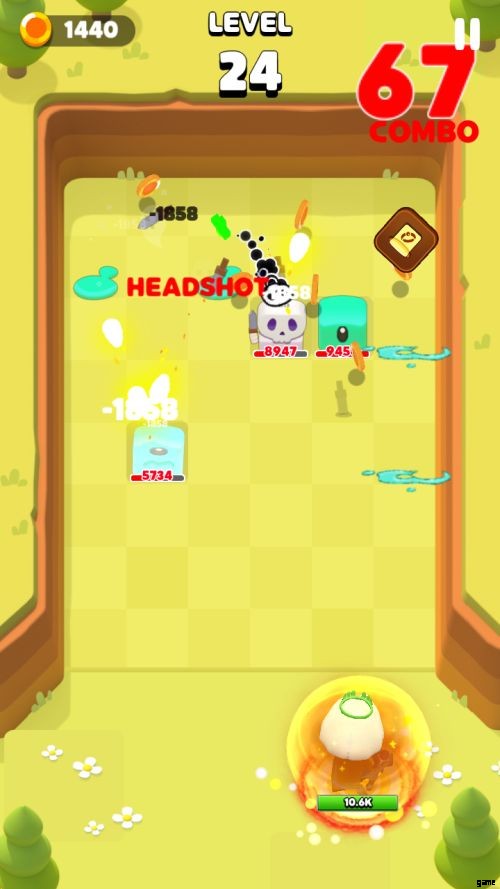
Headshot Ball
A skull-shaped ball that has a small chance of instantly killing enemies it bounces on. Generally not reliable, though if you put it in a long enough combo, it’s bound to kill something!
Drill Ball
A solid contender for weakest ball in the game. Drill Balls penetrate through all enemies, making them incredibly poor for doing combos. While they do more damage per hit than Normal Balls, they don’t have nearly enough strength to break a defensive line open for the rest of your balls like Black Hole Ball does.
And if you break the enemy line and send shots bouncing behind them, Drill Balls won’t contribute much since they’ll just go through all enemies and bounce out of the field rather than lingering to do more damage. They have some utility for grabbing out of reach powerups but that’s about it. At the very least, that utility is enough to make them a better pick than healing powerups.
The only time Drill Balls do decent damage is when the board is so full of enemies that you’re as good as dead anyway, and Drill Balls aren’t strong enough to save you from such a situation unless you’re so insanely lucky that you got Drill Balls from every single skill pickup that dropped. And even then, that’s a big maybe!
4. NON-BALL SKILLS
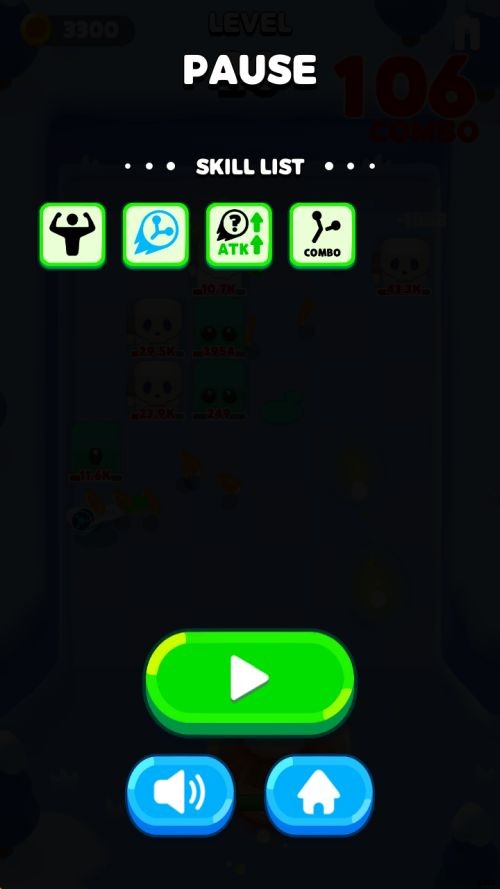
Along with the special balls, you can also get powerups that don’t directly add balls to your attack. Sometimes they trigger during combos, sometimes during enemy deaths, sometimes they’re just passive. Here are some of the noteworthy (Either good or bad, you need to know what’s so worthless you might as well avoid it!) powerups.
Healing Powerups
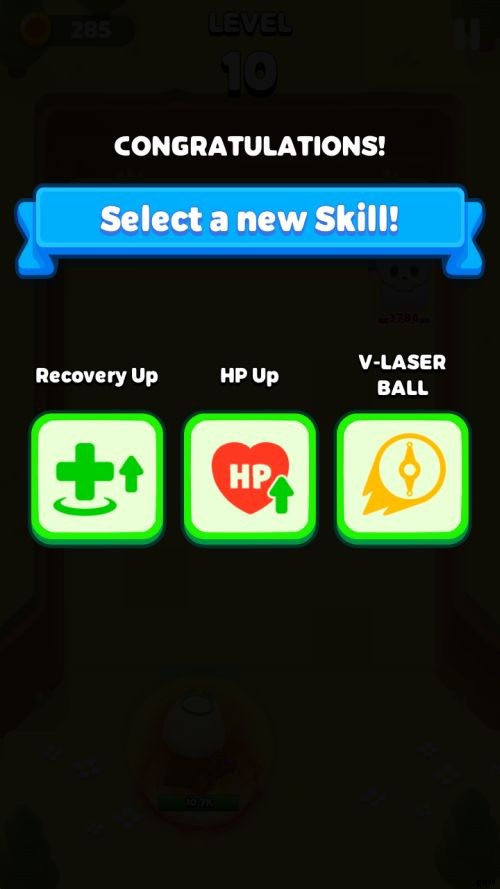
Let’s get this out of the way, most of them aren’t worth the pixels they’re printed on. Healing Powerups like HP Up (an instant heal), Strength (A heal and increase to max HP every 5 turns) and Recovery Up (Increased healing from heal pickups) are generally not able to outstrip the heavy amounts of damage a bad situation will give you.
If you’re doing well, your HP will generally keep itself topped up. If you’re doing poorly, these things typically aren’t enough to save you. Except Revive. That one’s pretty good, since it heals you on death and sweeps the 3 frontmost rows of the board clean with a deathray, allowing a proper comeback.
Ignore: HP Up
Consider: Recovery Up, it makes the most of heal pickups, Strength since at the very least it’s a repeating permanent health upgrade for the stage, though keep in mind they’re still low priority.
Grab ASAP: Revive, for the triple row insta-kill deathray and full heal
Death Powerups
Any powerup that does something when an enemy dies, usually marked by a dead monster icon. Generally weaker than combo powerups thanks to the ludicrous HP scaling of enemies towards the end of a stage. They’re not bad choices, though they’re secondary to combo powerups in importance since you need those to get actual kills.
Consider: All of them, though if you have to pick between them and a combo powerup, pick the combo powerup, always.
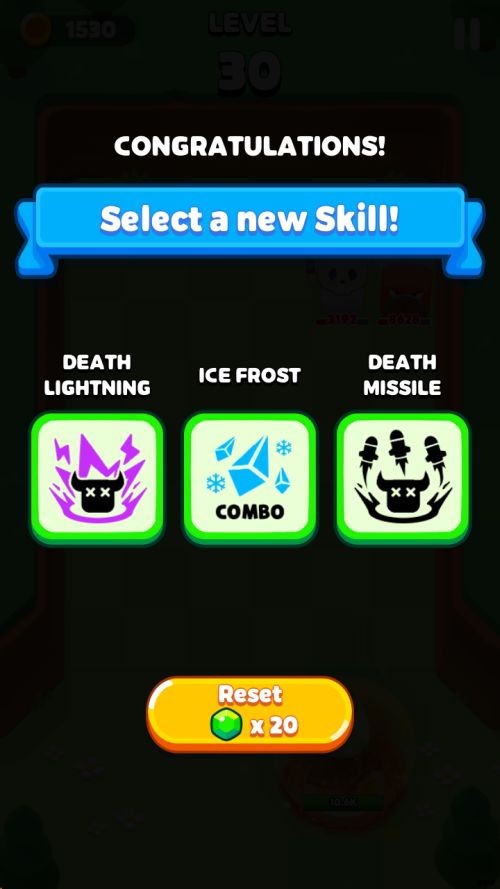
Combo Powerups
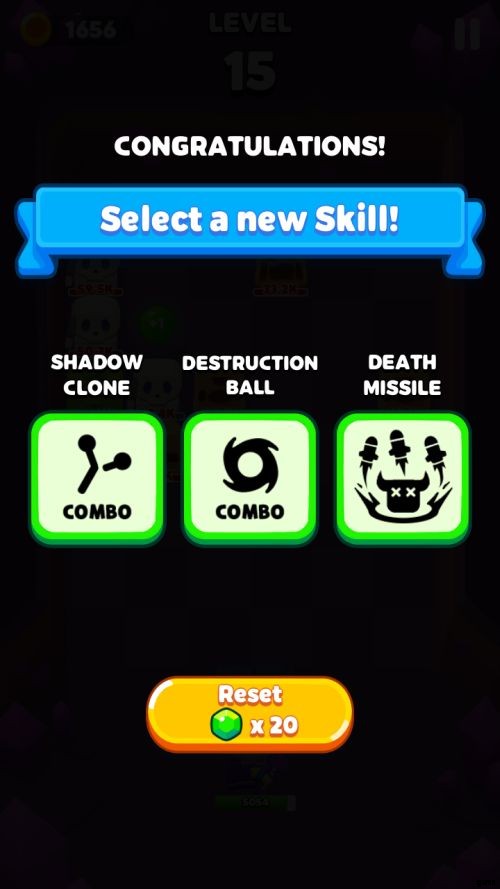
Now we’re talking! These powerups trigger when you perform a long enough combo, usually depending on the individual powerup itself, with more destructive attacks requiring longer combos. These won’t do much in the early levels of a stage considering enemies will likely die in a few shots, but when their HP starts hitting 40k, 100k, ever higher, they start becoming very important.
Most of these are fairly simple, with Destruction Combo dropping a Black Hole Ball on a random target every 100 hits, elemental (Fire, Lightning, Freeze) combos dropping their respective attacks every 50 or so hits, Missile Combo launching a missile barrage every 50 hits, etc.
That being said, they’re not there to save you from a bad situation like Black Hole Balls are, but to take advantage of any breakthroughs you have made to the maximum extent.
Consider: それらのすべて。
Grab ASAP: Shadow Clones for the completely insane self-feeding combo, Missile Chaser because missiles tend to clean up the board and open gaps very well.
General Powerups
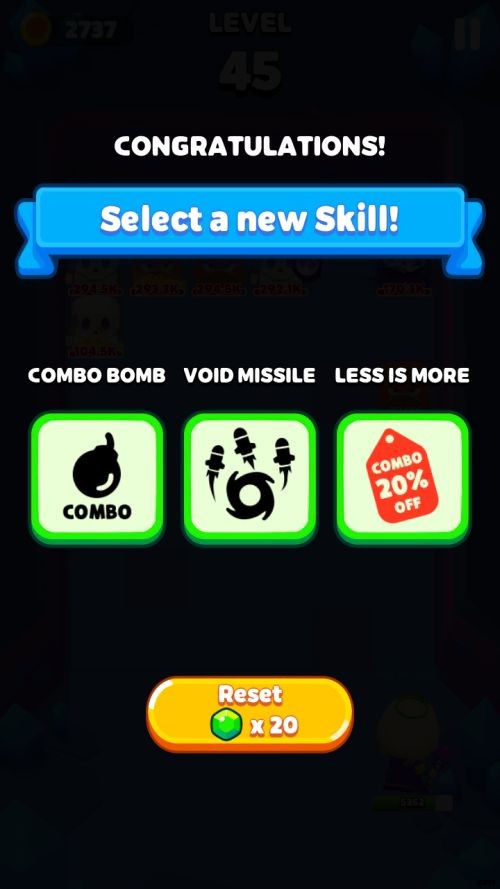
These boost various aspects of your attacks, whether they be things like making combo attacks cheaper or making certain types of attacks have double their effect like the Master boosters.
Ignore: Any Master powerup for stuff you don’t have.
Consider: Any Master powerup for combo attacks you have, Ball boosters like Black Hole Ball’s Void Missile upgrade if you have the ball for it, Invincible Cover so you’re immune to attacks every 5 turn after picking it up.
Grab ASAP: Any Master powerup for special balls you have, Special Combo which makes special balls add 5 per hit to the combo counter instead of 1, and Less Is More so you need 20% less on the combo counter to trigger combo powerups.
Attack Powerups
There are several attack boosting powerups, and one of them beats out the others. You have Special Up, Normal Up, Final Charge, Super Start, and Attack Up. Special Up boosts the power of your special attack balls, which works great when paired with Black Hole Ball. Normal Up boosts the power of normal balls, which is excellent if you’ve got the Shadow Clone powerup.
Super Start triples the damage your first ball does, powerful if you have either Bomb Ball or Black Hole Ball, but otherwise weak. Final Charge is only any good if you’ve got a Sniper or Combat Ball, which honestly aren’t the best kind of balls. Attack Up just plain powers up everything, including the non-ball attacks you get from certain blue tier and above gear.
Ignore: Final Charge, Super Start if you don’t have Black Hole Ball or Bomb Ball.
Consider: Special Up, Normal Up, Super Start if you have Bomb Ball.
Grab ASAP: Attack Up, Super Start if you have Black Hole Ball to break through weakpoints easily.
5. GENERAL TIPS AND TRICKS
There are just a few things left not pertaining to combat to keep in mind. They mostly have to do with spending your gems wisely in the game, along with keeping your equipment topped up.
Go For 10-Rolls
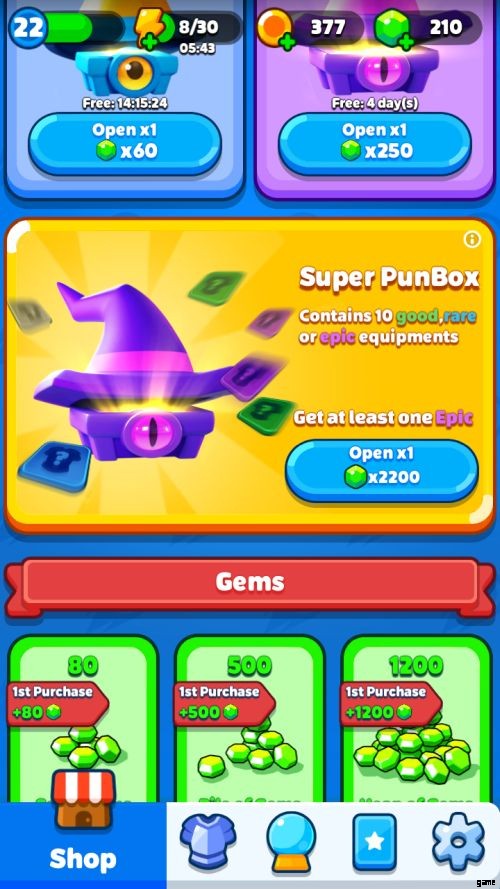
There is an equipment gacha in the shop, and if there is no banner event ongoing and you want some better gear, make sure to save for the Epic 10-rolls under the Super PunBox. They’re cheaper per item than doing single rolls, and you get a guaranteed Epic-tier piece of equipment out of it.
If there is a banner, go for the banner 10-rolls instead since it has a better chance of getting Ancient tier gear, and you still get the guaranteed Epic out of it. Never waste gems on the blue PunBox gacha:It’s the cheapest, but you can only get grey and green equipment out of it.
Spend On The Dailies Later
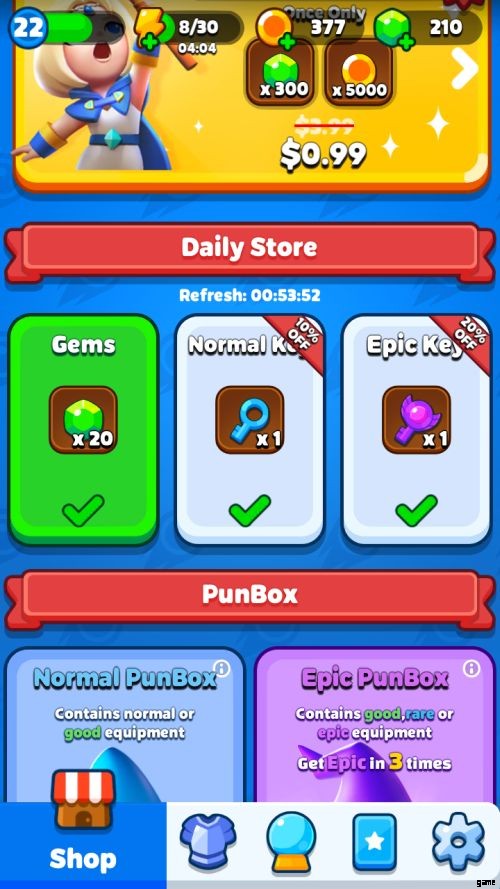
Early in the game, you won’t be able to afford the daily deals since coins are a bit slow to come by before Stage 5 and you’ll need the coins for gear upgrades and levelling up. After beating stage 5 though, coins are easier to get and you can pay for the coin dailies comfortably., especially since every fifth stage is a great coin-grinding spot since you get 60 levels and two bosses rather than just 40 levels and a single boss.
As long as you don’t die of course. As for the Gem dailies, either get the purple keys or the Talent Stones, since Epic Keys from the dailies are cheaper than gacha rolls, and Talent Stones are rare.
Remember To Combine Your Gear!
Only Rare tier gear and above get special effects, and your first piece of the shiny blue stuff is often enough to get you past the painful hurdle of Stage 5. You can either get it by being lucky with the equipment gacha, or by fusing grey and green tier gear together until you get something blue.
This also goes for higher tier equipment, as you need dupes to tier them up too. As a sidenote, de-leveling gear is completely free, and is a 100% refund on materials, so leveling weak stuff is never a waste.
And this ends our PunBall beginner’s guide. We hope this helps, and you get past the first ragequit-inducing hurdle of stage 5. If you have any tips of your own or just want to chat with fellow players, leave a comment below!