ロンサム ビレッジ:チャプター 3 ウォークスルー
もう Lonesome Village の真っ最中です。 村に再び居住し、町のすぐ外に迫っているタワーの手から解放された隣人と友達になります。より多くのツール、より多くの仲間、より多くのエリアのロックが解除されました。良いニュースは、まだこれからもあるということです.
この楽しい物語の第 3 章では、あなたを最終的な新しいエリアへと導き、塔からより多くの助けになる村人を解放し、物語の結末へとあなたを導きます。ロンサム ビレッジの次のセクションを通過するには、ガイドに従ってください。
第 3 章を開始
ロンサムビレッジのチャプター3は、チャプター2から山の滝をクリアし終えるとすぐに始まります.良いニュースは、あなたがこの新しい章に入っているということです. プレイを続けたい場合、ゲームはエピローグに続きますが、最後のメイン ストーリーの村人はすぐ先にあります。
第 3 章のストーリー セクションを開始するには、再びイースト ビレッジに行きます 、沼への橋が元の位置に戻っていることがわかります。 つまり、最終的にこの新しいエリアにアクセスして、タワーの次の神社アイテムを手に入れることができます.
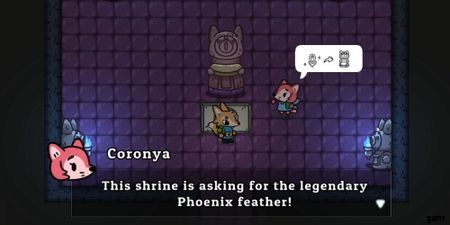
ありがたいことに、あなたが必要としているアイテムは 鳳凰の羽 です。 エリアの入り口の内側で成長しています . それをつかんでタワーに戻って先に進みましょう。 神社のアイテムと同じように、鳳凰の羽を神社に置き、2 階に上がってパズルの次のセクションに進みます。
21 階:小さなカエル
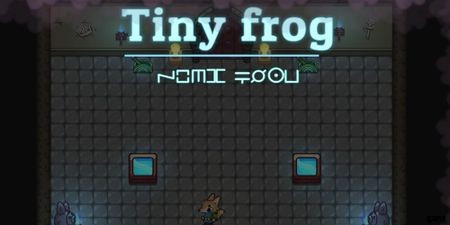
ウェス、あなたの影に会いましょう。このパズルでは、あなたと 2 番目のバージョンの自分が協力して、前方の各部屋で 2 つのレバーを引きます。先に進むには、同時に行う必要があります。問題は、他のウェスの動きがあなたの動きを反映していることです。 つまり、あなたの Wes が右に 1 歩進むごとに、Shadow Wes は 1 歩左に進みます。
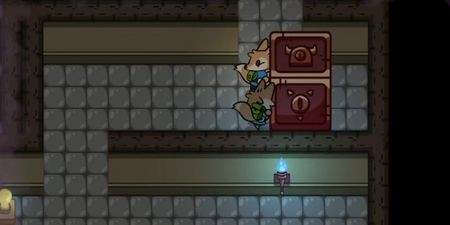
ここの最初の部屋では、メカニックに慣れます。 青いフロア ボタンを踏むと、シャドウ ウェスが召喚されます。
最初のパズルでは、このパズルの最も簡単なセクションで両方のレバーを同時に引いて、次の部屋に進みます。数秒以上かかると、シャドウ ウェスが姿を消し、再度召喚する必要があります。 彼を召喚できる回数に制限はありませんが、パズルに近づくときはこの制限時間を念頭に置いてください。
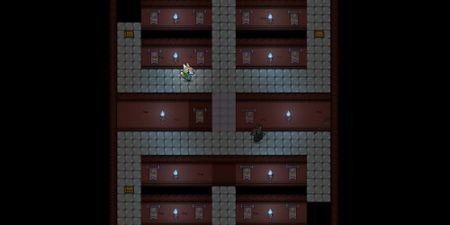
2 番目の部屋には、必要な両方の大きなブロックがあります。 動くウェスとシャドウウェス。 両方のコヨーテがたどる道を作る必要があります 両側に動かさなければならない障害物があるので、レバーに到達しようとする前に。
両方のパスが明確になったので、パズルの下部にある 2 つのブロックを使用して、2 つのコヨーテを分離します。 彼らはそれぞれの道の1つを取ることができます。次に、クリアしたパスに沿って部屋の上部にあるレバーまで導き、パズルを完成させます。
| 救われた動物:ガマ王 (カエル) と彼の忠臣 (カエルも) |
|---|
22 階:ドッペルゲンガー

シャドウ ウェスがこのパズルに再び戻ってきたので、自分の 2 つを使ってこれらを快適に使っていただければ幸いです.
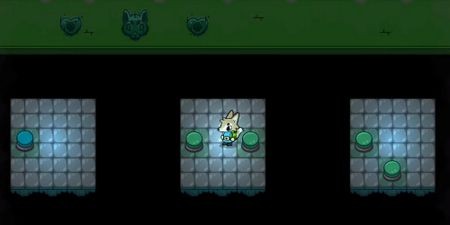
今回はレバーを引く代わりに、Wes と Shadow Wes が床のボタンを踏んで、他の Wes の進路を塞いでいる壁をかみ合わせたり外したりして、各コヨーテを部屋の反対側のドアに連れて行きます。 Shadow Wes の動きはあなたの動きを反映しているため、ある程度の計画が必要になることに注意してください。
最初のパズルでは、Wes を右のボタンまで送ります 彼にそれを踏んでもらい、真ん中の壁をクリアします。シャドウ ウェスを中央の通路に移動させ、途中でスイッチを押さないようにします。 これで、2 人は途中で合流し、それぞれのゴールの出入り口まで歩いて行けるはずです。
2 番目の迷路はより大きくなりますが、それほど難しくはありません。 Wes を一番右に移動させてから下に移動させます ここでボタンを押す ずっと左に戻る前に 彼が入ってきた床の隙間の直前でスイッチを踏むようにします。今度は、ウェスを中央と左側の空いている廊下に送ります 部屋の一番下にあるドアにたどり着きます。
3 番目のパズルは最大のパズルですが、それほど難しいものではありません。まず、Shadow Wes に焦点を合わせ、廊下を 1 つ出してすぐに上に送ります そこのボタンに。 すぐに北西にあるボタンに移動してもらいます 壁の中央部分を開きます。 Wes が近くにいるはずなので、今すぐ Wes に集中して、彼を下から右に送ります パズルを完成させます。
| 保存した動物:Caly (ラブラドール犬) |
|---|
23階:カメレオンのぬりえ
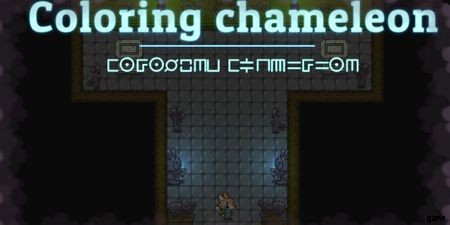
このパズルでは、部屋の台座にあるいくつかのカラフルな車輪を回転させて、断片化された画像を一致させ、色の車輪の上に示されている形を再現します.
左の台座は蝶、右の台座は目玉のシンボル 最終的には次のようになります:
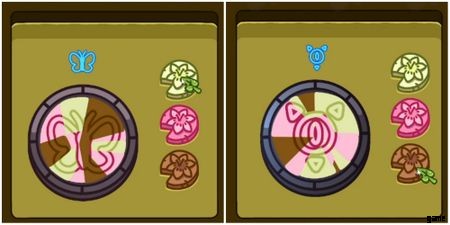
3 つのカラフルなボタンをクリックし続けて、セグメント化された色を回転させ、画像が上のものと一致するようにアウトラインを並べてパズルを完成させます。
| 保存された動物:ミクリ (カメレオン) とアツィン (アホロートル) |
|---|
24 階:サーフィン バード
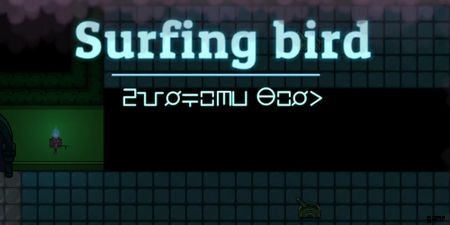
The Trashmen の歌が心に残っているのではないでしょうか。この先の部屋での目標は、床のレバーを引いて部屋の床を変えることです。 The first time you hit a switch, the design is pretty clear:blue paths run horizontally, pink paths run vertically, and flipping the levers is how you switch between the two options.
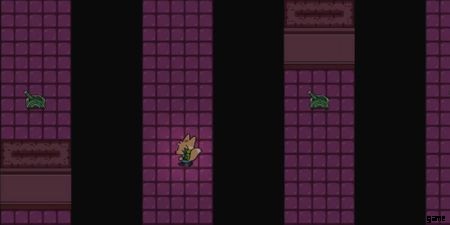
The struggle here comes from the fact that some path sections have walls that cannot be lowered and must be navigated around. It can get a little tricky, but we’ve got you on solutions.
The example room is the most straightforward, to introduce the mechanic. Pull the lever directly ahead of you when you walk in, go up to the next lever and pull that to create a path to the door in the top-right corner of the room.
The second room is where you’ll encounter the walls now that you know how the puzzle works.
- Walk left and pull the only lever Wes can access on this platform to start with.
- Follow this path all the way to the top wall, pulling the lever there.
- Use the blue path to get to the top-right corner of the room and pull that lever.
- On the pink path, walk down one lever and pull it.
- Use this blue path to go all the way to the leftmost wall, pulling the lever you find at the end.
- Walk down the pink path to the lever against the bottom wall and pull it to finish this room.
One more to go in here! These are the steps for the final puzzle for this floor.
- Walk right and pull the first lever.
- Go down one lever along the pink path, pulling the lever just before the wall segment.
- Walk right until you hit a wall segment, then pull that lever.
- Go down to the next wall segment and pull that lever on the pink path.
- Head left, pulling the lever on this path that’s closest to the left wall.
- Walk all the way down to the bottom wall and pull the lever here.
- Go right and pull the lever on the bottom path that lines up with the blue path without a lever between two wall segments.
- Walk all the way back to the top wall and pull this lever.
- Walk right t o the next wall segment and pull the lever here.
- Go until you hit another wall segment and pull the lever closest to it.
- Walk right until you hit the rightmost wall, and pull this lever.
- Move left until you can’t anymore, and pull the lever by the wall segment.
- Go up to the next lever immediately above you by the wall segment and pull it.
- Walk right until you hit another wall segment, and pull the lever closest to it.
- Go down to the bottom wall and pull this final lever on the pink path to access the final exit and finish the puzzle.
| Animals Saved:Didi and Tulip (birds) |
|---|
Shrine Floor Seven:Antique Clock
The shrine on this floor is asking for a rare, antique clock, but thankfully, you freed the village’s rare goods dealer, Row the crow, in the last chapter. Leave the tower and go talk to him in his shop, which is to the right of the windmill in Center Village.
Before he can make the clock, you’ll need to give him five iron bars, three wooden boards, and three gold bars. The iron and gold are available if you break rocks in the mines, while the boards can either be purchased at the general store or fabricated at the carpenter’s shop. Once you have these items, as well as 100g for Row’s work, head back to his shop and have him make the clock.
Once you have it, return to the shrine to make your offering and continue ascending.
While you’re out here, you’re now able to meet up with Didi in the Swamp, who’s more than happy to help you get into the previously-inaccessible Jungle.
You can finish this quest now if you’d like, but we’ll be covering it after all the puzzles in the Tower, since you need an item from the Jungle before you can finish the chapter.
Floor 25:Bunny Potions
Back in the tower, press onto the next floor to find yourself with another puzzle centered on making paths using rotating segments . The goal is to allow liquid to flow from the top of the screen and down into the flask at the bottom. After you’ve rotated the pipe pieces to make a path, hit the gray button on the right side of the screen to get the liquid flowing.
Each sequential puzzle has one additional flask to fill, for a total of three induvial ones in the final puzzle, all of which must be in the correct order to finish. For easy solutions here, we’ve outlined the paths we made for you in the table below.
| First Puzzle | 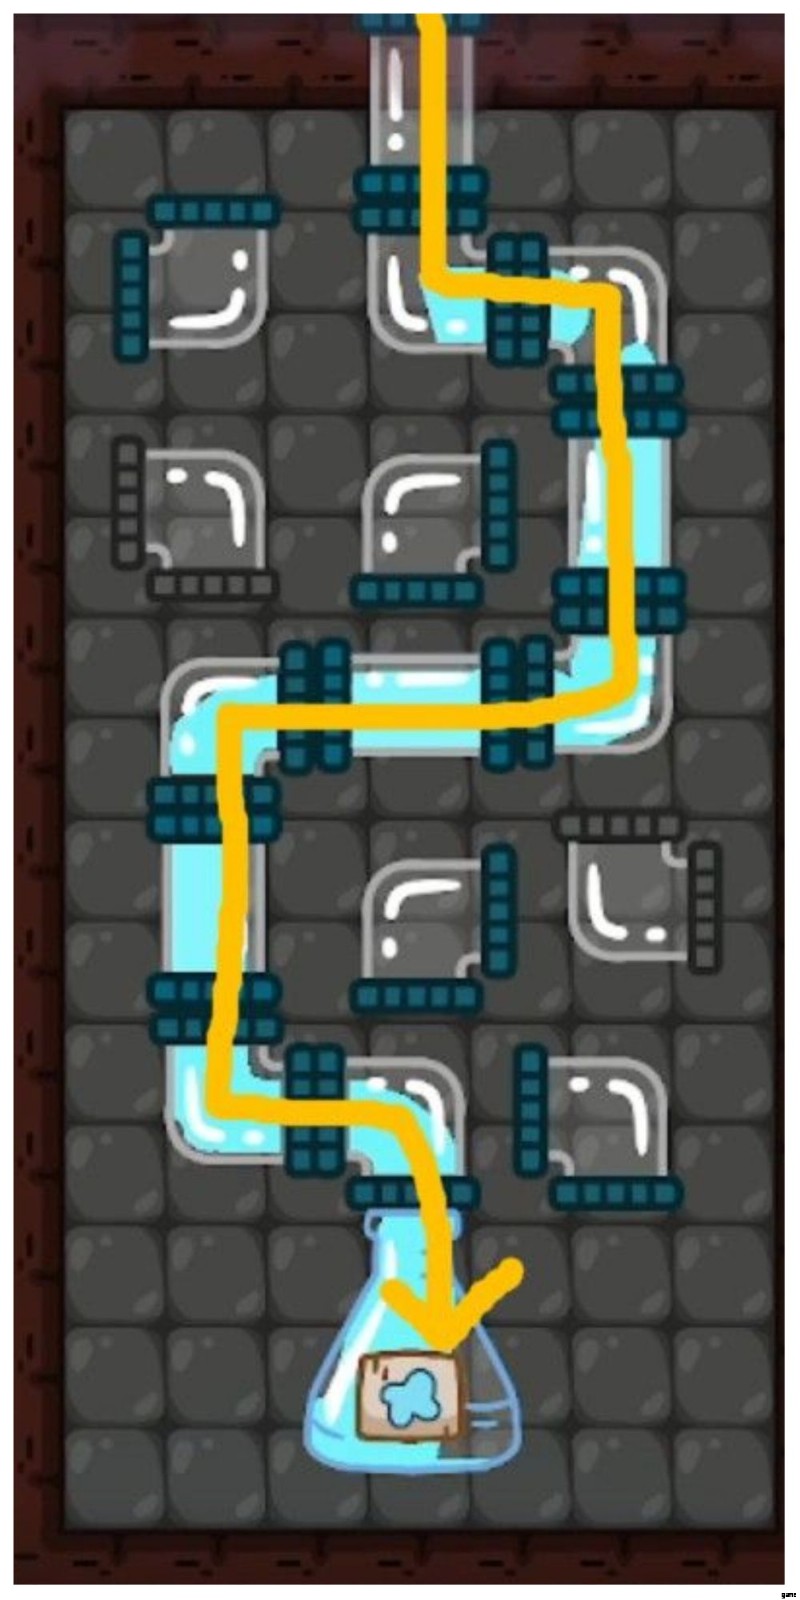 |
| Second Puzzle | 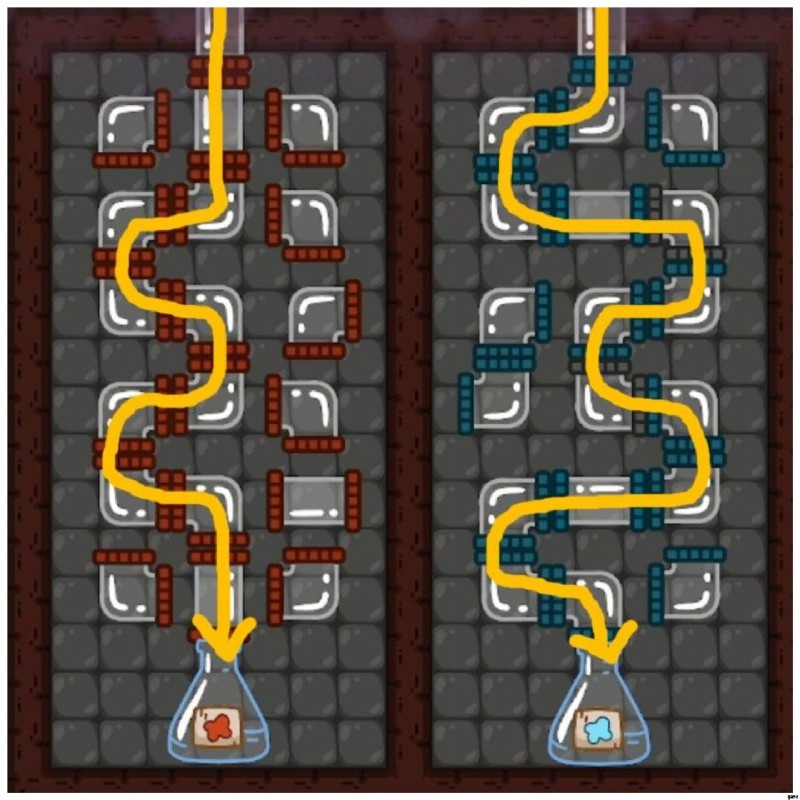 |
| Third Puzzle | 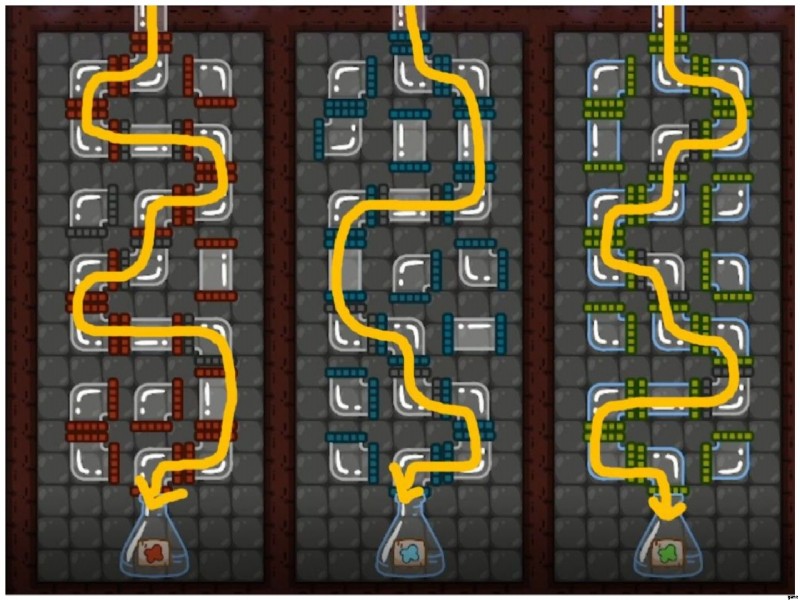 |
| Animals Saved:Cooper (rabbit) |
|---|
Floor 26:Lost Duck
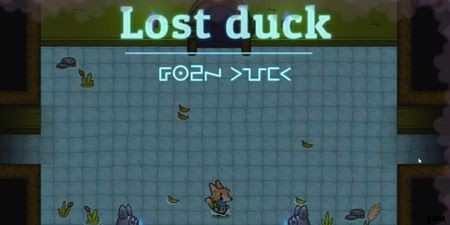
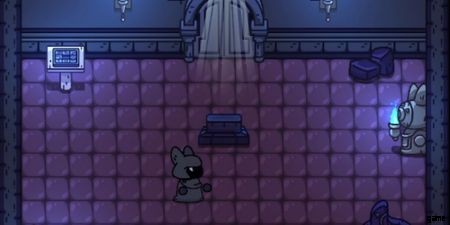
In this puzzle, the goal doesn’t seem quite clear at first. Wes enters a lightly-flooded series of rooms and must navigate through this maze to reach the key item at the end – except, how are you supposed to know where to go?
To find the solution to the puzzle, use your magnifying glass and move around the floor until you see duck footprints heading into one of the four doors.
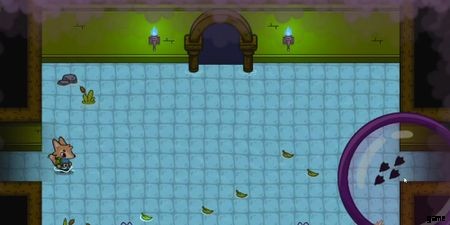
This is your path to the end, so simply repeat the process in each room and follow the footprints until you reach the key item.
| Animals Saved:Morton (duck) |
|---|
Floor 27:Gorilla Power
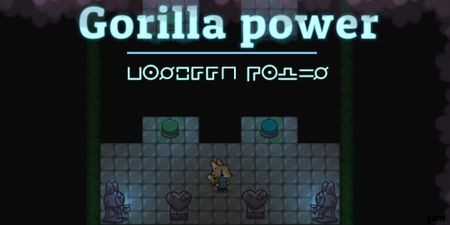
Admittedly, we had quite a lot of fun with this next puzzle. In the rooms ahead, you see springs on the floor, and though they look the same, the colors are important:green springs push Wes one platform ahead in the direction the spring faces, while blue springs move him two platforms in that direction.
The first room is straightforward enough:simply use the blue springs to reach the door.
For the second room, step on the green spring facing right and use the blue spring on this platform. On the next, use the green spring facing upward, then go left immediately to finish this section.
This final room is much larger, so let us just list the steps for you to keep things easy.
- Use the green spring to move forward one platform, then use the blue spring to move right two.
- Take the green spring back one platform, then use the next green spring to move up one from here.
- On the platform with three springs, use the right-facing green spring to move right one, then use the only blue spring on this platform to move down two.
- Take the blue spring right two platforms, then the green spring to go up one.
- Here, move left one platform, then up two using the blue spring.
- From here, use the left green spring to move left one, and then take the blue spring left two platforms to reach the door.
Be sure to grab the item from the cage in the corner here, then follow the path straight down from the item’s cage to be brought back into the level’s lobby.
| Animals Saved:Hopper (gorilla) and Memphis (cat) |
|---|
Floor 28:Hippo Bath
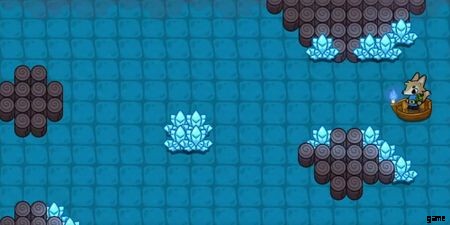
The puzzle ahead is more of a skills challenge than a logical one. Your goal is making it in the boat to the other side of the room – which sounds easy enough until you learn that you can’t stop or slow the boat, only steer it.
The obstacles ahead are instant resets for Wes, no matter how far into the puzzle you were. On your way to the other side of the room, if you hit something, it restarts you on the original platform.
On the other side is a lever, and pulling it will trigger the release of this floor’s key item back on the original platform, so you need to get back to the start. Unfortunately, now, crashing into obstacles doesn’t send you back to the start but back to the lever platform instead, so no shortcuts – you’re sailing back.
When you return, grab the key item to finish the puzzle.
| Animals Saved:Lilly and Rose (hippos) |
|---|
Floor 29:Magic Owl
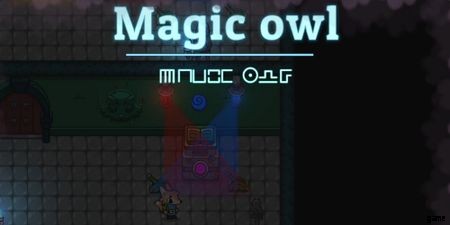
Congrats on making it to the final floor of the main story for Lonesome Village. Thankfully, it’s pretty straightforward, so you likely won’t end on a frustrating note.
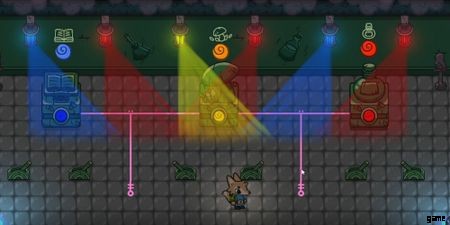
The goal here is to use the levers to create the color shown on the wall above the statues. In the first room, this is a book statue that begins with a purple light on it, as is shown by the circle on the front and evidenced by the red and blue ceiling lights shining down. Use the left lever to shut off the red light and open the door to the next room.
In the second room, you’re now able to push the statue, which is a mushroom this time. Here, push the statue all the way to the right side of the pink path in the ground, and turn on the red light so that purple light shines onto it.
The final room contains three statues, all of which will need to be moved in order to complete the puzzle. Using the symbols on the wall above the three colorful dots in blue, orange, and red, you’ll see where you need each statue to end up.
To do this, pull the potion statue to the right and then down toward the levers to get it out of the way, then do the same thing with the mushroom statue in the middle. With these out of the way, you have a clear path to push the book statue all the way to the leftmost position.
Once it’s there, get the potion statue to the rightmost position, and then when those are all set, push the mushroom statue back to the middle.
Now that the statues are in the right place, it’s time to worry about the lights.
- For the book , turn off the red light and turn on the blue light.
- For the mushroom, turn on the red light.
- For the potion, turn off the blue light.
Grab your very final key item and head back to this floor’s lobby.
| Animals Saved:Ms. Sue (owl) and Sabrina (cat) |
|---|
Shrine Floor Eight:Tarot Cards
Before you can move into the endgame challenges, there’s one more shrine quest you must first complete.
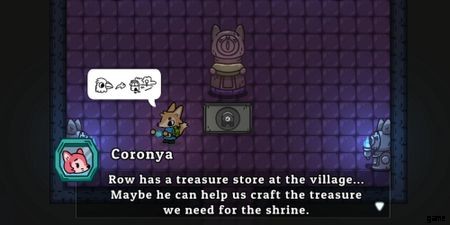
Coronya tells you Ms. Sue, the owl you literally just sent home, might know about where to get them. She does, but she’ll request a snack first:pear jam. You haven’t seen pears yet, though! Where the heck are you supposed to go to get pears?
In the Jungle.
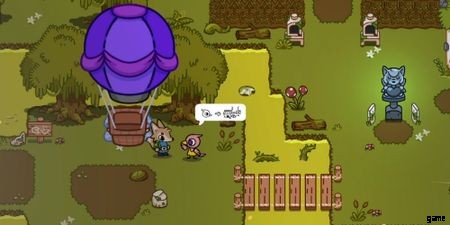
You may have seen last time you were in the Swamp that the door up to the Jungle was shut tight. However, if you go back to the swamp and try to go there again, now that everyone has been saved from the Tower, you immediately bump into Didi, the bird from Floor 24.
Didi tells you they use a hot air balloon to get around, but would like some decorations to bring home first before going there. Didi asks for two kinds of flowers: three roses and a tulip. You don’t need red specifically, but for the roses, you do need three of the same color before Didi accepts them.
Head back to the Garden Shop in the West Village by your house to purchase the seeds, then grow the flowers in the plots right outside. When you bring them back to Didi, not only will you be able to access the Jungle, but after giving you a recorder and teaching you a song to make the wind pick up, Didi offers to help you fast-travel to any area of the map if you play the wind song at any point when you’re outside.
It’s a bit late in the game for fast-travel, but it’s still incredibly helpful both for now and for what’s ahead. Now that you’re in the Jungle, shake the trees up here to find that the area’s local fruit is the pears for the jam.
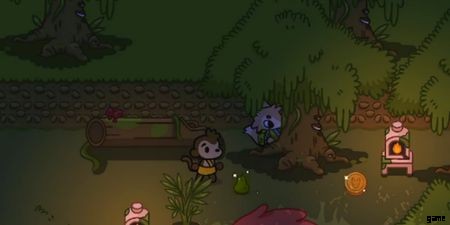
Take the pears to Raglan, the owner of the café in the Forest, who’ll turn your produce into jam for you. Then, head back to Ms. Sue’s house in the bottom-left corner of the Forest to give it to her, for which she’ll give you the tarot cards you need. With them in hand, head back to the Tower and give them to the shrine.
Floor 30:Top Of The Tower And End Of The Chapter
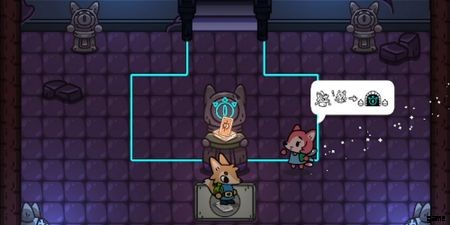
やった。 Coronya will tell you this is the top of the Tower, and when you enter the room, you see the mysterious cloaked figure inside that you’ve seen sporadically throughout the game. They won’t speak to you except to ask for a hand with the puzzle 部屋で。
Approach the pedestal in the top-left corner to begin an eight-piece slide puzzle. You’re not able to pick the pieces up, but can slide pieces into the empty space in the board to move them around. Unfortunately, the pieces spawn in a different place every time you step away from the pedestal and come back to reset it, but we can show you what it needs to look like.
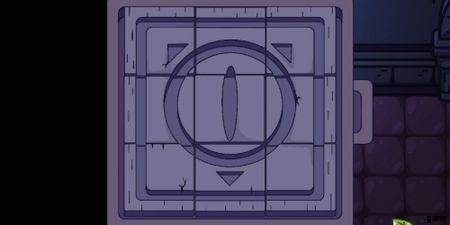
Shimmy the pieces around one another to form the eyeball symbol to complete the puzzle and move into a cutscene. Sit back and watch, and you officially begin Chapter Four when the cutscene ends.
この章で出会った NPC
As with the last few chapters, it can get a little tricky to keep straight who lives where and what they do for a living. As always, we’ve got you a handy table.
| Name | Occupation | 場所 |
|---|---|---|
| Gama King | Frog King | Beach |
| King’s Subjects | 該当なし | |
| Caly | Historian | 山 |
| Micry | N/A | Swamp |
| Atzin | ||
| Didi | Hot Air Balloon Traveler | Jungle |
| チューリップ | 該当なし | |
| Cooper | Alchemist | 山 |
| Morton | Shopkeeper - Music Shop | Swamp |
| Hopper | Shopkeeper - Clothing Store | Jungle |
| Memphis | 該当なし | |
| Lilly | N/A | Swamp |
| ローズ | ||
| Ms. Sue | Sorcerer | 森 |
| Sabrina | Sorcerer’s Assistant |
You have story stuff to do after the chapter, but these NPCs are still available around the map. While you definitely have more hearts than you need by now, it’s still amusing to find and get to know everyone, so feel free to continue friendship questing to your heart’s content.